Panning for Gold — Finding Native Metal
Consignes
The Physics of Gold Panning
The Physics of Gold Panning
Why Gold Sinks
Gold panning is a gravity separation technique. It works because gold is absurdly dense:
| Material | Density (g/cm³) |
|---|---|
| Sand (quartz) | 2.65 |
| Iron pyrite ("fool's gold") | 5.01 |
| Black sand (magnetite) | 5.18 |
| Lead | 11.34 |
| Gold | 19.30 |
Gold is 7.3× denser than sand. When you agitate a pan of mixed sediment in water, gravity pulls gold to the bottom while lighter materials wash over the rim. No chemistry needed — pure physics.
Where Gold Accumulates
Water transports gold downstream from its source (veins in quartz rock). Gold settles where water slows:
- Inside bends of rivers (slower water = deposition)
- Behind large boulders (eddy zones)
- Bedrock cracks (gold drops into crevices and stays)
- Below waterfalls (plunge pools concentrate heavy material)
Matériaux pour cette étape :
 Gold Pan1 pc
 Gold Panning Kit1 kit
 Gold (Reference)1 référence
Outils nécessaires :
 Classifier/sieve (1/4 inch)
 Snuffer bottle or tweezers
 Glass vial
Collecting and Classifying Material
Collecting and Classifying Material
Sampling
- Dig material from bedrock level — gold works its way down through gravel over time. Surface gravel is mostly barren.
- Fill your classifier (sieve) with the excavated material and place it over your pan.
- Pour water through the classifier — fine material falls into the pan, large rocks stay in the classifier.
- Check the large rocks for visible gold before discarding. Gold sometimes lodges in rock crevices.
Quantity
Fill the pan ¾ full with classified material. Too full and you'll lose gold over the rim. Too little wastes time.
Matériaux pour cette étape :
Gold Pan1 pcGold (Reference)1 référenceGold Panning Kit1 kitThe Panning Technique
The Panning Technique
Step-by-Step Panning
- Submerge: Hold the pan underwater and break up any clay lumps with your fingers. Gold trapped in clay won't separate.
- Shake: While submerged, shake the pan vigorously side-to-side (NOT circular). This stratifies the material — heavy gold sinks, light sand rises.
- Tilt and wash: Tilt the pan slightly away from you. Gently swirl water across the surface, washing the lightest sand over the rim.
- Re-shake: Every 3-4 washes, level the pan and shake again to re-stratify.
- Reduce: Continue the wash-shake cycle until only heavy concentrates remain — black sand (magnetite) and hopefully gold.
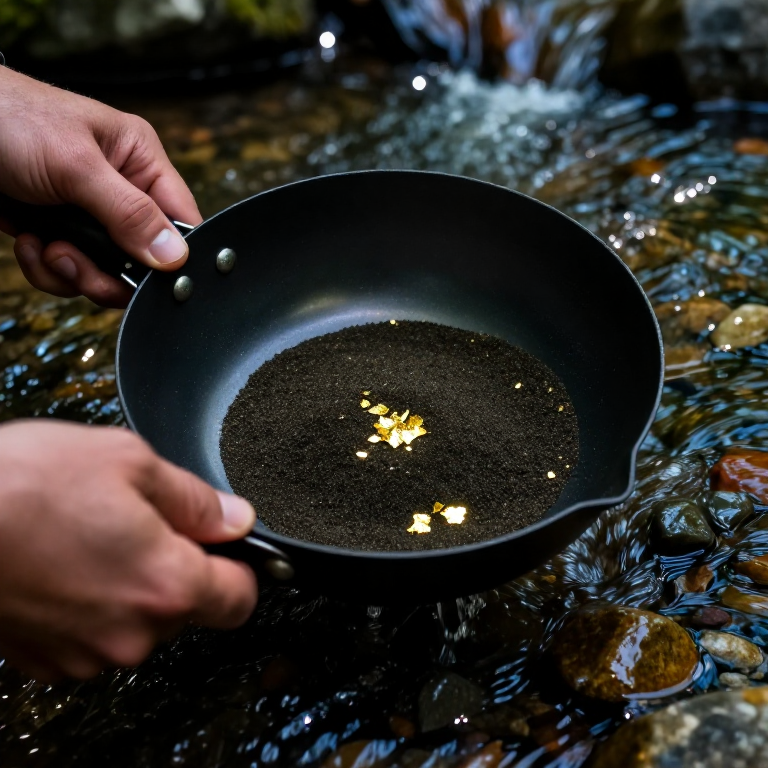
- Final check: Swirl a thin film of water across the remaining black sand. Gold appears as bright yellow flakes or specks against the dark background.
Common Mistakes
- Circular motion: Creates a vortex that lifts gold OUT of the pan. Always shake side-to-side.
- Rushing: Patience is everything. A proper pan takes 10-15 minutes.
- Shallow water: Always work with the pan submerged. Surface panning loses fine gold.
Matériaux pour cette étape :
Gold Pan1 pcGold Panning Kit1 kitGold (Reference)1 référenceRecovery and Assessment
Recovery and Assessment
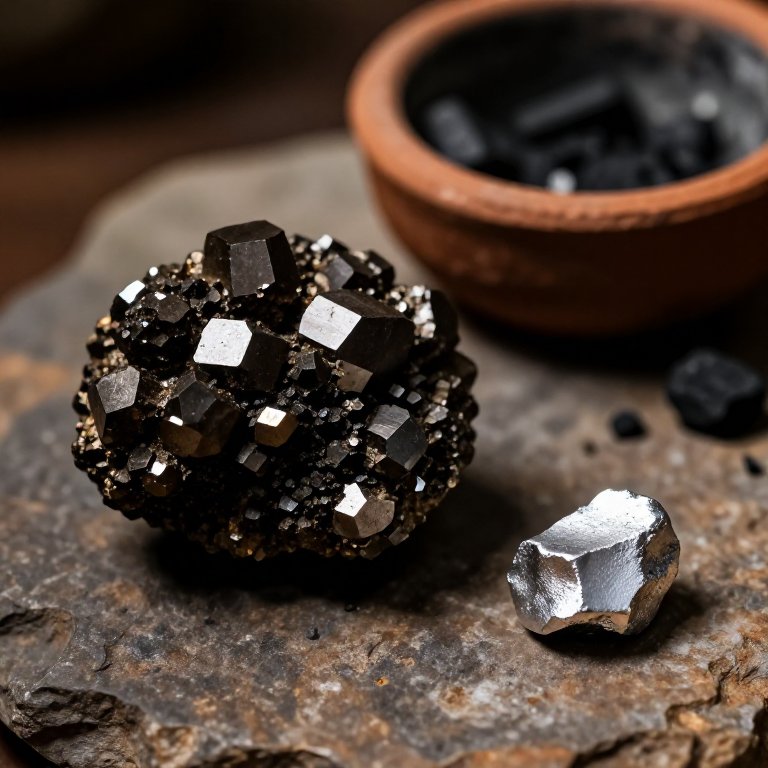
Identifying Real Gold
| Test | Gold | Fool's Gold (Pyrite) |
|---|---|---|
| Color | Bright yellow, same in shade/sun | Brassy, sparkling only in direct light |
| Shape | Rounded, flattened flakes (water-worn) | Angular, cubic crystals |
| Hardness | Soft — bends with fingernail | Hard — scratches metal |
| Streak | Yellow streak on ceramic | Black/green streak |
| Density | Stays at bottom through heavy agitation | Washes away with sand |
Recovery
Use a snuffer bottle (squeeze, touch to gold flake, release — suction picks it up) or wet tweezers. Transfer to a glass vial with a small amount of water.
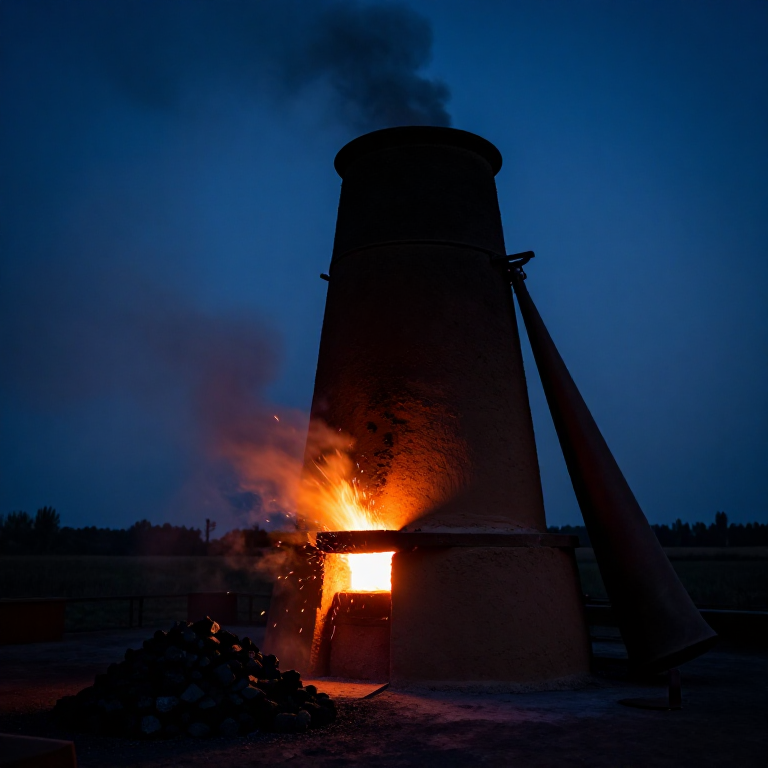
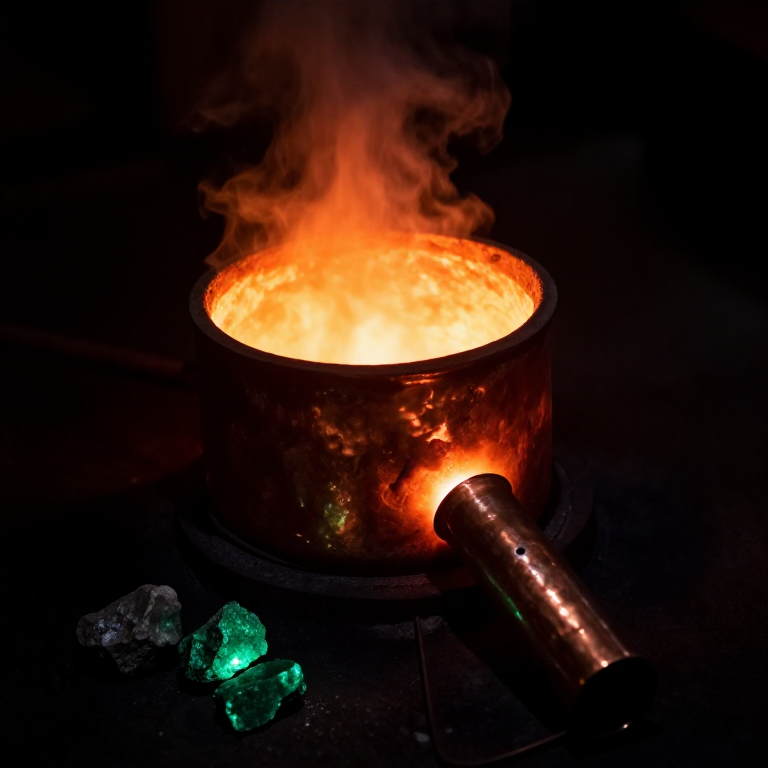
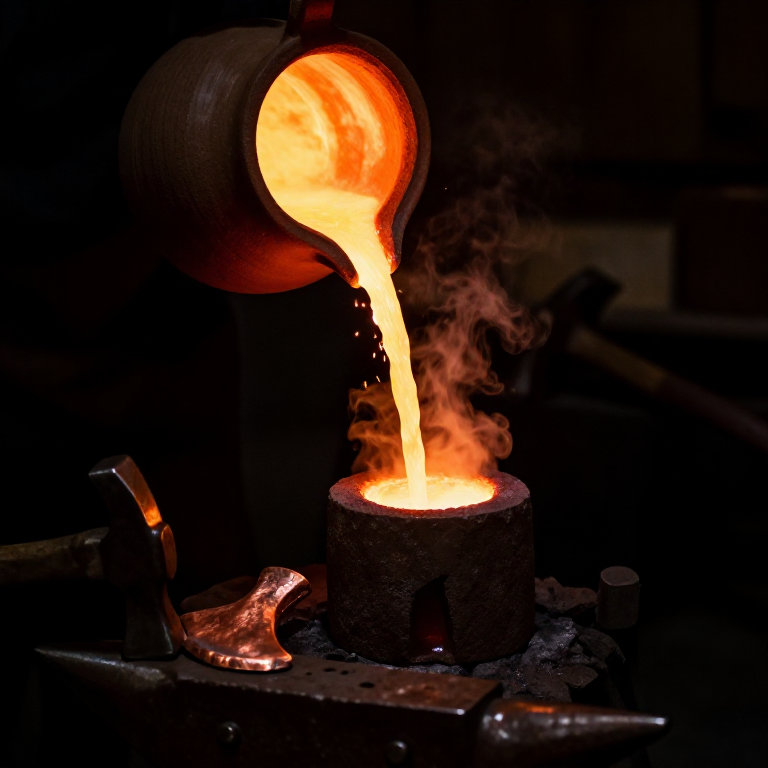
Innovation Connection
Gold panning shows that native metals exist — metals that occur pure in nature. This discovery (probably accidental) planted the seed: "if this shiny stuff comes from rocks, what else is hiding in rocks?" The answer required fire — and that leads to Blueprint: Smelting Copper from Malachite.
Matériaux pour cette étape :
Gold Pan1 pcGold Panning Kit1 kitGold (Reference)1 référenceMatériaux
3- 1 kitEspace réservé
Outils requis
3- Espace réservé
- Espace réservé
- Espace réservé
Related blueprints
Other builds that share materials, tools, or techniques with this one.

CC0 Domaine public
Ce blueprint est publié sous CC0. Vous êtes libre de copier, modifier, distribuer et utiliser ce travail pour tout usage, sans demander la permission.
Soutenez le Maker en achetant des produits via son Blueprint où il perçoit une Commission Maker définie par les Vendeurs, ou créez une nouvelle itération de ce Blueprint et incluez-le comme connexion dans votre propre Blueprint pour partager les revenus.