Collaboration
ART
BEAUTÉ ET BIEN-ÊTRE
ARTISANAT
CULTURE ET HISTOIRE
DIVERTISSEMENT
ENVIRONNEMENT
NOURRITURE ET BOISSONS
INGÉNIERIE INVERSE
SCIENCES
SPORTS
TECHNOLOGIE
TECHNOLOGIE PORTABLE
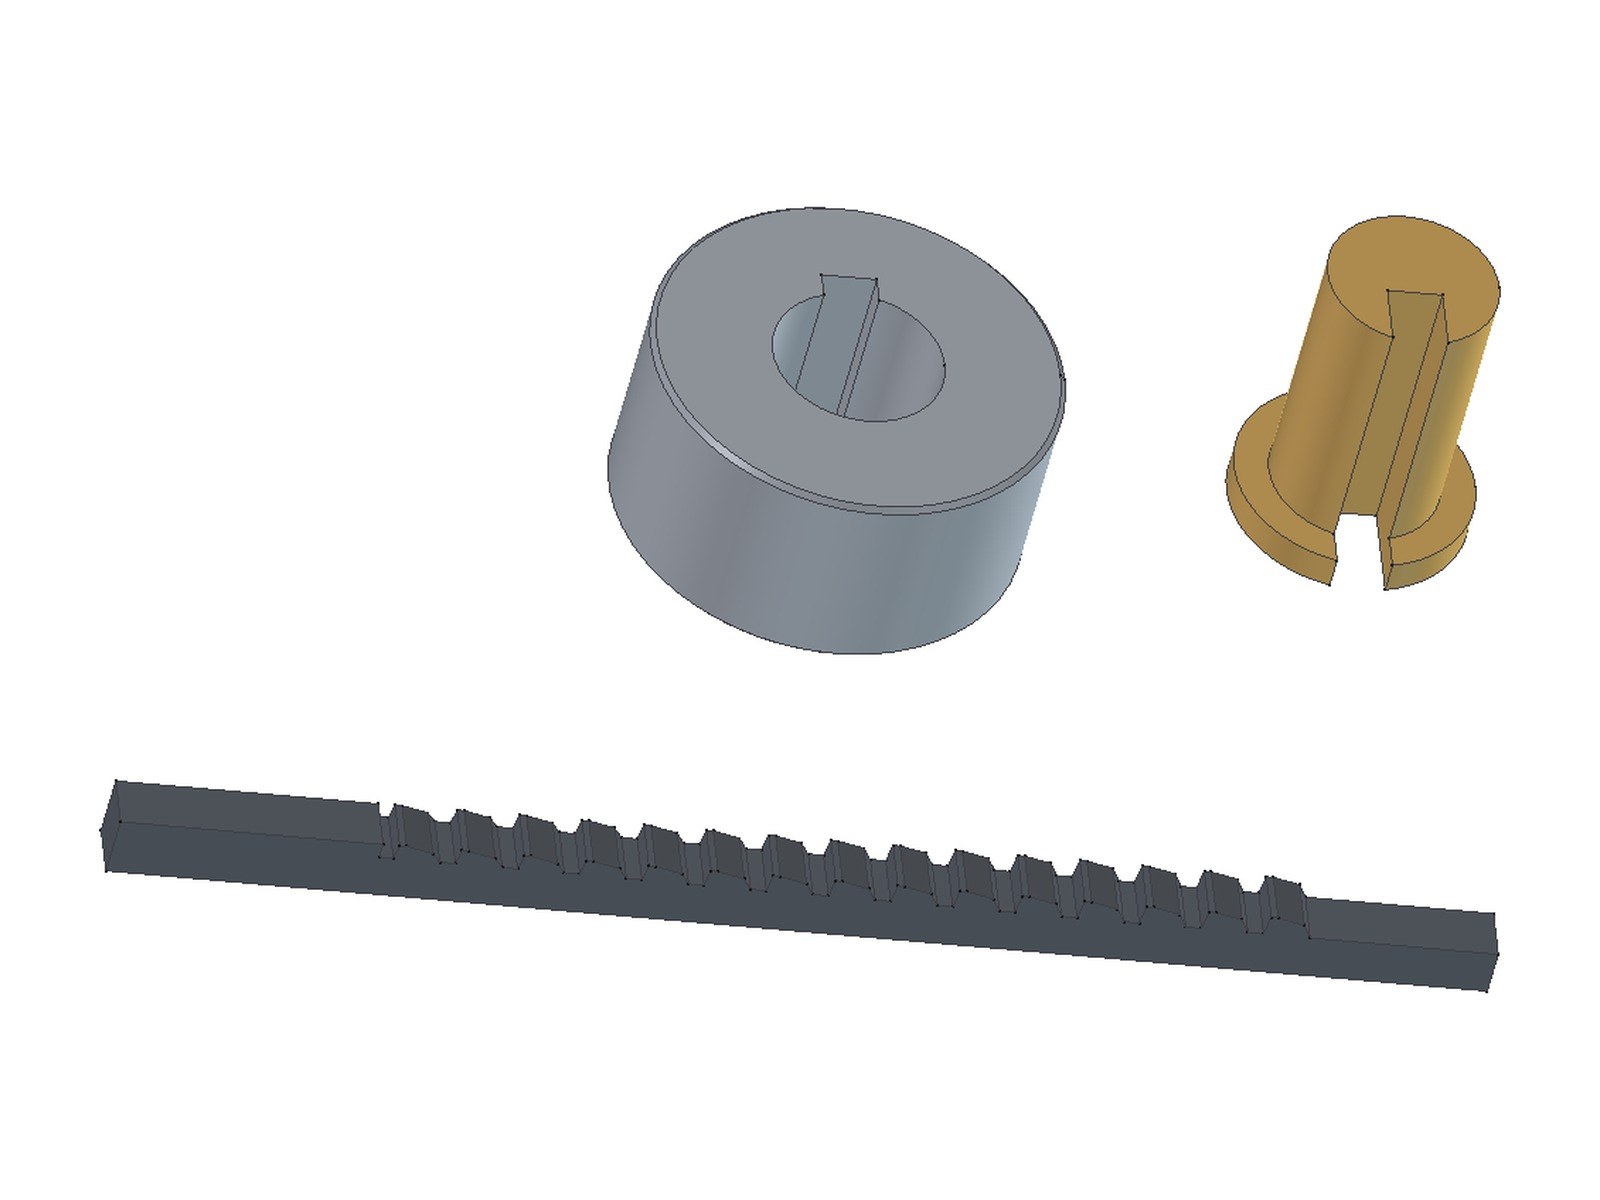


Keyway Broaching: Tooth Pitch, Rise per Tooth, Rake and Clearance by Metal and Hardness, Pushing Force
Cut a keyway in a bore with a keyway broach in an arbor press, and work out the broach criteria for your metal: tooth pitch and teeth in contact, rise per tooth and the number of teeth, rake and clearance by material and hardness, and the pushing force. Rules from Machinery's Handbook (1924), Hammond (1921), the US Navy and Metcut (1980).
Intermédiaire
About 1 hour per part
Consignes
1
1
How a keyway broach cuts
How a keyway broach cuts
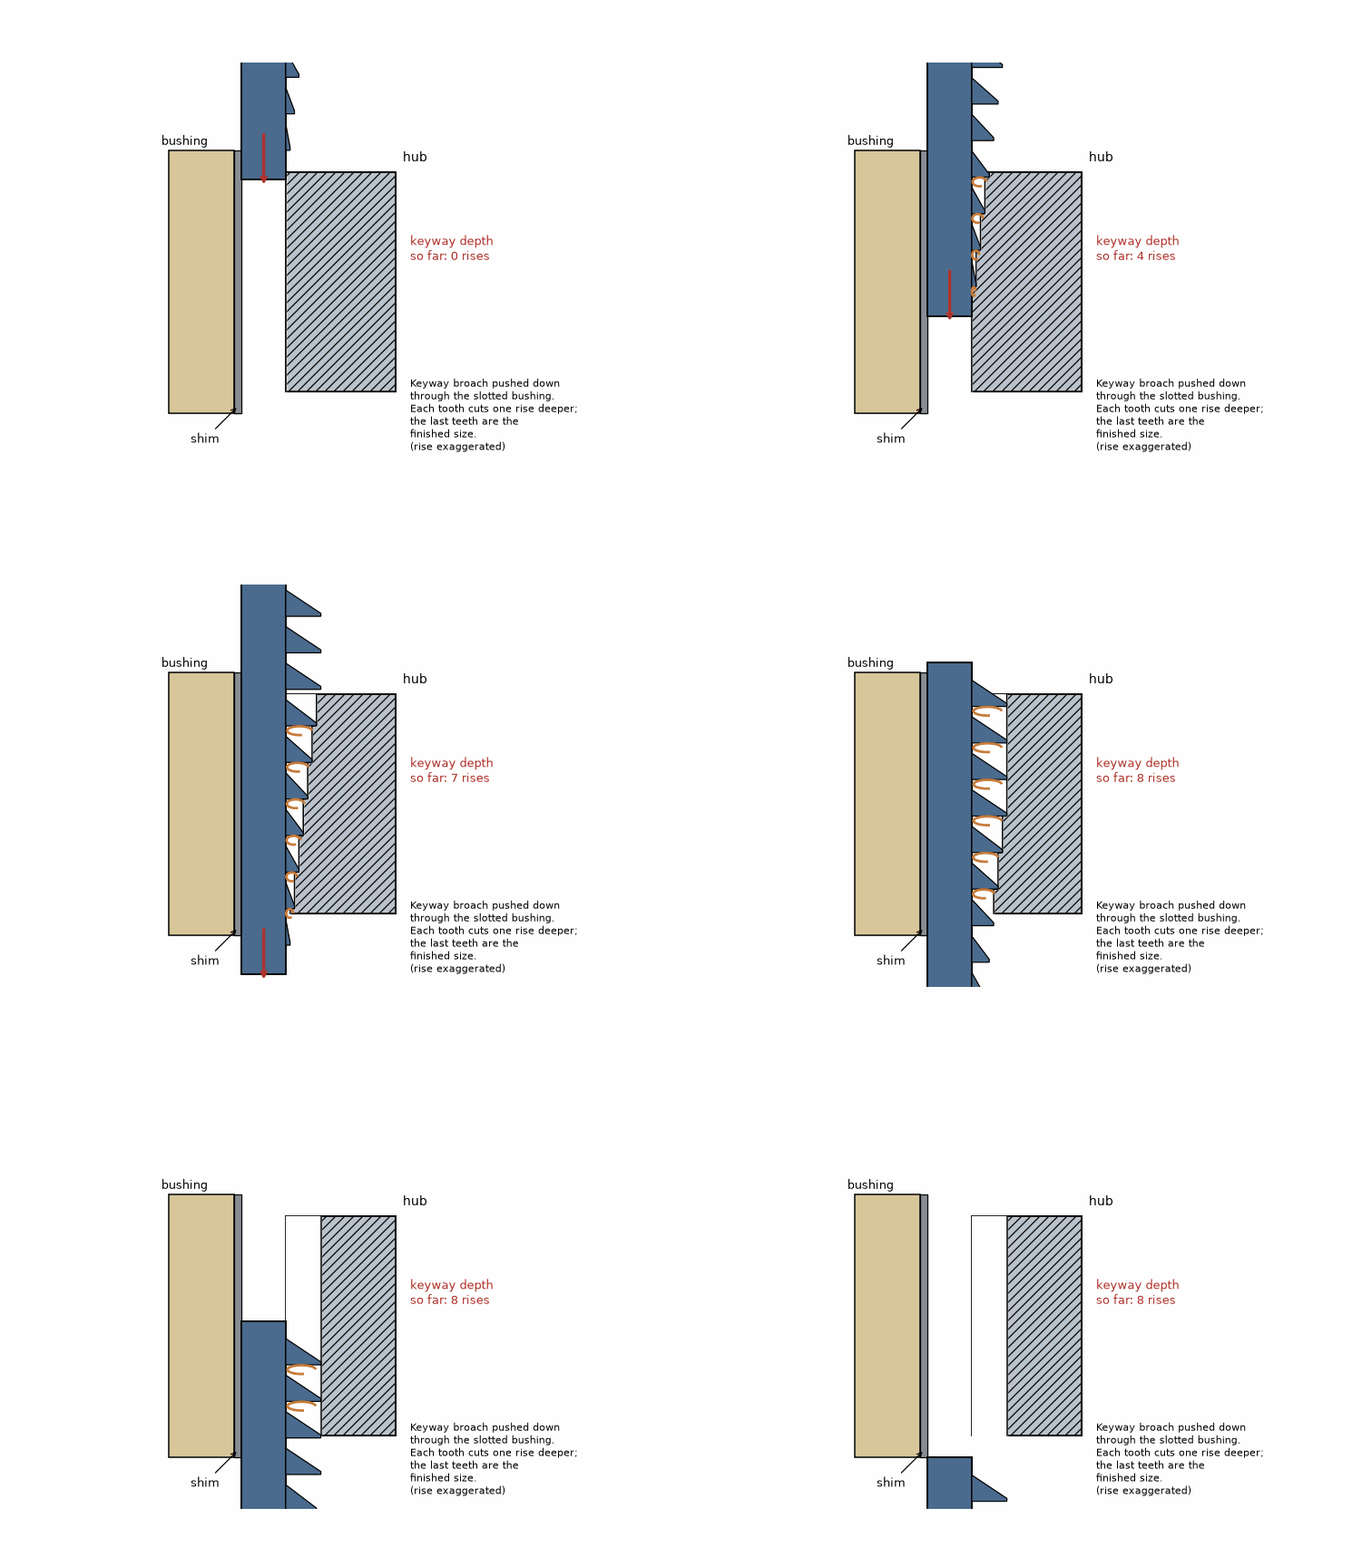
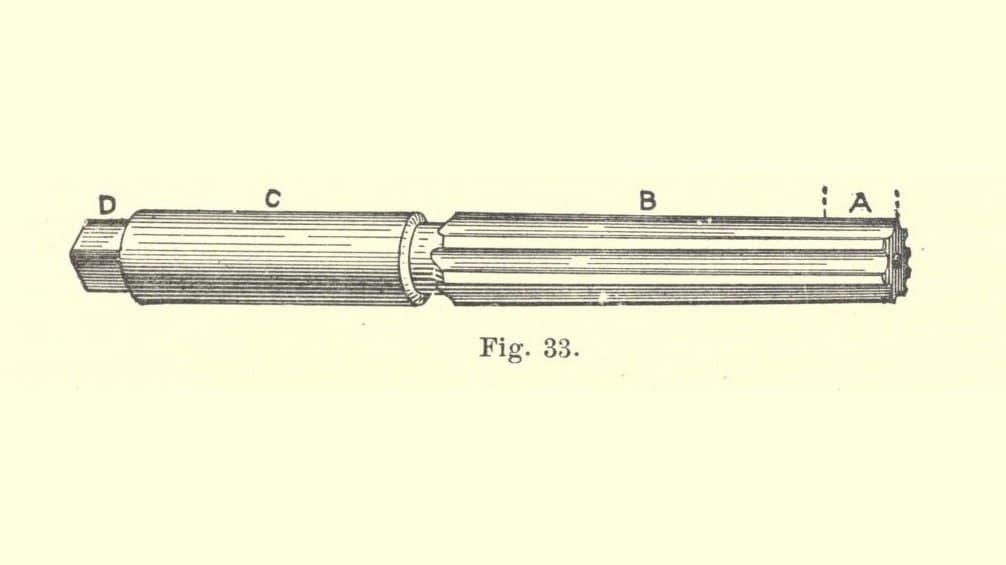
The broach slides through a slotted bushing in the bore. Each tooth stands a little higher than the one before (the rise), so each takes a thin chip and the keyway deepens tooth by tooth; the last teeth are the finished size and only clean up. Shims behind the broach set the depth for the next pass. Our animation; the rise is exaggerated.
2
2
Tooth pitch and teeth in contact
Tooth pitch and teeth in contact
Chargement du notebook Jupyter…
3
3
Rise per tooth by metal
Rise per tooth by metal
Chargement du notebook Jupyter…
4
4
Rake and clearance by hardness
Rake and clearance by hardness
Chargement du notebook Jupyter…
5
5
Pushing force (estimate)
Pushing force (estimate)
Chargement du notebook Jupyter…
6
6
Check the work hardness
Check the work hardness
Test the hub. Metcut's angles are by Brinell. For steel Hammond wants scleroscope 32-40: softer tears, harder "will rapidly destroy the broaches". He gives no Brinell or Rockwell figure; convert with a standard table (ASTM E140) if you test in Rockwell.
Outils nécessaires :
 Duromètre Rockwell
7
7
Bore and bushing
Bore and bushing
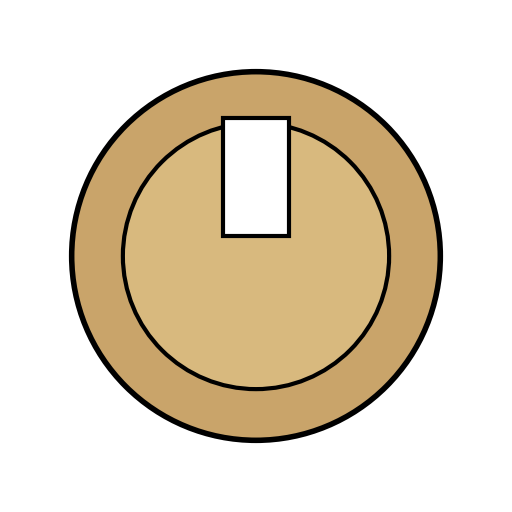
The bore must be to size: the broach's pilot should enter freely but not let the broach drop past the first tooth. Fit the bushing snug in the bore, slot where the keyway goes.
Matériaux pour cette étape :
 Ébauche de moyeu alésée1 pièce
Outils nécessaires :
 Douille de guidage pour broche à rainure de clavette
 Pied à coulisse
8
8
Set up in the press
Set up in the press
Set hub, bushing and broach square under the arbor press, rigid and true. Oil the broach: broaching oil is best; lard or soluble oil will help.
Outils nécessaires :
 Presse d'établi à levier
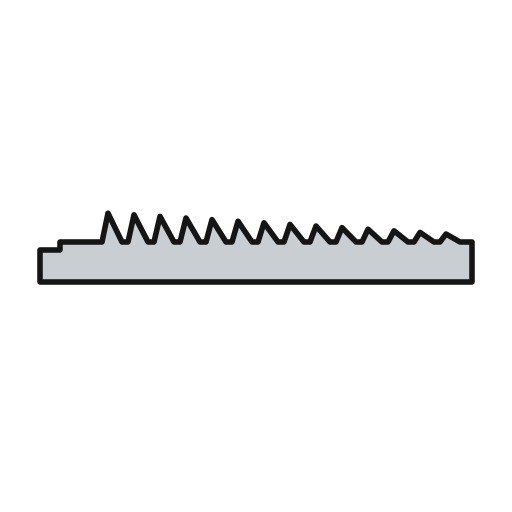 Broche à rainure de clavette
 Huile de coupe
9
9
Push it through
Push it through
Push with slow, even pressure. Never bring the broach back up through the hole: push it on through and catch it on a soft cushion.
Outils nécessaires :
Presse d'établi à levier Tissu de coton
10
10
Shim and repeat
Shim and repeat
Put the next shim behind the broach to set the next depth, oil, and push through again. Repeat until the keyway is deep enough.
Outils nécessaires :
 Cale de brocheHuile de coupe
11
11
Measure the keyway
Measure the keyway
Check the width and the depth from the opposite side of the bore.
Outils nécessaires :
Pied à coulisse Micromètre
12
12
Troubleshooting
Troubleshooting
Broaching problems and fixes.
Flow
Loading...
13
13
Sources and honest limits
Sources and honest limits
*Machinery's Handbook* 6th ed. (1924) pp. 1135-1137 (first printed in Jones, *Broaching*, 1914); Hammond, *Broaching Practice* (1921) pp. 6, 7, 44; US Navy, *Machinery Repairman 3 & 2* (1990) p. 3-24; Metcut, *Machining Data Handbook* 3rd ed. (1980) Table 15.16 and pp. 17-8 to 17-20, © Metcut, cited. Not in any source we could read: cutting speed by hardness (Hammond gives 5-6 ft/min for 1921 carbon-steel broaches) and a Brinell or Rockwell limit. The force formula is our derivation. Ours: the animation, the example sizes.
Matériaux
1- 1 pièceEspace réservé
Outils requis
9- Espace réservé
- Espace réservé
- Espace réservé
- Espace réservé
- Espace réservé
- Espace réservé
- Espace réservé
- Espace réservé
- Espace réservé
Ce plan fabrique
Blueprints liés
Ces blueprints partagent des connaissances — techniques, matériaux ou principes
CC0 Domaine public
Ce blueprint est publié sous CC0. Vous êtes libre de copier, modifier, distribuer et utiliser ce travail pour tout usage, sans demander la permission.
Soutenez le Maker en achetant des produits via son Blueprint où il perçoit une Commission Maker définie par les Vendeurs, ou créez une nouvelle itération de ce Blueprint et incluez-le comme connexion dans votre propre Blueprint pour partager les revenus.