
Collaboration
ART
BEAUTÉ ET BIEN-ÊTRE
ARTISANAT
CULTURE ET HISTOIRE
DIVERTISSEMENT
ENVIRONNEMENT
NOURRITURE ET BOISSONS
INGÉNIERIE INVERSE
SCIENCES
SPORTS
TECHNOLOGIE
TECHNOLOGIE PORTABLE
Wellington Boot Leg: Drafted, Lined and Closed With a Welt in the Side Seams (Leno, 1885)
Tex

Créé par

Tex

13. novembre 2026FO
11
0
0
0
0

Wellington Boot Leg: Drafted, Lined and Closed With a Welt in the Side Seams (Leno, 1885)

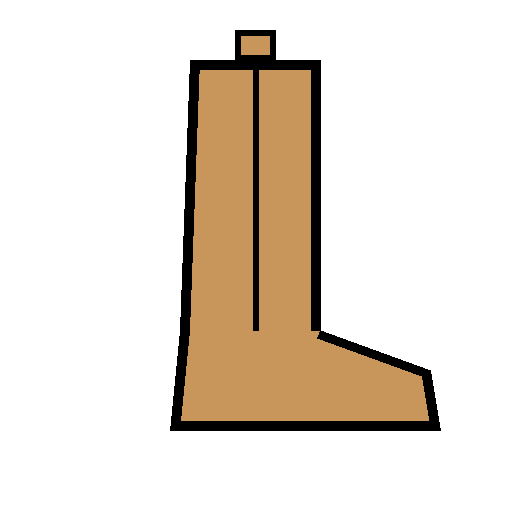
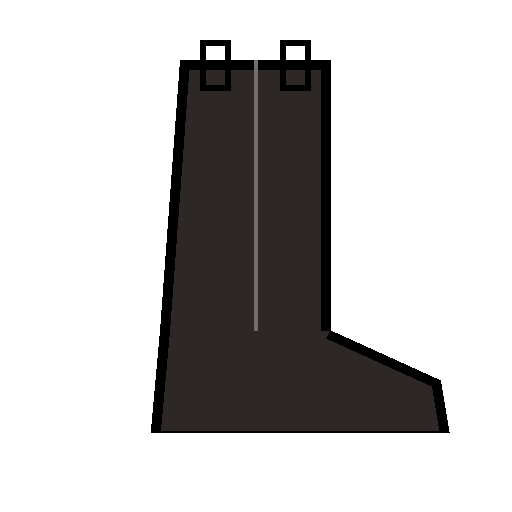
The Wellington, a tall pull-on boot with a seam down each side, is the ancestor of the cowboy boot. From John Bedford Leno's The Art of Boot and Shoemaking (1885): how to draft the front and back from the customer's measures, line them, put on the counter, close the side seams with a leather welt in the clams, and finish the leg with its pull-on straps. "As it was cut at the time of its introduction, so it is cut now." This makes the upper; lasting and soling it into a boot are the next blueprints.
Avancé
About 2 days

Consignes

1

The draft marks

Chargement du notebook Jupyter…
2

Read The Art of Boot and Shoemaking, ch. IX

"As a rule the form and cut of the majority of boots and shoes undergo considerable variations. No such change has characterized the history of the Wellington."
3

Draft the front and back

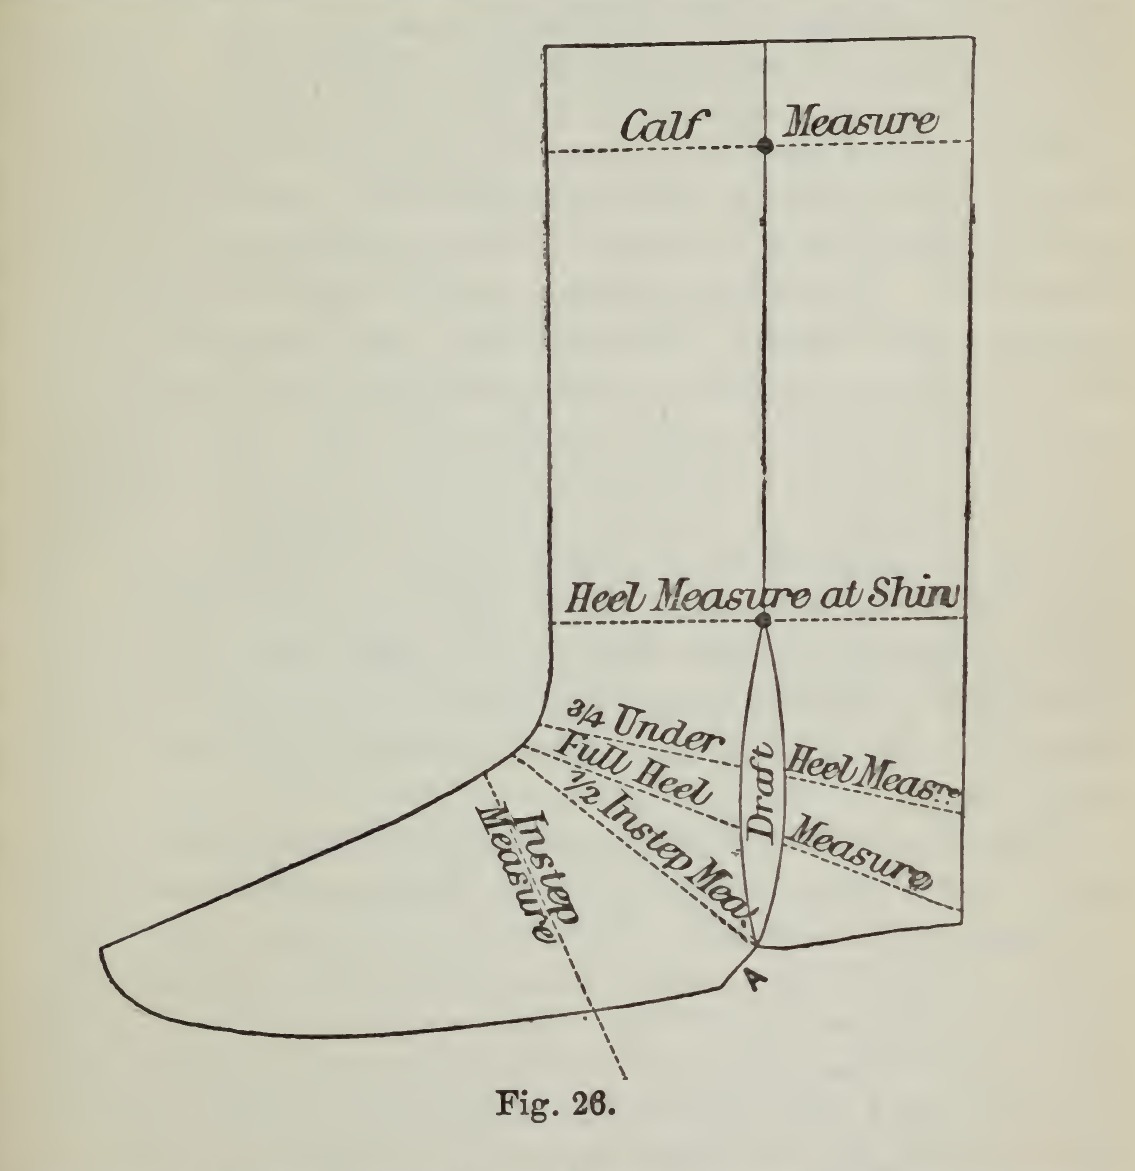
Cut the back at the bottom of the counter so the cut slopes up a quarter of an inch from the bottom of the draft, as his Fig. 26. Put front and back together as they will be when closed, front over back. Measure the calf and pierce through both with the awl at the centre of the measure; measure the shin, which should equal the heel measure, and pierce at its centre. Cut the front of the leg along a straight-edge through the awl marks, then the back the same way. Cut the corner off the front at A, at the bottom of the side seam, half the measure of instep.

Matériaux pour cette étape :

Cuir de veauCuir de veau1 pièce

Outils nécessaires :

Mètre rubanMètre ruban
AlêneAlêne
Règle de contrôleRègle de contrôle
Couteau à cuirCouteau à cuir
4

Cut the draft

Mark the side half the depth of instep for the top of the draft. Overlap and measure at the top of the counter, three quarters of an inch less than the heel measure, and pierce at the centre. Measure from the throat to a quarter of an inch from the bottom of the counter for the full heel measure and pierce at half that distance. Cut the back from the top-draft mark in a semi-oval to the bottom of the counter, and the front the same, using the back as a guide. With the last laid on them, cut away the surplus round the bottom of the front, leaving half an inch to be sewn away. Cut the top lining and side linings and shape the counter to the back.

Matériaux pour cette étape :

Cuir de veauCuir de veau1 pièce

Outils nécessaires :

Mètre rubanMètre ruban
AlêneAlêne
Couteau à cuirCouteau à cuir
5

Fit and paste the linings

Fit the side linings on the board held on your knees, then cut and skive them thin at the edges. If the front is brittle or harsh in the grain, rub it soft. Scrape the dirt off the grain on the vamp side with a blunt knife and paste the linings on. If front or back are light, paste strips of roan from the joint of the linings along their inside edges, the back's running from just below the counter up to the top lining.

Matériaux pour cette étape :

Cuir de veauCuir de veau1 pièce
Basane teinte (roan)Basane teinte (roan)1 pièce
Colle de pâte de bléColle de pâte de blé1 pièce

Outils nécessaires :

Planche de pinPlanche de pin
Couteau à cuirCouteau à cuir
Couteau à parer le cuirCouteau à parer le cuir
6

Fit the counter

Choose a counter that needs no stiffener; if it is light, put a stiffener between counter and back. Skive the counter thin and let it run over to the front, where it is held by a row or rows of stabbing, "commended for the support it gives to the boot". Fit the legs and, when the paste is dry, line the front.

Matériaux pour cette étape :

Cuir de veauCuir de veau1 pièce
Colle de pâte de bléColle de pâte de blé1 pièce

Outils nécessaires :

Couteau à parer le cuirCouteau à parer le cuir
Couteau à cuirCouteau à cuir
7

Whip the side linings and stitch the counter

Whip or hem the side linings on with awl or needle, leaving no thread marks outside, and not below the joints of the foot. The awl should have no thickness behind its point, no keenness at the side, and be slightly hooked. Stitch the counter on, with the two back counter rows holding counter and stiffener. Mark the holes with the pricker, teeth smooth, struck evenly.

Matériaux pour cette étape :

Fil de linFil de lin1 pièce

Outils nécessaires :

AlêneAlêne

Deux aiguilles de sellierDeux aiguilles de sellier
Griffe à frapperGriffe à frapper
8

Close the side seams

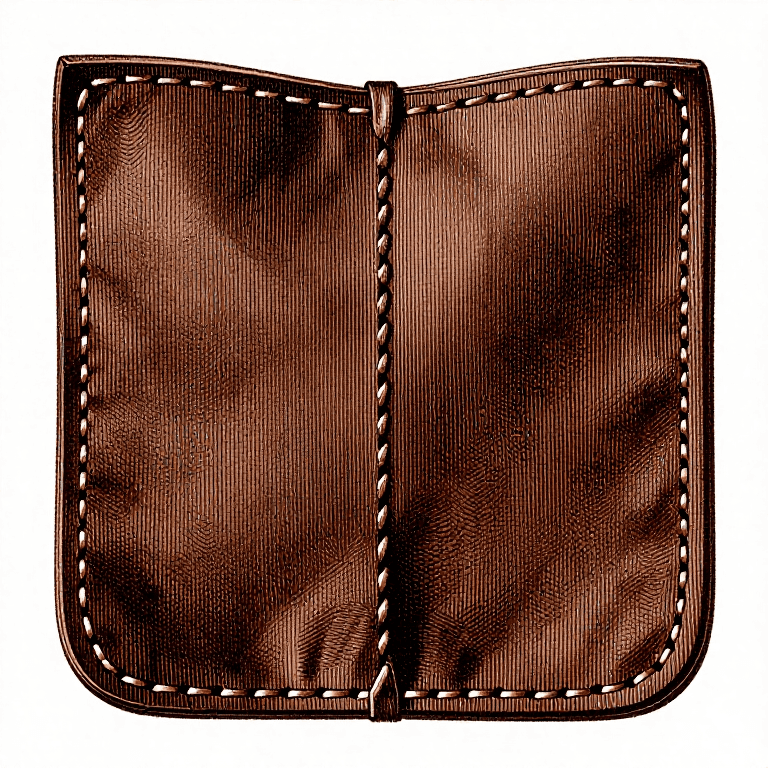
With flax thread suited to the leather, put the back in the clams grain side out, top toward you, the front held the same on the left side, and the small strip of leather that forms the welt between them; close up the sides. Keep the stitches regular and an equal distance from the edges; too many stitches weaken the upper. Insert the closer's block, wet the seam slightly and rub it smooth with the long stick.

Matériaux pour cette étape :

Fil de linFil de lin1 pièce
Cuir de veauCuir de veau1 pièce
EauEau1 pièce

Outils nécessaires :

Pince de piqueuse en boisPince de piqueuse en bois
AlêneAlêne
Deux aiguilles de sellierDeux aiguilles de sellier
Forme de piqueuseForme de piqueuse
Lissoir à couturesLissoir à coutures
9

Line the top and turn the leg

Cut the top lining to the size of the leg and whip it on front and back. Turn the boot, put the block in again and make the seam flat. Take the surplus of the welt away with the welt-cutter, carefully, "or the upper may suffer considerable damage", and set the welt up with the welt-setter.

Matériaux pour cette étape :

Cuir de veauCuir de veau1 pièce
Fil de linFil de lin1 pièce

Outils nécessaires :

Deux aiguilles de sellierDeux aiguilles de sellier
Forme de piqueuseForme de piqueuse
Coupe-trépointeCoupe-trépointe
Pose-trépointePose-trépointe
10

Put in the straps and finish

Cut a slit in the top lining and insert the straps. Put the boot on the tree and leave it until dry; then stab the top and straps. Set up the welt with a solution of gum arabic and ink or water.

Matériaux pour cette étape :

Cuir de veauCuir de veau1 pièce
Fil de linFil de lin1 pièce
Gomme arabiqueGomme arabique1 pièce
Encre de ChineEncre de Chine1 pièce

Outils nécessaires :

CiseauxCiseaux
Embauchoir de botteEmbauchoir de botte
AlêneAlêne
Deux aiguilles de sellierDeux aiguilles de sellier
Pose-trépointePose-trépointe
11

Troubleshooting

Wellington leg troubleshooting.

Flow

Loading...
12

History and honest limits

From **The Art of Boot and Shoemaking** by John Bedford Leno, Crosby Lockwood, London, 1885 (archive.org artofbootshoemak00leno, an 1889 printing), chapter IX, "Fitting and Closing", pp. 66-69: "The Light Wellington" and "How to Cut and Draft a Wellington". For a stout Wellington he grooves the edges with the closer's plough; that tool is not used here. He names no leather for side linings or counter; calf is ours. The metric figures are ours. This blueprint makes the leg (the upper); lasting, welting, soling and heeling it are the next blueprints.

Matériaux

7

Outils requis

15

Blueprints liés

Ces blueprints partagent des connaissances — techniques, matériaux ou principes
CC0 Domaine public

Ce blueprint est publié sous CC0. Vous êtes libre de copier, modifier, distribuer et utiliser ce travail pour tout usage, sans demander la permission.

Soutenez le Maker en achetant des produits via son Blueprint où il perçoit une Commission Maker définie par les Vendeurs, ou créez une nouvelle itération de ce Blueprint et incluez-le comme connexion dans votre propre Blueprint pour partager les revenus.

Commentaires

(0)

Se connecter pour participer à la discussion

Chargement des commentaires...