Collaboration
ART
BEAUTÉ ET BIEN-ÊTRE
ARTISANAT
CULTURE ET HISTOIRE
DIVERTISSEMENT
ENVIRONNEMENT
NOURRITURE ET BOISSONS
INGÉNIERIE INVERSE
SCIENCES
SPORTS
TECHNOLOGIE
TECHNOLOGIE PORTABLE
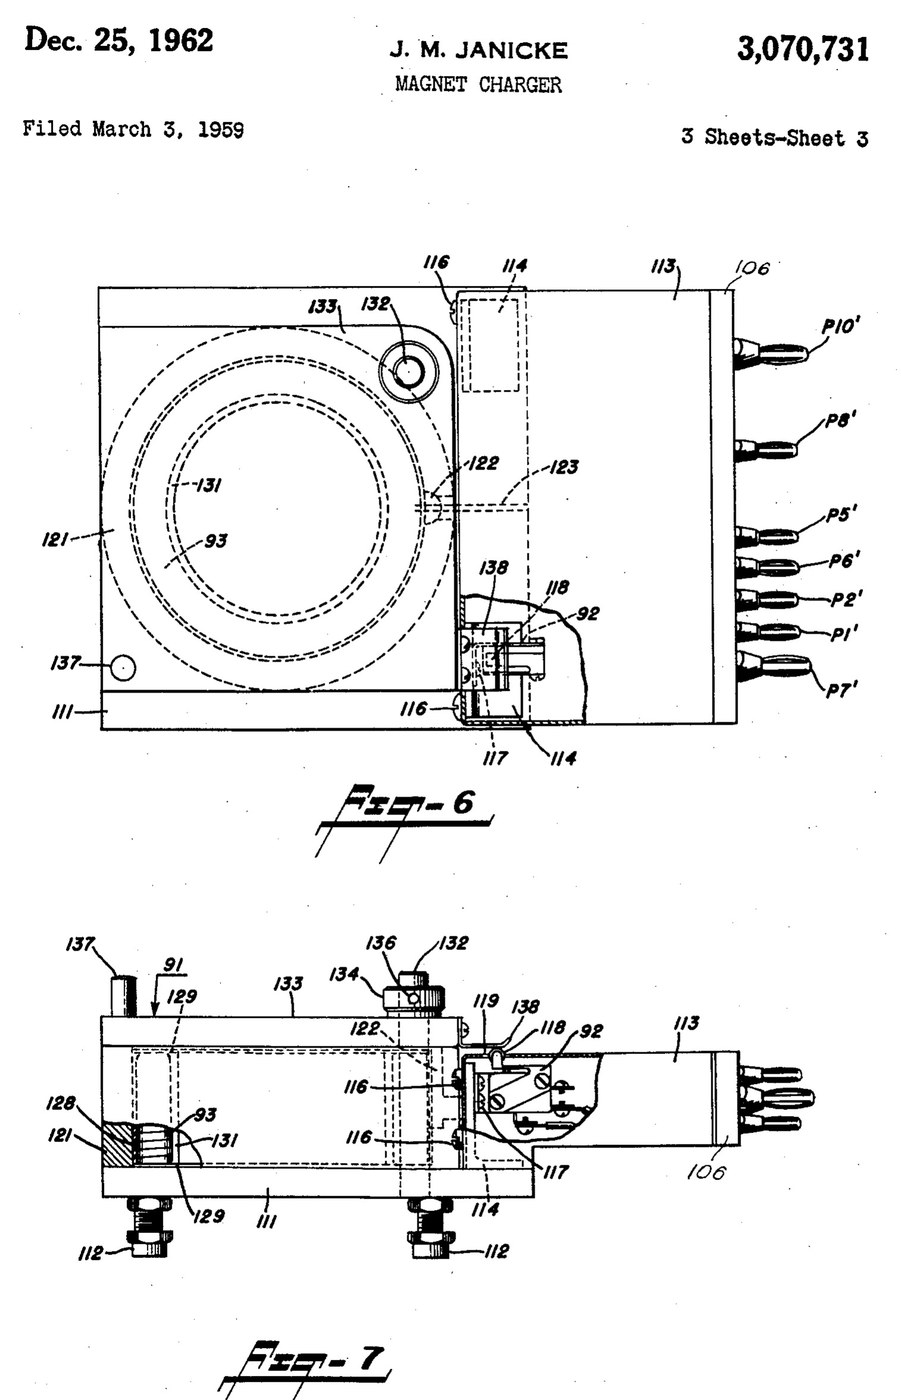


Magnetiser: Capacitor-Discharge Magnet Charger with a Wire-Wound Fixture (Janicke, US 3,070,731, 1962)
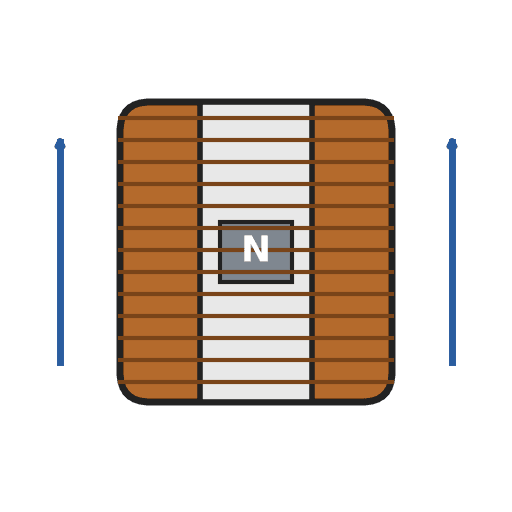
An impulse magnetiser. A capacitor is charged to a high voltage, then an ignitron dumps it all at once through a coil. The magnet sits inside the coil in a closed steel pot, so almost all of the flux goes through it.
Result: a magnet charger that magnetises rods, bars and blocks in one pulse, with an interlocked lid.
Source: J. M. Janicke, US 3,070,731 (1962). Unknown: voltages, capacitance, coil windings, field strength and sizes. Picture: the patent drawing.
Expert
Unknown
Consignes
1
1
Build the charging supply
Build the charging supply
Feed a line switch from the mains through two fuses, with a pilot lamp. Wire a high-voltage transformer with two primaries, which a high-low switch puts in series or in parallel. Run its centre-tapped secondary to two mercury-vapour rectifier tubes, "or the like", with their own filament transformer, so they charge the energy-storage capacitor. A charging on-off switch with a red lamp switches the high-voltage side. A meter with multiplier resistors across the capacitor shows its voltage. Ours: toggle switches, neon lamps, a moving-coil meter. Not given: any voltage or value.
Matériaux pour cette étape :
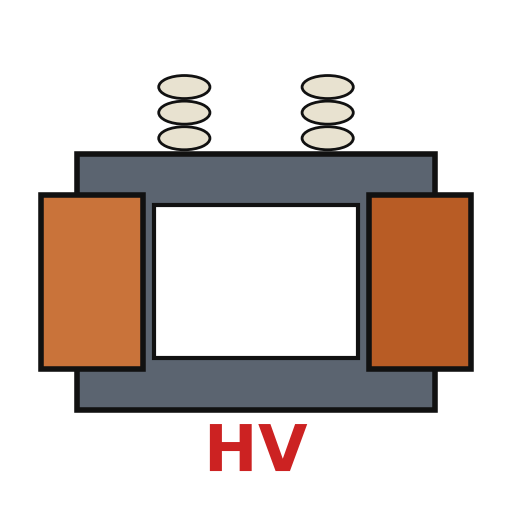 Transformateur haute tension1 high-voltage transformer
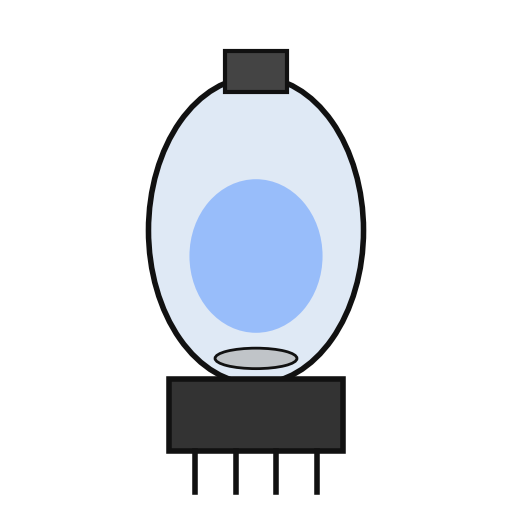 Tube redresseur à vapeur de mercure2 rectifier tubes
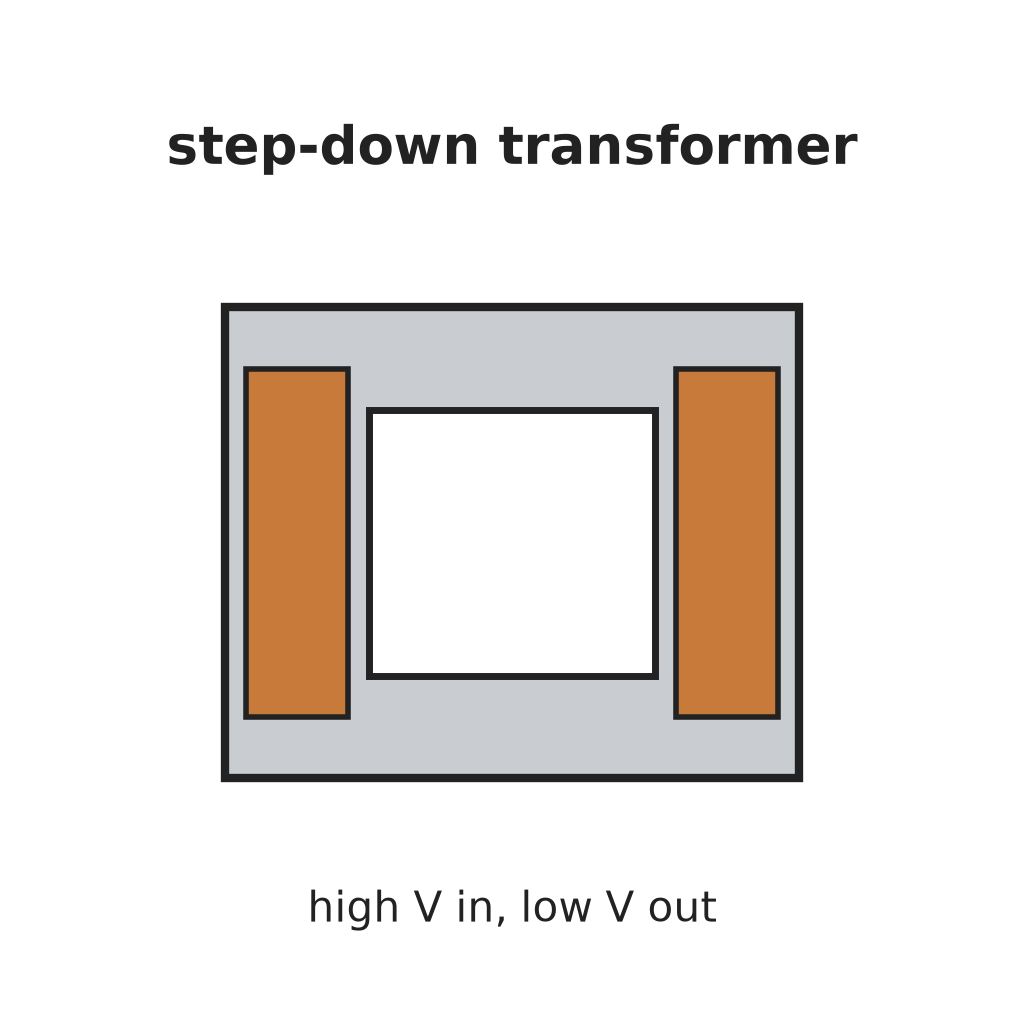 Transformateur abaisseur1 filament transformer
 Condensateur de stockage d'énergie1 storage capacitor
 Appareil de tableau à cadre mobile1 voltage meter
 Résistance inconnue2 meter multipliers
 Interrupteur à levier3 line, charging and high-low switches
 Fusible2 fuses
 Lampe témoin au néon2 pilot and red lamps
Outils nécessaires :
 Fer à souder
 Pince à dénuder
2
2
Add the delay and the bleeder
Add the delay and the bleeder
Put a thermal time-delay relay before the charging switch: about thirty seconds after switch-on it energises a control relay, which feeds the charging switch and holds itself on. A third contact of the control relay lifts a bleeder resistor off the capacitor while the charger runs. When the charger is shut down the relay drops out and the bleeder drains the dangerous high-voltage charge from the capacitor.
Matériaux pour cette étape :
 Relais temporisé1 thermal delay relay
 Relais1 control relay, three contact setsRésistance inconnue1 bleeder resistor
Outils nécessaires :
Fer à souderPince à dénuder3
3
Fit the ignitron firing circuit
Fit the ignitron firing circuit
Put an ignitron in the discharge path of the storage capacitor, as its switch. The meter's multiplier resistors also form a divider that charges a small firing capacitor. Pressing the push button discharges the firing capacitor through a small limiting resistor into the ignitron's igniter, and the ignitron conducts. Not given: the firing capacitor's type and value.
Matériaux pour cette étape :
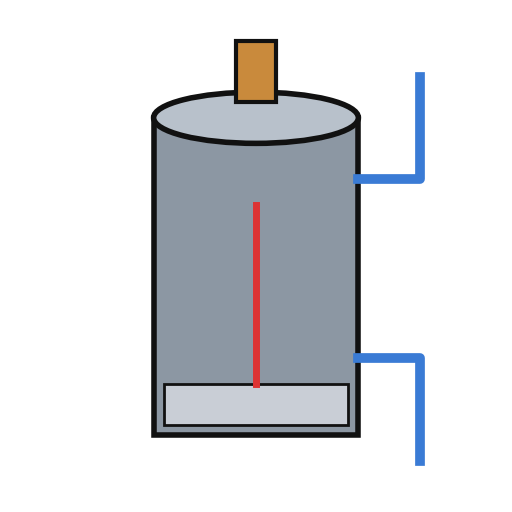 Ignitron1 discharge switch
 Matériau inconnu1 firing capacitorRésistance inconnue1 limiting resistor
 Bouton-poussoir1 charge button
Outils nécessaires :
Fer à souderPince à dénuder4
4
Build the wire-wound fixture
Build the wire-wound fixture
Weld a hollow cylindrical shell onto a base plate on levelling legs, both of magnetic material, to make a pot. Cut slots through the shell and the base plate so they cannot act as a shorted single-turn winding. Set the coil inside the shell in potting compound, with ring-shaped end pieces and a hollow cylindrical core in it. Hinge a square magnetic cover on a post beside the shell, held by a collar and set screw, with a handle. An L-shaped plate on the cover closes a switch in the igniter circuit only when the cover is shut. Wire the coil between the storage capacitor and the ignitron anode. Ours: mild steel, enamelled copper wire, casting epoxy. Not given: sizes, turns.
Matériaux pour cette étape :
 Plaque d'acier doux1 base plate and cover
 Tube rond en acier doux1 shell
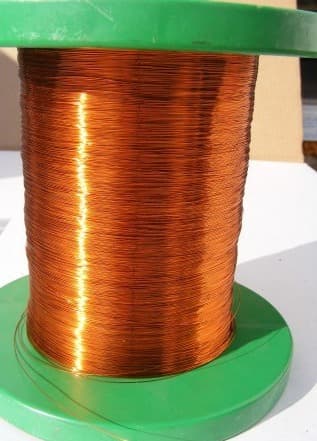
 Fil de cuivre émaillé1 coil
 Résine époxy noire de coulée1 potting compound
 Métal inconnu1 end pieces, core, post, legs
 Microrupteur (à levier)1 lid interlock switch
Outils nécessaires :
 Poste à souder à l'arc
 Perceuse à colonne
 Jeu de tournevis
 Dimensions inconnues
5
5
Charge a magnet
Charge a magnet
Put the magnet inside the core. Fill most of the air gap between it and the base plate and cover with soft iron, but leave a small gap near the cover, or the cover will be hard to swing open afterwards. Lay insulating material about 1/16 inch thick on top of the magnet. Close the cover, which arms the igniter switch, charge the capacitor, and press the button: one pulse magnetises it. Ours: wrought iron for the soft iron.
Outils nécessaires :
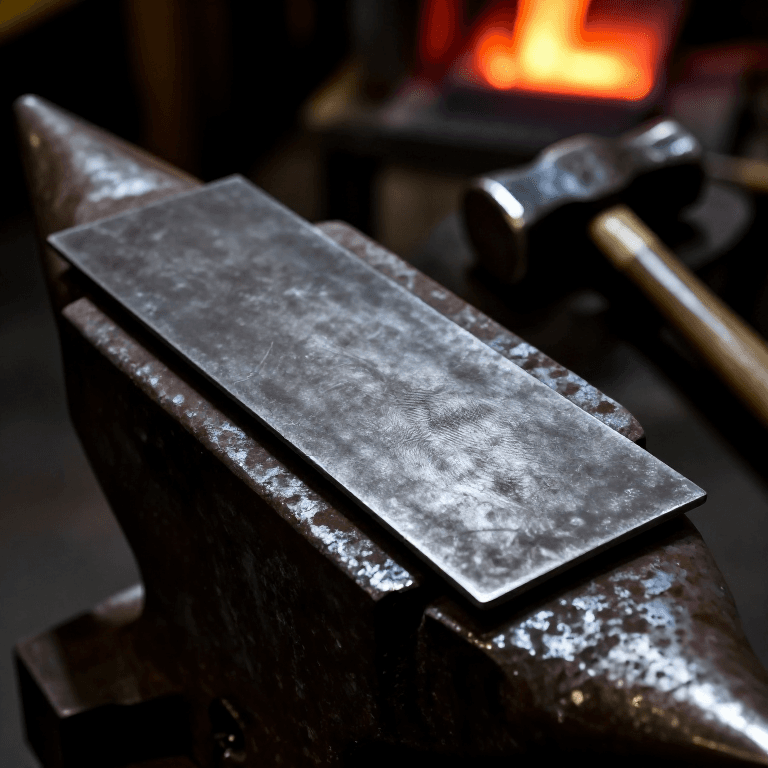
 Barre de fer forgé
 Isolant inconnu
Matériaux
20- 1 high-voltage transformerEspace réservé
- 2 rectifier tubesEspace réservé
- 1 filament transformerEspace réservé
- 1 storage capacitorEspace réservé
- 1 voltage meterEspace réservé
- 1 limiting resistorEspace réservé
- Espace réservé
- 2 fusesEspace réservé
- 2 pilot and red lampsEspace réservé
- 1 thermal delay relayEspace réservé
- 1 control relay, three contact setsEspace réservé
- 1 discharge switchEspace réservé
- 1 firing capacitorEspace réservé
- Espace réservé
- 1 base plate and coverEspace réservé
- 1 shellEspace réservé
- 1 coilEspace réservé
- 1 potting compoundEspace réservé
- 1 end pieces, core, post, legsEspace réservé
- 1 lid interlock switchEspace réservé
Outils requis
8- 2 vendors sell this, none ship to you yetEspace réservé
- Espace réservé
- Espace réservé
- Espace réservé
- Espace réservé
- Espace réservé
- Espace réservé
- Espace réservé
Matériaux des Blueprints connectés


Ce plan fabrique
CC0 Domaine public
Ce blueprint est publié sous CC0. Vous êtes libre de copier, modifier, distribuer et utiliser ce travail pour tout usage, sans demander la permission.
Soutenez le Maker en achetant des produits via son Blueprint où il perçoit une Commission Maker définie par les Vendeurs, ou créez une nouvelle itération de ce Blueprint et incluez-le comme connexion dans votre propre Blueprint pour partager les revenus.