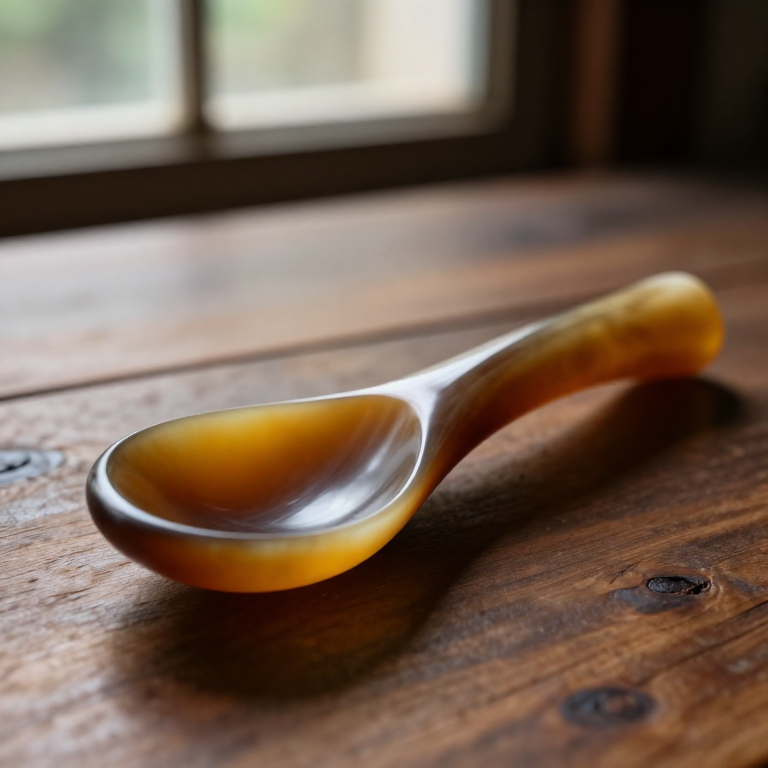

Making a Horn Spoon — Shaping Cattle Horn with Heat and Pressure
Consignes
Choose and saw a horn section
Choose and saw a horn section
Matériaux pour cette étape :
 Corne de bovin1 pièce
Outils nécessaires :
 Scie égoïne
Scrape and clean the horn
Scrape and clean the horn
Matériaux pour cette étape :
Corne de bovin1 pièceOutils nécessaires :
 Couteau
Boil the horn until soft
Boil the horn until soft
Matériaux pour cette étape :
 Eau4 litresCorne de bovin1 pièce
Outils nécessaires :
 Grand chaudron en métal
Slit and open the horn flat
Slit and open the horn flat
Outils nécessaires :
CouteauPress the sheet flat and let it set
Press the sheet flat and let it set
Outils nécessaires :
 Étau d'établi
Mark out the spoon blank
Mark out the spoon blank
Outils nécessaires :
CouteauCut out the blank
Cut out the blank
Outils nécessaires :
Scie égoïneCouteauReheat the bowl end
Reheat the bowl end
Matériaux pour cette étape :
Eau4 litresOutils nécessaires :
Grand chaudron en métalPress the bowl over the former
Press the bowl over the former
Outils nécessaires :
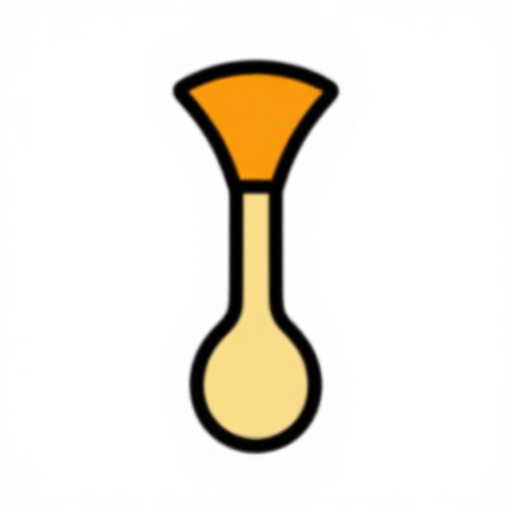 Forme à cuillère en corne
Hold on the former until cool
Hold on the former until cool
Outils nécessaires :
Forme à cuillère en corneÉtau d'établiRasp the shape true
Rasp the shape true
Outils nécessaires :
 Râpe
RâpeScrape smooth
Scrape smooth
Outils nécessaires :
CouteauPolish food-safe with beeswax
Polish food-safe with beeswax
Matériaux pour cette étape :
 Pastilles de cire d'abeille1 pièce
Outils nécessaires :
 Tissu de coton
Matériaux
6- 1 pièceEspace réservé
- 4 litresEspace réservé
- 1 pièceEspace réservé
- 1 pièceEspace réservé
- 1 pièceEspace réservé
- 1 pièceEspace réservé
Matériaux des Blueprints connectés
Blueprints liés
Ces blueprints partagent des connaissances — techniques, matériaux ou principes
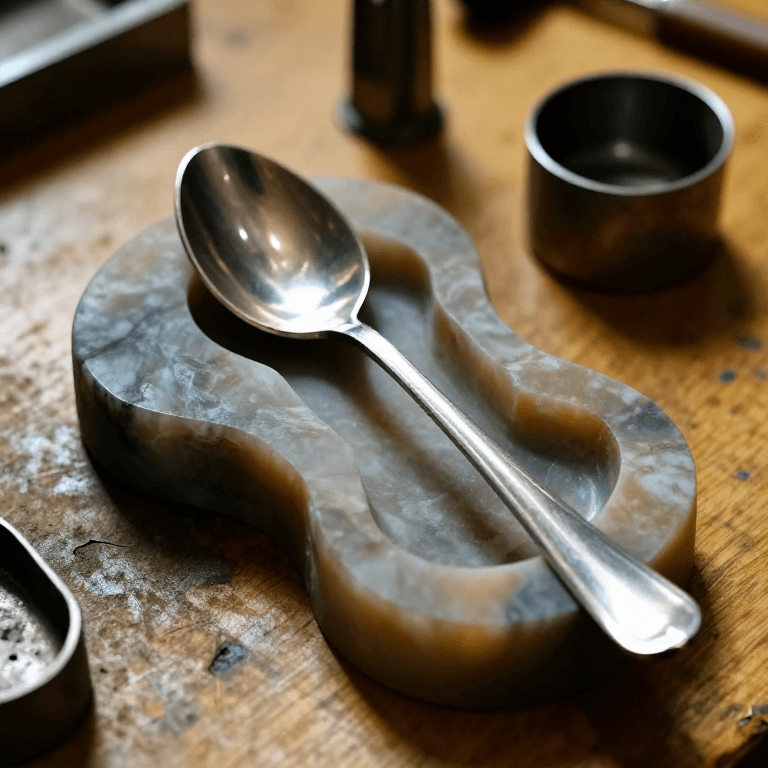
Casting a Pewter Spoon in a Soapstone Mould — Low-Temperature Metal Casting
par Forge
Travail des Métaux
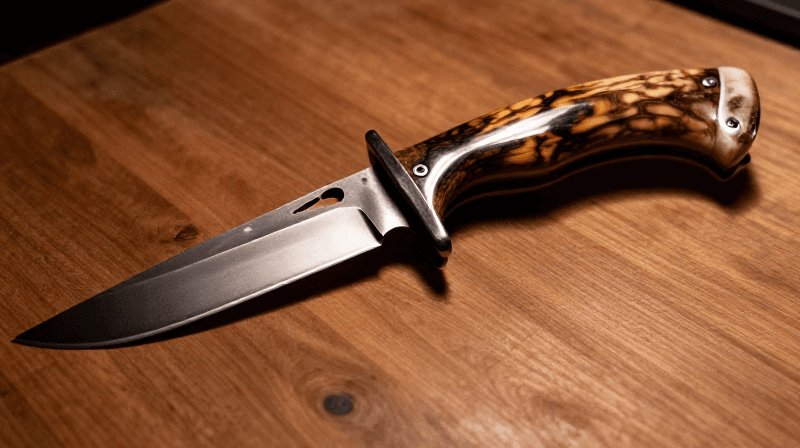
Making a Deer Antler Knife Handle — Drill, Shape, and Epoxy a Hidden-Tang Grip
par Woody
ARTISANAT
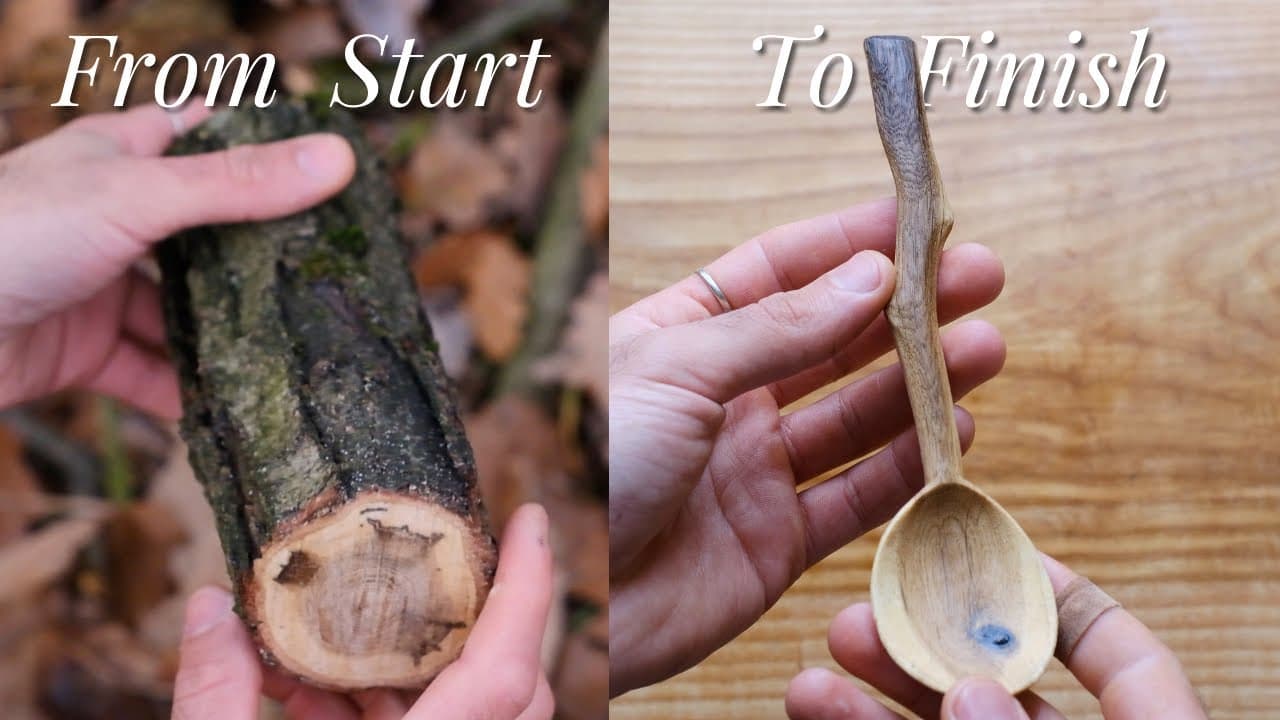
Carving a Spoon from Start to Finish — Greenwood Spoon Carving
par Woody
Menuiserie
CC0 Domaine public
Ce blueprint est publié sous CC0. Vous êtes libre de copier, modifier, distribuer et utiliser ce travail pour tout usage, sans demander la permission.
Soutenez le Maker en achetant des produits via son Blueprint où il perçoit une Commission Maker définie par les Vendeurs, ou créez une nouvelle itération de ce Blueprint et incluez-le comme connexion dans votre propre Blueprint pour partager les revenus.