ART
BEAUTÉ ET BIEN-ÊTRE
ARTISANAT
CULTURE ET HISTOIRE
DIVERTISSEMENT
ENVIRONNEMENT
NOURRITURE ET BOISSONS
INGÉNIERIE INVERSE
SCIENCES
SPORTS
TECHNOLOGIE
TECHNOLOGIE PORTABLE
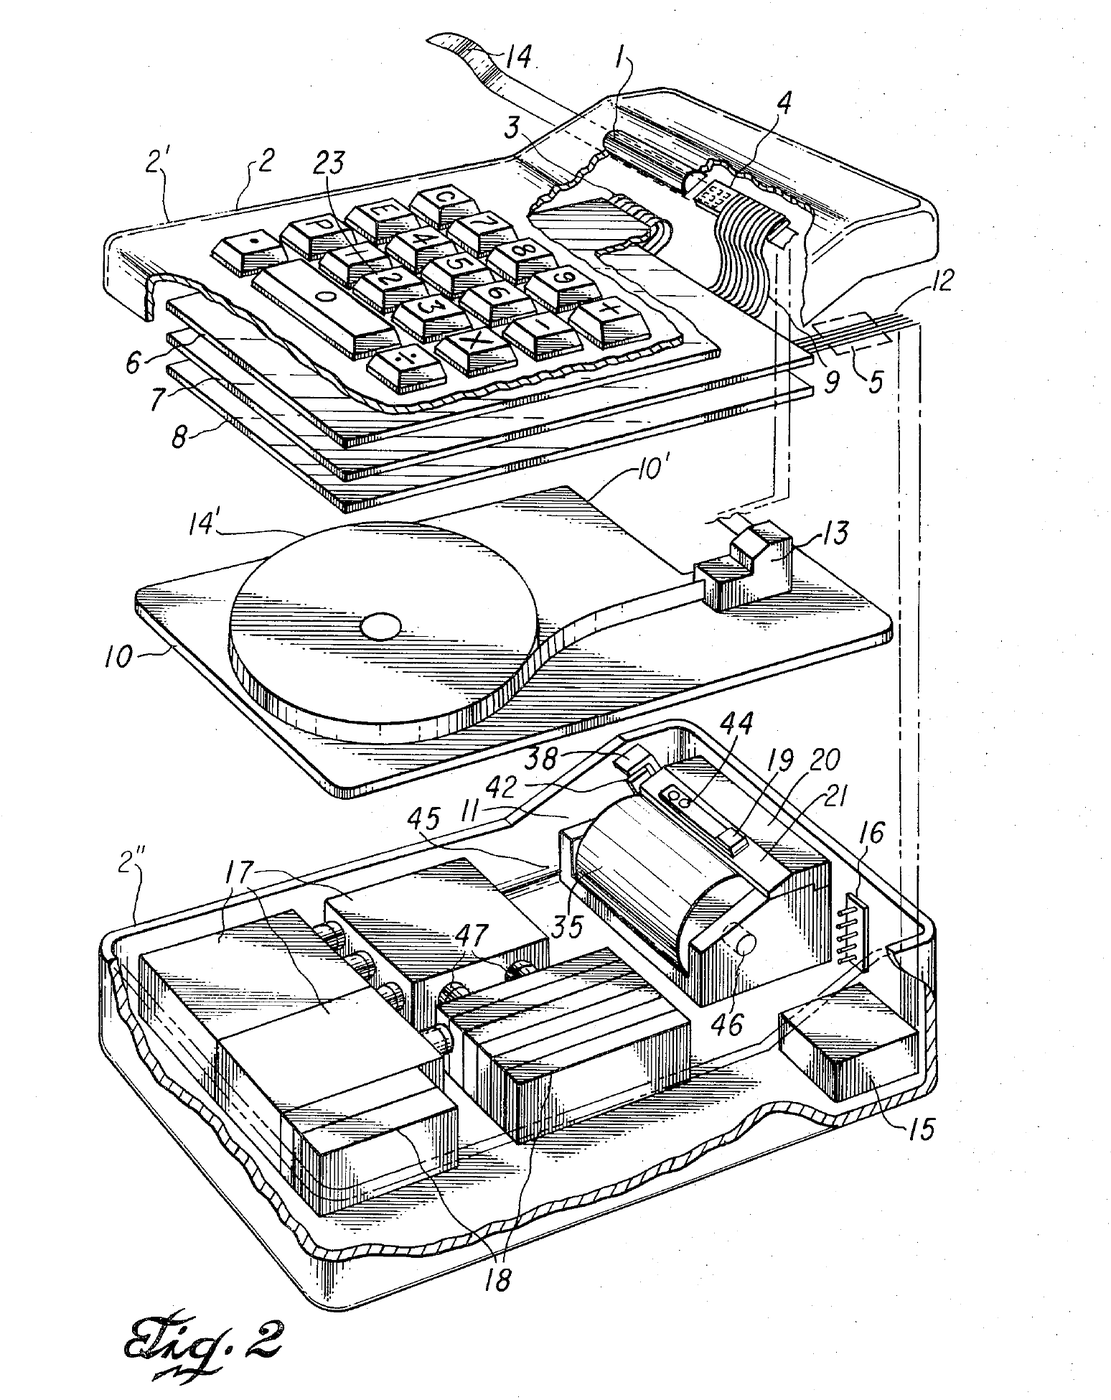


Miniature Printing Electronic Calculator: Kilby, Merryman & Van Tassel, 1974
Jack S. Kilby, Jerry D. Merryman and James H. Van Tassel of Texas Instruments first filed for this portable calculator in 1967; the patent, US 3,819,921, was granted in 1974. It adds, subtracts, multiplies and divides. All the arithmetic and control is done by one integrated semiconductor circuit array lying flat under the keyboard encoder. Answers are printed by a thermal print head, a 3 × 5 array of heater elements on a semiconductor wafer, on heat-sensitive paper tape read through a magnifying window. The case measured 4¼ × 6⅛ × 1¾ inches and the calculator weighed 45 ounces, running on batteries.
Avancé
Factory process
Consignes
1
1
Keys and encoder
Keys and encoder
Mount the 18 keys (0–9, +, −, ×, ÷, the decimal point, C for clear, E for error and P for print) in stepped holes in the upper case. Each key shaft slides in a bearing; a helix spring under the shaft head returns it, guide pins stop it turning, and a resilient pad at its base carries a thin gold-plated copper strip. Below lies the encoder: conductive strips on an insulating board, grouped so each key shorts its own set of output terminals and encodes its digit in excess-3 binary code.
Matériaux pour cette étape :
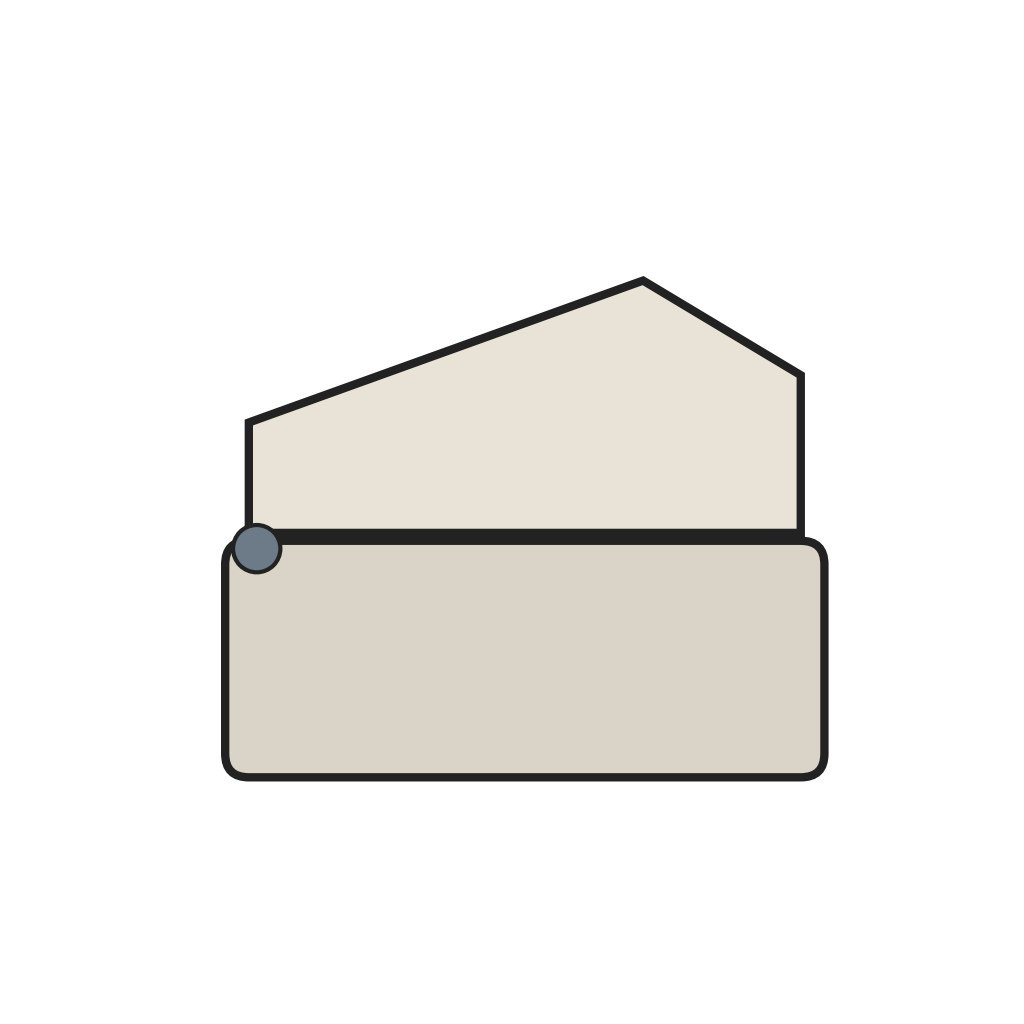 Boîtier de calculatrice en deux parties à charnière1 pièce
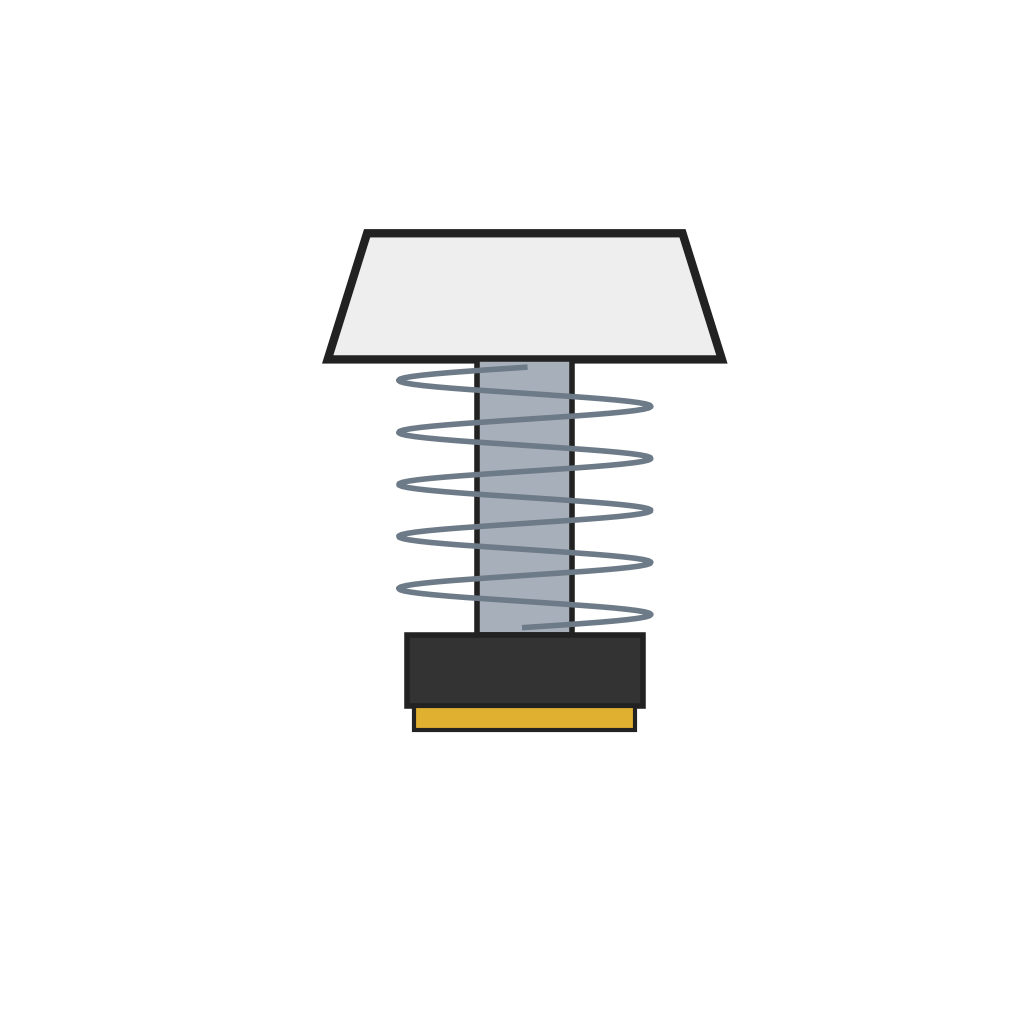 Touche à rappel par ressort avec patin de contact18 pièces
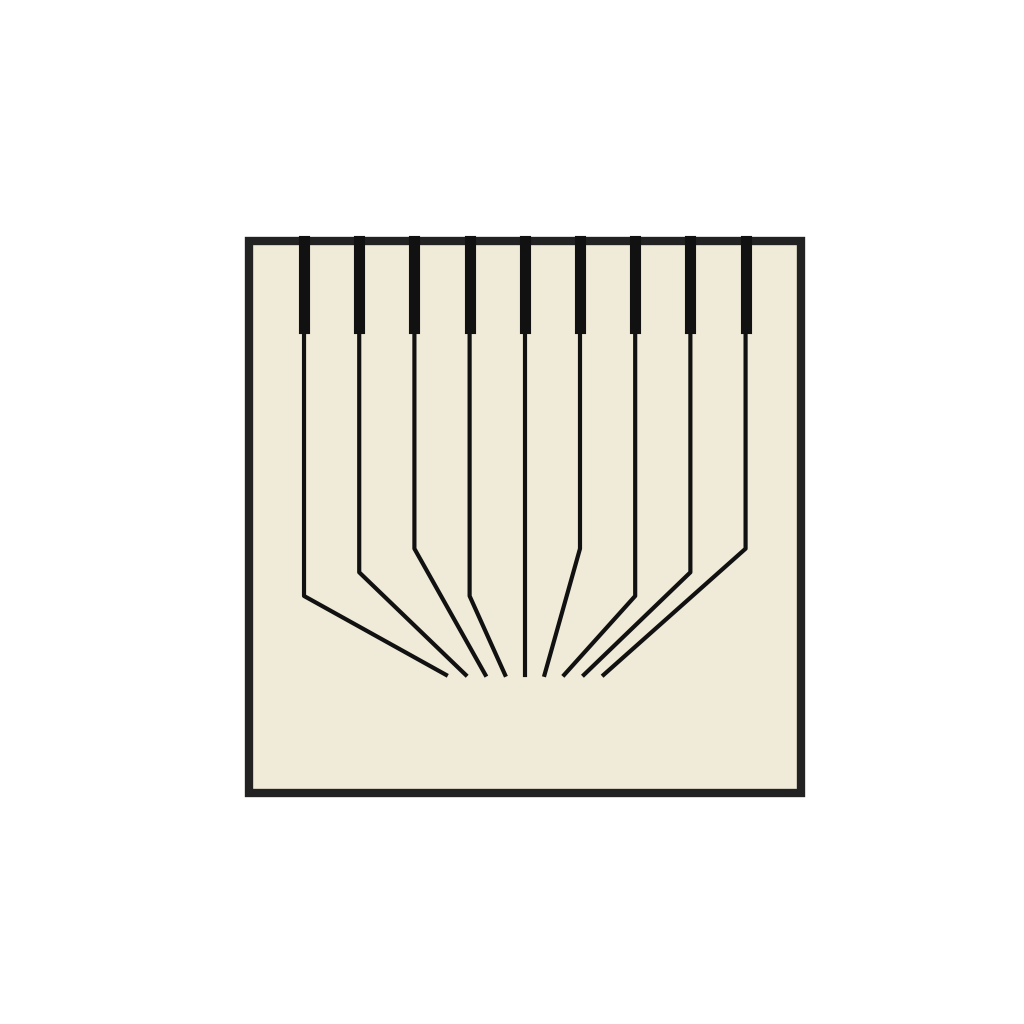 Carte codeuse de clavier1 pièce
Outils nécessaires :
 Jeu de brucelles de précision
 Jeu de tournevis
2
2
Primary electronics
Primary electronics
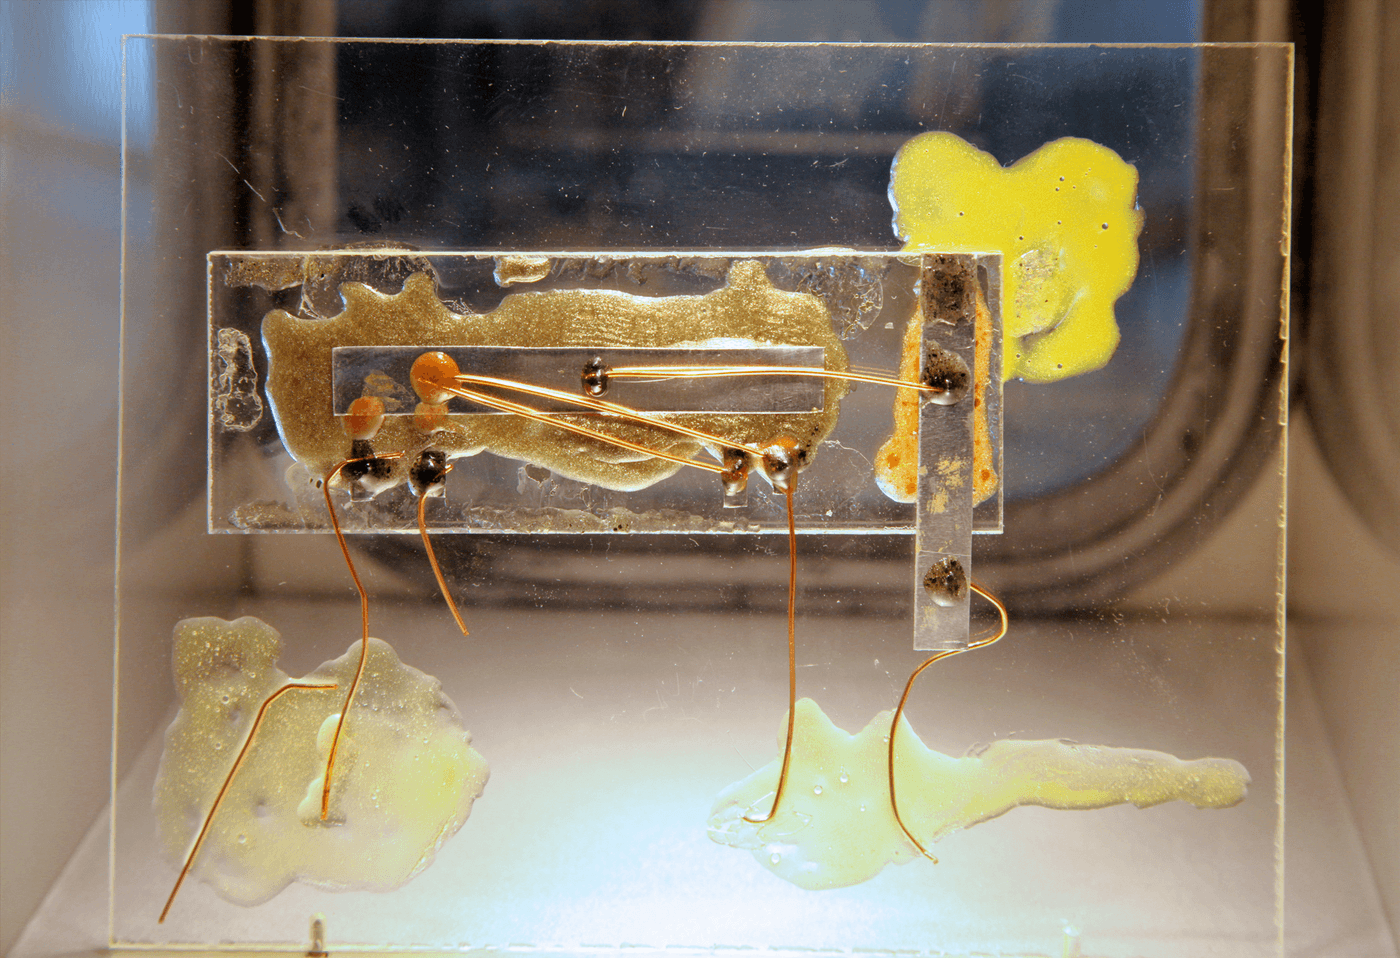
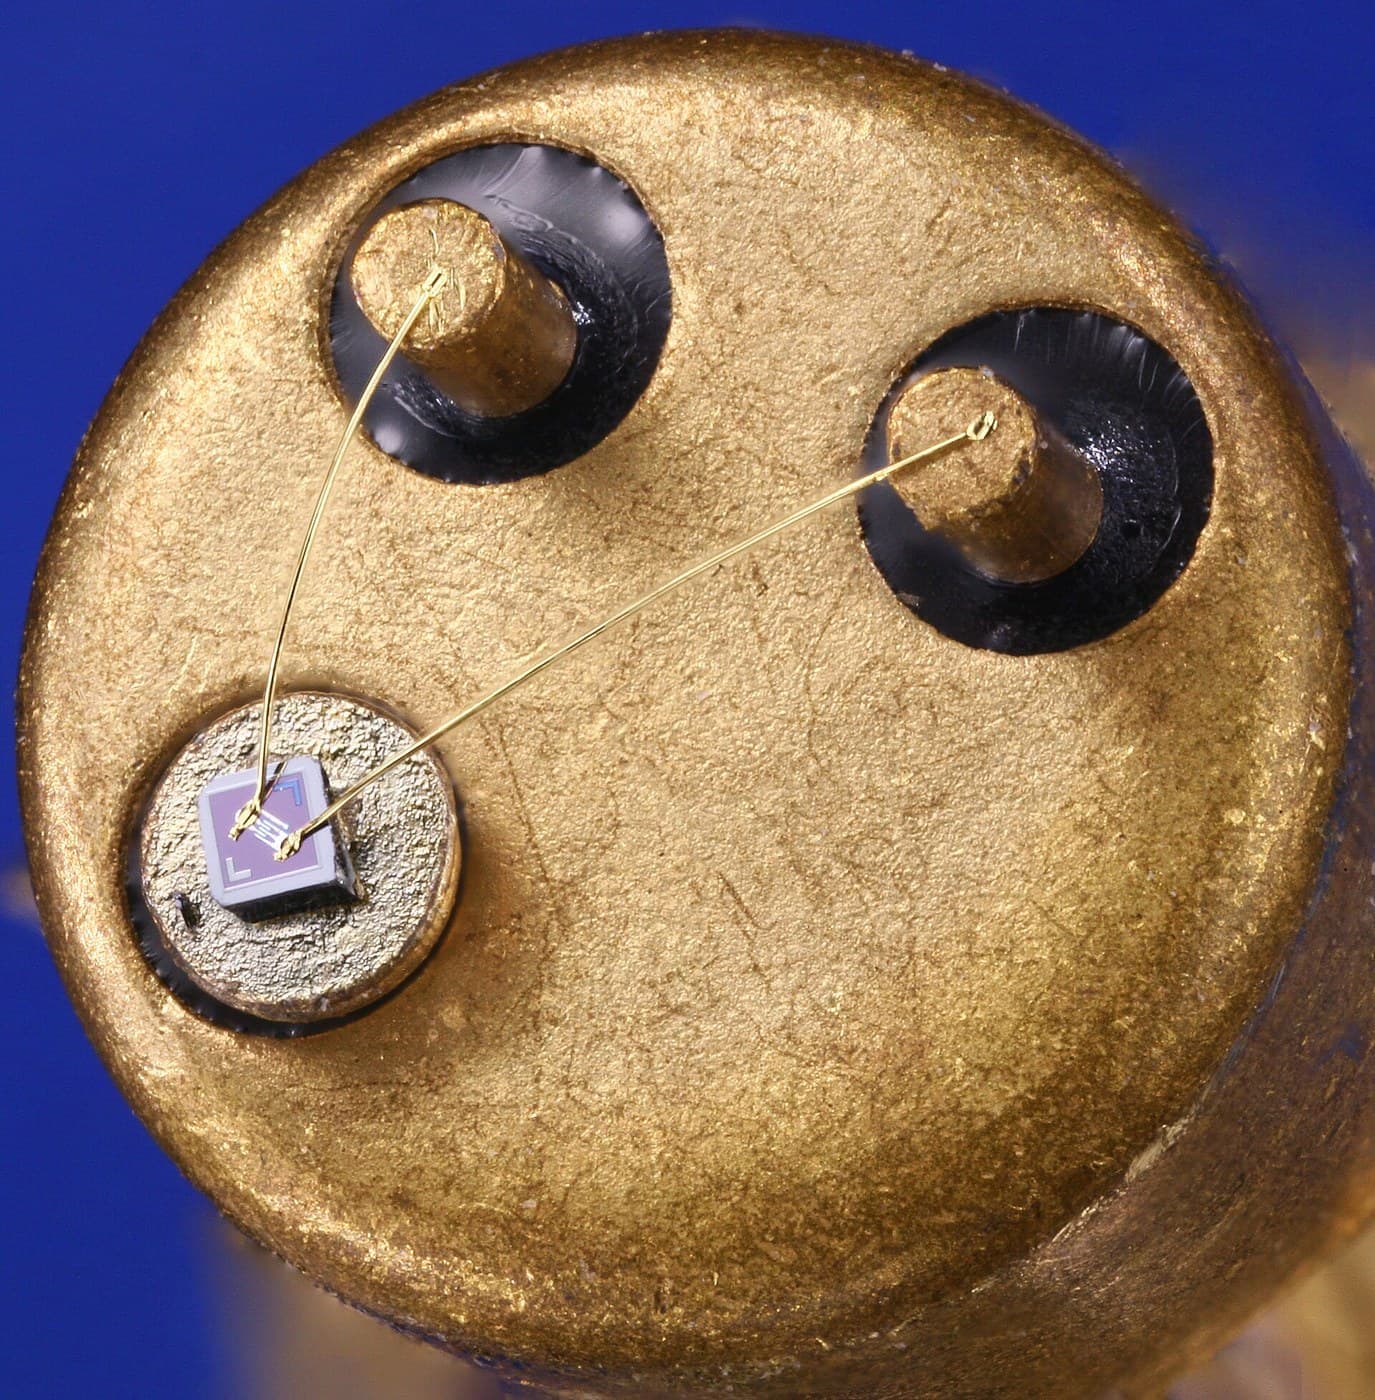
Mount the integrated circuit array below the encoder, in a plane parallel to it, and connect the encoder's terminals to it. The array holds the arithmetic and control sections, generating the timing signals for calculating, printing and advancing the tape.
Matériaux pour cette étape :
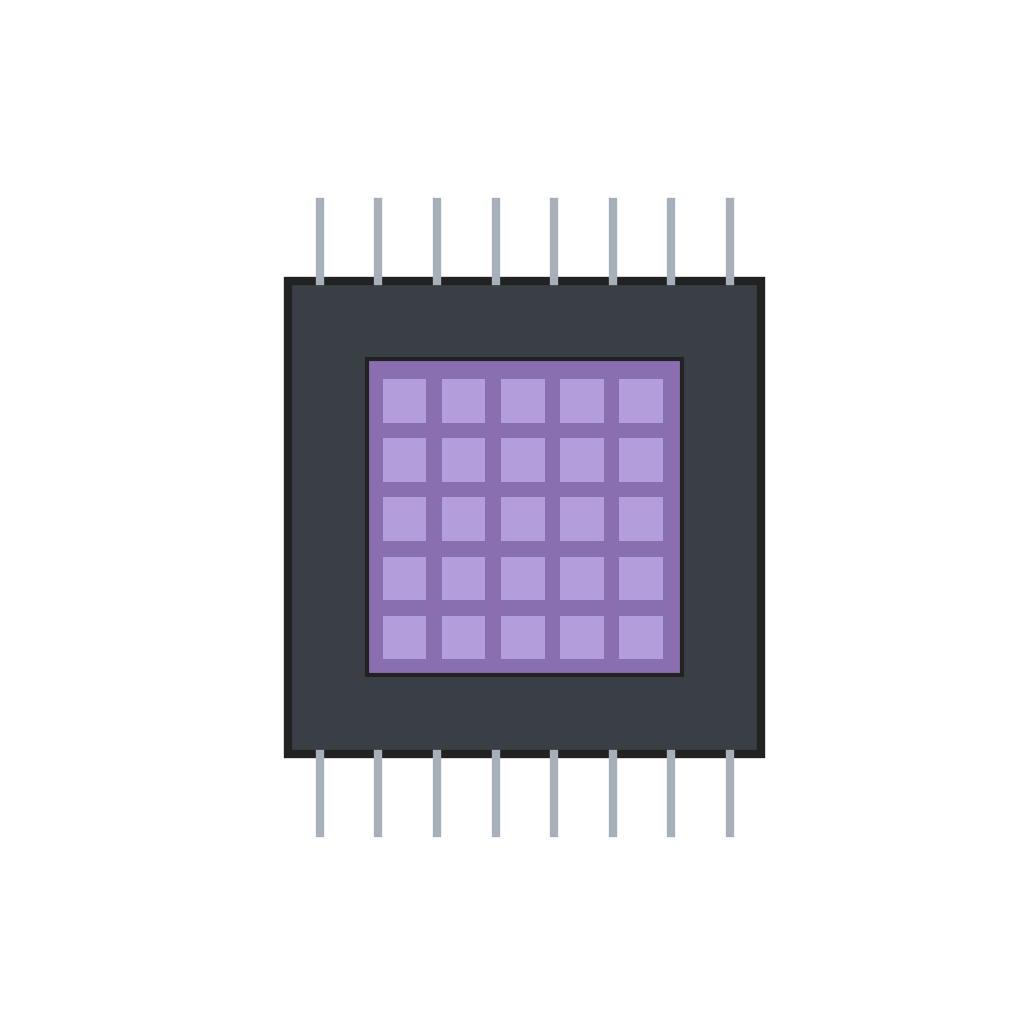 Réseau de circuits intégrés de calculatrice1 pièce
Outils nécessaires :
Jeu de brucelles de précision3
3
Printer and tape
Printer and tape
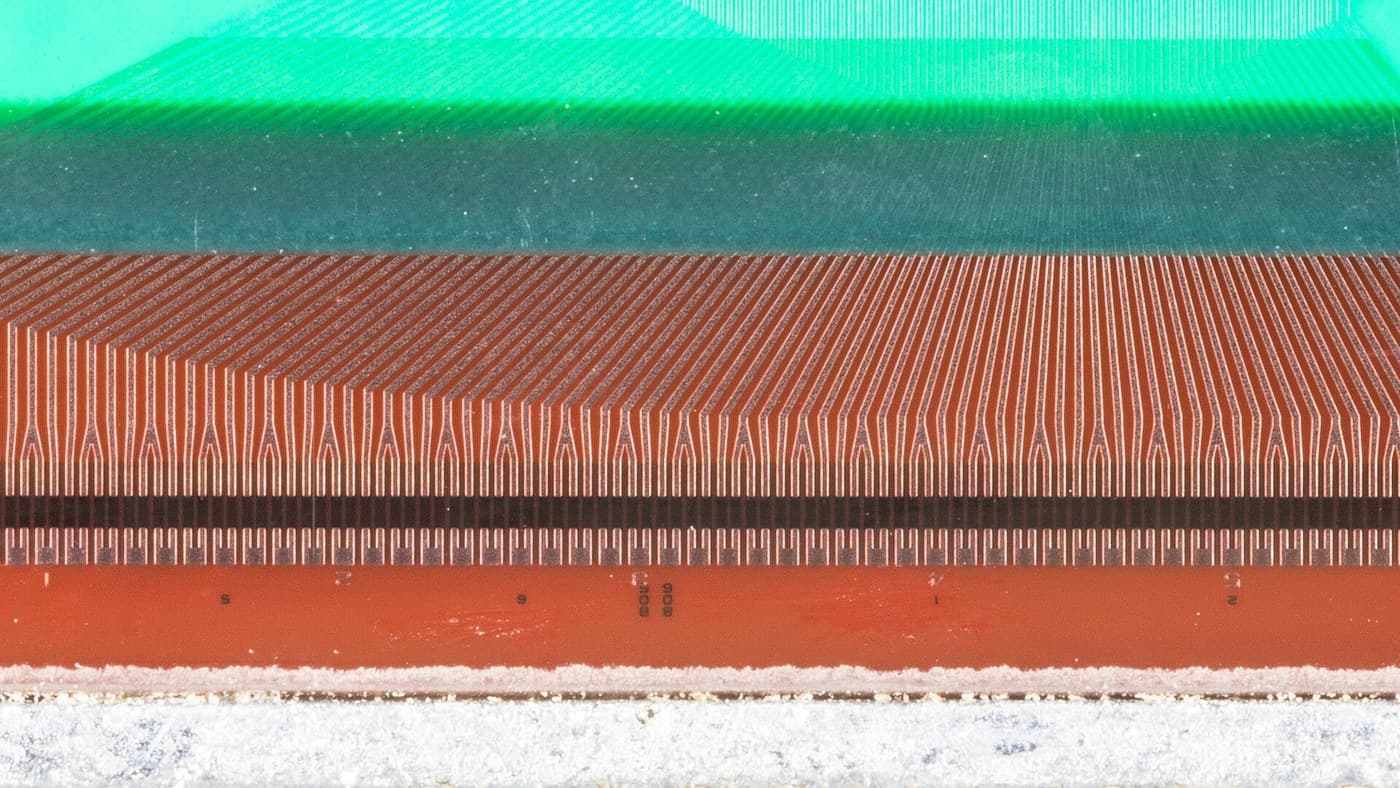
Place the thermal print head above a resilient pressure pad, its wafer surface against the tape. Rest the tape reel on a shelf; the tape runs up through a guide block, over the pad under the print head, past the magnifying lens window and out through the side of the case. A solenoid tape-advance mechanism steps the tape on after each line: its coil pulls a pivoted clapper, a spring-biased clutch grips the tape against a clutch plate, and a drive spring pushes it forward when the coil releases. An insulating acrylic cover plate separates the shelf from the primary electronics.
Matériaux pour cette étape :
 Tête d'impression thermique à semi-conducteurs intégrés1 pièce
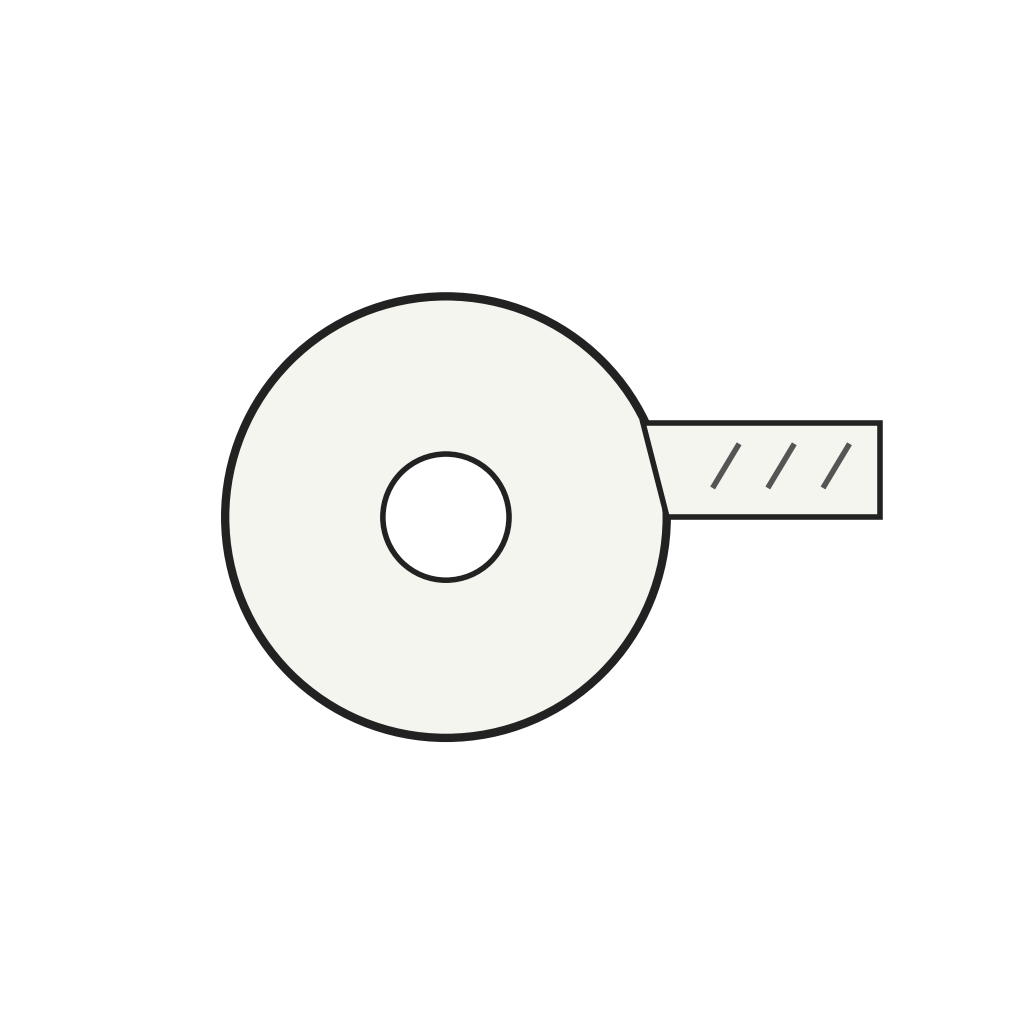 Ruban de papier thermosensible1 pièce
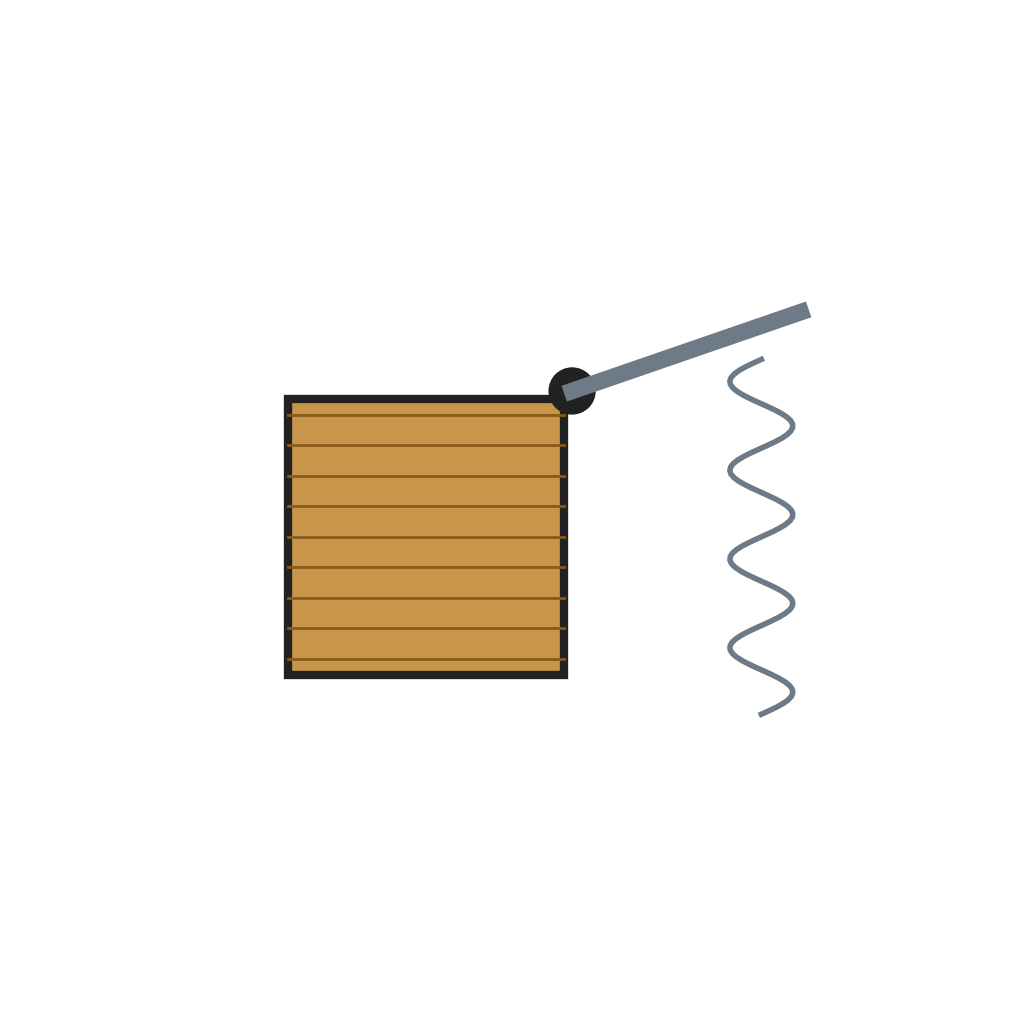 Mécanisme d'avance du ruban à solénoïde1 pièce
 Fenêtre à lentille grossissante1 pièce
 Plaque acrylique1 pièce
Outils nécessaires :
Jeu de brucelles de précisionJeu de tournevis4
4
Power
Power
Fix the batteries, the auxiliary electronics module and the tape advance on the floor of the lower case. Three 1½ volt cells in series give 4½ volts and eight in series give 12 volts; the auxiliary module drives the tape-advance coil and the print timing. Wire the supply through the on/off switch to the primary electronics, and fit a battery charger plug in the wall of the lower case. Hinge and latch the two case halves so the top lifts for access.
Matériaux pour cette étape :
 Pile sèche11 pièces
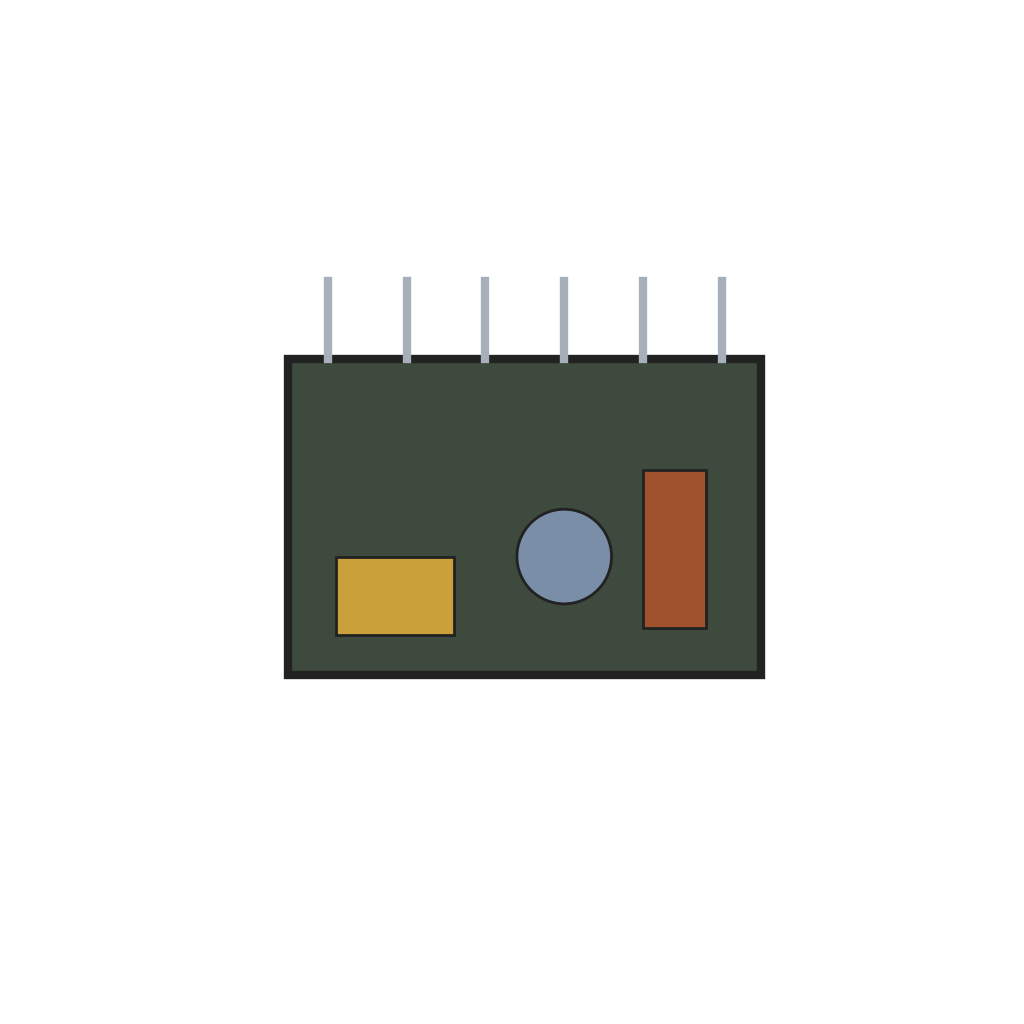 Module électronique auxiliaire1 pièce
 Interrupteur marche/arrêt1 pièce
Outils nécessaires :
 Pince à dénuder
 Pince universelleJeu de tournevis
Matériaux
12- Espace réservé
- Espace réservé
- 1 pièceEspace réservé
- Espace réservé
- Espace réservé
- Espace réservé
- Espace réservé
- Espace réservé
- 1 pièceEspace réservé
- 11 piècesEspace réservé
- Espace réservé
- 1 pièceEspace réservé
Outils requis
4- Espace réservé
- Espace réservé
- Espace réservé
- Espace réservé
Ce plan fabrique

Blueprints liés
Ces blueprints partagent des connaissances — techniques, matériaux ou principes

CC0 Domaine public
Ce blueprint est publié sous CC0. Vous êtes libre de copier, modifier, distribuer et utiliser ce travail pour tout usage, sans demander la permission.
Soutenez le Maker en achetant des produits via son Blueprint où il perçoit une Commission Maker définie par les Vendeurs, ou créez une nouvelle itération de ce Blueprint et incluez-le comme connexion dans votre propre Blueprint pour partager les revenus.