
Casting a Concrete Planter in a Mold — Portland Cement Casting
Consignes
Prepare the Moulds
Prepare the Moulds
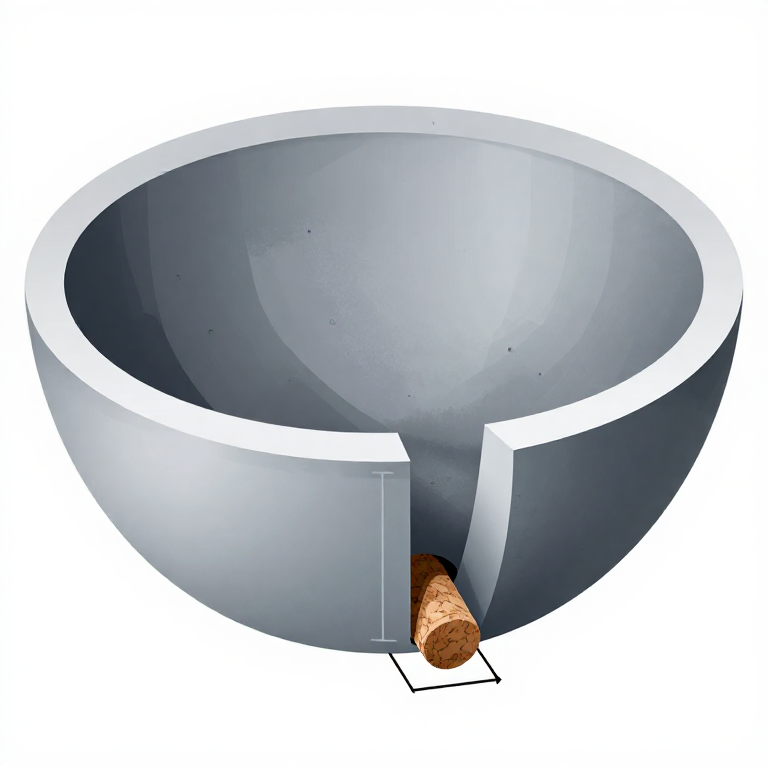
Select an outer mould that defines the planter shape — a plastic bowl, bucket, or purpose-made silicone mould. Select a smaller inner mould (a plastic cup, bowl, or container) that will create the hollow interior. The wall thickness between the two moulds should be at least 15-20mm for structural strength. Coat all mould surfaces that will contact concrete with cooking spray or petroleum jelly as a release agent. Without release agent, the concrete bonds to the mould and tears on removal. For drainage, place a short dowel or cork in the bottom of the outer mould — this creates the drainage hole when removed after curing.
Matériaux pour cette étape :
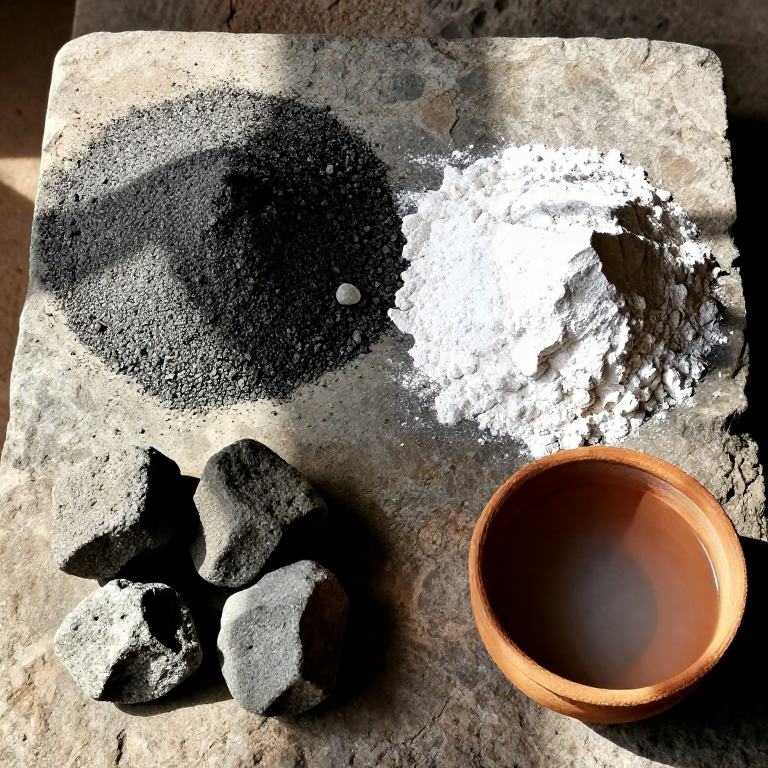
 Portland Cement1 kg kg
 Fine Sand2 kg kg
 Waterapproximately 500ml (adjust for consistency) ml
Outils nécessaires :
 Dust Mask
Mix the Concrete
Mix the Concrete
Wearing a dust mask and gloves (uncured cement is strongly alkaline, pH 12-13, and causes chemical burns), mix 1 part Portland cement to 2 parts fine sand by volume in a bucket. Stir the dry ingredients thoroughly until uniformly grey with no visible pockets of pure cement or sand. Add water gradually, mixing continuously, until you achieve the consistency of thick brownie batter or wet sand that holds its shape when squeezed. Too much water weakens the finished product dramatically — every extra 10% water reduces compressive strength by approximately 15%. The mix should be workable but not pourable or soupy.
Fill the Mould
Fill the Mould
Spoon or pour the concrete mix into the outer mould to a depth of 15-20mm (this forms the base). Tap the mould firmly on the work surface 10-15 times to settle the concrete and release trapped air bubbles — air voids create weak spots and surface pitting. Place the inner mould centrally on top of the base layer and press it down slightly. Fill the gap between the two moulds with concrete, tamping as you go with a stick or dowel to ensure no air pockets remain in the walls. Weight or tape the inner mould in position to prevent it from floating upward as the concrete settles. Smooth the top edge with a wet finger or trowel.
Cure the Concrete
Cure the Concrete
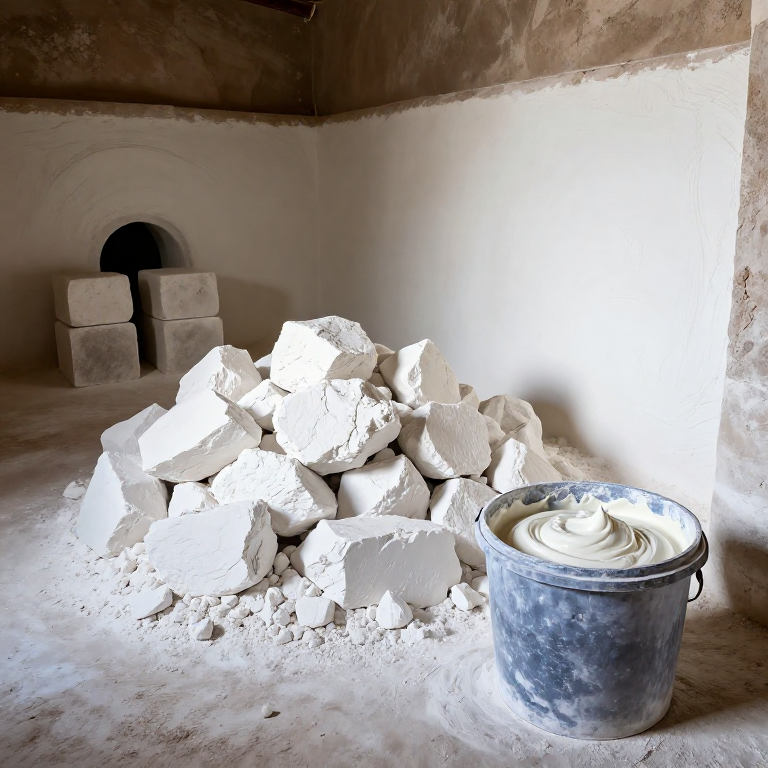
Cover the filled mould loosely with plastic wrap to prevent the surface from drying too quickly. Concrete gains strength through hydration (a chemical reaction between cement and water), not by drying — if it dries out too fast, the reaction stops prematurely and the concrete is weak and crumbly. Cure for a minimum of 48 hours at room temperature. In the first 24 hours, concrete reaches approximately 40% of its final strength; by 7 days, approximately 70%; full cure takes 28 days. Keep the concrete damp by misting with water daily if the environment is dry. Do not attempt to demould before 48 hours or the planter may crack or crumble.
Demould and Finish
Demould and Finish
After 48 hours minimum, gently flex the outer mould to release the concrete (silicone moulds make this easy; rigid plastic may require careful tapping). Remove the inner mould and the drainage hole plug. Sand any rough edges or surface imperfections with 120-grit sandpaper. Fresh concrete is highly alkaline (pH 12-13), which can damage plant roots. Soak the finished planter in water for 3-5 days, changing the water daily, to leach out excess alkalinity before planting. Alternatively, paint the interior with a concrete sealer. The finished planter can be left as natural grey, painted, or sealed with a clear concrete sealer for weather protection. Concrete planters are frost-resistant but benefit from being elevated off the ground on feet to prevent water from pooling at the base and causing freeze-thaw cracking.
Matériaux
4- 1 kg pièceEspace réservé
- Mould release agentsmall amount pièce
Outils requis
3- Espace réservé
- Espace réservé
Related blueprints
Other builds that share materials, tools, or techniques with this one.

CC0 Domaine public
Ce blueprint est publié sous CC0. Vous êtes libre de copier, modifier, distribuer et utiliser ce travail pour tout usage, sans demander la permission.
Soutenez le Maker en achetant des produits via son Blueprint où il perçoit une Commission Maker définie par les Vendeurs, ou créez une nouvelle itération de ce Blueprint et incluez-le comme connexion dans votre propre Blueprint pour partager les revenus.