Collaboration
ART
BEAUTÉ ET BIEN-ÊTRE
ARTISANAT
CULTURE ET HISTOIRE
DIVERTISSEMENT
ENVIRONNEMENT
NOURRITURE ET BOISSONS
INGÉNIERIE INVERSE
SCIENCES
SPORTS
TECHNOLOGIE
TECHNOLOGIE PORTABLE
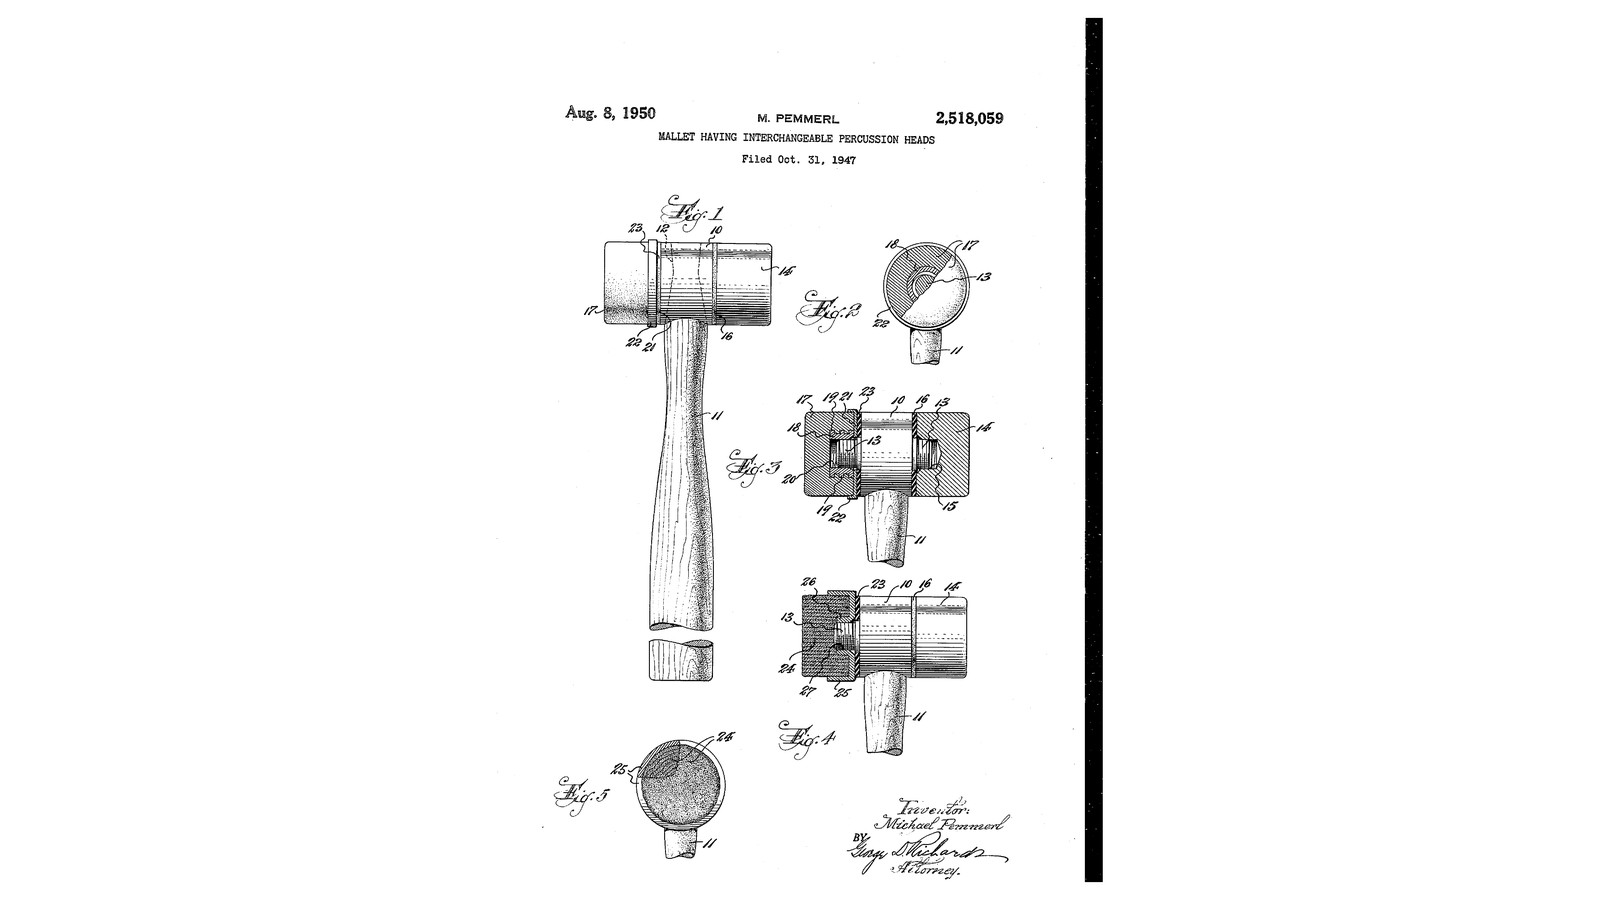


Screw-On Rubber Head Mallet: Rubber Members on Flanged Ferrules, Cupped and Cushioned on Steel Studs (Pemmerl, 1950)
Michael Pemmerl of Chatham, New Jersey, received US 2,518,059, dated 8 August 1950, for an industrial mallet with heads that change. A threaded stud stands out of each end of the steel head, and percussion members of different hardness screw on. A soft member is moulded round a hard ferrule with flanges and a threaded bore, so it cannot pull off. A steel cup holds its inner end from bulging. A thick rubber washer between cup and head stops it working loose and soaks up the shock before it reaches the hand.
We make two rubber members from rubber sheet bonded round a flanged nut. The sizes are ours.
Intermédiaire
About 2 days
Consignes
1
1
Building a rubber member round its ferrule
Building a rubber member round its ferrule
Chargement du notebook Jupyter…
2
2
Read US 2,518,059
Read US 2,518,059
"The frictional and cushioning washers 16 and 23, as interposed between the respective percussion members 14 and 17 and the mallet head 10, serve the two-fold purpose of setting up a strong frictional resistance against tendency of said percussion members to accidentally loosen or turn off the coupling studs 13 when the mallet is in use, while at the same time said washers act as impact shock absorbing means."
3
3
Turn the head 10
Turn the head 10
From 35 mm steel round bar turn a head 90 mm long between its end faces, and at each end a stud 13 12 mm across and 20 mm long; cut an M12 thread on each with the die. Drill a 20 mm eye through the middle, square to the axis, in a V-block, for the handle.
Matériaux pour cette étape :
 Barre ronde en acier doux1 pièce
 Huile de coupe1 pièce
Outils nécessaires :
 Tour à métaux
 Mandrin de tour à 3 mors
 Outil de coupe pour tour
 Bédane de tronçonnage
 Jeu de tarauds et filières
 Porte-filière
 Étau d'établi
 Perceuse à colonne
 Bloc en V
 Jeu de forets
 Pied à coulisse numérique 6 pouces
 Lunettes de sécurité
4
4
Ferrules 18 and cups 21-22
Ferrules 18 and cups 21-22
For each member, saw an M12 coupling nut to 30 mm and lock a 24 mm washer on it 4 mm from each end with a nut and thread locker: the flanges 19 round the threaded bore 20. Turn two cups from 45 mm bar: a base 3 mm thick with a 13 mm hole, and a skirt 12 mm deep bored 40.5 mm to embrace the member's inner end.
Matériaux pour cette étape :
 Écrou hexagonal6 pièces
 Rondelle plate4 pièces
 Frein-filet1 pièceBarre ronde en acier doux1 pièce
Outils nécessaires :
 Scie à métauxÉtau d'établi
 Clé à moletteTour à métauxMandrin de tour à 3 morsOutil de coupe pour tour
 Barre d'alésageBédane de tronçonnagePied à coulisse numérique 6 pouces
5
5
Build the rubber members 17
Build the rubber members 17
Scribe and cut 4 mm rubber discs 40 mm across with the knife: for each member, seven holed to the ferrule (24 mm holes level with the two flanges and 22 mm round the nut, so the discs either side trap each flange's rim) and five solid discs for the striking face. Brush contact cement on both faces, let it go touch-dry, and build the member up over its ferrule, the ferrule's end flush with the member's inner end; press it in clamps overnight and trim it round.
Matériaux pour cette étape :
 Plaque de caoutchouc naturel1 pièce
 Colle contact1 pièce
Outils nécessaires :
 Boussole
 Cutter de précision
 Serre-joint à pompe
6
6
Handle and assembly
Handle and assembly
Turn an ash handle 300 mm long, fit it in the eye with a glued wedge. Cut two 6 mm rubber washers 23, 40 mm across with 13 mm holes. On each stud put a rubber washer, then a cup, skirt outwards, then screw a member on until its end is in the cup and the washer is squeezed; it should take a firm twist to undo.
Matériaux pour cette étape :
 Planche de bois dur1 pièce
 Colle à bois1 piècePlaque de caoutchouc naturel1 pièce
Outils nécessaires :
 Tour à bois
 Jeu d'outils de tournage (HSS)Scie à métaux
 Marteau à panne bombéeCutter de précision
7
7
Troubleshooting
Troubleshooting
Interchangeable-head mallet troubleshooting.
Flow
Loading...
8
8
History and honest limits
History and honest limits
**Michael Pemmerl** of Chatham, New Jersey, US 2,518,059, dated 8 August 1950, filed 31 October 1947. He claimed a mallet head with a screw-threaded coupling stud at an end, "a percussion member made of relatively soft material such as lead, an internally screw-threaded ferrule made of hard metal imbedded in said percussion member, said ferrule having external annular flanges", "a perforate cupped reenforcing member", and "a perforate rubber washer of substantial thickness" between cup and head. His soft members were moulded, and he names rubber among their materials; ours are rubber discs bonded round the ferrule. He also shows hard metal and rawhide members. He gives no sizes; every size here is ours.
Matériaux
9- 1 pièceEspace réservé
- 1 pièceEspace réservé
- 6 piècesEspace réservé
- 4 piècesEspace réservé
- 1 pièceEspace réservé
- 1 pièceEspace réservé
- 1 pièceEspace réservé
- 1 pièceEspace réservé
- 1 pièceEspace réservé
Outils requis
21- Espace réservé
- Espace réservé
- Espace réservé
- Espace réservé
- Espace réservé
- Espace réservé
- Espace réservé
- Espace réservé
- Espace réservé
- Espace réservé
- Espace réservé
- Espace réservé
- Espace réservé
- Espace réservé
- Espace réservé
- Espace réservé
- Espace réservé
- Espace réservé
- Espace réservé
- Espace réservé
- Espace réservé
Ce plan fabrique

Blueprints liés
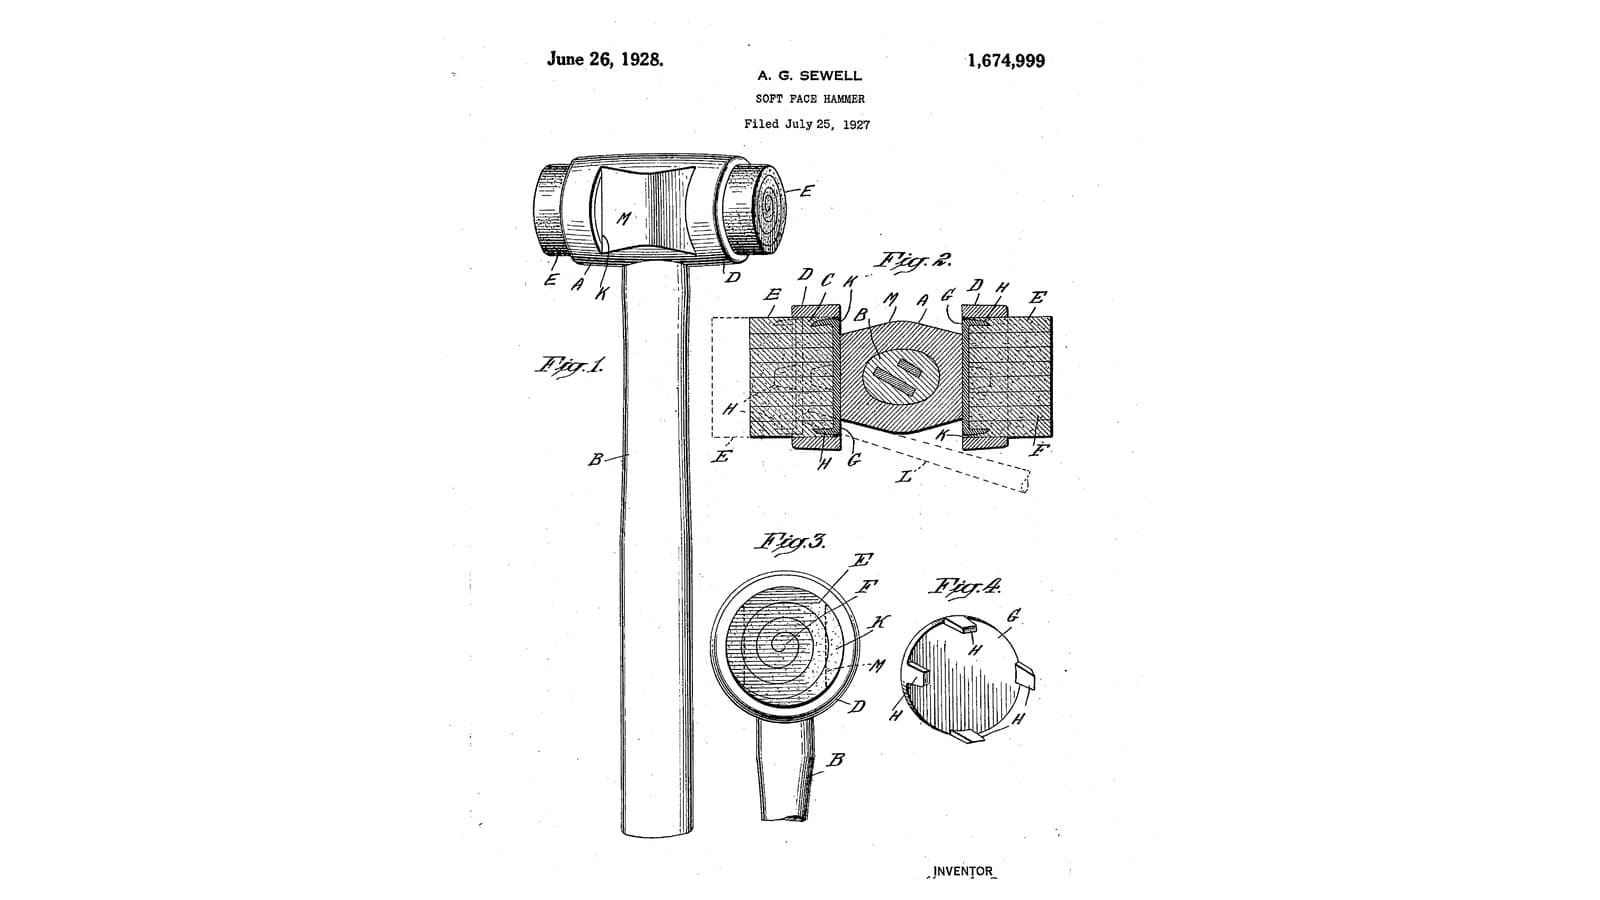
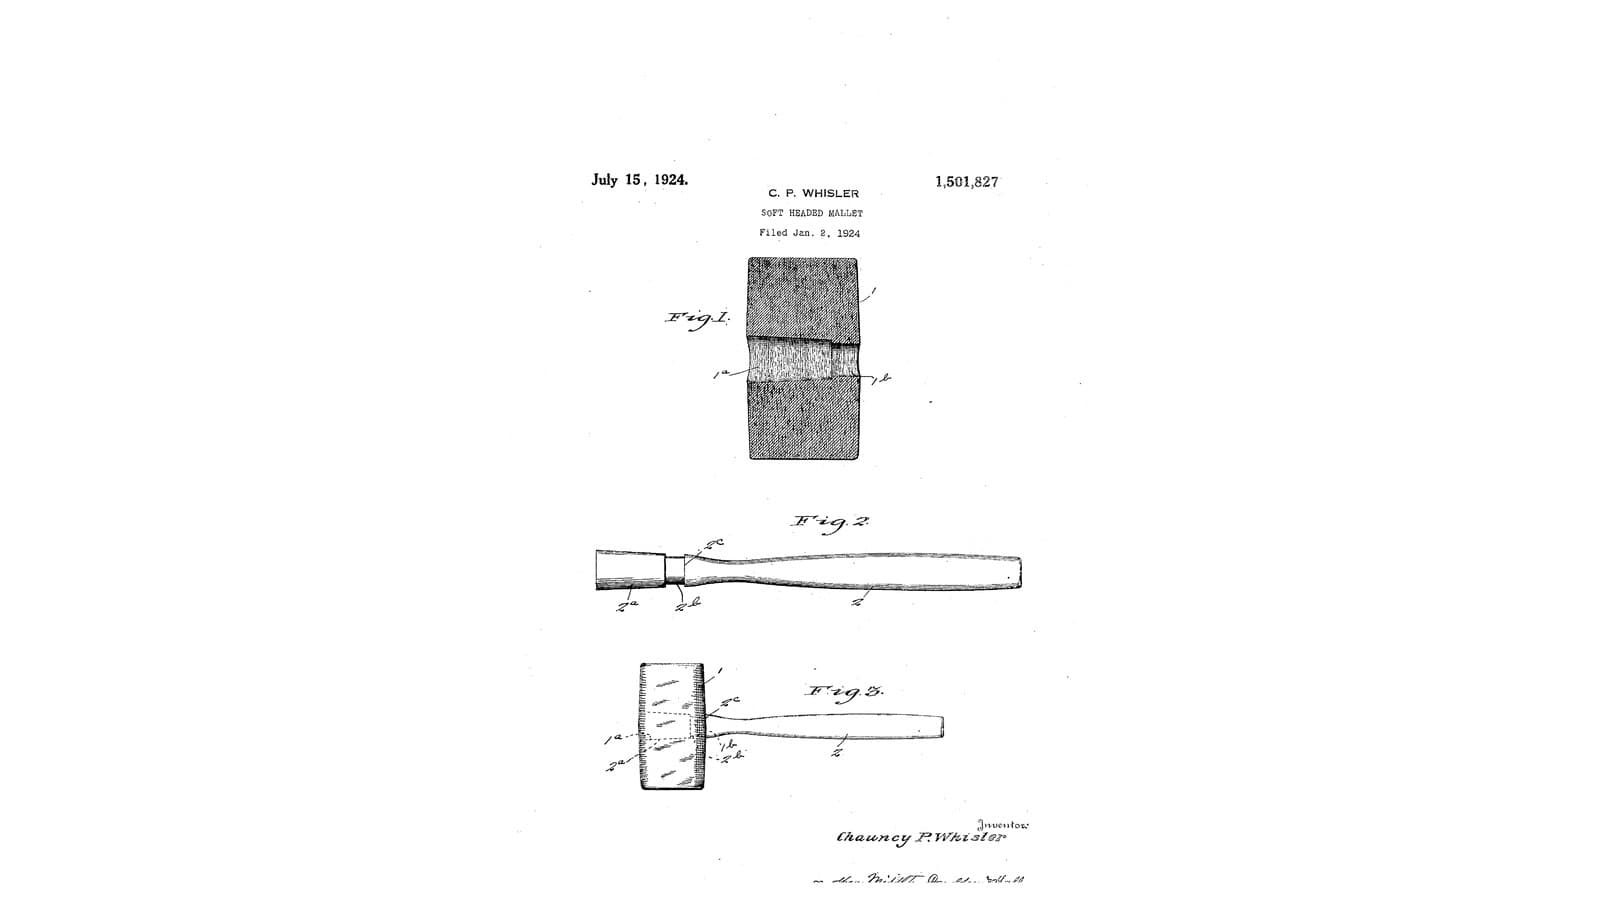
Ces blueprints partagent des connaissances — techniques, matériaux ou principes
CC0 Domaine public
Ce blueprint est publié sous CC0. Vous êtes libre de copier, modifier, distribuer et utiliser ce travail pour tout usage, sans demander la permission.
Soutenez le Maker en achetant des produits via son Blueprint où il perçoit une Commission Maker définie par les Vendeurs, ou créez une nouvelle itération de ce Blueprint et incluez-le comme connexion dans votre propre Blueprint pour partager les revenus.