Making Pine Pitch — Waterproofing Compound from Resin
Consignes
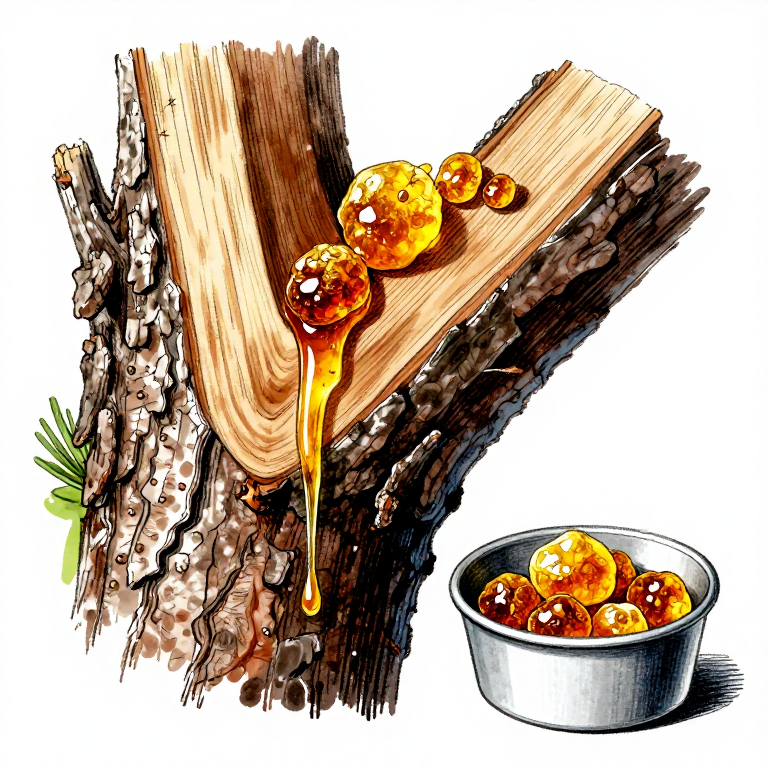
Collect Pine Resin
Collect Pine Resin
Resin (also called "pitch" in raw form) is the tree's wound-healing mechanism. Look for natural resin deposits on pine, spruce, or fir trees — golden-amber lumps at wound sites, broken branches, or insect holes. Collect these hardened lumps with your knife.
For fresh resin, make a small V-shaped cut in the bark of a living pine (do not girdle the tree). Place a container below — resin will flow slowly over days. A healthy pine can produce resin continuously through the growing season.
Scots pine (Pinus sylvestris), maritime pine (P. pinaster), and Norway spruce (Picea abies) all produce excellent resin. The Vikings used Norwegian pine and spruce almost exclusively — their word for it was "tjara" (cognate with English "tar").
Melt and Filter the Resin
Melt and Filter the Resin
Place collected resin in a heat-resistant vessel (clay pot, tin can, or stone bowl). Heat gently over low flame or coals — resin melts at approximately 70-80°C. Stir occasionally as it liquefies.
Critical: Pine resin is highly flammable. Never heat over open flame directly — use an indirect heat source (coals, sand bath, or double-boiler setup). If resin catches fire, cover the vessel to smother it. Do NOT add water — this causes dangerous splattering.
Once fully melted, strain through a coarse cloth or grass filter to remove bark chips, insects, and debris. The filtered resin should be clear amber liquid.
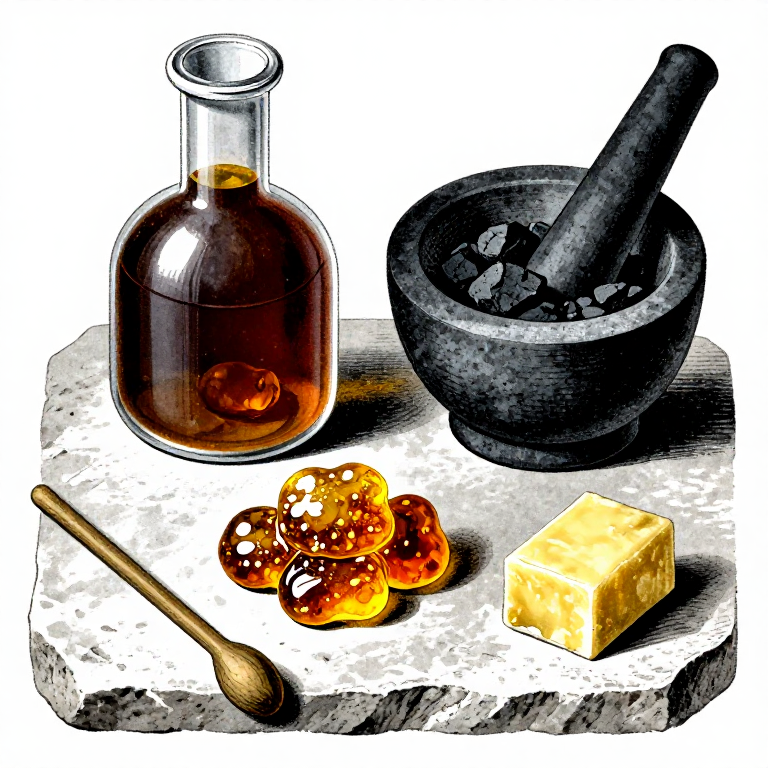
Mix the Pitch Compound
Mix the Pitch Compound
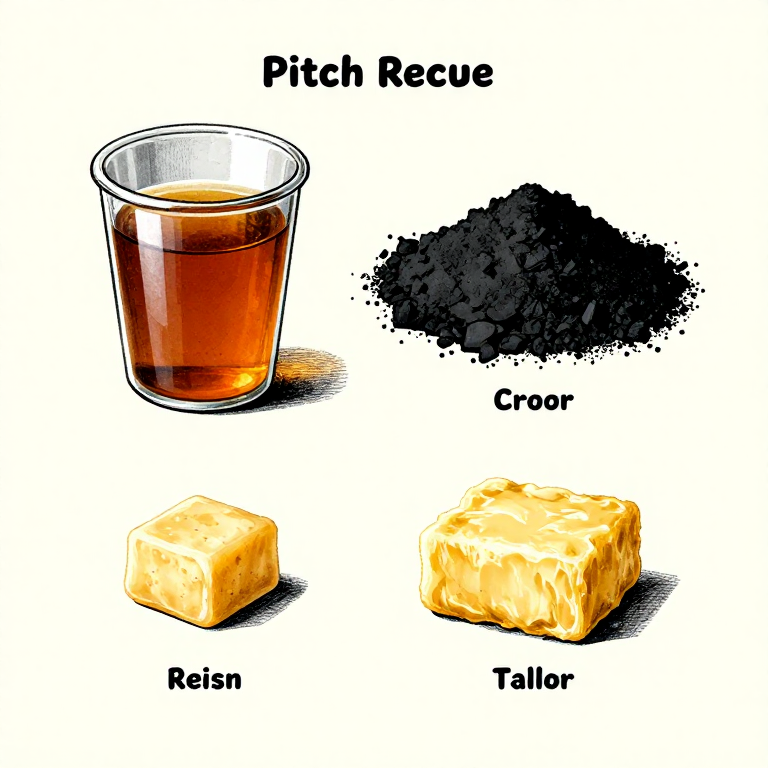
Pure resin is brittle when cold and too fluid when hot. Adding fillers and modifiers creates a usable pitch. The classic Viking formula:
- Resin (base) — provides adhesion and waterproofing
- Crushed charcoal (filler, ~10-15% by volume) — adds body, prevents cracking, extends the pitch
- Beeswax or animal fat (plasticizer, ~5-10%) — keeps the pitch flexible rather than brittle
Add the charcoal to the melted resin and stir thoroughly. Then add beeswax or fat and stir until fully incorporated. The mixture should be thick, dark, and uniform.
The ratio can be adjusted: more charcoal for a harder, structural pitch; more fat/wax for a flexible, coating pitch. Boat-builders used harder pitch for caulking seams; leather-workers used softer pitch for waterproofing.
Apply the Pitch
Apply the Pitch
For waterproofing containers: Apply warm pitch with a stick or brush, working it into seams and joints. Build up thin layers rather than one thick coat — multiple thin layers adhere better and are less likely to crack.
For caulking boats: Vikings packed twisted plant fiber (oakum) or animal hair into seams between planks, then sealed over with hot pitch. The fiber fills the gap; the pitch waterproofs it.
For coating leather: Apply thin, warm pitch to leather surface and work it in with a cloth. One coat provides water resistance; two coats provides full waterproofing. Viking-era water bottles and leather bags used this technique.
Pitch cures as it cools. Full hardness is reached within 1-2 hours. It remains slightly flexible at room temperature if beeswax was added.
Store and Reuse
Store and Reuse
Pitch stores indefinitely as a solid block. Pour excess warm pitch onto a flat stone or into a mold (bark box, seashell) and let it cool. Store in a cool, dry place away from direct sunlight.
To reuse, simply reheat the block until soft and workable. Pitch can be remelted and reused many times without losing its properties. This made it the most practical adhesive and sealant available before modern chemistry.
The Viking tar industry was enormous — pitch kilns (tjärdalar) have been found across Scandinavia. Sweden exported pitch and tar throughout the medieval period, and it remained essential for shipbuilding through the Age of Sail. Stockholm tar (a refined form) was a major trade commodity through the 18th century.
CC0 Domaine public
Ce blueprint est publié sous CC0. Vous êtes libre de copier, modifier, distribuer et utiliser ce travail pour tout usage, sans demander la permission.
Soutenez le Maker en achetant des produits via son Blueprint où il perçoit une Commission Maker définie par les Vendeurs, ou créez une nouvelle itération de ce Blueprint et incluez-le comme connexion dans votre propre Blueprint pour partager les revenus.