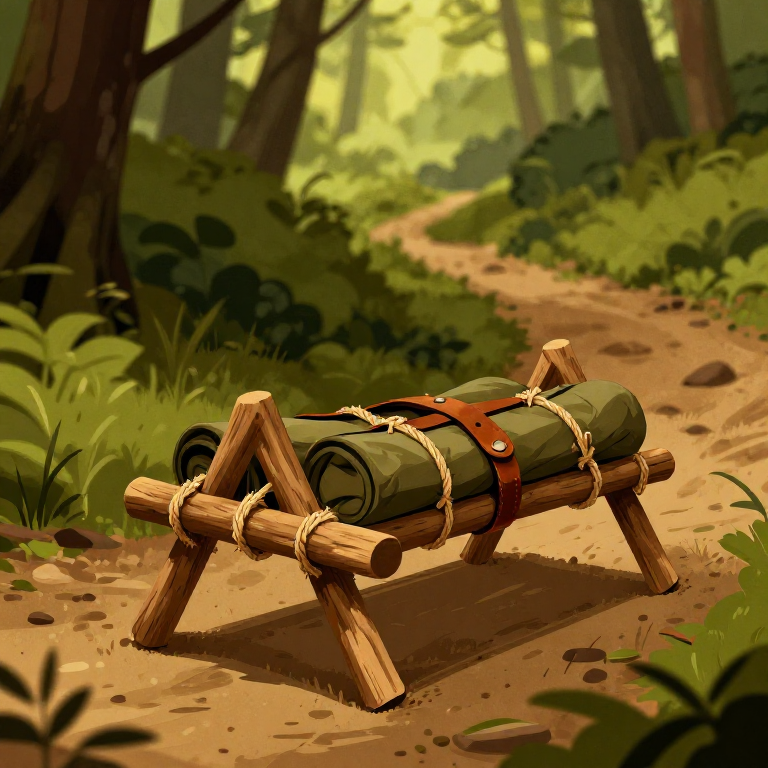
Building a Carrying Frame (Pack Frame) — Wooden Backpack for Heavy Loads
Consignes
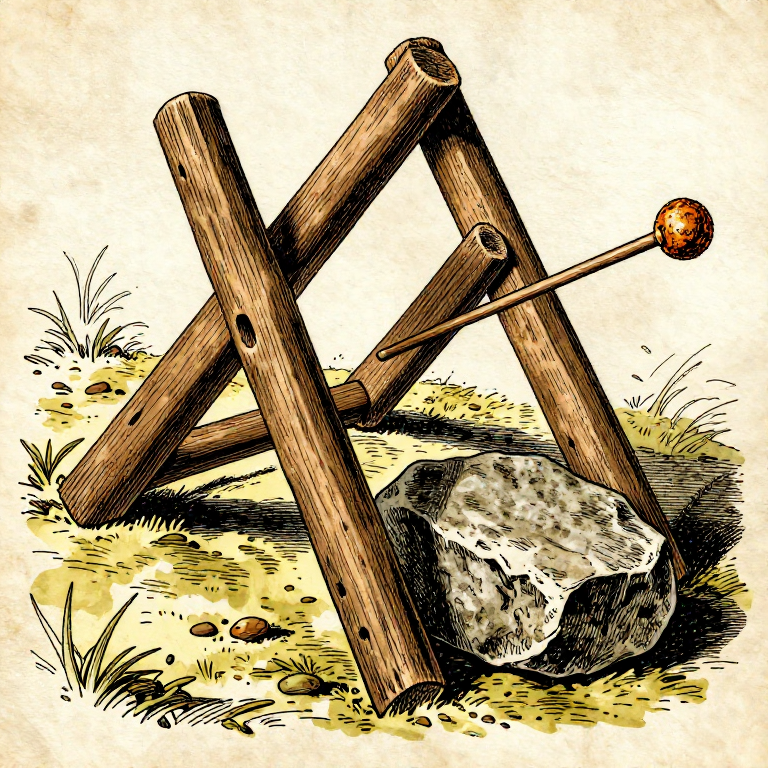
Select and Harvest Two Side Rails
Select and Harvest Two Side Rails
Matériaux pour cette étape :
 Hardwood Sapling2 pièces
Outils nécessaires :
 Flint Knife
Cut the Horizontal Crossbars
Cut the Horizontal Crossbars
Matériaux pour cette étape :
Hardwood Sapling3 piècesOutils nécessaires :
Flint KnifeNotch the Rails for Crossbar Seating
Notch the Rails for Crossbar Seating
Outils nécessaires :
Flint KnifeLash the Crossbars with Rawhide
Lash the Crossbars with Rawhide
Matériaux pour cette étape :
 Rawhide Strips6 pièces
Allow Lashings to Dry Under Tension
Allow Lashings to Dry Under Tension
Create the Shoulder Straps
Create the Shoulder Straps
Matériaux pour cette étape :
Rawhide Strips2 pièces Sinew Thread1 pièce
Outils nécessaires :
 Bone Awl
Attach Shoulder Straps to the Top Crossbar
Attach Shoulder Straps to the Top Crossbar
Matériaux pour cette étape :
Rawhide Strips2 piècesAttach Shoulder Straps to the Bottom Crossbar
Attach Shoulder Straps to the Bottom Crossbar
Outils nécessaires :
Bone AwlAdd a Waist Strap for Stability
Add a Waist Strap for Stability
Matériaux pour cette étape :
 Cordage1 pièce
Weave a Cargo Net Between the Crossbars
Weave a Cargo Net Between the Crossbars
Matériaux pour cette étape :
Cordage2 bottesTest the Frame with a Moderate Load
Test the Frame with a Moderate Load
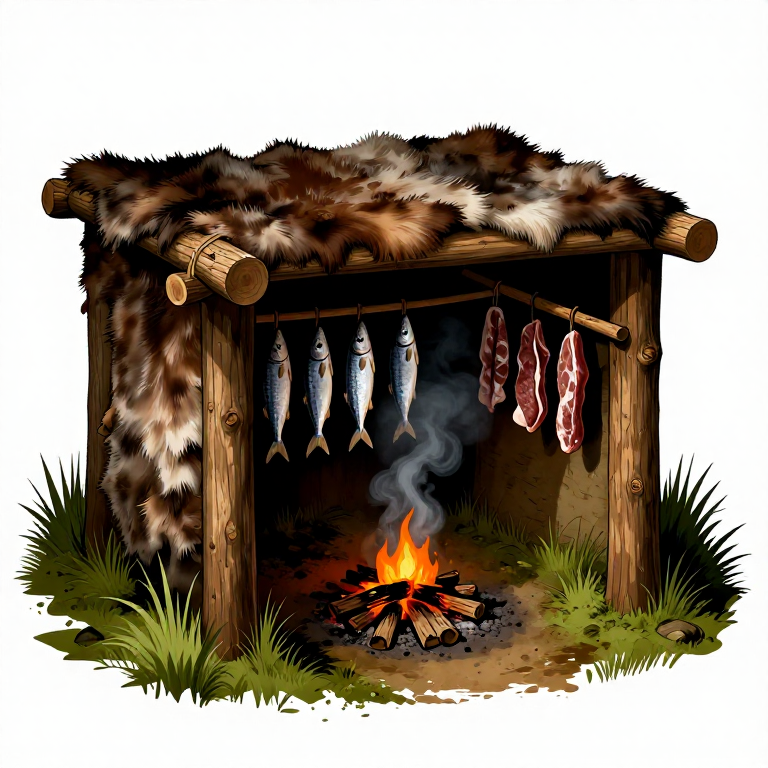
Reinforce and Weatherproof the Frame
Reinforce and Weatherproof the Frame
Matériaux pour cette étape :
 Tallow50 g
Matériaux
6- 5 piècesEspace réservé
- 10 piècesEspace réservé
- 1 pièceEspace réservé
- Espace réservé
Matériaux des Blueprints connectés
Blueprints liés
Ces blueprints partagent des connaissances — techniques, matériaux ou principes
Related blueprints
Other builds that share materials, tools, or techniques with this one.

CC0 Domaine public
Ce blueprint est publié sous CC0. Vous êtes libre de copier, modifier, distribuer et utiliser ce travail pour tout usage, sans demander la permission.
Soutenez le Maker en achetant des produits via son Blueprint où il perçoit une Commission Maker définie par les Vendeurs, ou créez une nouvelle itération de ce Blueprint et incluez-le comme connexion dans votre propre Blueprint pour partager les revenus.