ART
BEAUTÉ ET BIEN-ÊTRE
ARTISANAT
CULTURE ET HISTOIRE
DIVERTISSEMENT
ENVIRONNEMENT
NOURRITURE ET BOISSONS
AVENIR VERT
INGÉNIERIE INVERSE
SCIENCES
SPORTS
TECHNOLOGIE
TECHNOLOGIE PORTABLE
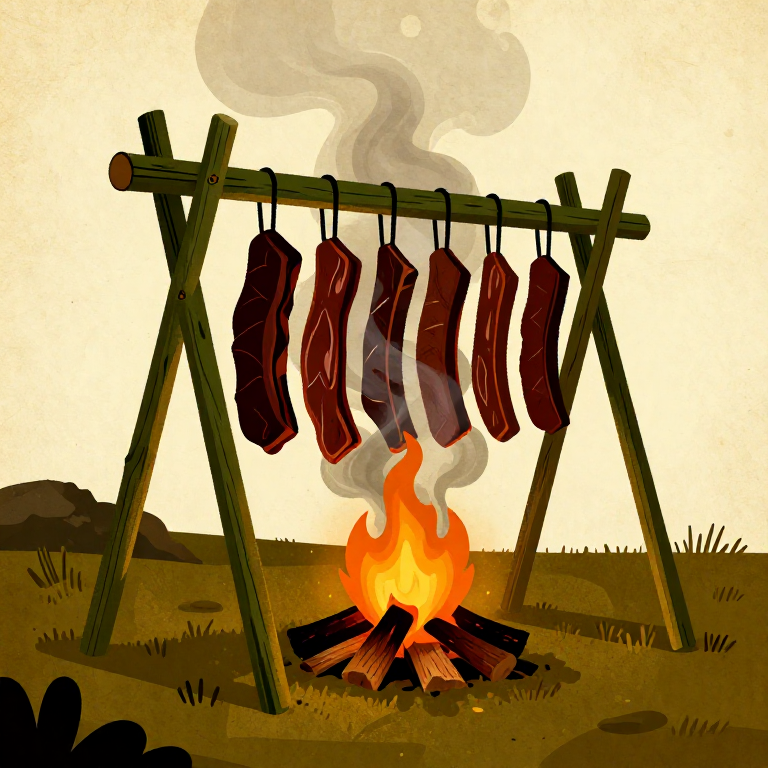
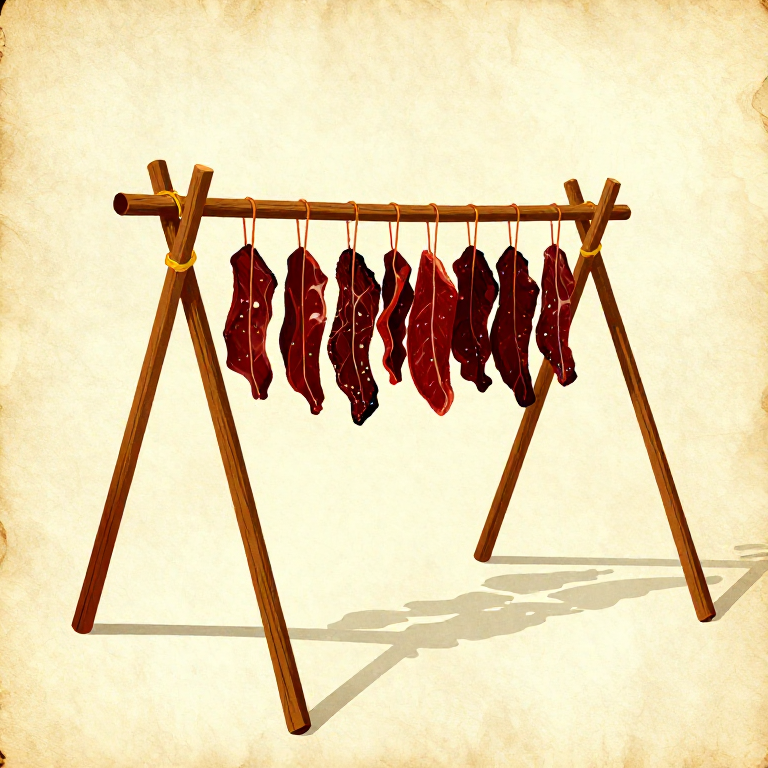
Drying and Smoking Meat over a Fire — Prehistoric Food Preservation
Before salt curing, canning, or refrigeration, smoking and air-drying were humanity's primary methods for preserving meat. The technique combines two preservation mechanisms: heat-driven dehydration removes the water that bacteria need to grow, while phenolic compounds in wood smoke (creosols, guaiacol, syringol) coat the meat surface with antimicrobial and antioxidant chemicals that inhibit spoilage for weeks to months. Archaeological evidence of smoking racks — post holes arranged around fire pits — dates to at least 30,000 years ago. The process was universal: every culture with access to fire and animal protein developed some form of smoke preservation. This blueprint teaches the complete primitive smoking process using a pole-frame rack over a smouldering hardwood fire, producing jerky-style dried meat and hot-smoked cuts suitable for weeks of storage without refrigeration.
Débutant
6-12 hours
Consignes
1
1
Select and Prepare the Meat
Select and Prepare the Meat
Use lean meat from any game animal — venison, elk, bison, rabbit, or fish. Fat does not preserve well by smoking and turns rancid quickly, so trim all visible fat and connective tissue. Cut the meat into thin strips 3 to 6 mm thick, cutting with the grain for chewy jerky or across the grain for tender strips. Uniform thickness ensures even drying.
2
2
Slice Meat for Maximum Surface Area
Slice Meat for Maximum Surface Area
The thinner the slices, the faster and more completely they dry. Hold the meat firm on a flat stone and slice with a sharp flint blade, keeping the blade angle low to produce thin, even sheets. For fish, fillet along the backbone and open flat, or cut into strips along the length of the fillet. Score thick sections with shallow cuts to help smoke penetrate.
3
3
Build the Smoking Rack
Build the Smoking Rack
If you do not already have a smoking rack, construct a simple frame: drive four forked green-wood poles into the ground forming a rectangle about 60 by 90 cm, with the forks at 60 to 90 cm height. Lay green-wood crossbars across the forks to form a grate. The rack must be sturdy enough to hold several kilograms of meat without sagging. Green wood will not catch fire as easily as dry wood.
Matériaux pour cette étape :
 Hardwood Sapling6 pièces
4
4
Build a Smouldering Fire
Build a Smouldering Fire
Build a small fire directly beneath the rack using hardwood — oak, hickory, alder, maple, or fruit woods produce the best smoke flavour. Once the fire has burned down to a bed of coals, add green wood chips, damp sawdust, or small green branches to produce thick, cool smoke. The goal is dense smoke with minimal flame — flames cook rather than smoke the meat and can burn it.
5
5
Lay the Meat on the Rack
Lay the Meat on the Rack
Drape the meat strips over the crossbars or lay them flat on the grate, leaving space between each piece for smoke circulation. The strips should not touch each other — contact points trap moisture and create spoilage zones. For fish fillets, place them skin-side down. Thicker pieces go closer to the centre where smoke is densest.
6
6
Maintain Steady, Cool Smoke
Maintain Steady, Cool Smoke
Keep the fire smouldering — not blazing — for the entire smoking period. Add damp green wood or handfuls of green leaves whenever the smoke thins. The temperature at the rack should be 40 to 60 degrees Celsius for cold smoking (preservation only) or 70 to 90 degrees for hot smoking (cooks and preserves simultaneously). You should be able to hold your hand at rack height for 3 to 5 seconds.
7
7
Turn the Meat Periodically
Turn the Meat Periodically
Every 2 to 3 hours, flip each piece of meat to expose both sides evenly to smoke and heat. Check for pieces that are drying faster than others (edges and thin spots) and move them to the cooler edges of the rack. Move undercooked pieces toward the centre where smoke is thickest. Even exposure prevents case hardening — a dry shell that traps moisture inside.
8
8
Test for Doneness
Test for Doneness
Thin jerky strips are done after 4 to 8 hours of steady smoking. The meat should be dark brown to nearly black on the surface, dry and leathery to the touch, and bend without snapping. If it snaps like a twig, it is over-dried (still edible but very hard). If it bends and feels moist inside, continue smoking. Fish is done when it flakes cleanly and shows no translucent areas.
9
9
Cool and Condition the Smoked Meat
Cool and Condition the Smoked Meat
Remove the finished pieces from the rack and let them cool completely in open air — not in a sealed container, which traps residual moisture. After cooling for 1 to 2 hours, pack the pieces loosely in a basket or bark container. Over the next 24 hours the remaining internal moisture redistributes evenly through the meat, a process called conditioning.
10
10
Store in a Cool, Dry, Ventilated Place
Store in a Cool, Dry, Ventilated Place
Properly smoked and dried jerky stores for 2 to 4 weeks at ambient temperature in a ventilated container, or several months in cool, dry conditions. Hang the container from a shelter ceiling where air circulates and rodents cannot reach it. If mould appears on the surface, wipe it off with a dry cloth — surface mould on well-dried meat is cosmetic, not a safety concern, as the interior remains dry and preserved.
11
11
Make Pemmican for Long-Term Storage
Make Pemmican for Long-Term Storage
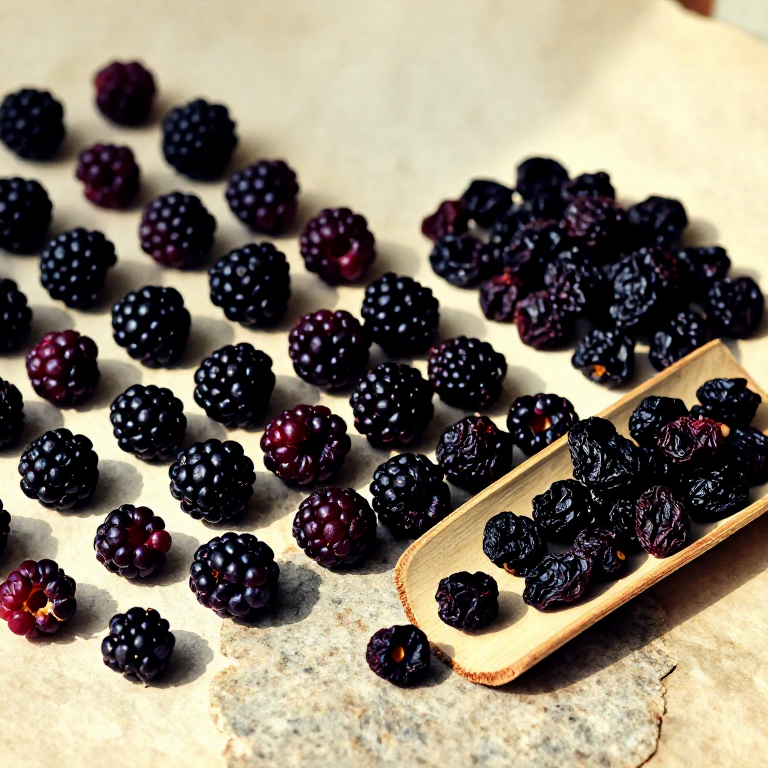
For storage lasting months to years, pound the dried smoked meat to a fine powder using a stone mortar. Mix the powdered meat with an equal volume of rendered animal fat (tallow) and optionally dried berries. Pack the mixture tightly into rawhide containers or bark boxes. Pemmican is one of the most calorie-dense and shelf-stable foods ever created — an essential travel and winter survival food.
Outils nécessaires :
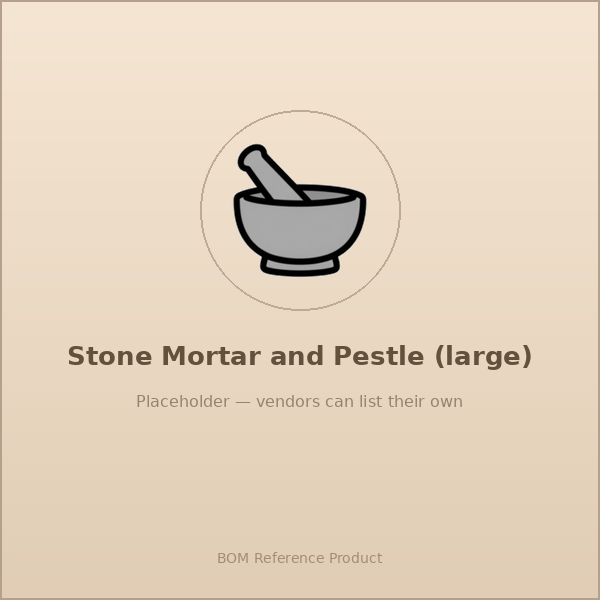 Stone Mortar and Pestle (large)
Matériaux
1- 6 piècesEspace réservé
Outils requis
1- Espace réservé
Matériaux des Blueprints connectés
Blueprints liés
Ces blueprints partagent des connaissances — techniques, matériaux ou principes
Related blueprints
Other builds that share materials, tools, or techniques with this one.
Drying Berries and Fruits in the Sun — Prehistoric Food Preservationcooking
Extracting Salt from Seawater by Boiling — Prehistoric Salt Productioncooking
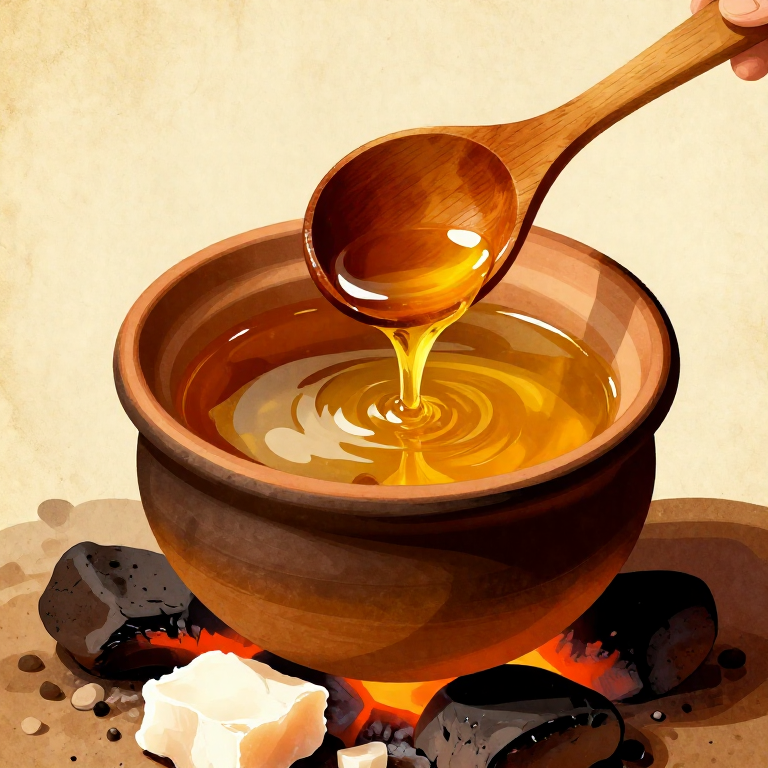
Rendering Animal Fat into Tallow by Hot-Stone Boiling — Prehistoric Fat Processingcooking
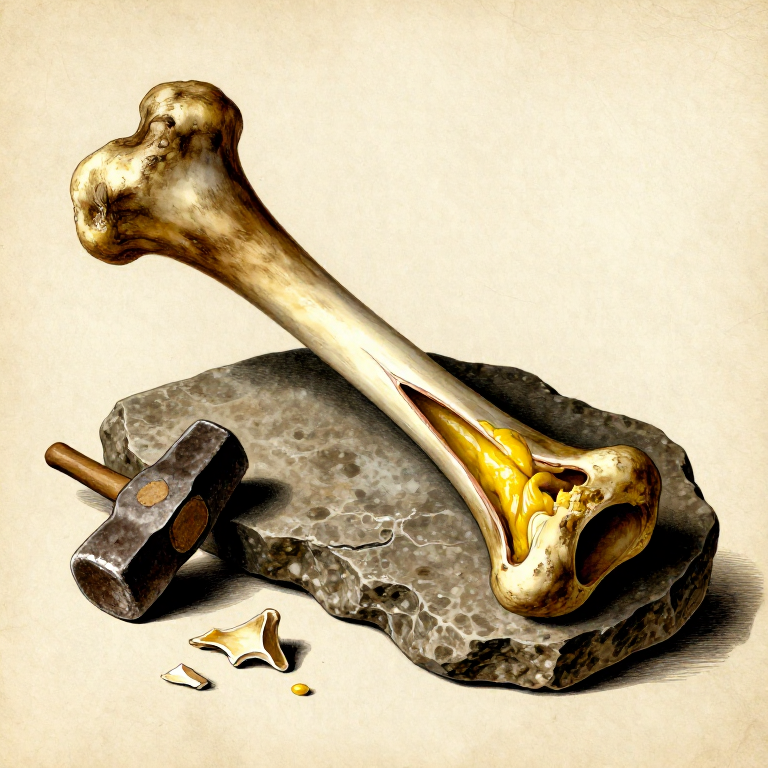
Extracting Bone Marrow by Percussion Splitting — Prehistoric Calorie-Dense Food Processingcooking
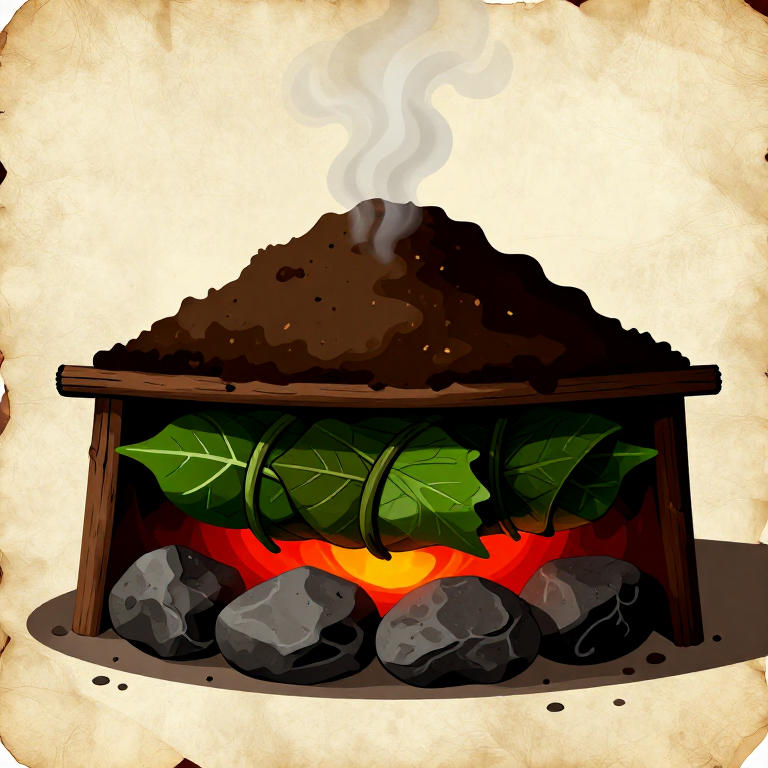
Building and Cooking in an Earth Oven — Underground Pit Roastingcooking
Building a Food Drying Rack — Sun and Wind Preservation Framecooking
CC0 Domaine public
Ce blueprint est publié sous CC0. Vous êtes libre de copier, modifier, distribuer et utiliser ce travail pour tout usage, sans demander la permission.
Soutenez le Maker en achetant des produits via son Blueprint où il perçoit une Commission Maker définie par les Vendeurs, ou créez une nouvelle itération de ce Blueprint et incluez-le comme connexion dans votre propre Blueprint pour partager les revenus.