ART
BEAUTÉ ET BIEN-ÊTRE
ARTISANAT
CULTURE ET HISTOIRE
DIVERTISSEMENT
ENVIRONNEMENT
NOURRITURE ET BOISSONS
INGÉNIERIE INVERSE
SCIENCES
SPORTS
TECHNOLOGIE
TECHNOLOGIE PORTABLE
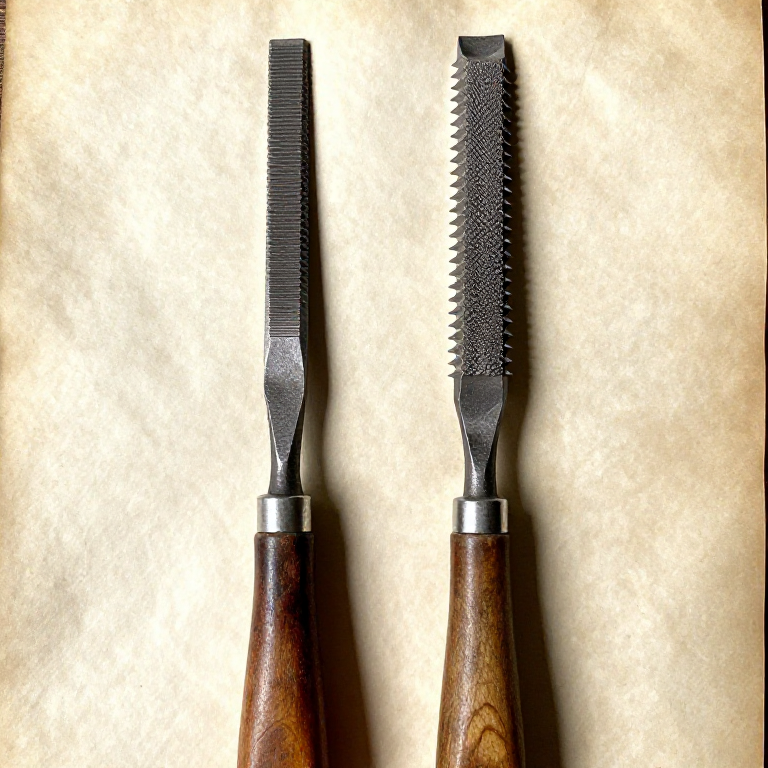


Rasps and Files for Wood: Why the Teeth Are Completely Different
Take a metalworking file to a piece of wood and it will clog solid in about four strokes. The teeth are far too close together for a wood chip, which is bulky and fibrous where a metal chip is a tiny curl.
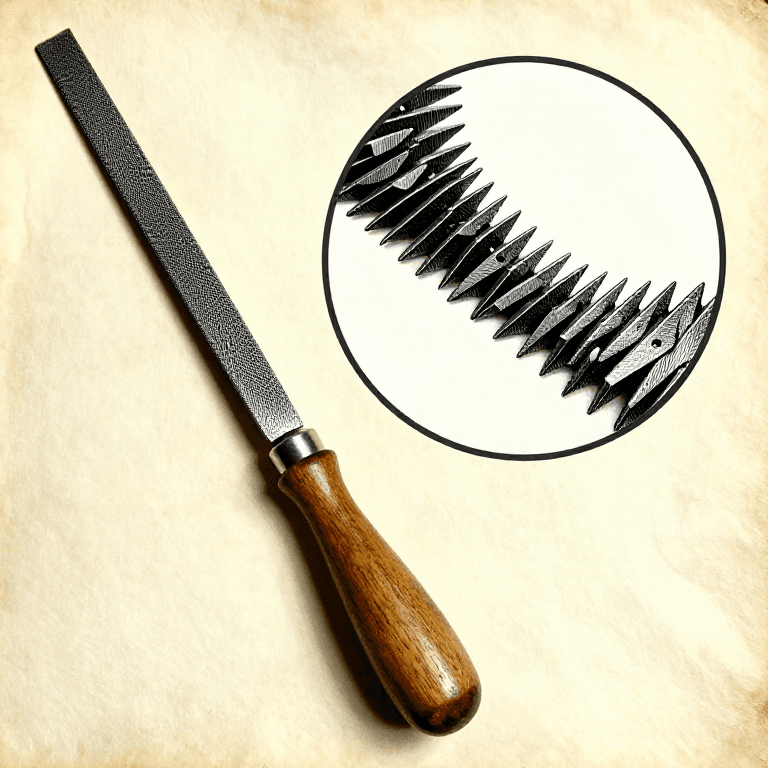
So wood gets a RASP: individually punched teeth, widely spaced, each standing alone with an enormous open space around it. It tears rather than cuts, leaves a rough surface, and removes wood astonishingly fast.
Between the two sits the cabinet rasp and the wood file, and knowing which to reach for at which stage is most of the skill. This rung also covers the one thing all of them share: work with the grain, or you tear it.
Débutant
3 hours
Consignes
1
1
Compare the teeth side by side
Compare the teeth side by side
Lay a metal file and a rasp next to each other under a loupe. The file has continuous rows a fraction of a millimetre apart; the rasp has individual raised points several millimetres apart, each punched up out of the surface.
That spacing is the whole design. A wood shaving is bulky, springy and does not break up, so it needs somewhere to go — and a rasp gives each tooth a gullet many times the size of the chip. A metal file gives it almost nothing, which is why wood packs it solid immediately.
The corollary is that a rasp is useless on metal: the widely spaced points dig in, chatter, and chip themselves. The two tools genuinely cannot be swapped, and this is not a matter of quality or coarseness.
Outils nécessaires :
 Râpe
Râpe Lime à métaux
 Loupe de bijoutier
2
2
The progression: rasp, cabinet rasp, file, abrasive
The progression: rasp, cabinet rasp, file, abrasive
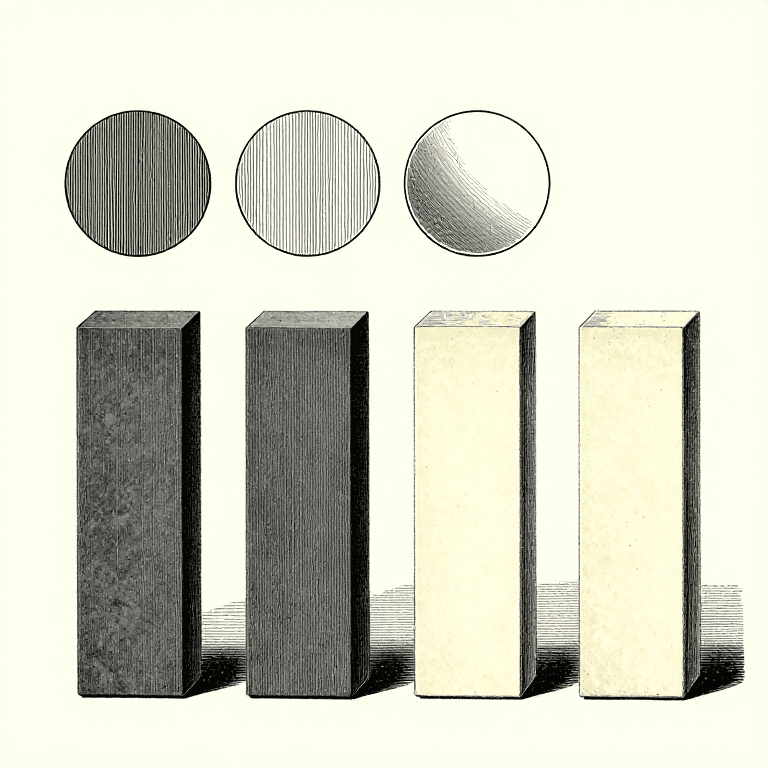
Start with a coarse rasp to get the shape, move to a fine or cabinet rasp to remove the worst of the tearing, then a wood file to take out the rasp marks, then abrasive paper.
Each stage exists to remove the damage left by the previous one, exactly as the sharpening grit progression does — and skipping a stage costs time for the same reason, because the finer tool has to work through deeper marks at its own much slower rate.
The coarse rasp does the shaping and should be used boldly; everything after it is repair work. Spending a long time with a coarse rasp trying to be delicate is the wrong way round — shape fast, then change tool.
Matériaux pour cette étape :
 Planche de bois dur1 pièce
 Assortiment de papier abrasif1 pièce
Outils nécessaires :
Râpe Râpe à bois
 Limes à main
3
3
Work with the grain, and support the fibres
Work with the grain, and support the fibres
Push the rasp diagonally across the work but angled so it travels WITH the grain rather than against it. Against the grain, the teeth lift fibres and tear out chunks below the surface you are cutting.
Around a curve the grain direction changes as you go, so the correct stroke direction changes with it. Where the grain runs downhill into the cut, you are with it; where it runs uphill, reverse and come at that part from the other side. Watch the surface: tearing is immediately visible as a rough torn patch rather than a cleanly abraded one.
End grain tears worst of all. Back it with a scrap block clamped tight against the exit side, so the fibres at the edge are supported and cannot break away — the same trick that stops a drill bit blowing out the back of a hole.
Matériaux pour cette étape :
Planche de bois dur1 pièce Planche de résineux sec1 pièce
Outils nécessaires :
Râpe Étau d'établi lourd
4
4
Keep them clear — wood clogs worse than metal
Keep them clear — wood clogs worse than metal
Resinous softwood packs a rasp faster than aluminium packs a file, and a clogged rasp burnishes the wood instead of cutting it, which looks like the tool has gone blunt.
Clear it with a file card the same way, brushing along the rows. For a rasp, the points are individual so the direction matters less, but packed resin needs more than a brush — a stiff bristle brush and hot soapy water, dried immediately, or a wipe with solvent.
Rasps are also far more forgiving to store than files, but the same rule applies: a rasp whose points have been knocked flat against another tool leaves scratches it cannot be persuaded out of. Hang them, keep them dry, and a good rasp will outlast several generations of abrasive paper.
Outils nécessaires :
 Brosse à limesRâpeRâpe à bois
 Tissu de coton
Matériaux
3- 1 pièceEspace réservé
- Espace réservé
- 1 pièceEspace réservé
Outils requis
8- Espace réservé
- Espace réservé
- Espace réservé
- Espace réservé
- Espace réservé
- Espace réservé
- Espace réservé
- Espace réservé
Blueprints liés
Ces blueprints partagent des connaissances — techniques, matériaux ou principes
CC0 Domaine public
Ce blueprint est publié sous CC0. Vous êtes libre de copier, modifier, distribuer et utiliser ce travail pour tout usage, sans demander la permission.
Soutenez le Maker en achetant des produits via son Blueprint où il perçoit une Commission Maker définie par les Vendeurs, ou créez une nouvelle itération de ce Blueprint et incluez-le comme connexion dans votre propre Blueprint pour partager les revenus.