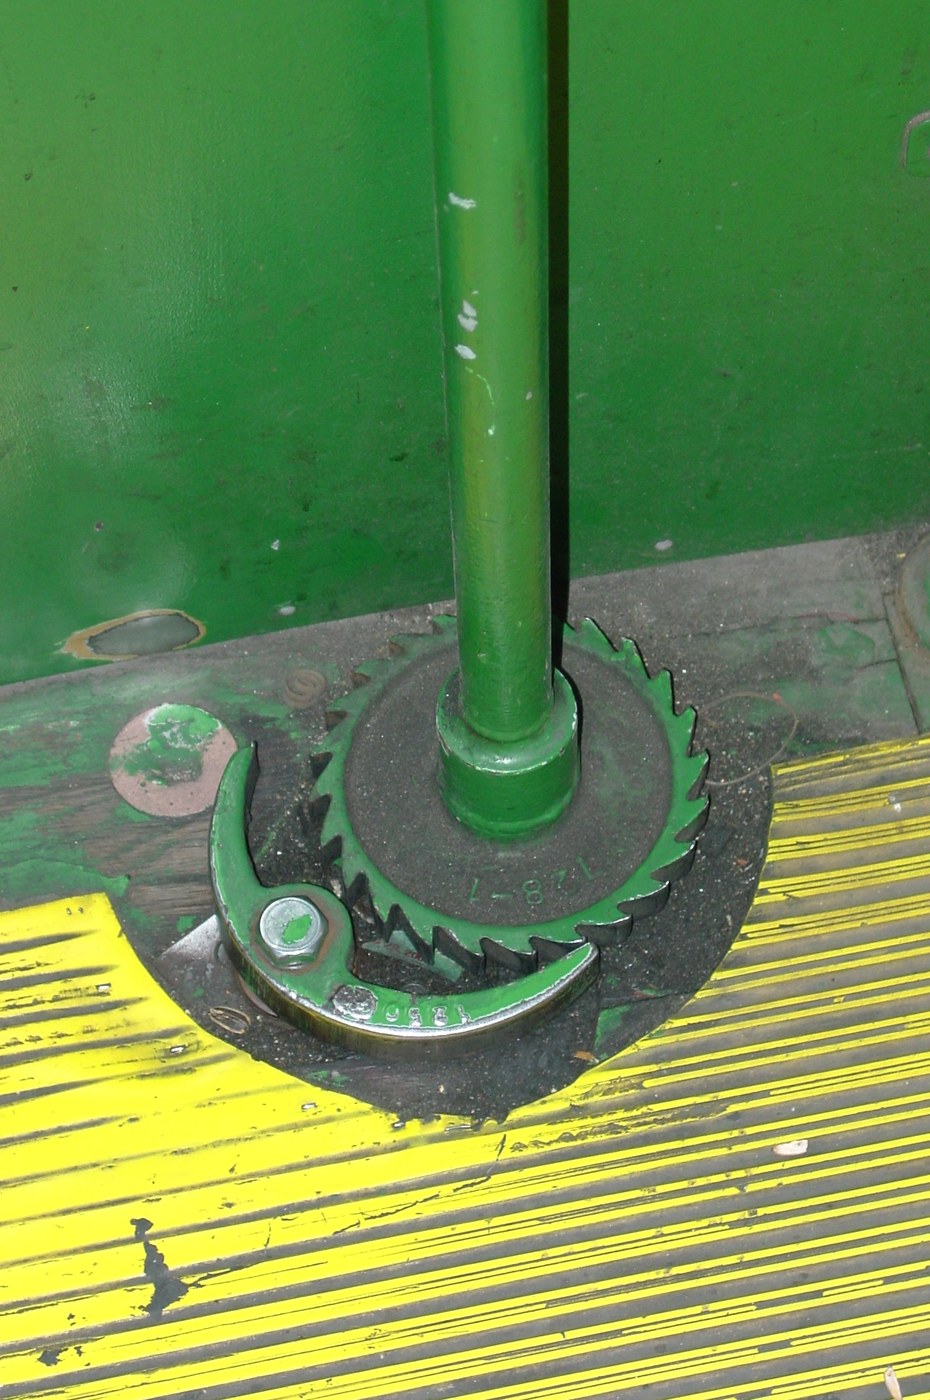


Ratchet and Pawl
Consignes
Set out 24 teeth with the right asymmetry
Set out 24 teeth with the right asymmetry
The tooth shape is the entire engineering. Draw it before cutting it.
- Scribe a 120 mm disc on 6 mm aluminium flat bar and mark 24 divisions, one every 15 degrees.
- For each tooth, draw the WORKING face along a radius, or leaned back from radial by no more than about 5 degrees.
- Draw the BACK of each tooth as a shallow ramp running from the tip of one working face to the root of the next.
- Mark the centre and drill 8.0 mm for a 608 bearing.
Why radial matters. With the working face on a radius, the load line passes through the pawl pivot and simply presses the pawl into the tooth — it cannot lever itself out. Lean that face the other way, even slightly, and the load develops a component that lifts the pawl. That is a ratchet that slips under exactly the load it was fitted to hold.
This is the one place where getting the drawing right saves the whole build. Check each working face against a line drawn to the centre before you cut.Matériaux pour cette étape :
 Plat en aluminium1 pièce
 Ball Bearing - Non-Flanged (8mm Bore, 22mm OD)1 pièce
Outils nécessaires :
 Équerre combinée
 Pointeau
 Pied à coulisse numérique 6 pouces
 Perceuse sans fil
 Jeu de forets
Cut and file the teeth
Cut and file the teeth
Slow work, and the working faces are what deserve the care.
- Rough out the disc with the hacksaw or jigsaw and file the rim true.
- Saw down each working face first, on the waste side of your line.
- File each ramp back from the tip of one face to the root of the next.
- Finish every working face with a flat file, checking it stays on the radial line.
- Deburr both sides.
Outils nécessaires :
 Monture de scie à métaux avec lames
 Scie sauteuse
 Jeu de limes
 Étau d'établiPied à coulisse numérique 6 pouces
Make the pawl and place its pivot correctly
Make the pawl and place its pivot correctly
Where the pawl pivots matters as much as the tooth shape.
- Cut a pawl 70 × 18 mm from 6 mm aluminium flat bar, with a nose filed to match the tooth root.
- Drill its pivot hole 4.2 mm.
- Mount the ratchet to an 18 mm ply base through its bearing, using an M5 × 40 socket head cap screw, M5 flat washer × 2 and M5 hex nut × 1.
- Position the pawl pivot so that a line from the pivot to the contact point runs roughly ALONG the working face when engaged.
- Fix it with an M4 × 25 socket head cap screw, M4 flat washer × 2 and an M4 nylon insert lock nut set for free swing.
Matériaux pour cette étape :
 Contreplaqué de bouleau de Baltique1 feuillePlat en aluminium1 pièce
 Vis à tête cylindrique à six pans creux1 pièce
 Rondelle plate2 pièces
 Écrou frein à bague nylon1 pièceRondelle plate2 pièces
 Écrou hexagonal1 pièce
Outils nécessaires :
Monture de scie à métaux avec lamesJeu de limesPerceuse sans filJeu de forets Jeu de clés AllenÉquerre combinée
Add the lightest spring that works
Add the lightest spring that works
The spring's only job is to return the pawl. It should not be holding anything.
- Fit a light compression spring from the base to the pawl's tail, so it presses the nose toward the teeth.
- Turn the ratchet in the free direction — the pawl should click over each ramp and drop cleanly into each root.
- Turn it in the locked direction and load it by hand. It must not move.
- Now remove the spring entirely and load it again in the locked direction.
Matériaux pour cette étape :
 Jeu de ressorts de compression1 jeuVis à tête cylindrique à six pans creux1 pièceRondelle plate2 pièces
Outils nécessaires :
Jeu de clés AllenPerceuse sans filJeu de limesResolution, and history
Resolution, and history
Measure what the tooth count costs you.
- Your 24-tooth wheel can only be held every 15 degrees — that is its resolution.
- Work out what 48 teeth would give, and 72.
- Then consider the tooth ROOT area at each count, on the same diameter.
Finer teeth mean less lost motion before the pawl catches, and a weaker tooth. That is the whole design tension in a ratchet, and it is why a cheap socket wrench has a coarse loud action and an expensive one has 72 or 90 teeth in hardened steel — the fine-toothed version needs better material to survive the same torque on a smaller tooth.
History. The ratchet is ancient — it appears in Greek and Roman crossbow windlasses and in medieval cranes, where a load must never be allowed to run back. There is no single inventor and no patent to point at; it is one of the mechanisms humanity arrived at repeatedly because the need is universal.
What it does that nothing else here does: every other mechanism in this batch transforms motion. The ratchet PERMITS or FORBIDS it. That is a different category of job, and it is why ratchets appear inside other mechanisms rather than competing with them — in a winch alongside a worm drive, in a clock alongside an escapement, in a jack alongside a screw.
Its honest limits: it holds only at discrete positions, it makes noise by design, and it is a one-way device — reversing means a second pawl or a reversible one, which is exactly what the reversing lever on a socket wrench does. A friction brake holds anywhere but can slip; a worm drive holds continuously but only if it is self-locking. Three ways to stop something running backwards, each with a different failure mode.
Outils nécessaires :
Pied à coulisse numérique 6 poucesMatériaux
9- 1 pièceEspace réservé
- Ball Bearing - Non-Flanged (8mm Bore, 22mm OD)10 % de commission1 pièce€1.12
- 1 feuilleEspace réservé
- Espace réservé
- 2 piècesEspace réservé
- 1 pièceEspace réservé
- 2 piècesEspace réservé
- 1 pièceEspace réservé
- Espace réservé
Outils requis
10- Espace réservé
- Espace réservé
- Espace réservé
- 1 vendor sell this, none ship to you yetEspace réservé
- Espace réservé
- Espace réservé
- 1 vendor sell this, none ship to you yetEspace réservé
- Espace réservé
- Espace réservé
- Espace réservé
Blueprints liés
Ces blueprints partagent des connaissances — techniques, matériaux ou principes
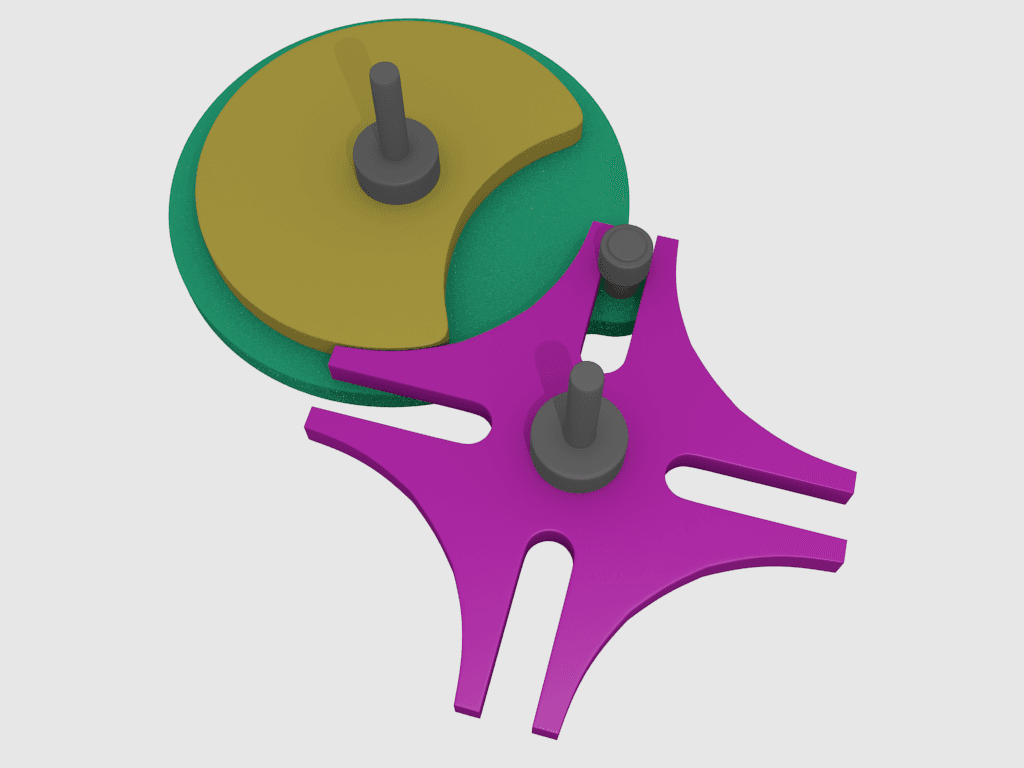
CC0 Domaine public
Ce blueprint est publié sous CC0. Vous êtes libre de copier, modifier, distribuer et utiliser ce travail pour tout usage, sans demander la permission.
Soutenez le Maker en achetant des produits via son Blueprint où il perçoit une Commission Maker définie par les Vendeurs, ou créez une nouvelle itération de ce Blueprint et incluez-le comme connexion dans votre propre Blueprint pour partager les revenus.