ART
BEAUTÉ ET BIEN-ÊTRE
ARTISANAT
CULTURE ET HISTOIRE
DIVERTISSEMENT
ENVIRONNEMENT
NOURRITURE ET BOISSONS
INGÉNIERIE INVERSE
SCIENCES
SPORTS
TECHNOLOGIE
TECHNOLOGIE PORTABLE
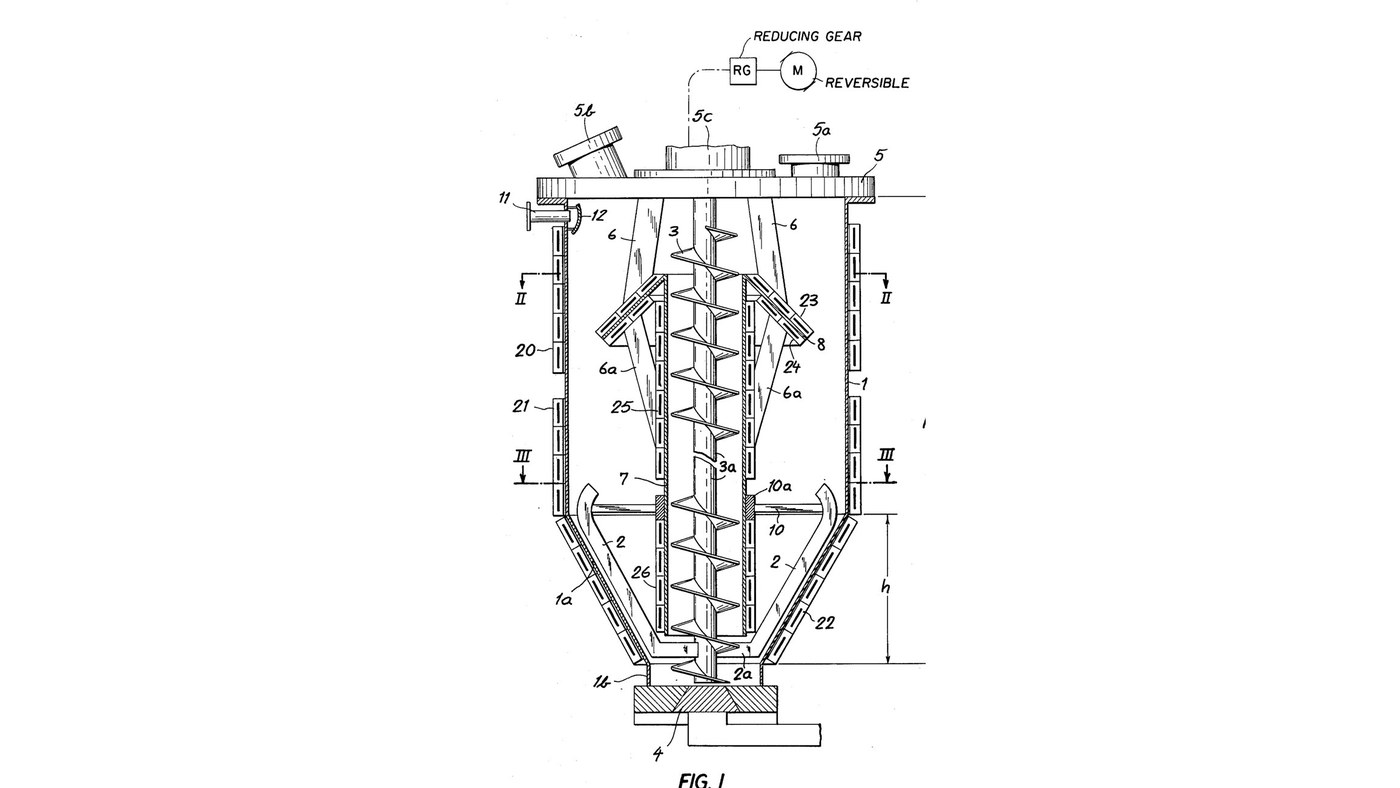


Resin Mixing and Degassing Station: Vacuum Vessel with Worm and Apron
W. Hedrich's mixer (US 4,049,244, 1977) for reactive resins that must be mixed and freed of gas before they set. In a vessel under vacuum a worm lifts the resin up a central tube and spills it over a cone-shaped apron in a thin layer, where the gas escapes; vanes on the worm sweep the funnel bottom and keep it circulating. Peltier elements on the vessel, tube and apron heat or cool each zone. Reversed, the worm drives the batch out through the bottom valve.
The patent gives no sizes, vacuum, speeds or temperatures; it describes an industrial vessel. The picture: the patent's Fig. 1.
Avancé
5 days
Consignes
1
1
Fit the vessel's neck valve and vacuum pipe
Fit the vessel's neck valve and vacuum pipe
Use a metal vessel, cylindrical above with a funnel bottom about one third of its height, ending in a short neck. Fit the discharge valve (4) on the neck, and a side vacuum pipe (11) near the top with a baffle plate (12) inside to keep solids out of the vacuum line. Ours: TIG welder.
Matériaux pour cette étape :
 Cuve de mélange1 pièce
 Vanne à boisseau sphérique1 pièce
 Tube en acier inoxydable1 pièce
 Tôle en acier inoxydable1 pièce
Outils nécessaires :
 Poste à souder TIG
 Clé à molette
2
2
Make the mixing tube and apron
Make the mixing tube and apron
Join a downward-flaring cone apron (8) to the upper end of a tube (7), braced by struts (6a). Hang the tube on struts (6) from the cover.
Matériaux pour cette étape :
Tube en acier inoxydable1 pièceTôle en acier inoxydable1 pièceOutils nécessaires :
Poste à souder TIG3
3
Fit the cover's inlet, window and bearing
Fit the cover's inlet, window and bearing
Fit the removable cover (5) with an inlet fitting (5a) that seals vacuum-tight, a viewing window (5b) with a watch glass to watch the degassing, and a bearing (5c) for the worm shaft; seal it to the vessel.
Matériaux pour cette étape :
 Couvercle de cuve1 pièce
 Raccord fileté pour tuyau1 pièce
 Verre de montre1 pièce
 Roulement à billes1 pièce
 Joint plat1 pièce
Outils nécessaires :
Clé à molette4
4
Fit the worm and its vanes
Fit the worm and its vanes
Pass the worm (3) down through the tube so it just sticks out at the top and reaches into the neck close to the valve. Below the tube, fix agitating vanes (2) on arms (2a) so they sweep close to the funnel wall, steadied by struts (10) on a bearing (10a) riding on the tube.
Matériaux pour cette étape :
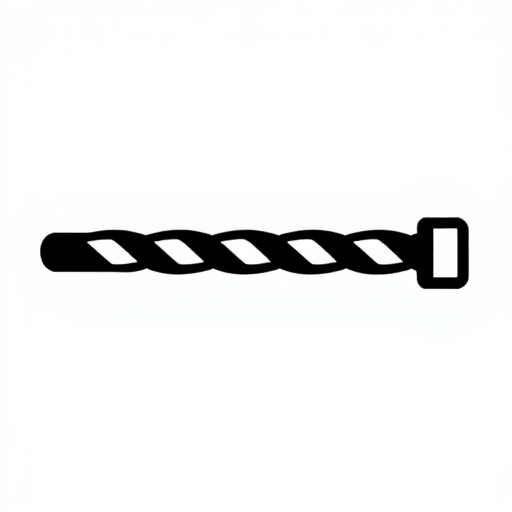 Vis convoyeuse1 pièce
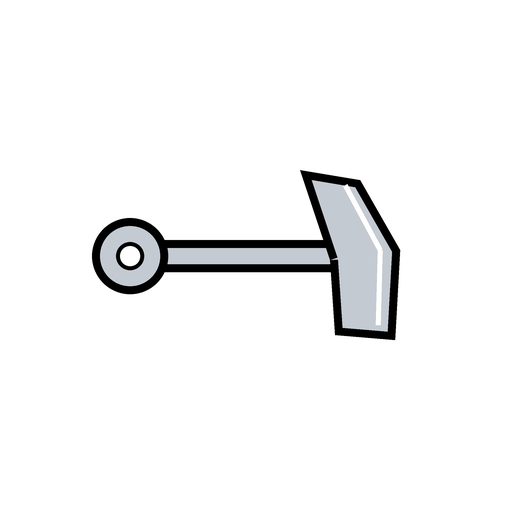 Pale d'agitateur2 pièces
 Douille métallique1 pièce
Outils nécessaires :
Clé à molette5
5
Mount the reversible drive on the cover
Mount the reversible drive on the cover
Mount a reversible variable-speed motor (M) with reduction gearing (RG) on the cover, driving the worm shaft: one way lifts resin up the tube, the other drives it out of the valve.
Matériaux pour cette étape :
 Moteur électrique1 pièce
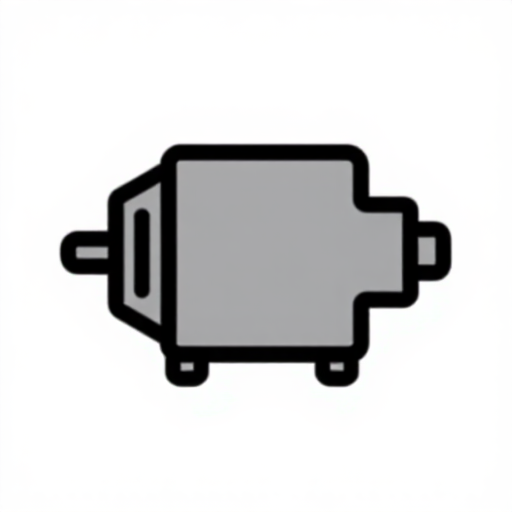 Réducteur à engrenages1 pièce
Outils nécessaires :
Clé à molette6
6
Fit the Peltier elements
Fit the Peltier elements
Fit Peltier elements in electrical contact with the metal in separately switched sets: round the top of the vessel (20), its lower cylinder (21) and its funnel (22), and along the tube and on the apron (23-26), best on the apron's upper face. Reversing a set's polarity swaps heating for cooling.
Matériaux pour cette étape :
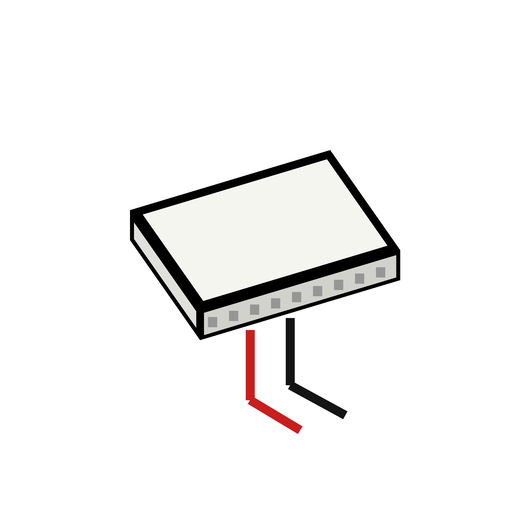 Module Peltier1 pièce
Outils nécessaires :
Clé à molette7
7
Connect the vacuum and run a batch
Connect the vacuum and run a batch
Connect the vacuum pipe to a vacuum pump. With the vessel under vacuum, add the resin components one after another through the inlet; the worm lifts the mix over the apron in a thin layer, and the funnel stays full while it circulates. Reverse the worm with the valve open to empty it.
Outils nécessaires :
 Pompe à vide
Matériaux
15- 1 pièceEspace réservé
- 1 pièceEspace réservé
- 1 pièceEspace réservé
- 1 pièceEspace réservé
- 1 pièceEspace réservé
- 1 pièceEspace réservé
- 1 pièceEspace réservé
- Espace réservé
- 1 pièceEspace réservé
- 1 pièceEspace réservé
- 2 piècesEspace réservé
- 1 pièceEspace réservé
- 1 pièceEspace réservé
- 1 pièceEspace réservé
- 1 pièceEspace réservé

CC0 Domaine public
Ce blueprint est publié sous CC0. Vous êtes libre de copier, modifier, distribuer et utiliser ce travail pour tout usage, sans demander la permission.
Soutenez le Maker en achetant des produits via son Blueprint où il perçoit une Commission Maker définie par les Vendeurs, ou créez une nouvelle itération de ce Blueprint et incluez-le comme connexion dans votre propre Blueprint pour partager les revenus.