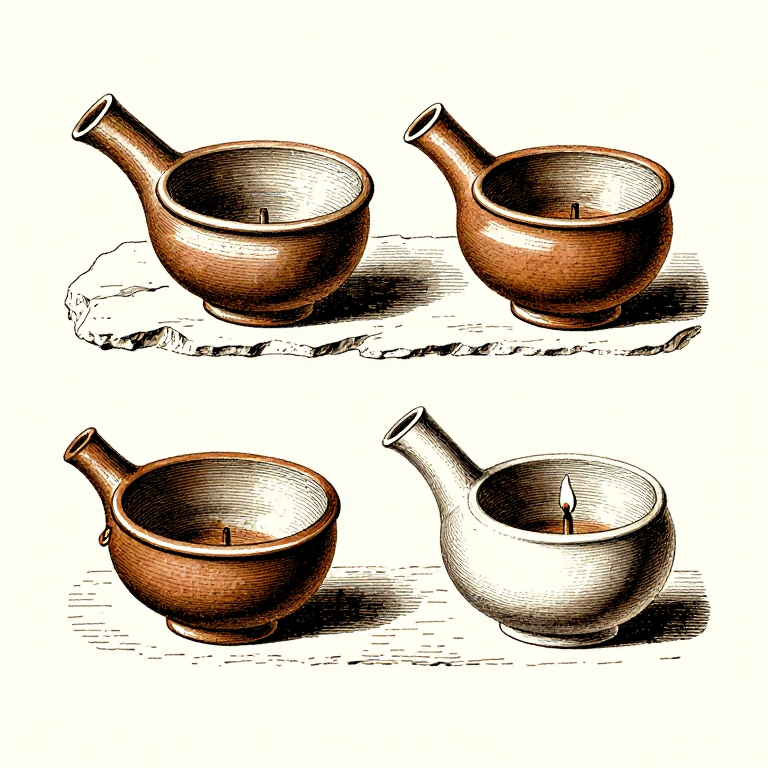
Molding a Volute Oil Lamp from Terracotta — Roman Lighting
Consignes
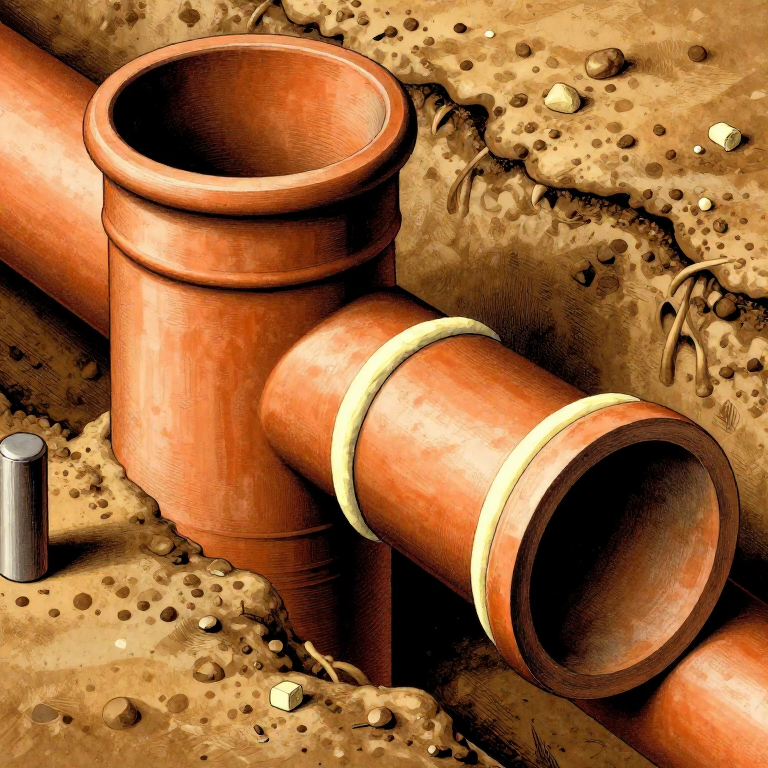
Create or Obtain a Two-Piece Plaster Mould
Create or Obtain a Two-Piece Plaster Mould
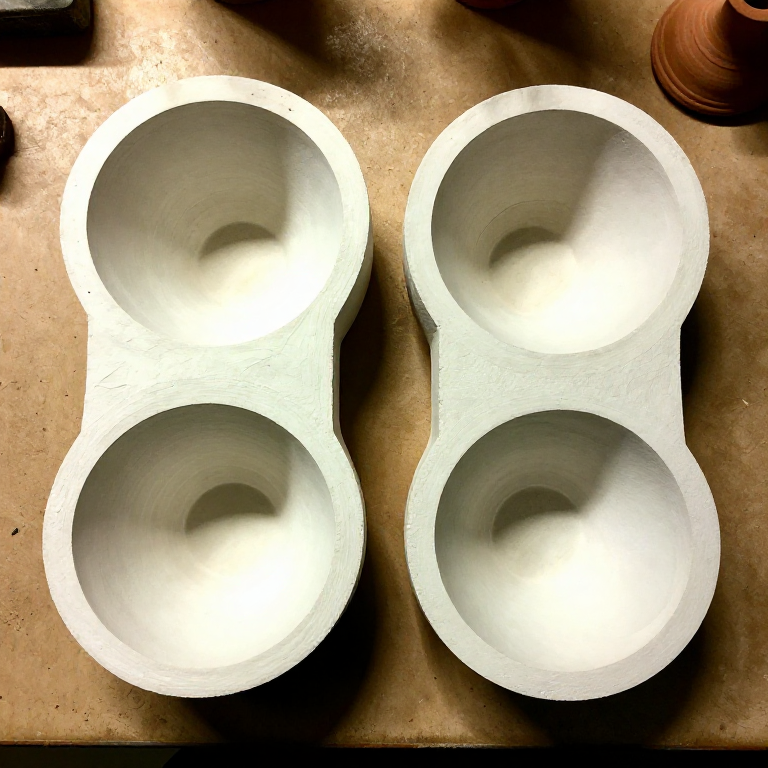
A Roman volute lamp requires a two-piece mould — one for the top (discus and nozzle) and one for the bottom (base and reservoir). To make the mould, first sculpt or obtain an original lamp model. Embed the model halfway into a flat bed of clay with the parting line at the lamp's equator. Build a low wall of clay around it and pour plaster of Paris over the exposed upper half. Once set, flip the assembly, remove the clay bed, apply mould release (olive oil or thin clay slip) to the plaster surface and the lamp's lower half, and pour plaster over the bottom half. When both halves have set and dried (24-48 hours), separate them and remove the original model. You now have a negative mould of each lamp half. Roman lamp workshops used fired clay moulds for durability, but plaster moulds work well for small production runs.
Matériaux pour cette étape :
 Terracotta Clay300-400 grams per lamp pièce
 Plaster of Paris1 kg kg
Outils nécessaires :
Press Clay into the Mould Halves
Press Clay into the Mould Halves
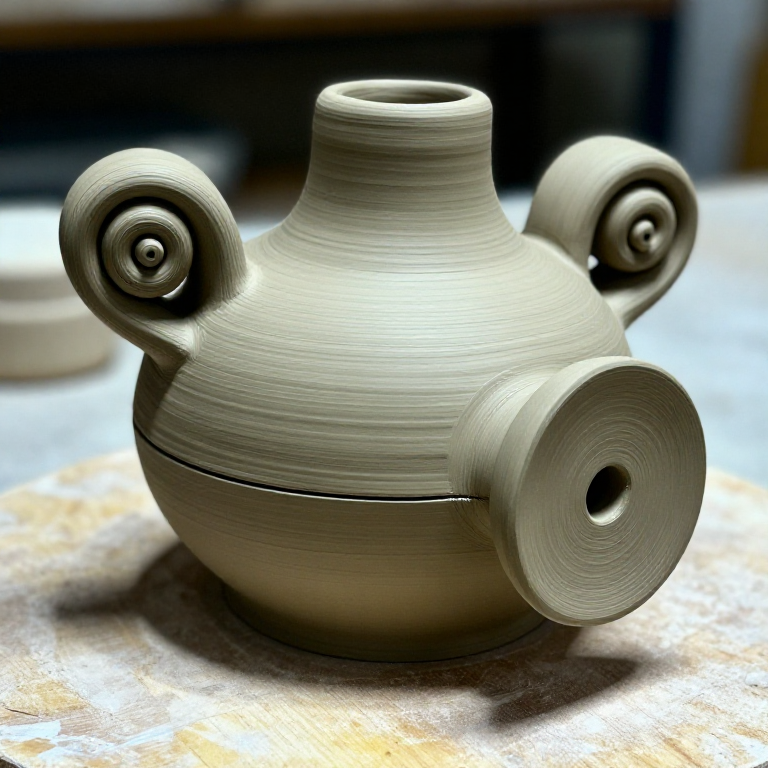
Roll out the terracotta clay into sheets approximately 4 to 5 mm thick. Dust the interior of each mould half lightly with dry clay powder or brush with olive oil to prevent sticking. Press a clay sheet firmly into each mould half, pushing it into every detail of the relief decoration on the discus, the volute scrolls, and the nozzle channel. Use a damp sponge and wooden modelling tools to ensure the clay conforms to all recesses. Trim the excess clay flush with the mould rim using a sharp knife. The wall thickness should be even throughout — approximately 4 mm — to prevent cracking during drying and firing. Allow the clay to stiffen slightly in the moulds until it is leather-hard (firm but not dry), typically 2 to 4 hours depending on humidity.
Join the Two Halves
Join the Two Halves
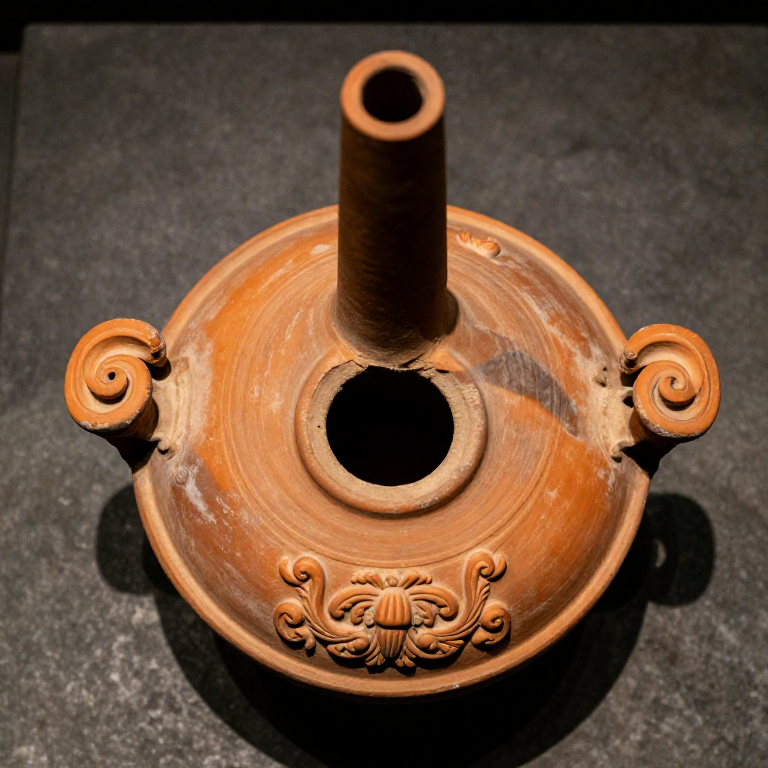
Score the mating edges of both clay halves with crosshatch marks using a pointed tool and apply a thin layer of slip (liquid clay slurry) to the scored surfaces — this is essential for a strong bond. Carefully unmould the top half and place it precisely onto the bottom half still in its mould, aligning the nozzle and edges. Press the seam together firmly, then smooth the join line on the exterior with a damp finger or modelling tool, blending it until invisible. Ensure the filling hole on the discus top and the wick hole at the nozzle tip remain open and clear. If the lamp model includes a handle at the back, attach a pulled or pressed clay handle with the same score-and-slip technique. Remove the joined lamp from the mould and set it on a board to dry.
Apply Slip Coating and Dry
Apply Slip Coating and Dry
When the lamp is leather-hard, apply a thin coat of fine red clay slip (terra sigillata-style slip) to the exterior using a soft brush. This slip fires to a smooth, slightly glossy red-orange surface that is characteristic of Roman lamps. The slip should be applied thinly and evenly — heavy application may flake off during firing. Allow the slip-coated lamp to dry completely — at least 48 hours in a warm, dry room, or longer in humid conditions. The lamp must be bone-dry (no cool feeling when held against the cheek) before firing, as any residual moisture will turn to steam in the kiln and cause the lamp to crack or explode. During drying, the lamp will shrink approximately 5 to 8 percent from its moulded size.
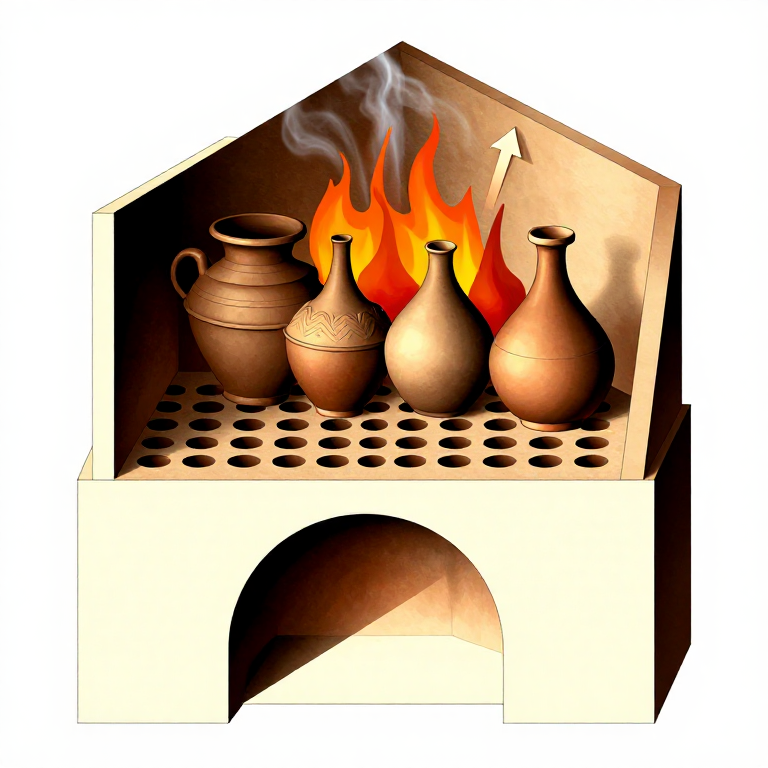
Fire the Lamp
Fire the Lamp
Place the lamp in a kiln and fire slowly, raising the temperature gradually over 2 to 3 hours to avoid thermal shock. Hold at a peak temperature of 900 to 1000 degrees Celsius for approximately one hour. At this temperature, the clay particles sinter together into a hard, waterproof ceramic body, and the red slip vitrifies to a smooth, semi-glossy surface. Allow the kiln to cool slowly overnight before opening. The finished lamp should ring when tapped, indicating a solid, well-fired body. To use the lamp, fill the reservoir with olive oil through the discus hole, insert a twisted linen or papyrus wick through the nozzle hole so that one end is submerged in oil and the other protrudes from the nozzle tip, and light the wick. A Roman oil lamp of this size burns for approximately 2 to 4 hours on a single filling of olive oil.
Matériaux
4- 300-400 grams per lamp pièceEspace réservé
- 1 kg pièceEspace réservé
- small amount pièceEspace réservé
- 100 ml pièceEspace réservé
Outils requis
4- Espace réservé
- Espace réservé
- Espace réservé
Related blueprints
Other builds that share materials, tools, or techniques with this one.
CC0 Domaine public
Ce blueprint est publié sous CC0. Vous êtes libre de copier, modifier, distribuer et utiliser ce travail pour tout usage, sans demander la permission.
Soutenez le Maker en achetant des produits via son Blueprint où il perçoit une Commission Maker définie par les Vendeurs, ou créez une nouvelle itération de ce Blueprint et incluez-le comme connexion dans votre propre Blueprint pour partager les revenus.