

Reading a Potentiometer — SIK Circuit 2
Consignes
Parts & Introduction
Parts & Introduction
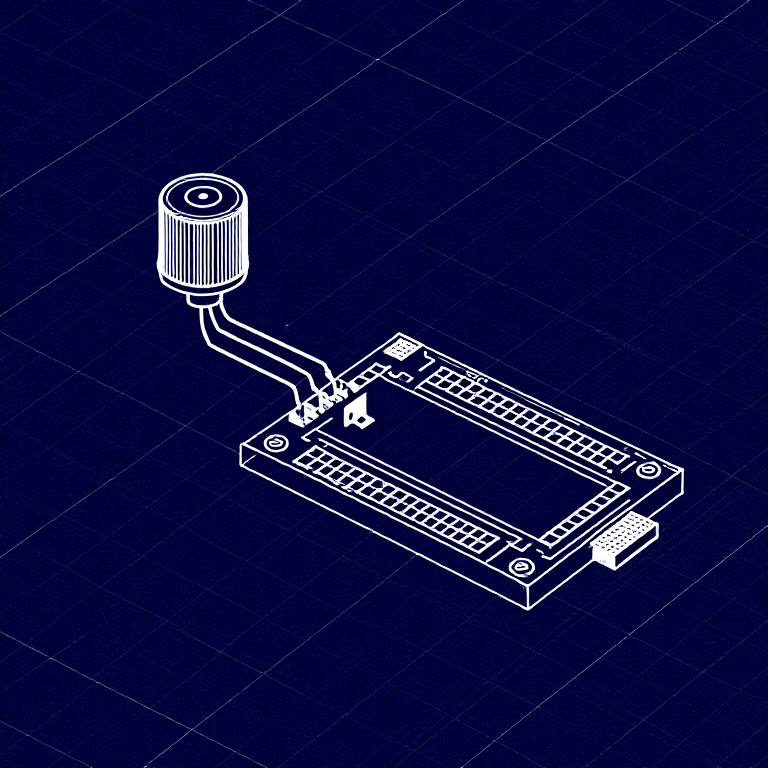
In this experiment you'll use a potentiometer (a variable resistor with a knob) to control how fast an LED blinks. This introduces analogRead() — reading voltage levels between 0 and 5V as values from 0 to 1023.
Parts Needed
- 1x Arduino Uno + USB cable
- 1x Breadboard
- 1x Potentiometer (10K)
- 1x LED (any color)
- 1x 330Ω Resistor
- 6x Jumper Wires
Matériaux pour cette étape :
 SparkFun Inventor's Kit - V3.21 kit
Outils nécessaires :
 Ordinateur avec l'IDE Arduino
Hardware Hookup
Hardware Hookup
Wiring Instructions
- Place the potentiometer in the breadboard. It has three pins.
- Connect the left pin to GND and the right pin to 5V (or vice versa).
- Connect the middle pin (wiper) to Analog Pin A0.
- Place an LED in the breadboard. Connect the positive leg (longer) to Digital Pin 13.
- Connect the negative leg (shorter) through a 330Ω resistor to GND.
- Connect the 5V and GND rails on the breadboard to the Arduino.
Matériaux pour cette étape :
 Plaque d'essai1 pièce
 Fils de liaison6 pièces
Arduino Code
Arduino Code
Open the Arduino IDE and upload the following sketch to your Arduino board.
Matériaux pour cette étape :
 Arduino Uno R31 pièce
Outils nécessaires :
Ordinateur avec l'IDE ArduinoTest & Experiment
Test & Experiment
What You Should See
The LED blinks faster or slower as you turn the potentiometer knob. At one extreme it blinks very fast, at the other it blinks slowly.
Troubleshooting
- Sporadically working: The potentiometer pins may not be making good contact. Press it firmly into the breadboard.
- Not working: Make sure the wiper (middle pin) goes to Analog pin 0, not Digital pin 0.
- LED not lighting: LEDs only work in one direction. Flip it around.
Experiments to Try
- Open the Serial Monitor and print the
sensorValueto see the raw numbers (0-1023). - Use
map()to convert the sensor range to a brightness range and control LED brightness withanalogWrite().
Matériaux
7- SparkFun Inventor's Kit - V3.210 % de commission1 kit€93.24
- Espace réservé
- Espace réservé
- Espace réservé
- Espace réservé
- Espace réservé
- 1 pièceEspace réservé
Outils requis
1- Espace réservé
CC0 Domaine public
Ce blueprint est publié sous CC0. Vous êtes libre de copier, modifier, distribuer et utiliser ce travail pour tout usage, sans demander la permission.
Soutenez le Maker en achetant des produits via son Blueprint où il perçoit une Commission Maker définie par les Vendeurs, ou créez une nouvelle itération de ce Blueprint et incluez-le comme connexion dans votre propre Blueprint pour partager les revenus.