

Driving a Servo Motor — SIK Circuit 8
Consignes
Parts & Introduction
Parts & Introduction
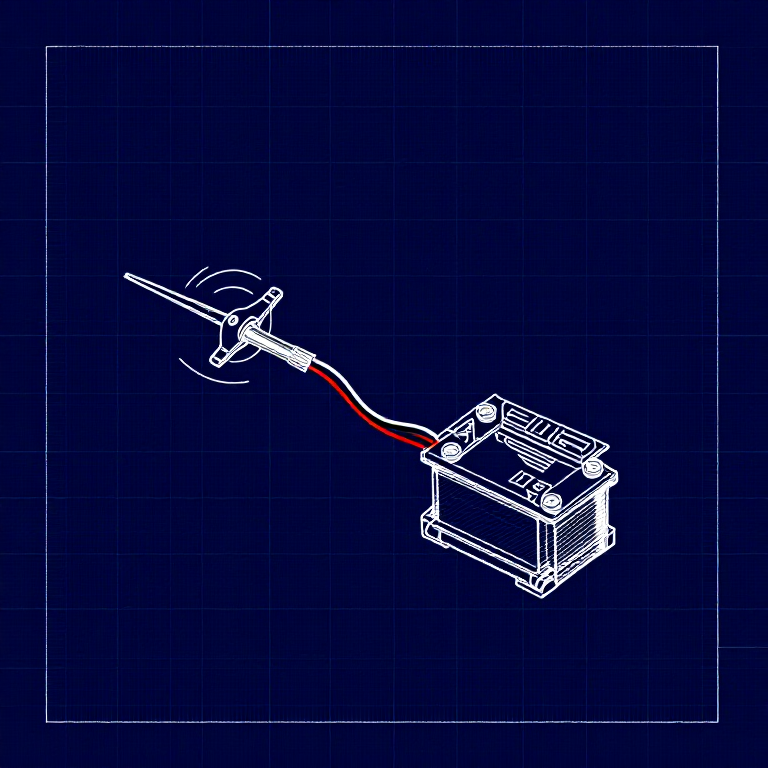
A servo motor can be precisely positioned between 0 and 180 degrees. Unlike a regular motor that just spins, servos hold their position — making them perfect for robotics, pan/tilt mechanisms, and control surfaces. This experiment introduces the Servo library.
Parts Needed
- 1x Arduino Uno + USB cable
- 1x Breadboard
- 1x Servo Motor (with 3-pin header)
- 8x Jumper Wires
The servo has three wires: Red (power), Black (ground), White (signal).
Matériaux pour cette étape :
 SparkFun Inventor's Kit - V3.21 kit
Outils nécessaires :
 Ordinateur avec l'IDE Arduino
Hardware Hookup
Hardware Hookup
Wiring Instructions
- Connect 3 jumper wires to the servo's female 3-pin header for breadboarding.
- Connect the Red wire to 5V.
- Connect the Black wire to GND.
- Connect the White wire (signal) to Digital Pin 9.
Power Note: Servos draw significant current. If the servo twitches and the Arduino resets, use a wall adapter instead of USB power, or power the servo from a separate 5V supply.
Matériaux pour cette étape :
 Fils de liaison3 pièces
Arduino Code
Arduino Code
Open the Arduino IDE and upload the following sketch to your Arduino board.
Matériaux pour cette étape :
 Arduino Uno R31 pièce
Outils nécessaires :
Ordinateur avec l'IDE ArduinoTest & Experiment
Test & Experiment
What You Should See
The servo quickly moves to 90°, 180°, and 0° (1 second each), then slowly sweeps from 0° to 180° and back.
Troubleshooting
- Servo not moving: Even with colored wires, it's easy to plug a servo in backwards. Check connections.
- Twitching/resetting: The servo draws too much power from USB. Use a wall adapter or separate power supply.
Experiments to Try
- Add a potentiometer (from Circuit 2) to control servo position with a knob.
- Change the step size and delay to experiment with speed and smoothness.
- Build a simple pan/tilt mechanism with two servos.
Matériaux
5- SparkFun Inventor's Kit - V3.210 % de commission1 kit€93.24
- Espace réservé
- Espace réservé
- Espace réservé
- 1 pièceEspace réservé
Outils requis
1- Espace réservé
CC0 Domaine public
Ce blueprint est publié sous CC0. Vous êtes libre de copier, modifier, distribuer et utiliser ce travail pour tout usage, sans demander la permission.
Soutenez le Maker en achetant des produits via son Blueprint où il perçoit une Commission Maker définie par les Vendeurs, ou créez une nouvelle itération de ce Blueprint et incluez-le comme connexion dans votre propre Blueprint pour partager les revenus.