Collaboration
ART
BEAUTÉ ET BIEN-ÊTRE
ARTISANAT
CULTURE ET HISTOIRE
DIVERTISSEMENT
ENVIRONNEMENT
NOURRITURE ET BOISSONS
INGÉNIERIE INVERSE
SCIENCES
SPORTS
TECHNOLOGIE
TECHNOLOGIE PORTABLE
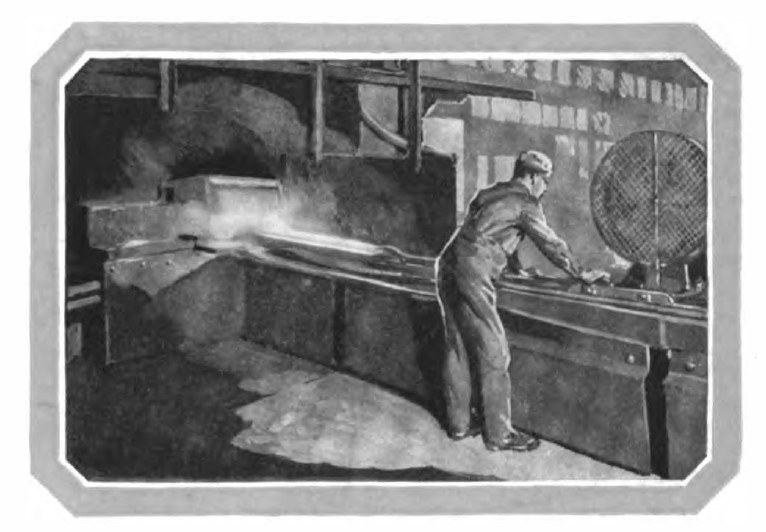


Steel Pipe: Butt-Welded Through a Bell, Sized, Threaded and Tested (National Tube Co., 1921)
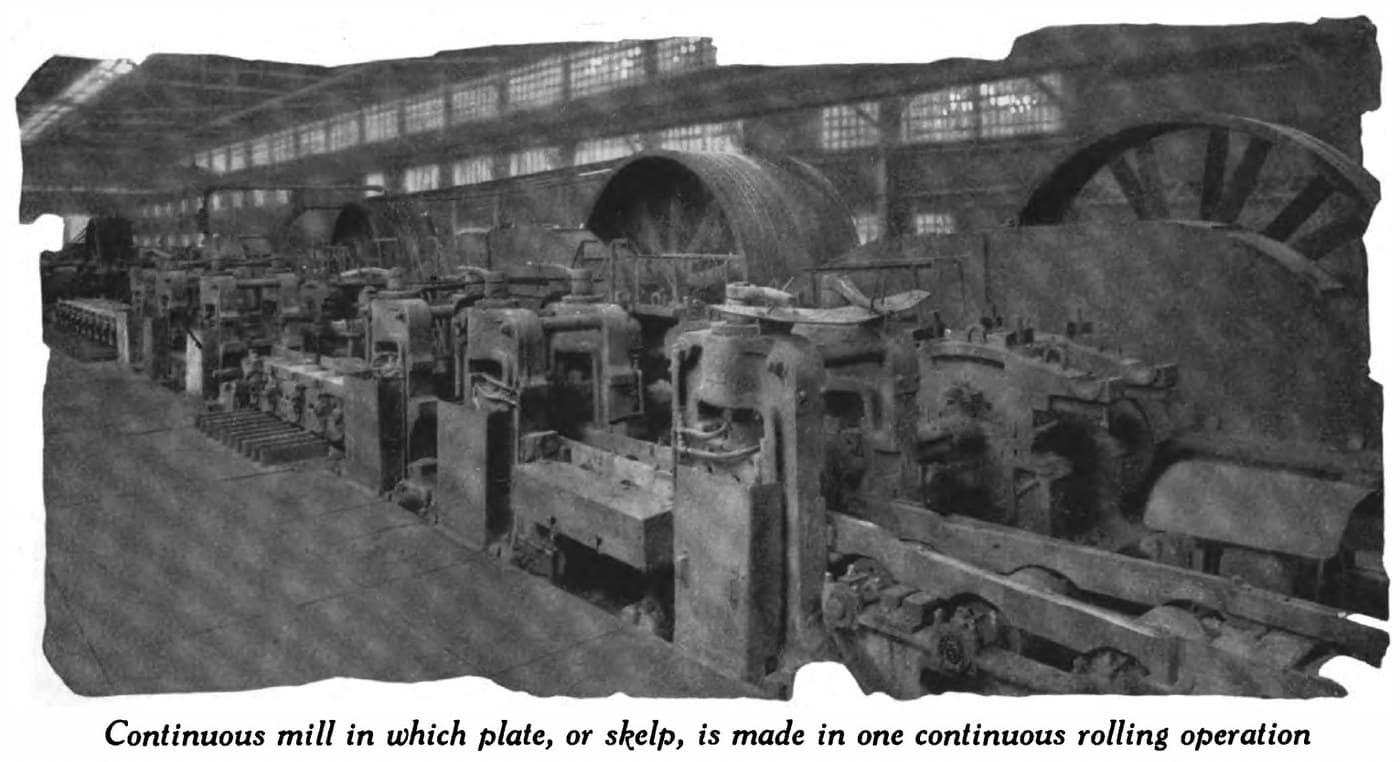
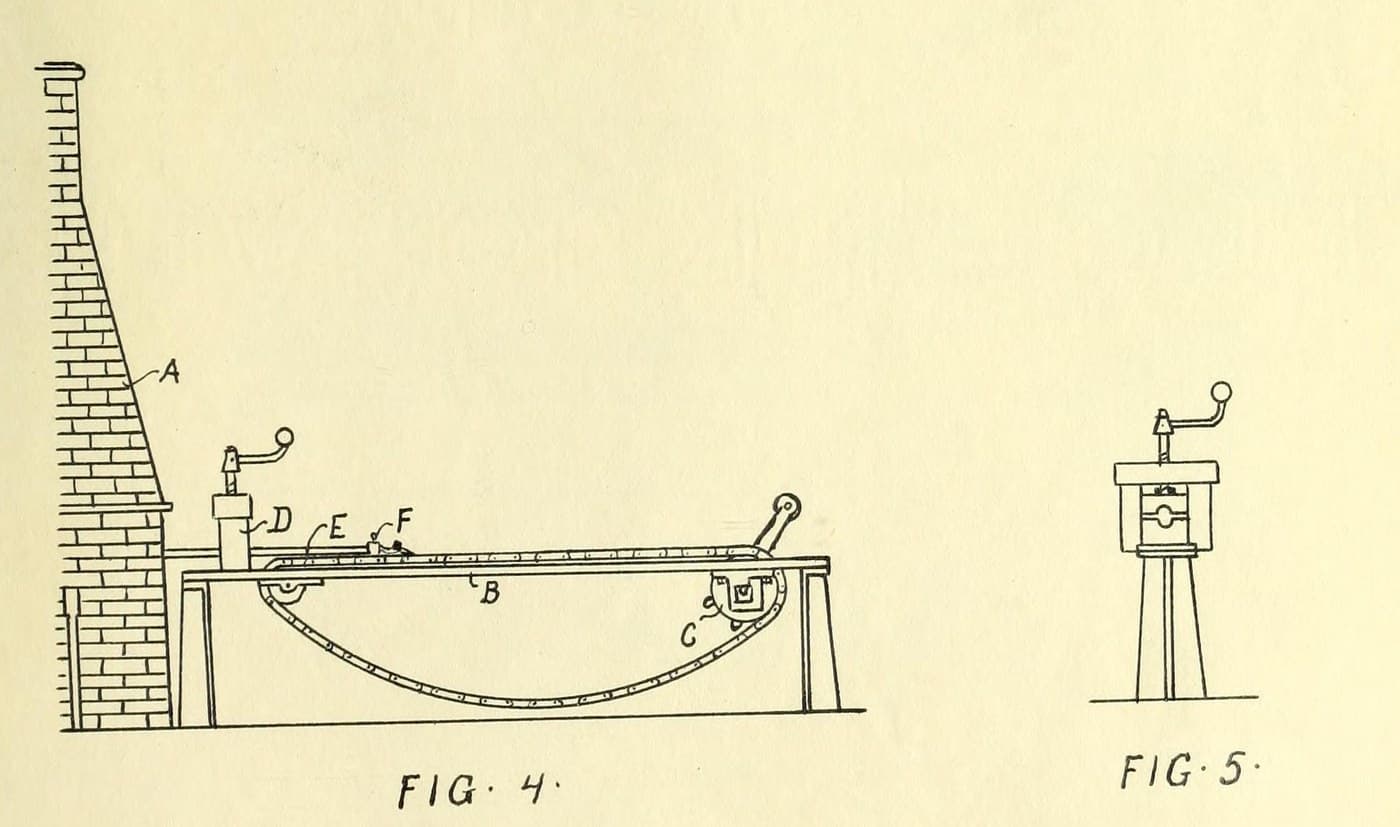
Butt-weld steel pipe, 1/8 to 3 inches, as National Tube made it in 1921: hot skelp is pulled by tongs and a draw-bench chain through a bell a little larger than the finished pipe, which curls it into a tube and presses its edges together into a weld. The pipe is then rolled to size, straightened, cleaned, threaded and pressure-tested.
Each length, 20 to 40 ft, is welded in one pull. Every pipe is tested inside at 700 to 800 lb per square inch.
Source: National Tube Co., "National" Modern Welded Pipe (1921), pp. 41-47. Picture: drawing butt-weld pipe.
Avancé
Unknown
Consignes
1
1
Heat the skelp
Heat the skelp
Charge the skelp from the rear into a long welding furnace, a little longer than the skelp, with a narrow opening at each end, and bring it to welding heat.
Matériaux pour cette étape :
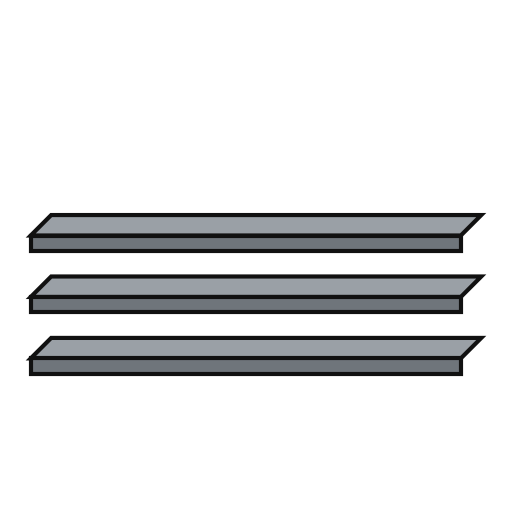 Feuillard à tubes en acier1 one piece per length of pipe
Outils nécessaires :
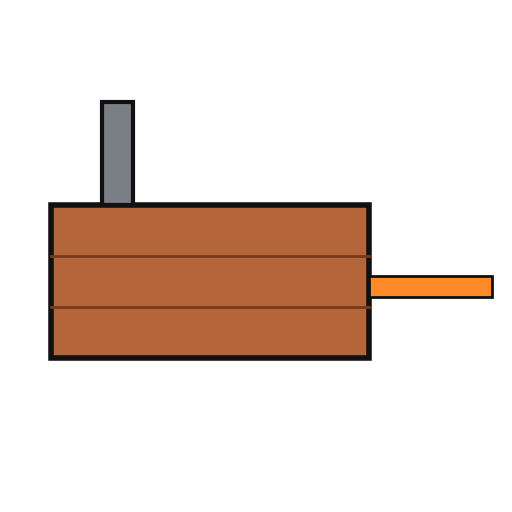 Four à souder
2
2
Draw it through the bell
Draw it through the bell
Grip the trimmed end with long-handled tongs and pull it through a die, or bell, slightly larger than the finished pipe. Hook the tongs to the travelling chain of the draw bench, which pulls the whole length (20 to 40 ft) through. The skelp is a little wider than the bell's inside circumference, so it curls into a tube and its edges butt squarely and weld. Some sizes go through two bells at one heat, the second slightly smaller.
Outils nécessaires :
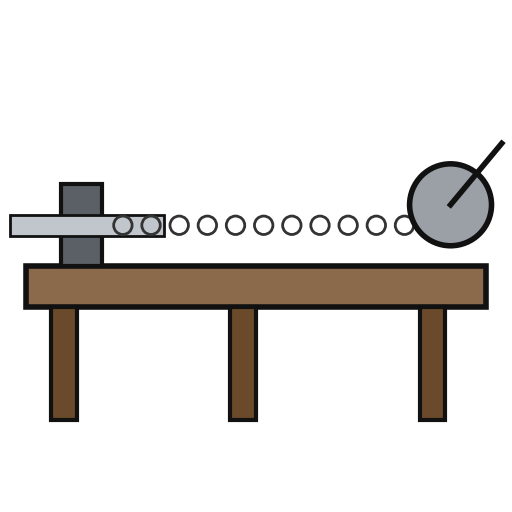 Banc d’étirage
 Tenailles de forgeFour à souder
3
3
For Double Extra Strong pipe
For Double Extra Strong pipe
Thick skelp needs so great a pull that a strong bar is welded on its end as a 'bait' for the tongs. Draw it several times through bells of decreasing size, reheating between draws, so the seam is thoroughly welded.
Outils nécessaires :
Banc d’étirageTenailles de forgeFour à souder4
4
Size and round
Size and round
Pass the pipe through sizing rolls, which reduce it slightly, lengthen it and loosen the heavy welding scale. Then roll it to its finished size and circular shape, which removes the scale and leaves the walls smooth.
Outils nécessaires :
 Laminoir
5
5
Cool, straighten and clean
Cool, straighten and clean
Let the pipe cool slowly as it crosses a table, then straighten and smooth it in cross rolls. Wash off the loosened scale in a tank; blow it out of the smaller sizes with compressed air.
Outils nécessaires :
Laminoir Eau
 Compresseur d'air
6
6
Cut, thread and test
Cut, thread and test
Cut off a short length at each end, where the tong jaws crushed it. Thread the pipe, then test it inside with water at 700 to 800 lb per square inch to prove the wall and the weld. Ours: hacksaw, die set and hand test pump; the booklet does not say how the ends are cut or threaded.
Outils nécessaires :
 Scie à métaux
 Jeu de tarauds et filières
 Pompe d'épreuve à main
Matériaux
1- 1 one piece per length of pipeEspace réservé
Outils requis
9- Espace réservé
- Espace réservé
- Espace réservé
- Espace réservé
- Espace réservé
- 1 vendor sell this, none ship to you yetEspace réservé
- Espace réservé
- Espace réservé
- Espace réservé
Matériaux des Blueprints connectés

CC0 Domaine public
Ce blueprint est publié sous CC0. Vous êtes libre de copier, modifier, distribuer et utiliser ce travail pour tout usage, sans demander la permission.
Soutenez le Maker en achetant des produits via son Blueprint où il perçoit une Commission Maker définie par les Vendeurs, ou créez une nouvelle itération de ce Blueprint et incluez-le comme connexion dans votre propre Blueprint pour partager les revenus.