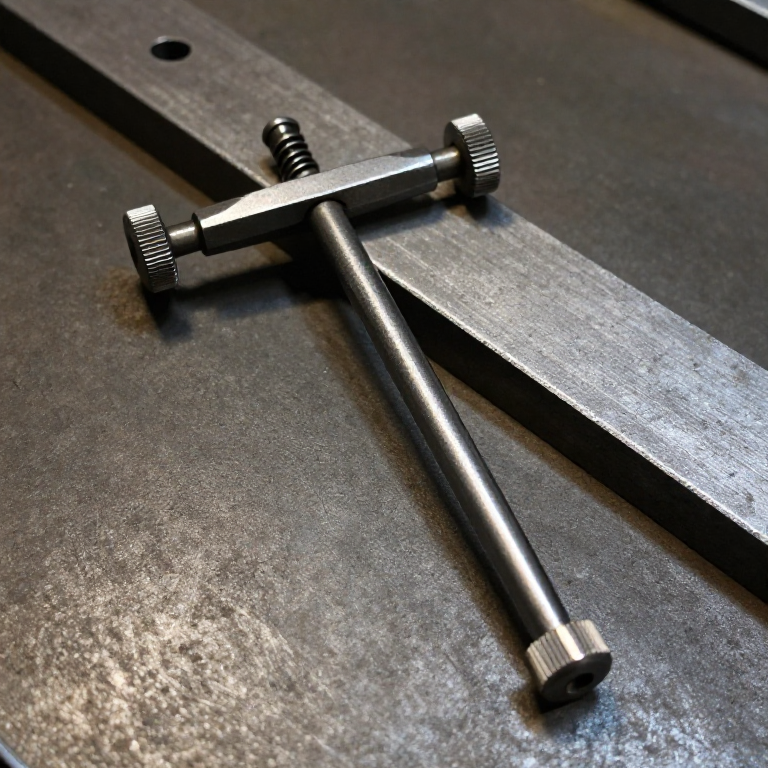


Telescoping Bore Gauge
Consignes
Build the T-head and its bore
Build the T-head and its bore
Two plungers sliding in a cross tube, pushed apart by a spring.
- Cut a cross tube 40 mm long from 12 mm aluminium round bar and drill it through at 6.0 mm.
- Turn or file two plungers from 6 mm bar, each 25 mm long, to slide freely in that bore.
- Round the outer end of each plunger to a smooth radius.
- Fit a light compression spring between them inside the tube.
The rounded ends matter more than they look. A flat-ended plunger contacts the bore wall on an edge, and the edge digs in or rides on a burr. A radius contacts on a single point at the true diameter, which is what makes the rocking technique in step 4 work.
Fit the plungers so they slide with no perceptible side play but no stiffness. Any looseness here is added directly to your measurement error.Matériaux pour cette étape :
 Rond en aluminium1 pièce
 Jeu de ressorts de compression1 jeu
Outils nécessaires :
 Monture de scie à métaux avec lames
 Perceuse sans fil
 Jeu de forets
 Jeu de limes
 Étau d'établi
 Pied à coulisse numérique 6 pouces
Add the handle and the locking screw
Add the handle and the locking screw
The lock must clamp the plungers without moving them.
- Cut a handle 90 mm from 10 mm round bar and fix it square to the middle of the cross tube.
- Drill and tap the handle's far end M4, running down to a pin that bears on the plungers.
- Fit an M4 × 30 socket head cap screw as the lock, with a knurled knob or cross-bar for finger tightening.
- Test: expand the plungers, lock, and check they cannot be pushed in by hand.
What a commercial gauge does: the knurled knob at the handle end turns a rod that wedges the plungers, and it is designed so that tightening applies pressure ALONG the plunger axis rather than sideways. Modern build spec (derived): an M4 screw onto a pin does the same job — but check for the failure mode below.
Lock it, then measure across the plungers, then unlock and re-lock and measure again. If the two differ, your lock is nudging the plungers as it tightens and every measurement will carry that error.Matériaux pour cette étape :
Rond en aluminium1 pièce Vis à tête cylindrique à six pans creux1 pièce
 Écrou hexagonal1 pièce
Outils nécessaires :
Perceuse sans filJeu de forets Jeu de clés AllenJeu de limesPied à coulisse numérique 6 pouces
Transfer a measurement
Transfer a measurement
The gauge finds the size; something else reads it.
- Compress the plungers, insert into the bore, release so they spring against the walls.
- Lock lightly.
- Withdraw the gauge without knocking it.
- Measure across the plunger tips with a micrometer or caliper.
Outils nécessaires :
Pied à coulisse numérique 6 poucesLearn the rocking technique — the smallest reading is the true one
Learn the rocking technique — the smallest reading is the true one
Insert it carelessly and you will measure a chord, not the diameter.
- Insert the gauge deliberately TILTED in the bore and lock it. Measure.
- Now insert it, and before locking, rock the handle gently through the bore's axis.
- Feel for the point of least resistance — that is where the plungers lie on the true diameter.
- Lock at that point and measure.
- Repeat five times and compare the spread.
Matériaux pour cette étape :
 Plat en aluminium1 pièce
Outils nécessaires :
Pied à coulisse numérique 6 poucesPerceuse sans filTransfer versus direct reading, and history
Transfer versus direct reading, and history
Transfer instruments are a whole family. Small hole gauges, inside calipers, firm-joint calipers and this gauge all do the same thing: capture a dimension mechanically where no scale will fit, then carry it out to a scale. Before dial bore gauges and modern internal micrometers, this is how internal work was measured at all.
The trade against direct reading. An internal micrometer reads the bore directly with no transfer step and no feel involved — fewer places to go wrong — but it is expensive, comes in limited ranges and will not enter a small hole. The telescoping gauge is cheap, covers a wide range with a few sizes, and puts the burden on the operator's touch. Two answers to one problem, and workshops keep both.
Why feel is a real skill. The rocking technique in step 4 cannot be automated away in a manual gauge, and two people measuring the same bore will differ by more than the instrument's resolution. That is not a flaw in the tool; it is the honest cost of the transfer approach, and it is why critical production bores are checked with plug gauges or air gauges that remove the operator entirely.
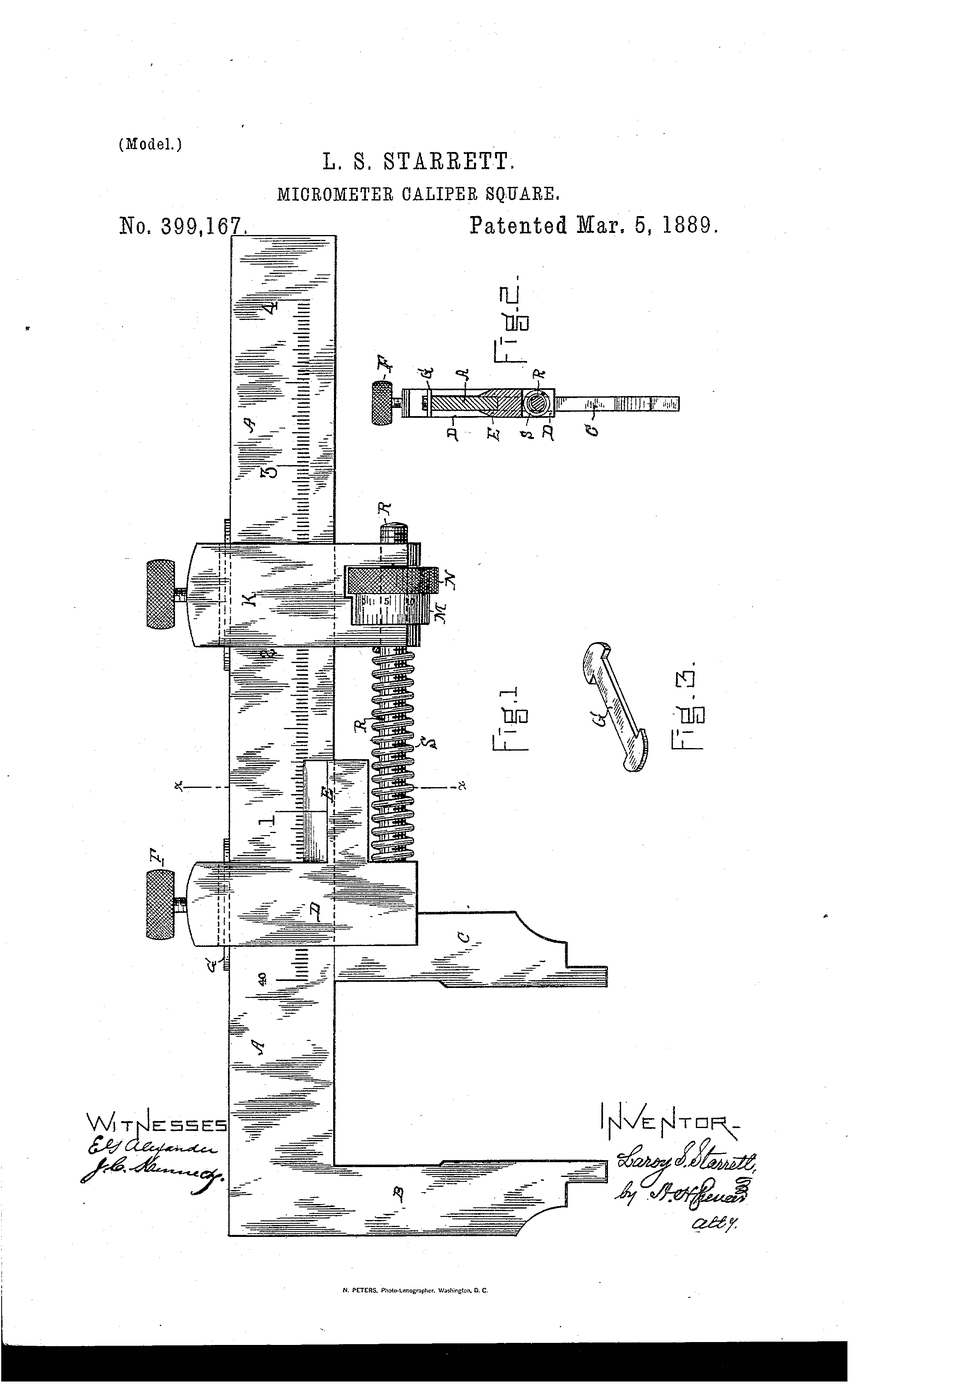
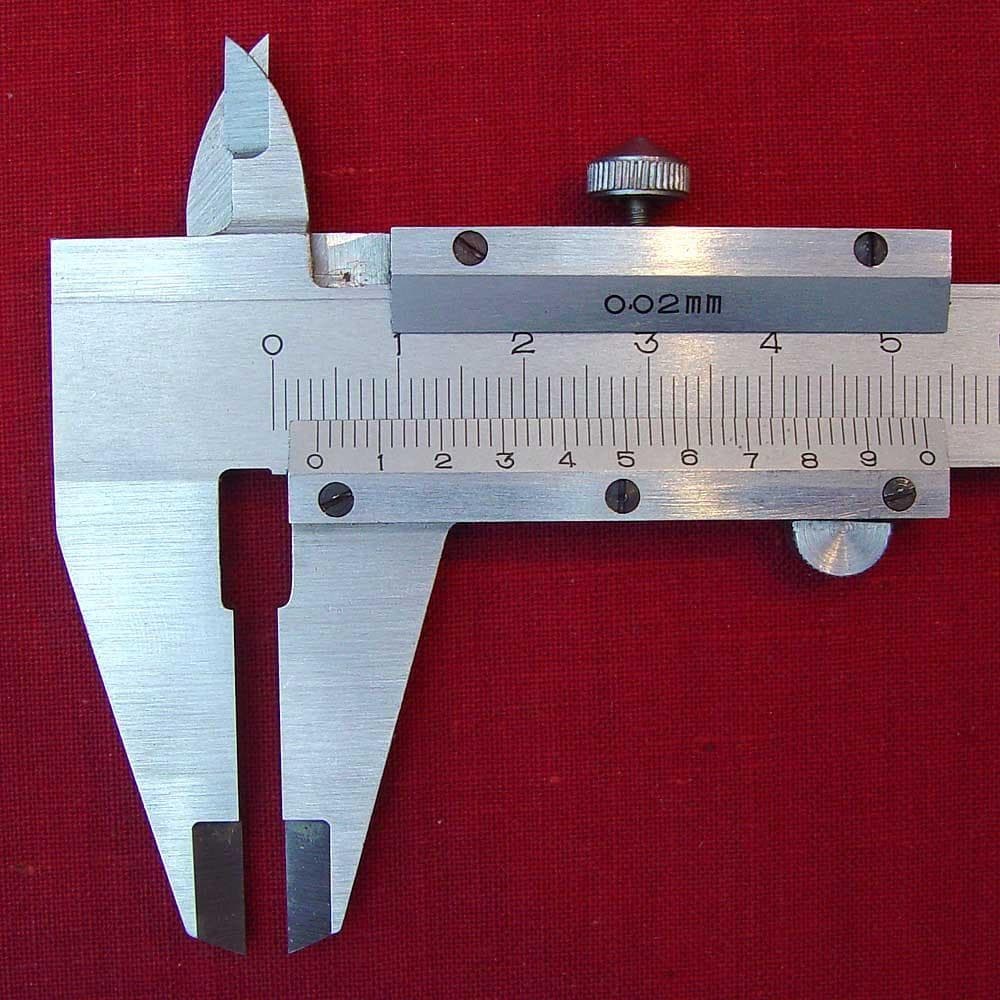
Its neighbours in this catalogue: the micrometer reads directly to a fine scale but only from outside; the vernier caliper reads both inside and outside but with lower resolution and jaw-flex error; this gauge reaches where neither can and carries the answer out. Each covers a region the others cannot.
Matériaux
5- 1 pièceEspace réservé
- Espace réservé
- Espace réservé
- 1 pièceEspace réservé
- 1 pièceEspace réservé
Outils requis
7- Espace réservé
- 1 vendor sell this, none ship to you yetEspace réservé
- Espace réservé
- Espace réservé
- Espace réservé
- Espace réservé
- Espace réservé
Blueprints liés
Ces blueprints partagent des connaissances — techniques, matériaux ou principes


CC0 Domaine public
Ce blueprint est publié sous CC0. Vous êtes libre de copier, modifier, distribuer et utiliser ce travail pour tout usage, sans demander la permission.
Soutenez le Maker en achetant des produits via son Blueprint où il perçoit une Commission Maker définie par les Vendeurs, ou créez une nouvelle itération de ce Blueprint et incluez-le comme connexion dans votre propre Blueprint pour partager les revenus.