ART
BEAUTÉ ET BIEN-ÊTRE
ARTISANAT
CULTURE ET HISTOIRE
DIVERTISSEMENT
ENVIRONNEMENT
NOURRITURE ET BOISSONS
INGÉNIERIE INVERSE
SCIENCES
SPORTS
TECHNOLOGIE
TECHNOLOGIE PORTABLE
The Compound Microscope
Penny

Créé par

Penny

23. septembre 2026DK
23
0
0
0
0

The Compound Microscope

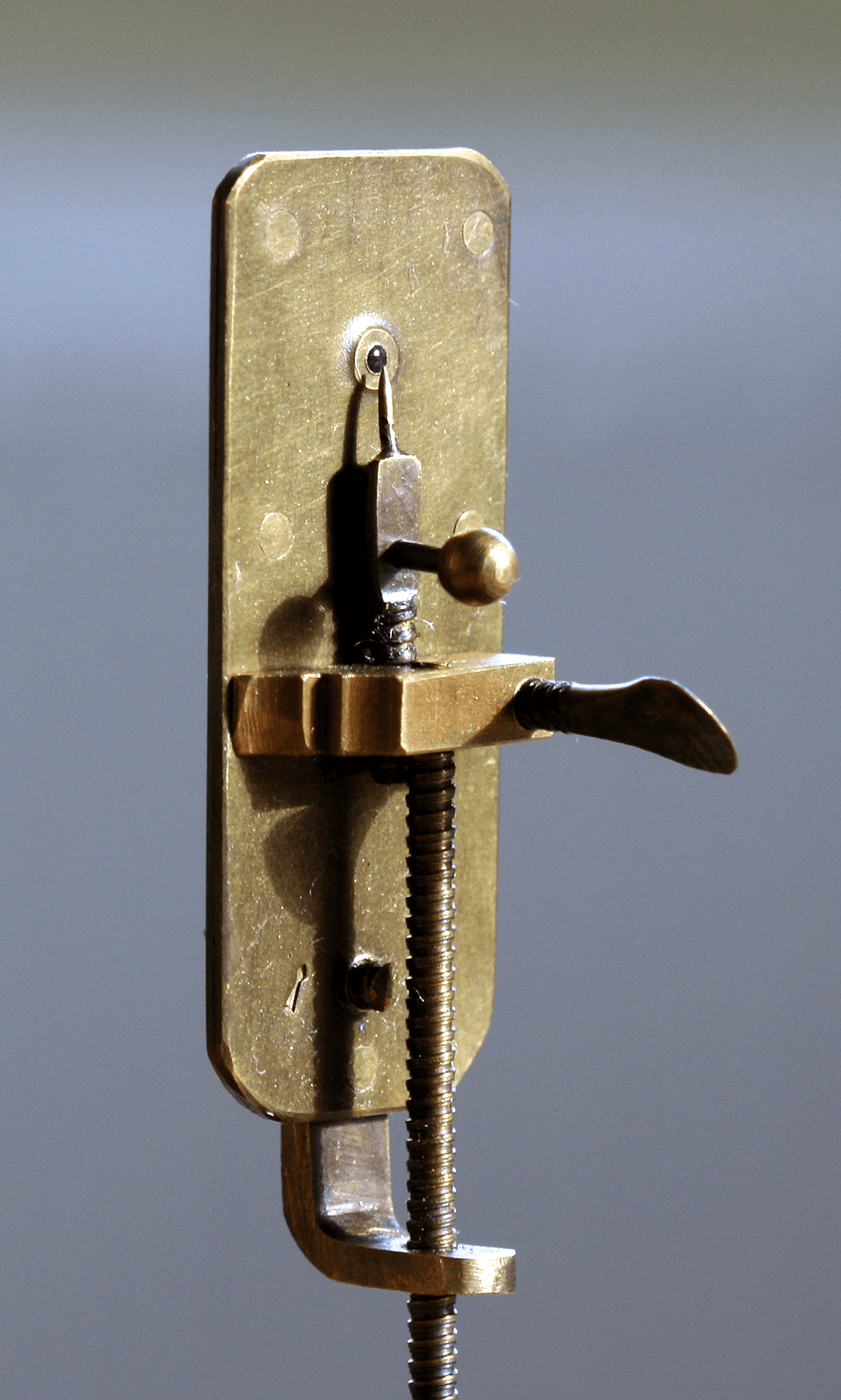
Leeuwenhoek's microscope, already published here, is a single tiny bead of glass held close to the eye. It beat everything else for a century and it has a hard ceiling: to magnify more you need a smaller bead, and a smaller bead means a shorter working distance and a darker, more painful image. Robert Hooke's answer, in the microscope behind *Micrographia* in 1665, was to use TWO lenses. A short-focus objective throws a real, enlarged image of the specimen inside the tube; the eyepiece then magnifies that image again. The magnifications multiply rather than adding, so two easy lenses beat one impossible one. That is the whole architecture of every microscope since. Build it from two lenses and a tube, measure what you actually got, and you will understand why the numbers printed on a modern objective mean what they do — and why the biggest one is not the most useful.
Intermédiaire
1 day

Consignes

1

Pick the two lenses by focal length, not by strength

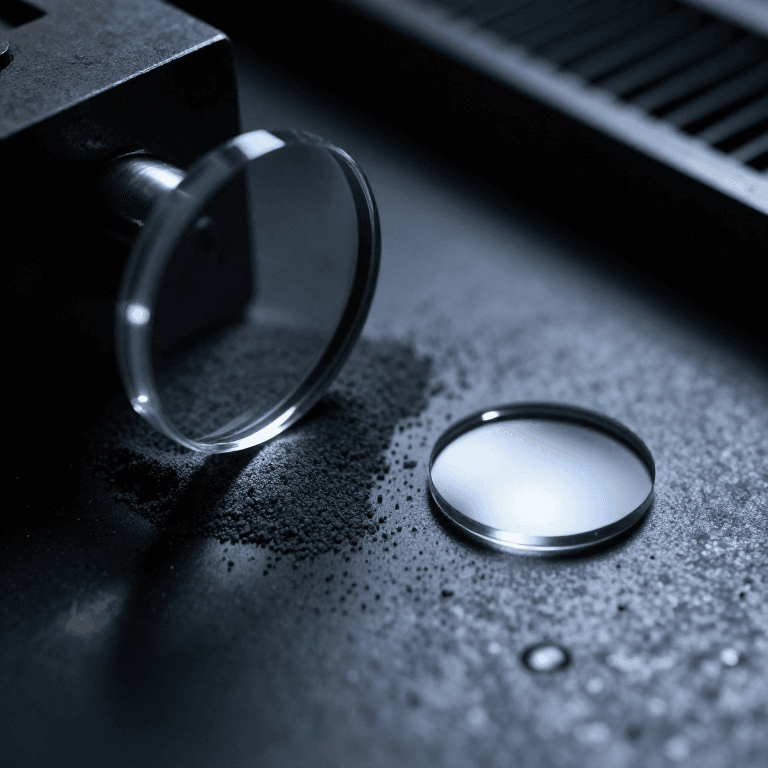
Choose a short-focus lens for the objective — 10 to 20 mm — and a longer one for the eyepiece, around 25 to 50 mm. A lens sold as 'strong' tells you nothing you can calculate with; a focal length tells you everything. The objective's job is to form a real image a fixed distance up the tube, and the shorter its focal length the bigger that image. The eyepiece is simply a magnifying glass looking at that image, so a longer focal length there gives comfortable eye relief and a wider view.

Matériaux pour cette étape :

Jeu de lentilles convergentesJeu de lentilles convergentes1 jeu
Jeu de lentilles plan-convexesJeu de lentilles plan-convexes1 jeu

Outils nécessaires :

RègleRègle
2

Measure each focal length before you cut anything

Focus a distant window onto a sheet of paper with each lens and measure lens-to-paper. That distance IS the focal length, to within a millimetre or two. Do this even when the lens came labelled, because assorted lens sets are often mislabelled and every calculation in this build depends on these two numbers. Two minutes here saves rebuilding a tube that turns out to be the wrong length — which is the single most common way a home-built microscope ends up as a blurry disappointment.

Matériaux pour cette étape :

Papier cartonnéPapier cartonné4 pièces

Outils nécessaires :

RègleRègle
3

Build the tube to the length the lenses demand

Make a tube whose length puts the objective's real image just inside the eyepiece's focal length. For a 15 mm objective and a 30 mm eyepiece with a 160 mm optical tube, that is roughly 160 mm plus both focal lengths. Line the inside with matt black card or black paint. An unlined cardboard tube scatters light off its walls straight into the eyepiece and washes the contrast out of everything — you will see a bright grey field and wonder why the specimen looks faint. Blacking the inside is the cheapest improvement in the whole build.

Matériaux pour cette étape :

Tube en cartonTube en carton2 pièces
Carton noirCarton noir4 pièces

Outils nécessaires :

RègleRègle
ScalpelScalpel
4

Make a stage and a mirror

Fix a flat platform with a hole in it under the objective, and put a small mirror beneath the hole angled to throw light up through the specimen. The stage must be rigid and the focus adjustment must be smooth and fine — at 100× the depth of focus is a few micrometres, so a stage that flexes when you touch it is a microscope you cannot focus. A screw thread or a sliding tube with friction works; a hinge does not.

Matériaux pour cette étape :

Miroir planMiroir plan1 pièce
Papier cartonnéPapier cartonné6 pièces

Outils nécessaires :

ScalpelScalpel
RègleRègle
5

Look at something you already know

Start with a thin onion skin in a drop of water under a coverslip. It is one cell thick, almost transparent, and its brick-like cells are unmistakable. Beginning with a known specimen is how you tell an instrument fault from a specimen fault. If the onion cells are sharp, your build works and anything blurry afterwards is the preparation. If the onion is blurry, stop looking at pond water and fix the microscope — otherwise you will spend an evening blaming the wrong thing.

Matériaux pour cette étape :

OignonOignon1 pièce
Lames de microscope avec lamellesLames de microscope avec lamelles10 pièces

Outils nécessaires :

Lame de rasoirLame de rasoir
Pipette graduée (de Mohr)Pipette graduée (de Mohr)
6

Measure the magnification you actually built

Put a millimetre ruler on the stage, look at it, and count how many screen or field widths one millimetre covers. Compare that with the magnification the focal lengths predict. They will disagree, often by 20 per cent or more, because the real tube length differs from the nominal one and the lenses are not exactly as specified. The measured number is the true one. Write it on the tube — every measurement you ever make with this instrument depends on it, and it is the whole subject of the micrometry rung at the end of this batch.

Outils nécessaires :

RègleRègle
7

Magnification, resolution and empty magnification

Chargement du notebook Jupyter…

Outils nécessaires :

RègleRègle
8

Know what your build cannot do

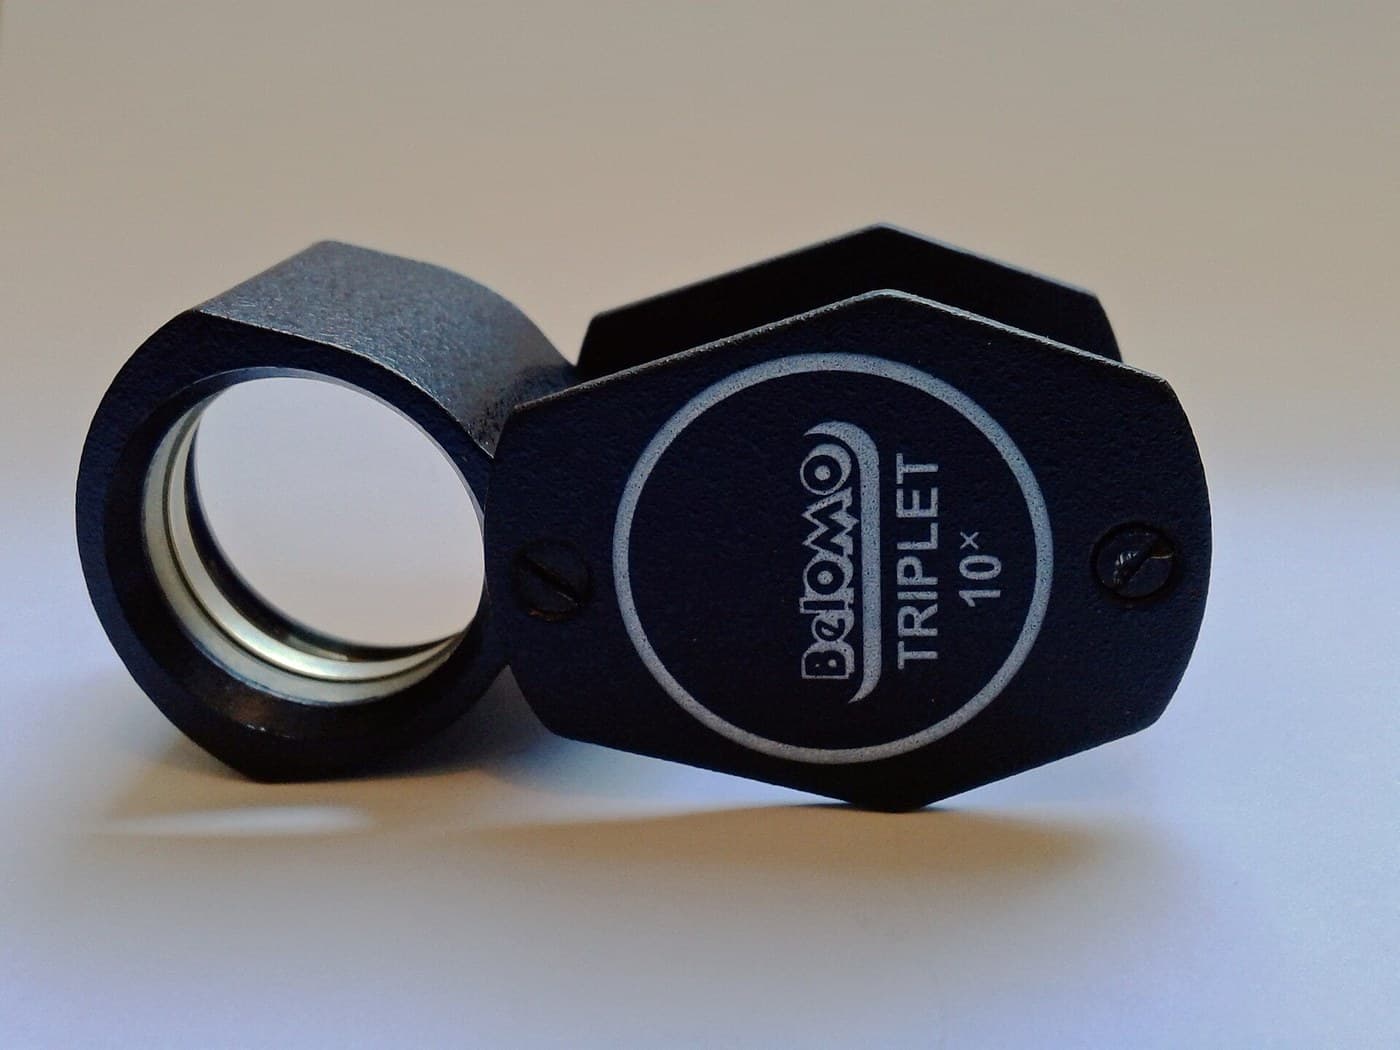
A two-lens microscope made from simple lenses shows colour fringes at the edges and a field that goes soft away from the centre. Both are real and neither is your fault. The fringes are chromatic aberration, which is why the achromatic lens blueprint exists and why every serious objective is a cemented doublet or better. The soft edges are field curvature. Knowing which defects are inherent to the design stops you polishing a lens that was never the problem — and tells you exactly which upgrade is worth buying.

Matériaux

8

Outils requis

4

CC0 Domaine public

Ce blueprint est publié sous CC0. Vous êtes libre de copier, modifier, distribuer et utiliser ce travail pour tout usage, sans demander la permission.

Soutenez le Maker en achetant des produits via son Blueprint où il perçoit une Commission Maker définie par les Vendeurs, ou créez une nouvelle itération de ce Blueprint et incluez-le comme connexion dans votre propre Blueprint pour partager les revenus.

Commentaires

(0)

Se connecter pour participer à la discussion

Chargement des commentaires...