ART
BEAUTÉ ET BIEN-ÊTRE
ARTISANAT
CULTURE ET HISTOIRE
DIVERTISSEMENT
ENVIRONNEMENT
NOURRITURE ET BOISSONS
INGÉNIERIE INVERSE
SCIENCES
SPORTS
TECHNOLOGIE
TECHNOLOGIE PORTABLE
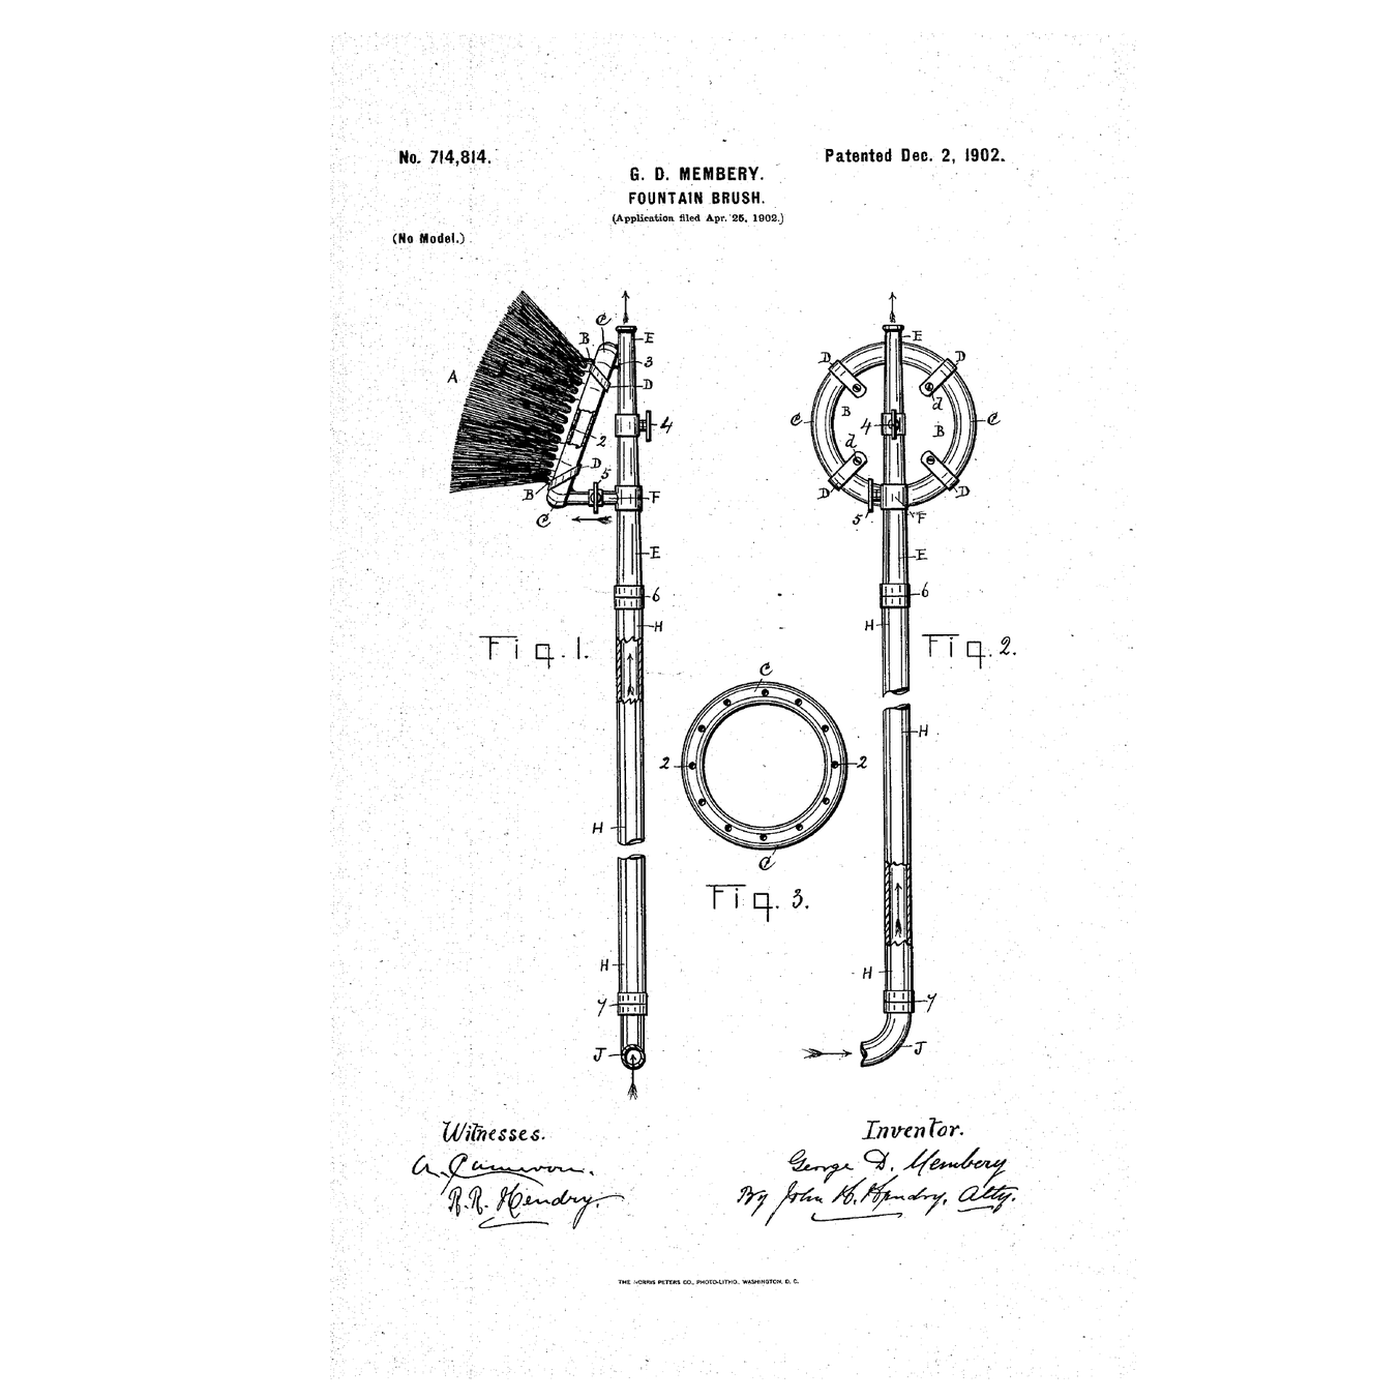


The Long-Handled Fountain Brush: A Ring of Holes Wets the Bristles From the Ground
Washing an upper window or a railway car means a ladder, a bucket and a brush that dries out.
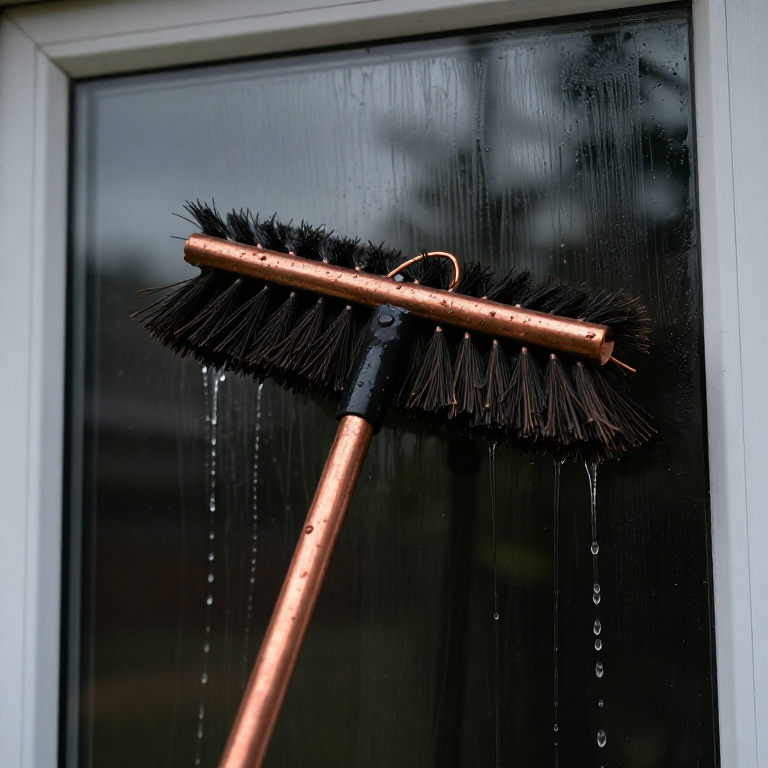
George D. Membery of Hamilton, Ontario, received US 714,814, dated 2 December 1902, for a fountain brush "with handle adapted for the outside of windows, railway-cars, buggies, and the like": a circular brush fixed to a perforated circular tube, set oblique on a nozzle at the top of a hollow handle fed by a hose, with one tap for the ring and one for the nozzle's end.
This rung works out how much pressure the handle's height costs, then bends a copper ring, fixes a brush to it on a copper handle and measures the flow at the bristles.
Intermédiaire
About 4 hours
Consignes
1
1
Pressure lost up the handle
Pressure lost up the handle
Chargement du notebook Jupyter…
2
2
Water through a ring of holes before it
Water through a ring of holes before it
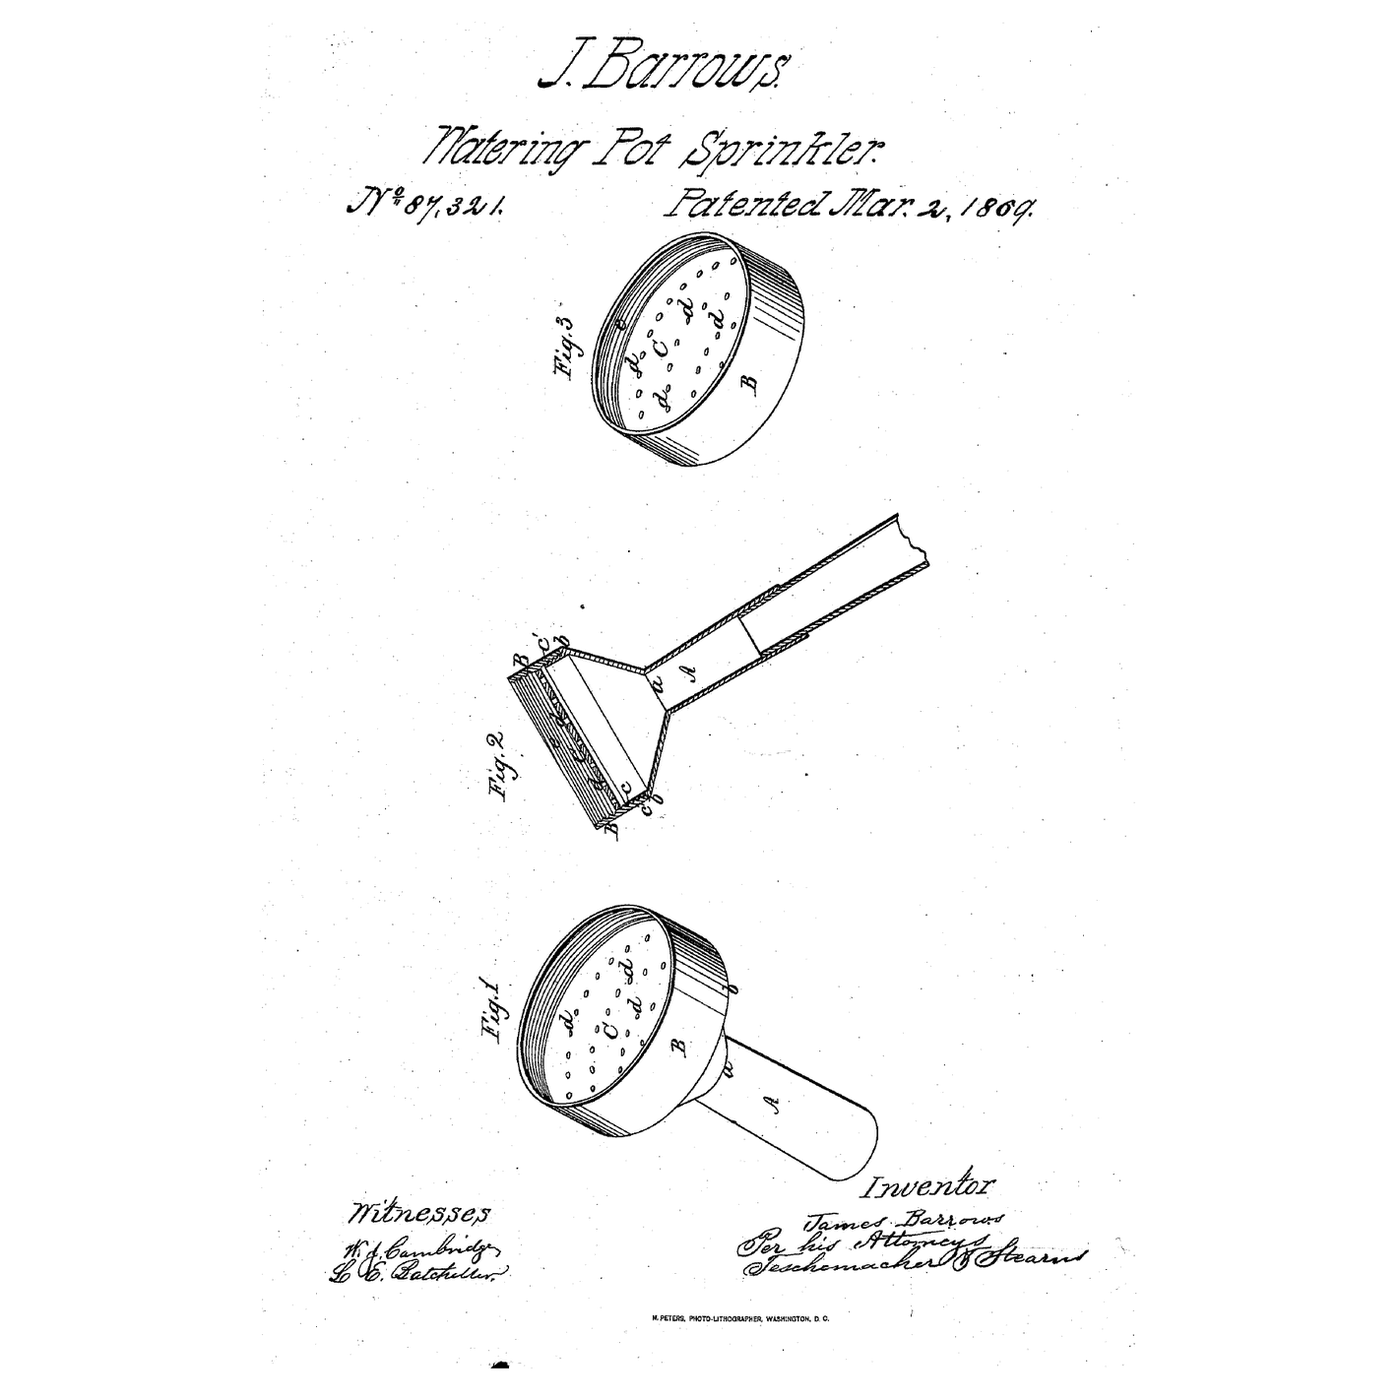
The embedded blueprint sprinkles through a perforated rose. Membery bends the perforations into a ring behind a brush and feeds it up a hollow handle.
3
3
Read US 714,814
Read US 714,814
"The brush is preferably in oblique position to the handle H in order to allow the operator to stand a desirable distance from the object being washed and sprayed. The length of the handle H may be from six to twelve feet, more or less, as desired to suit the purpose set forth."
"The water flows through the hose J, thence through the handle H and into the nozzle E, thence through the pipe connection F and into the circular tube C and out through the apertures 2 of the tube C, and thence on and between the hairs of the brush A, thus saturating the brush with water, which is regulated by means of the tap 5."
4
4
Bend the ring
Bend the ring
Uncoil 500 mm of soft copper tubing and bend it by hand round a 140 mm paint tin into a ring, the two ends side by side. Cut them square with the tube cutter.
Matériaux pour cette étape :
 Tube de cuivre1 pièce
Outils nécessaires :
 Coupe-tube
 Mètre ruban
5
5
Drill the ring
Drill the ring
Mark 12 points evenly round the ring's front and drill each 1.5 mm. Deburr inside with a blown-through rinse.
Outils nécessaires :
 Marqueur permanent
 Perceuse sans fil
 Jeu de forets
 Lunettes de sécurité transparentes
6
6
Join the ring to the feed
Join the ring to the feed
Push both ring ends into a tee from the brass fittings and tighten. Fit 60 mm of 10 mm copper tube in the tee's third port and bend it 60° so the ring sits oblique to the handle.
Matériaux pour cette étape :
 Raccords en laiton1 pièce
 Tube de cuivre 10 mm1 pièce
Outils nécessaires :
 Clé à moletteCoupe-tube
7
7
Tie on the brush
Tie on the brush
Lay the scrub brush's back across the ring, bristles away, and bind it on with four cable ties.
Matériaux pour cette étape :
 Brosse à récurer1 pièce
 Colliers de serrage1 pièce
8
8
Fit the handle and tap
Fit the handle and tap
Cut 1.8 m of 15 mm copper tube for the handle. Join the feed to its top through a reducer and the ball valve, and fit a hose connector at its foot. Seal threads with PTFE tape.
Matériaux pour cette étape :
 Tube de cuivre1 pièce
 Vanne à boisseau sphérique1 pièceRaccords en laiton1 pièce
 Ruban PTFE d'étanchéité pour filetage1 pièce
Outils nécessaires :
Coupe-tubeClé à molette9
9
The build in 3D
The build in 3D
FreeCAD model of this build, not of the patent: a 140 mm ring of 10 mm tube with 12 holes of 1.5 mm, a tee and 60° feed, a 150 × 50 mm brush, and a 15 mm handle shown 450 mm long with its ball valve.
10
10
Measure the flow
Measure the flow
Connect the garden hose and open the ball valve fully. Hold the brush over the jug for 30 s and read the litres; repeat with the handle held upright and with it level, and compare.
Matériaux pour cette étape :
 Tuyau d'arrosage1 pièce
 Eau1 pièce
Outils nécessaires :
 Verre doseur
 Chronomètre
11
11
A brush that drips, leaks or stays dry
A brush that drips, leaks or stays dry
Long-handled fountain brush troubleshooting.
Flow
Loading...
12
12
History and honest limits
History and honest limits
**George D. Membery** of Hamilton, Ontario, filed US 714,814 on 25 April 1902; it is dated 2 December 1902. The brush's base is held to the tube by bands screwed to its rear side. The nozzle has its own tap 4, so water may also leave the nozzle's end; either tap may be opened or closed alone.
**Honest limits.** Our build has no separate nozzle and uses a rectangular scrub brush where his is circular. The notebook ignores friction in the hose and handle. Your measured flows are the result.
Matériaux
10- 1 pièceEspace réservé
- 1 pièceEspace réservé
- 1 pièceEspace réservé
- 1 pièceEspace réservé
- 1 pièceEspace réservé
- 1 pièceEspace réservé
- 1 pièceEspace réservé
- Espace réservé
- Tuyau d'arrosage10 % de commission1 pièceEspace réservé
- 1 pièceEspace réservé
Outils requis
9- Espace réservé
- 1 vendor sell this, none ship to you yetEspace réservé
- Espace réservé
- 1 vendor sell this, none ship to you yetEspace réservé
- Espace réservé
- Espace réservé
- Espace réservé
- Espace réservé
- Espace réservé
Fichiers de conception
1Blueprints liés
Ces blueprints partagent des connaissances — techniques, matériaux ou principes

CC0 Domaine public
Ce blueprint est publié sous CC0. Vous êtes libre de copier, modifier, distribuer et utiliser ce travail pour tout usage, sans demander la permission.
Soutenez le Maker en achetant des produits via son Blueprint où il perçoit une Commission Maker définie par les Vendeurs, ou créez une nouvelle itération de ce Blueprint et incluez-le comme connexion dans votre propre Blueprint pour partager les revenus.