ART
BEAUTÉ ET BIEN-ÊTRE
ARTISANAT
CULTURE ET HISTOIRE
DIVERTISSEMENT
ENVIRONNEMENT
NOURRITURE ET BOISSONS
INGÉNIERIE INVERSE
SCIENCES
SPORTS
TECHNOLOGIE
TECHNOLOGIE PORTABLE
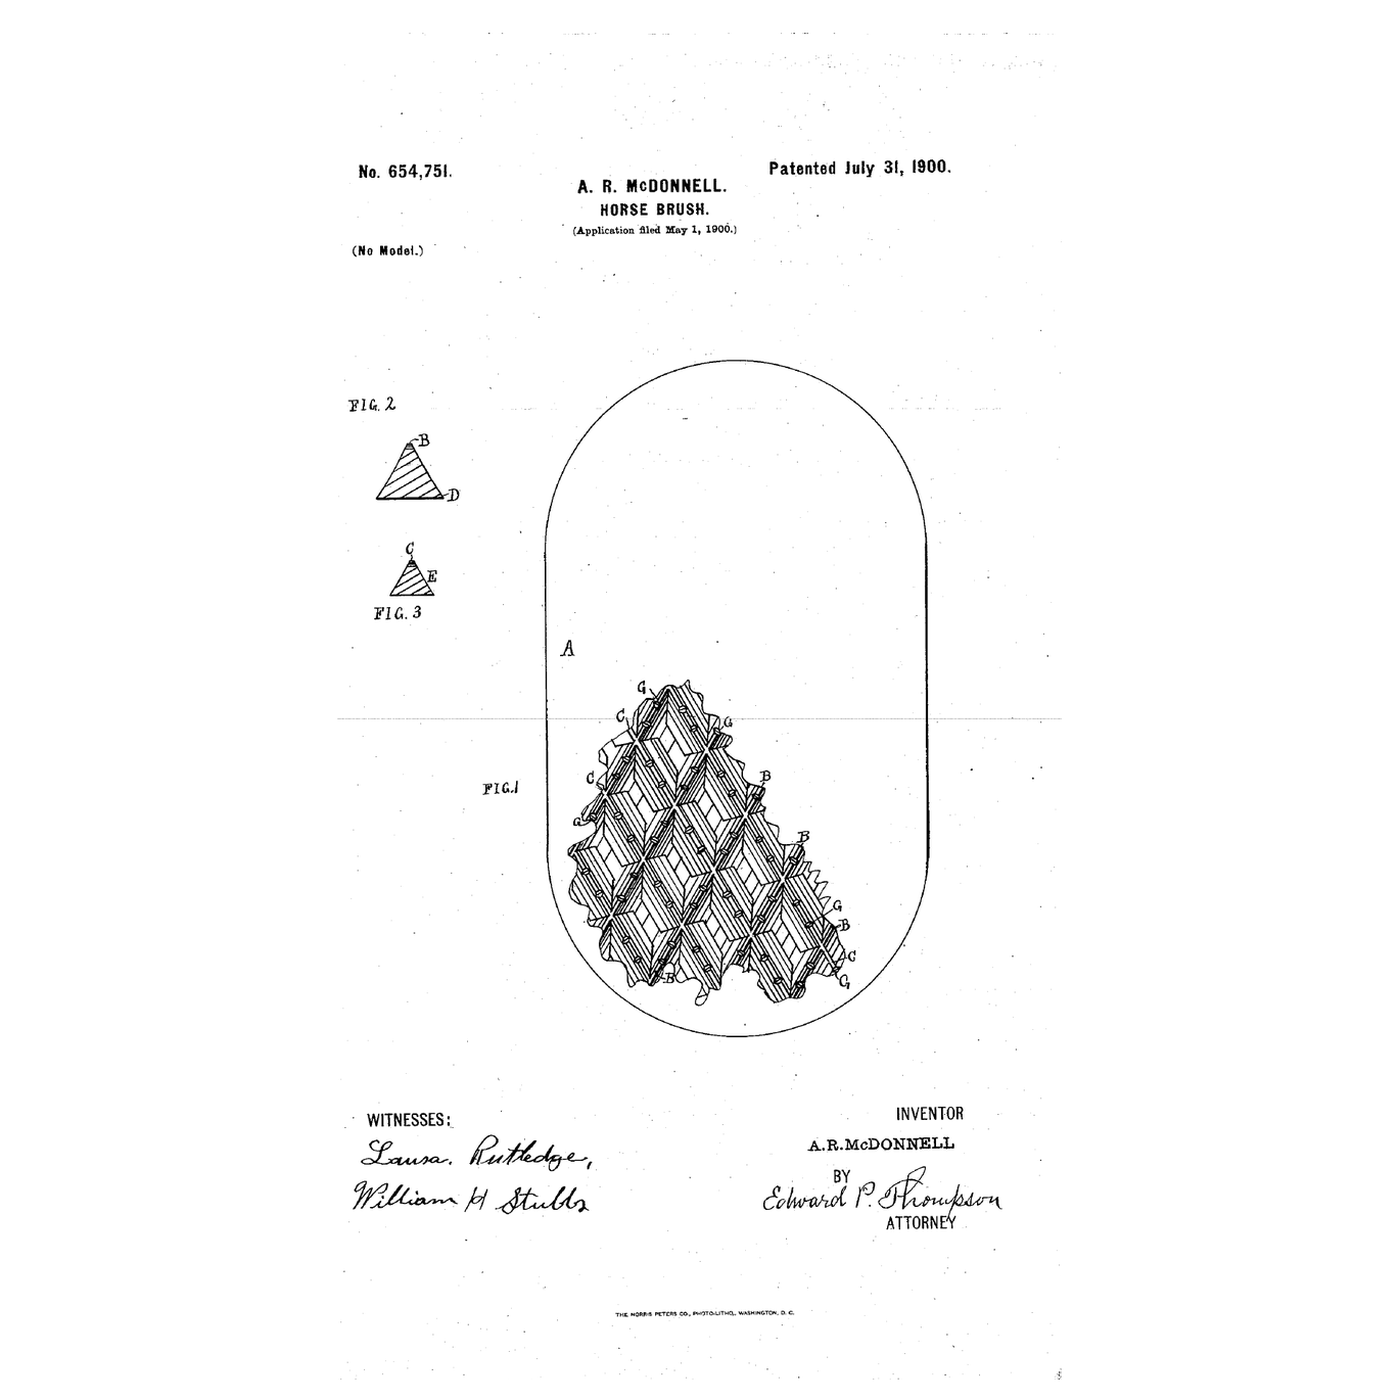


The Rubber Horse Brush: Crossed, Notched Ridges on a Leather Plate
After a horse's coat is combed with a bristle brush, loosened dandruff and dirt still sit in it and the coat is dull.
Alexander R. McDonnell of Littleton, Maine, received US 654,751, dated 31 July 1900, for a horse-brush of a leather base-plate and a piece of rubber fastened to it, with two series of narrow-edged ridges of triangular section crossing one another and notched, which "serves very effectually to give a gloss and to remove the dandruff and dirt that have been loosened by the combing."
This rung works out how the narrow ridge tops concentrate the hand's force, then casts a crossed-ridge rubber pad in a printed mould and glues it to leather.
Intermédiaire
About 5 hours plus curing
Consignes
1
1
Pressure under the ridges
Pressure under the ridges
Chargement du notebook Jupyter…
2
2
Rubber that holds its shape
Rubber that holds its shape
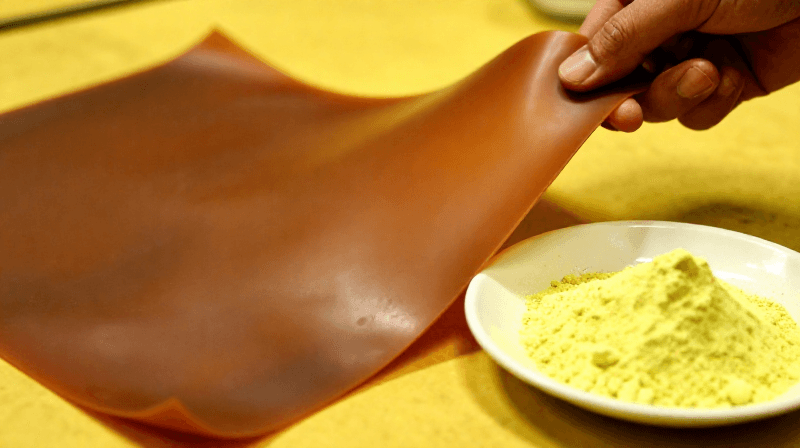
The embedded blueprint makes rubber firm and elastic. McDonnell's ridges need exactly that: soft enough to yield, firm enough to keep their edges.
3
3
Read US 654,751
Read US 654,751
"My present invention relates to a horse-brush adapted for use especially after the hair has been combed with a bristle brush."
"The edges B need not be sharp like a knife-edge, but are preferably very narrow, as they act as the scraping or polishing edges upon the hair when the brush is in use."
"Cut into both series of ridges are notches G, so that the edges in use will the more effectively polish and clean the hair."
4
4
Cast the pad and glue it to leather
Cast the pad and glue it to leather
Draw a mould in CAD: an open tray 10 × 14 cm inside, whose floor carries V-grooves 5 mm deep at 8 mm pitch in two sets crossing at 60 degrees, with a small rib across each groove every 2 cm to form the notches. Print it in PLA.
Spray the mould with release and let it dry. In gloves, mix the urethane rubber by the kit's instructions in a cup, stir slowly with a dowel, and pour it in a thin stream into one corner until the grooves are filled and a 3 mm back has formed. Leave it to cure as long as the kit says, then peel it out.
Cut leather to the pad's size, coat the leather and the back of the pad with contact cement, let both go tacky and press them together. Dust a piece of wool felt with flour and count the strokes the pad takes to lift it, then dust it again and compare with the palm of a gloved hand.
Matériaux pour cette étape :
 Caoutchouc uréthane (Shore 40A, kit de 0,95 l)1 pièce
 Filament PLA1 pièce
 Aérosol démoulant (sans silicone)1 pièce
 Cuir1 pièce
 Colle contact1 pièce
 Gobelets1 pièce
 Goujons de bois dur1 pièce
 Feuille de feutre de laine1 pièce
 Farine1 pièce
Outils nécessaires :
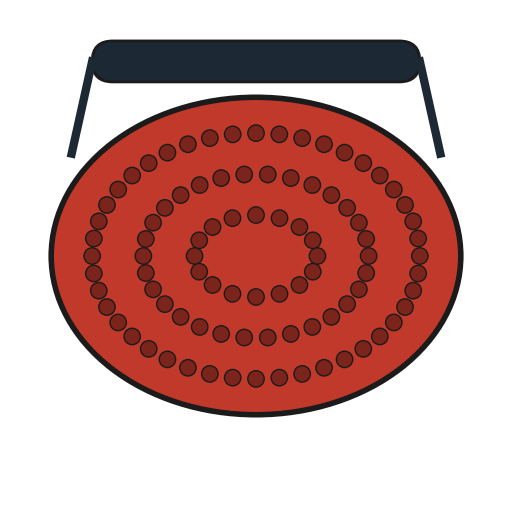 Étrille en caoutchouc
 Imprimante 3D à filament (FDM)
 Pied à coulisse numérique 6 pouces
 Cutter de précision
 Gants en nitrile
 Lunettes de sécurité transparentes
5
5
A pad with holes, soft edges or a weak bond
A pad with holes, soft edges or a weak bond
Rubber brush troubleshooting.
Flow
Loading...
6
6
History and honest limits
History and honest limits
**Alexander R. McDonnell** of Littleton, Aroostook County, Maine, filed US 654,751 on 1 May 1900; it is dated 31 July 1900. He made the crossing ridges "from rubber in a single piece".
**Honest limits.** A cast urethane stands in for McDonnell's rubber. The notebook treats every ridge top as touching at once. Force and sizes are examples; your stroke counts are the result.
Matériaux
9- Caoutchouc uréthane (Shore 40A, kit de 0,95 l)10 % de commission1 pièceEspace réservé
- 1 pièceEspace réservé
- Aérosol démoulant (sans silicone)10 % de commission1 pièceEspace réservé
- 1 pièceEspace réservé
- 1 pièceEspace réservé
- 1 pièceEspace réservé
- 1 pièceEspace réservé
- 1 pièceEspace réservé
- 1 pièceEspace réservé
Outils requis
6- Espace réservé
- Espace réservé
- Espace réservé
- Espace réservé
- Espace réservé
- Espace réservé
Blueprints liés
Ces blueprints partagent des connaissances — techniques, matériaux ou principes



CC0 Domaine public
Ce blueprint est publié sous CC0. Vous êtes libre de copier, modifier, distribuer et utiliser ce travail pour tout usage, sans demander la permission.
Soutenez le Maker en achetant des produits via son Blueprint où il perçoit une Commission Maker définie par les Vendeurs, ou créez une nouvelle itération de ce Blueprint et incluez-le comme connexion dans votre propre Blueprint pour partager les revenus.