ART
BEAUTÉ ET BIEN-ÊTRE
ARTISANAT
CULTURE ET HISTOIRE
DIVERTISSEMENT
ENVIRONNEMENT
NOURRITURE ET BOISSONS
INGÉNIERIE INVERSE
SCIENCES
SPORTS
TECHNOLOGIE
TECHNOLOGIE PORTABLE
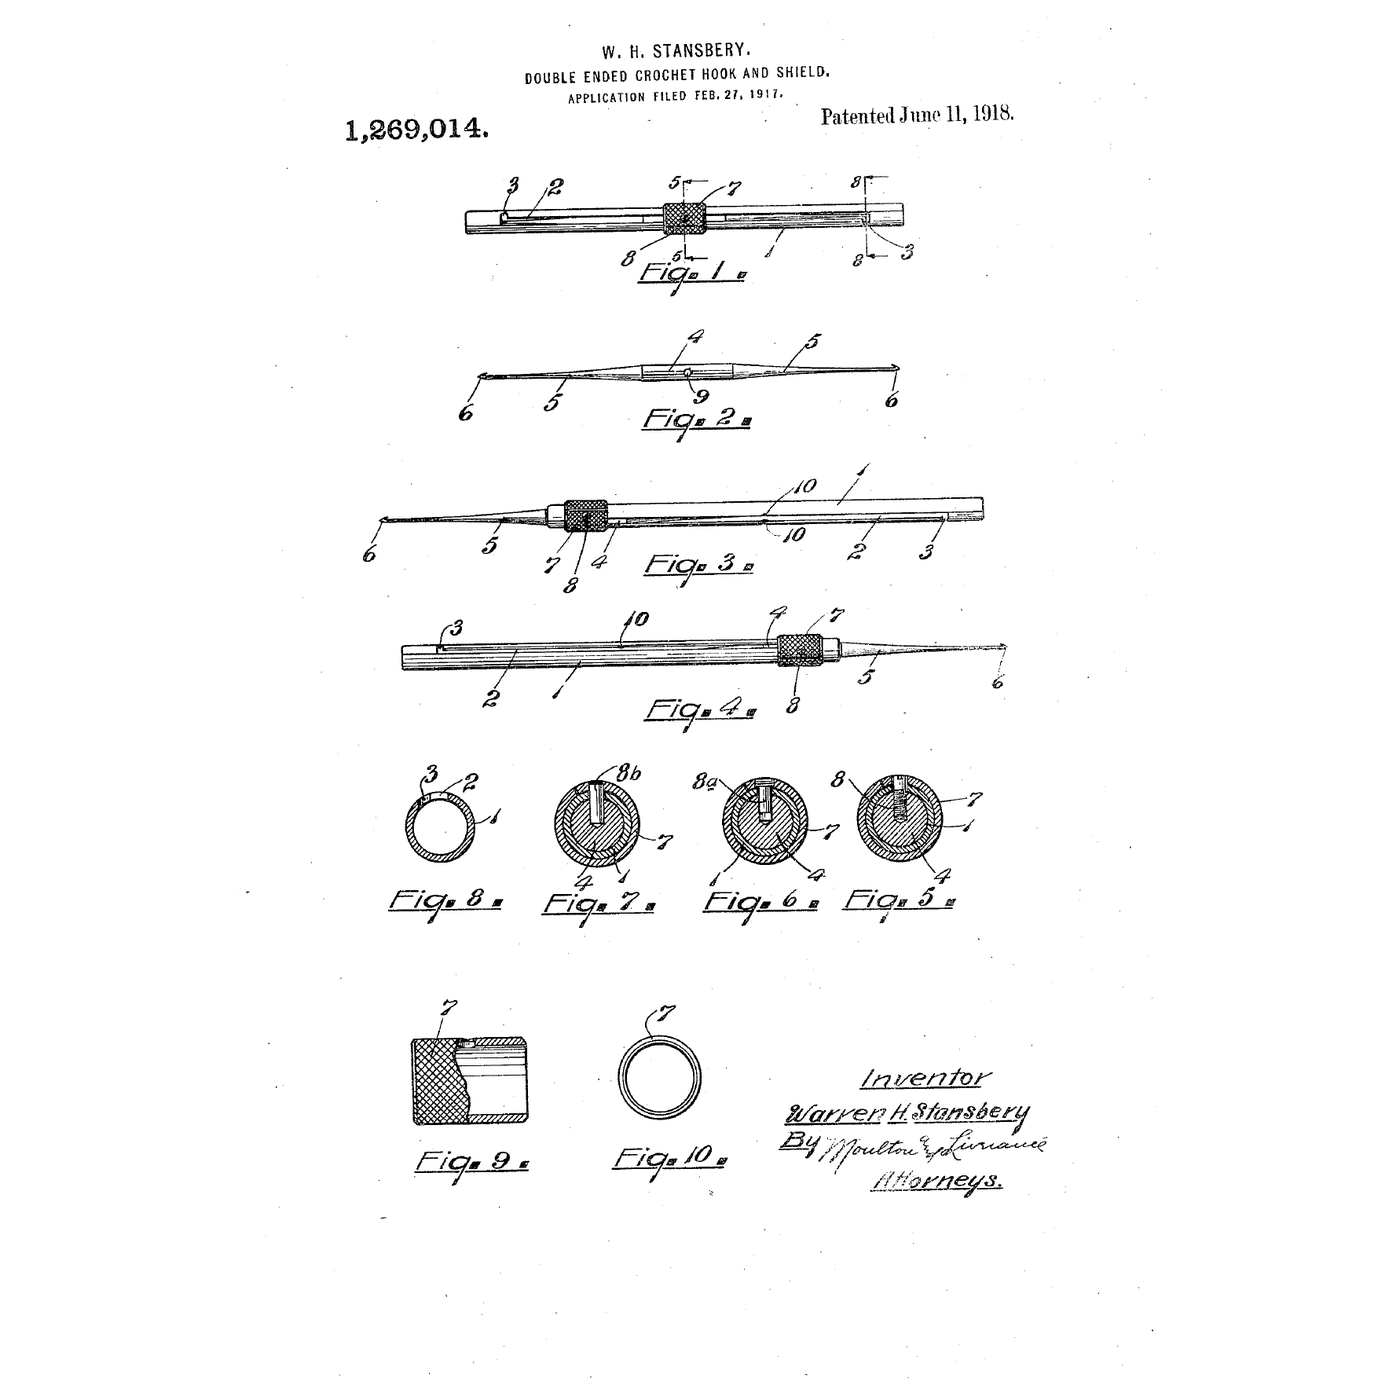


The Shielded Double Crochet Hook: Two Sizes That Slide Out of One Tube
A bare crochet hook catches on everything in a bag, and two sizes mean two loose tools.
Warren H. Stansbery of Grand Haven, Michigan, received US 1,269,014, patented 11 June 1918, for a double-ended hook in a shield: a tube with a slot along one side holds a hook member with a hook at each end, preferably of different sizes; a sleeve with a pin through the slot pushes either hook out and locks it in the slot's right-angled end, and inward bends at mid-length hold the member when it is stowed.
This rung works out the slot length, then builds the shield from brass tube and two bought hooks, and tests how firmly it stows and locks.
Intermédiaire
About 3 hours
Consignes
1
1
Slot length
Slot length
Chargement du notebook Jupyter…
2
2
Several sizes carried in one case before it
Several sizes carried in one case before it
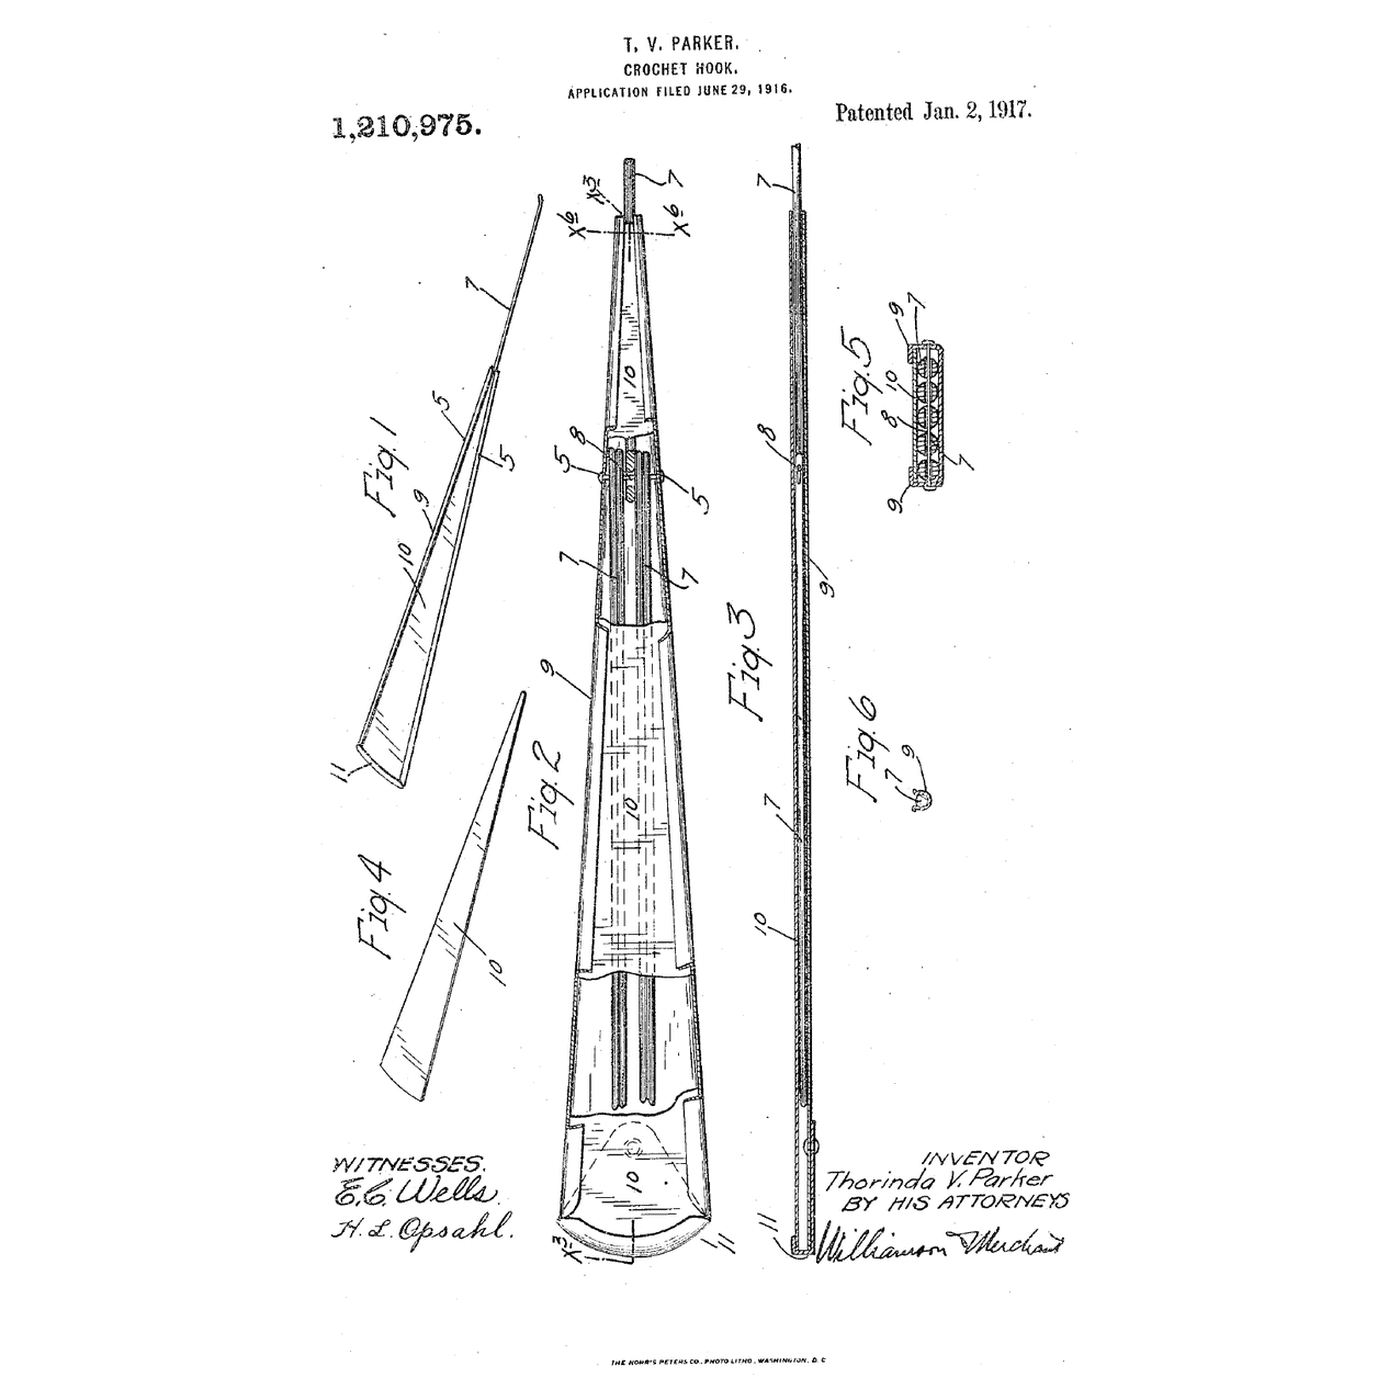
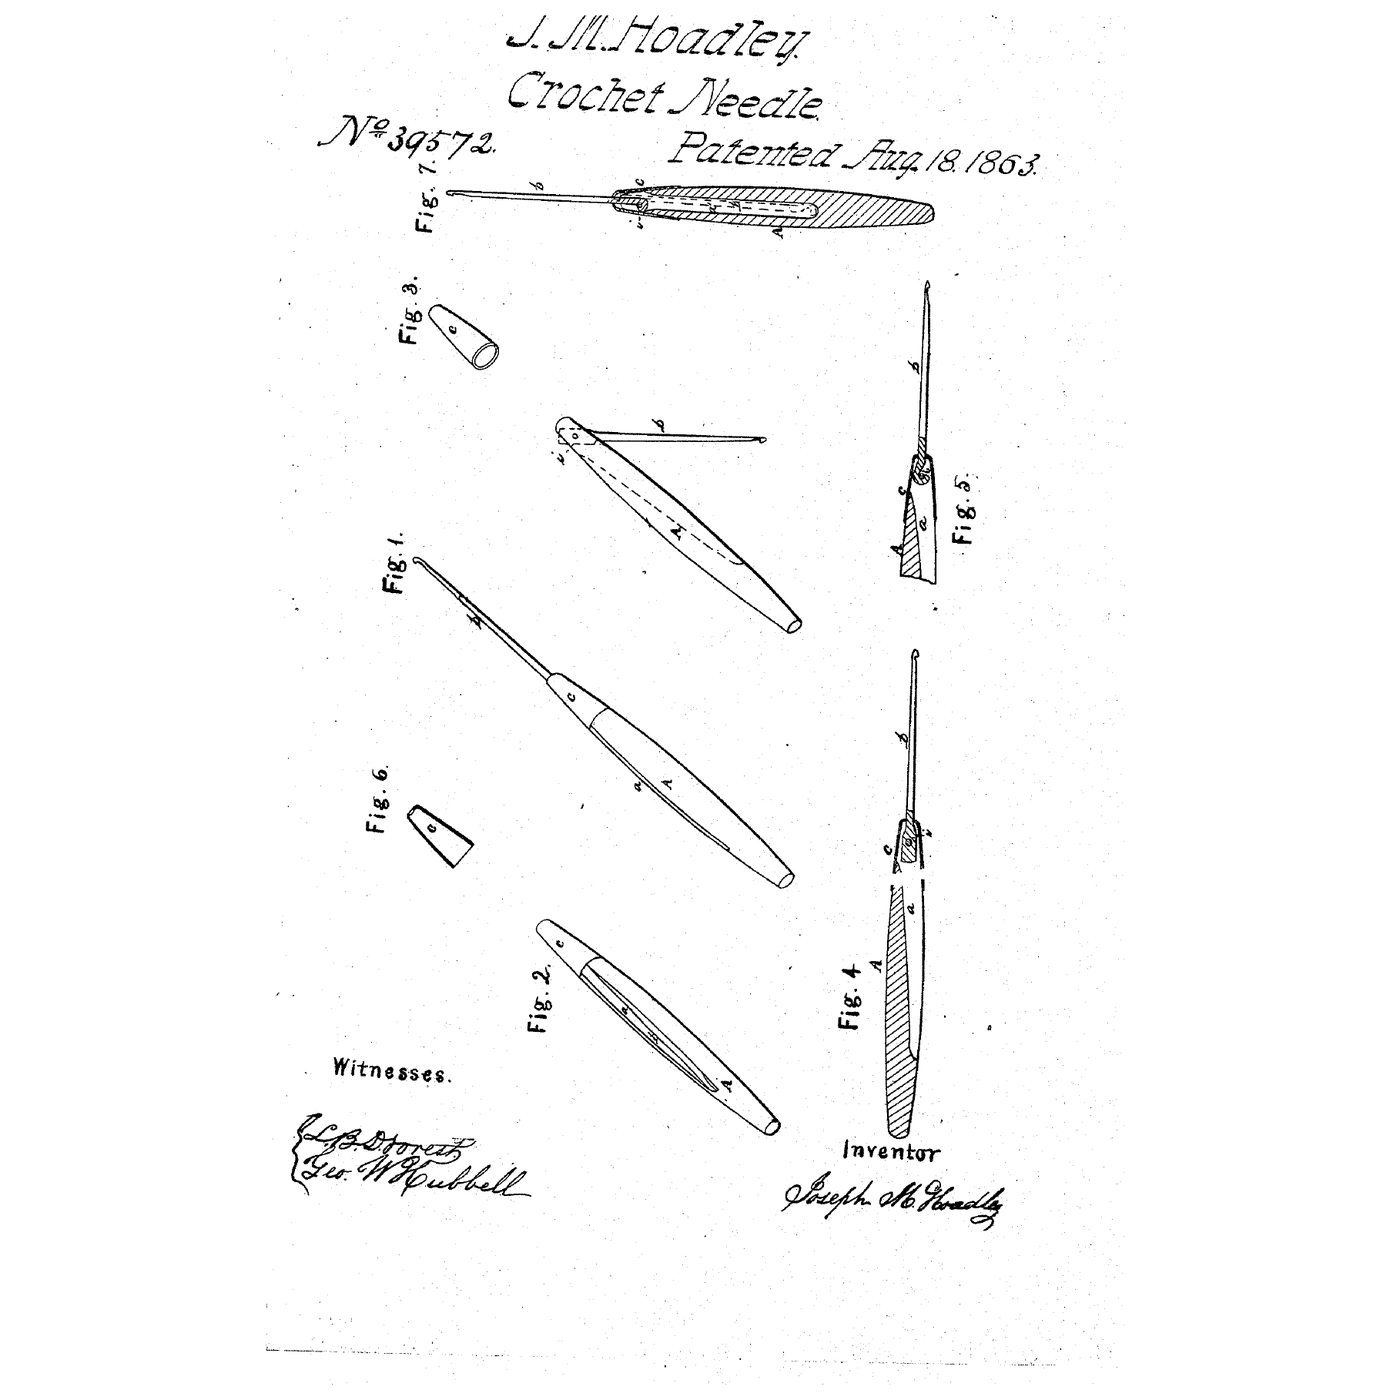
The embedded blueprint keeps hooks of several sizes in a case. Stansbery puts two sizes on one member that slides out of its own shield.
3
3
Read US 1,269,014
Read US 1,269,014
"When the device is not in use the double ended hook member is entirely within the shield and the cylindrical section 4 thereof is frictionally engaged by said projections 10 whereby the hook member is held against any accidental movement with respect to the shield. By grasping sleeve 7 either end of the hook member may be projected beyond the shield as shown in Figs. 3 and 4, pin 8, or 8a or 8b moving through the slot 2 until it reaches one end thereof after which the combined sleeve pin and hook may be turned to seat the pin in the extension 3 of the slot, this holding the hook member in position with respect to the shield."
4
4
Cut the shield and slot
Cut the shield and slot
Cut 150 mm of 3/8" brass tube. Mark a line along it and cut a 2 mm slot on it with the rotary tool's cut-off disc from 15 mm to 135 mm, with a 5 mm turn at right angles at each end. Deburr with needle files.
Matériaux pour cette étape :
 Tube de laiton de 9,5 mm de diamètre extérieur1 pièce
Outils nécessaires :
 Scie à métaux
 Étau d'établi
 Outil rotatif (type Dremel)
 Jeu de limes aiguilles
 Marqueur permanent
 Règle
Règle Lunettes de sécurité transparentes
5
5
Make the hook member
Make the hook member
Sand 40 mm of hardwood dowel until it slides freely in the tube. Drill each end on the axis for a hook's shank. Cut two hooks of different sizes from the set to leave 50 mm each, and epoxy one into each end.
Matériaux pour cette étape :
 Goujons de bois dur1 pièce
 Jeu de crochets2 pièces
 Époxy à deux composants1 pièce
Outils nécessaires :
 Papier abrasif
 Pied à coulisse numérique 6 pouces
 Perceuse sans fil
 Jeu de foretsScie à métaux
6
6
Fit the sleeve and pin
Fit the sleeve and pin
Cut 20 mm of 1/2" brass tube for the sleeve and drill a 1.5 mm hole through one side. Slide the member into the shield, the sleeve over it, and push a 1.5 mm steel pin through the sleeve and slot into a 1.5 mm hole drilled in the dowel's middle.
Matériaux pour cette étape :
 Tube en laiton de 1/2 pouce de diamètre extérieur1 pièce
 Goupille cylindrique en acier1 pièce
Outils nécessaires :
Scie à métauxPerceuse sans filJeu de forets Marteau
7
7
Dent the stops
Dent the stops
With the member centred, tap a light dent inward with the centre punch on each side of the slot at mid-length, until the dowel is gripped but still slides.
Outils nécessaires :
 PointeauMarteau
8
8
Or print it: one shield, a member per yarn weight
Or print it: one shield, a member per yarn weight
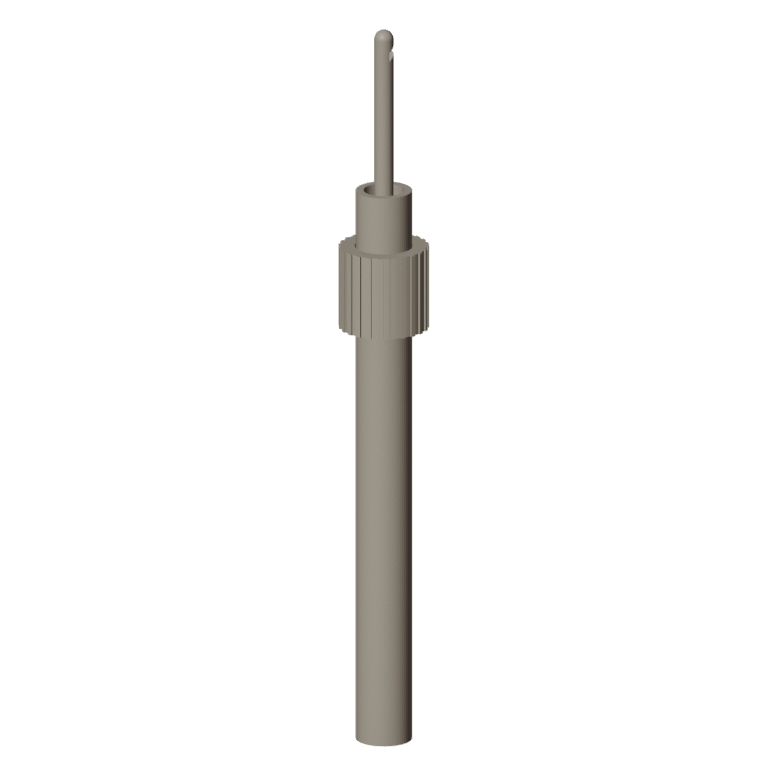
Instead of brass and bought hooks, print the parts in PLA at 0.12 mm layers, 100 % infill for the members:
- the shield, 150 mm long with its slot and right-angled turns (/uploads/blueprints/shielded-crochet-hook-shield.stl)
- the knurled sleeve (/uploads/blueprints/shielded-crochet-hook-sleeve.stl)
- a member for your yarn: 3.5/4.5 mm for fine yarn (/uploads/blueprints/shielded-crochet-hook-member-3_5-4_5.stl), 5/6 mm for medium (/uploads/blueprints/shielded-crochet-hook-member-5_0-6_0.stl), 6.5/8 mm for bulky (/uploads/blueprints/shielded-crochet-hook-member-6_5-8_0.stl)
Every member has the same 10 mm core, so one shield takes them all. Print members standing upright, then join sleeve, slot and member with a 2 mm steel pin, as in step 6.
Matériaux pour cette étape :
 Filament PLA1 pièce
Outils nécessaires :
 Imprimante 3D à filament (FDM)
9
9
The patent drawing
The patent drawing
US 1,269,014 drawing sheet, public domain (expired patent).
10
10
Test it
Test it
Pull the sleeve with the force meter to unstow the member; note the force. Lock each hook out, shake it hard ten times, and check it has not moved. Crochet a 20-stitch chain with each hook and time it.
Matériaux pour cette étape :
 Fil1 pièce
Outils nécessaires :
 Dynamomètre (peson à ressort)
 Chronomètre
11
11
A hook that rattles, will not lock or will not slide
A hook that rattles, will not lock or will not slide
Shielded double crochet hook troubleshooting.
Flow
Loading...
12
12
History and honest limits
History and honest limits
**Warren H. Stansbery** of Grand Haven, Michigan, filed US 1,269,014 on 27 February 1917; it was patented 11 June 1918. His sleeve has a knurled surface, convenient for grasping in crocheting; he showed a screw, a headed connector and a straight pin through the slot, and wrote that the straight pin "is the way that the device has been actually constructed."
**Honest limits.** He gives no sizes; ours are examples, and a dowel with two bought hooks stands in for his one-piece member. Your forces and times are the result.
Matériaux
8- Espace réservé
- 1 pièceEspace réservé
- 2 piècesEspace réservé
- 1 pièceEspace réservé
- Espace réservé
- Espace réservé
- 1 pièceEspace réservé
- 1 pièceEspace réservé
Outils requis
16- Espace réservé
- Espace réservé
- Espace réservé
- Espace réservé
- Espace réservé
- Espace réservé
- Espace réservé
- Espace réservé
- Espace réservé
- 1 vendor sell this, none ship to you yetEspace réservé
- Espace réservé
- Espace réservé
- Espace réservé
- Espace réservé
- Espace réservé
- Espace réservé
Blueprints liés
Ces blueprints partagent des connaissances — techniques, matériaux ou principes

CC0 Domaine public
Ce blueprint est publié sous CC0. Vous êtes libre de copier, modifier, distribuer et utiliser ce travail pour tout usage, sans demander la permission.
Soutenez le Maker en achetant des produits via son Blueprint où il perçoit une Commission Maker définie par les Vendeurs, ou créez une nouvelle itération de ce Blueprint et incluez-le comme connexion dans votre propre Blueprint pour partager les revenus.