ART
BEAUTÉ ET BIEN-ÊTRE
ARTISANAT
CULTURE ET HISTOIRE
DIVERTISSEMENT
ENVIRONNEMENT
NOURRITURE ET BOISSONS
INGÉNIERIE INVERSE
SCIENCES
SPORTS
TECHNOLOGIE
TECHNOLOGIE PORTABLE
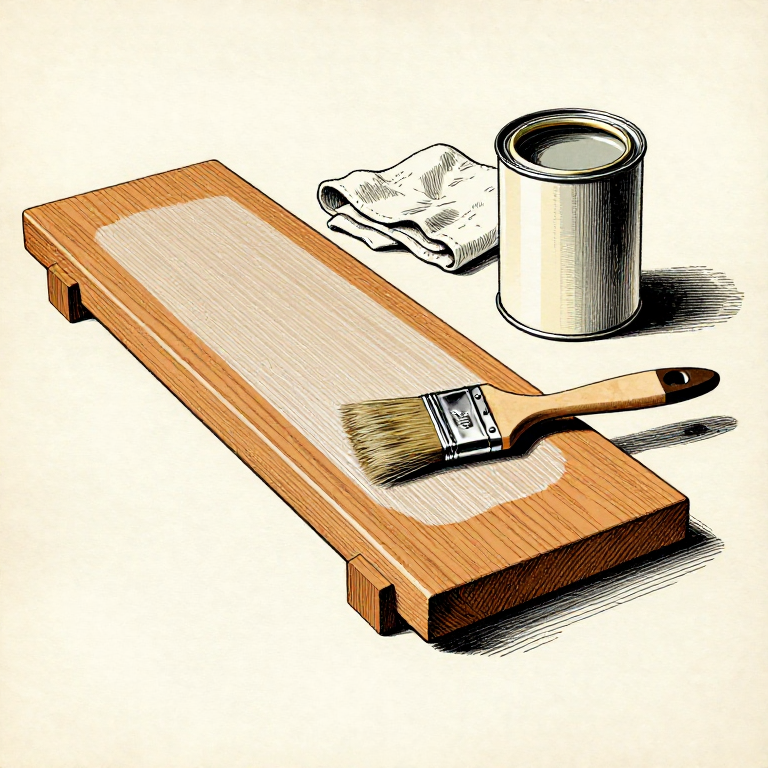


Varnish and Polyurethane: Thin Coats, and Leave It Alone
Polyurethane is the toughest finish most workshops will use: genuinely water resistant, genuinely abrasion resistant, and the right answer for a worktop, a floor or a table that gets used.
It is also the least forgiving to apply. It stays wet long enough to collect dust, it shows every brush mark, and each coat is a separate layer rather than melting into the last — so a sand-through is visible as a witness line forever.
Two rules cover nearly all of it: thin coats, and stop touching it. Almost every bad polyurethane finish comes from a thick coat or from brushing back over one that had started to set.
Intermédiaire
4 hours
Consignes
1
1
Oil-based or water-based: pick for colour and smell, not for toughness
Oil-based or water-based: pick for colour and smell, not for toughness
OIL-BASED cures slowly, flows out well so brush marks level themselves, warms the colour of the wood, and continues to yellow for years. It smells strongly and needs solvent to clean up.
WATER-BASED dries in a couple of hours, stays water-clear so pale timbers stay pale, has little odour and cleans up with water. It levels less well, so brush marks are more likely, and it raises the grain on the first coat — which the surface rung pre-empts by raising the grain deliberately.
Modern water-based products are comparable in durability, so the honest basis for choosing is colour, dry time and smell. Do not use them over an oil finish that has not fully cured, and seal an oily or resinous timber with dewaxed shellac first.
Matériaux pour cette étape :
 Polyuréthane - à l'huile1 pièce
 Polyuréthane - à l'eau1 pièce
 Planche de bois dur2 pièces
Outils nécessaires :
 Brosse large
 Pinceau en mousse
 Gants en nitrile
2
2
Thin it, and wipe rather than brush
Thin it, and wipe rather than brush
A WIPING varnish — polyurethane thinned by half with mineral spirits and wiped on with a cloth — is the most reliable way for a beginner to get a good film finish, and it is what many 'wipe-on poly' products already are.
Thin coats cannot run, cannot sag, hold far less dust because they set quickly, and show no brush marks because there is no brush. The cost is that you need more of them — five or six rather than two or three — and each is quick.
If you brush, use a good brush, load it properly, lay the finish on in one direction and tip off lightly along the grain. Then stop. A brush going back into partly set varnish tears it, and that tear is permanent.
Matériaux pour cette étape :
Polyuréthane - à l'huile1 pièceOutils nécessaires :
 Tissu de cotonBrosse largeGants en nitrile
 White-spirit
3
3
Between coats: scuff, do not sand through
Between coats: scuff, do not sand through
Once a coat is properly dry, knock off dust nibs with very fine abrasive or a grey pad, wipe clean, and apply the next. The scratches give the next coat something to key to, which polyurethane needs because it does not dissolve into the previous layer.
Use light pressure and stay off the edges. Edges have the thinnest film and sand through first, and a sand-through on a stained surface takes the colour with it — leaving a pale patch that cannot be blended.
Respect the recoat window on the tin. Recoat too early and the solvent in the new coat softens and wrinkles the one beneath; leave it far too long and the new coat will not bond well, which is what the scuffing is compensating for.
Outils nécessaires :
 Chiffon dépoussiérant collant
 Jeu de cales à poncer (mousse)
 Loupe de bijoutier
 Assortiment de papier abrasif
 Assortiment de tampons Scotch-Brite
4
4
Dust, temperature and the last coat
Dust, temperature and the last coat
Oil-based polyurethane stays wet for hours, and everything floating in the air lands on it. Vacuum beforehand, let the air settle, do not sweep, and if you can, finish in a different room from the one you sanded in.
Temperature matters more than people expect. Too cold and it will not cure properly; too warm and it skins before it levels, leaving brush marks set in place. Check the range on the tin and believe it.
Leave the last coat alone completely. Full cure takes days even though it feels dry in hours, and a surface put into use too early prints, dents and marks in ways it never would once hard. For a high build, rub the cured film out with fine abrasive and wax — which the next rung covers — rather than trying to lay a perfect final coat.
Matériaux pour cette étape :
Polyuréthane - à l'huile1 pièceOutils nécessaires :
Chiffon dépoussiérant collantBrosse largeMatériaux
3- 3 piècesEspace réservé
- 1 pièceEspace réservé
- 2 piècesEspace réservé
Outils requis
10- Espace réservé
- Espace réservé
- Espace réservé
- Espace réservé
- Espace réservé
- Espace réservé
- Jeu de cales à poncer (mousse)10 % de commissionEspace réservé
- Espace réservé
- Espace réservé
- Assortiment de tampons Scotch-Brite10 % de commissionEspace réservé
Ce plan fabrique
Blueprints liés
Ces blueprints partagent des connaissances — techniques, matériaux ou principes


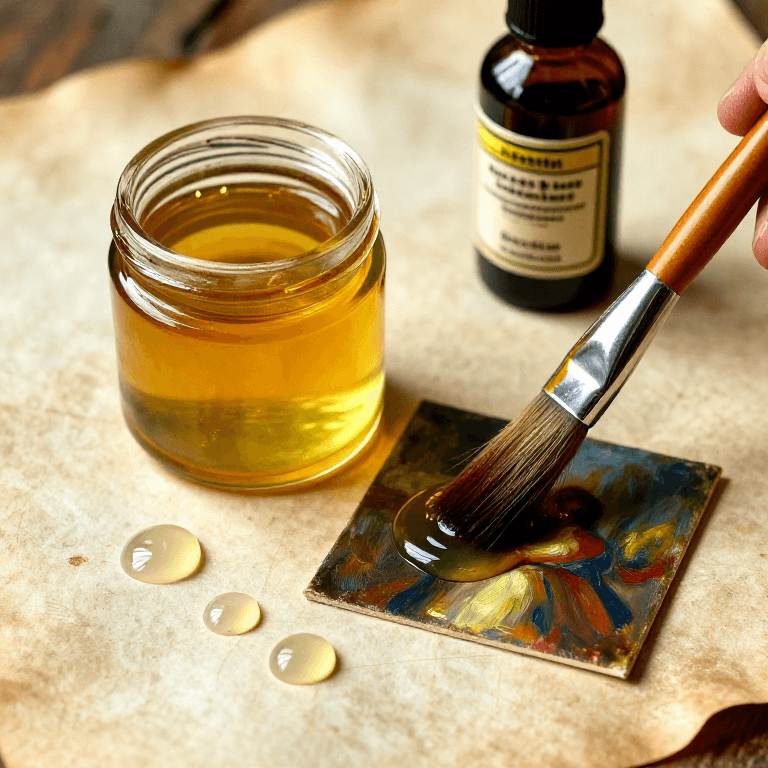

CC0 Domaine public
Ce blueprint est publié sous CC0. Vous êtes libre de copier, modifier, distribuer et utiliser ce travail pour tout usage, sans demander la permission.
Soutenez le Maker en achetant des produits via son Blueprint où il perçoit une Commission Maker définie par les Vendeurs, ou créez une nouvelle itération de ce Blueprint et incluez-le comme connexion dans votre propre Blueprint pour partager les revenus.