ART
BEAUTÉ ET BIEN-ÊTRE
ARTISANAT
CULTURE ET HISTOIRE
DIVERTISSEMENT
ENVIRONNEMENT
NOURRITURE ET BOISSONS
INGÉNIERIE INVERSE
SCIENCES
SPORTS
TECHNOLOGIE
TECHNOLOGIE PORTABLE
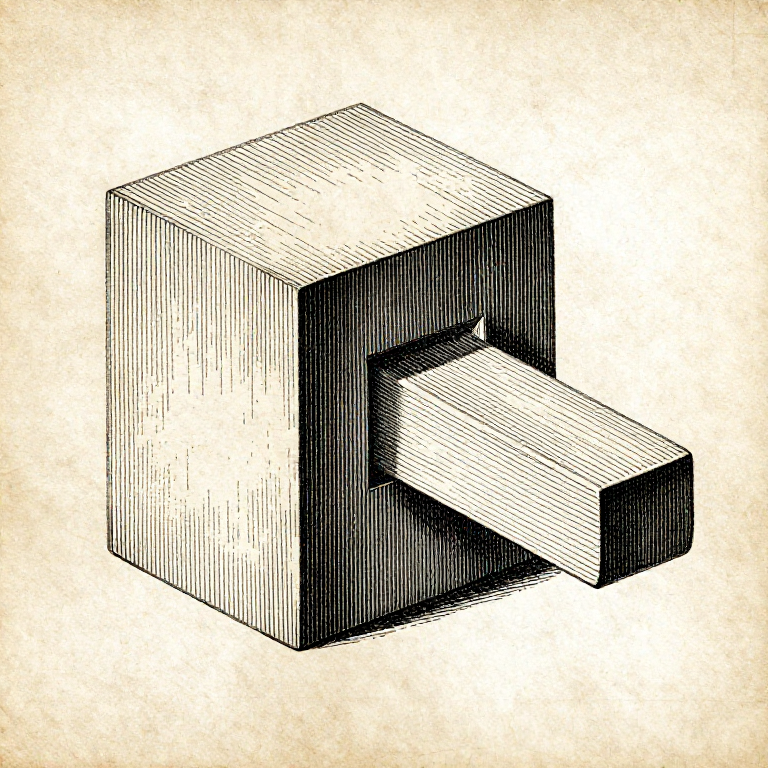


The Mortise and Tenon: What Each Part of It Is Actually For
A mortise and tenon looks like a peg in a hole. It is really four surfaces doing four different jobs, and knowing which is which tells you where to be fussy and where not to bother.
The CHEEKS — the two wide faces of the tenon — are the glue joint, long grain to long grain, and they carry essentially all the strength. The SHOULDERS set the angle and stop the joint racking. The EDGES locate it sideways. The END does nothing at all.
Which is why a tenon that fits its mortise snugly on the cheeks and has a gap at the bottom is a perfect joint, and one that bottoms out but rattles on the cheeks is a bad one — even though the second looks tighter.
Intermédiaire
3 hours
Consignes
1
1
The cheeks are the joint
The cheeks are the joint
Both tenon cheeks and both mortise walls are long grain. Glued together they make the strongest bond wood offers, and they are the reason the joint holds at all — the butt-joint rung is the argument for why.
So the cheeks are where the fit matters. They want to be a firm sliding fit: close enough that the glue line is thin, loose enough that the joint can be pushed home by hand or with light mallet taps.
Make the cheeks by sawing to a gauged line and paring, and check the fit dry before glue goes anywhere near it. A tenon that is too thick can be pared; one that is too thin needs a shim glued on, and that is a repair rather than a joint.
Matériaux pour cette étape :
 Planche de bois dur1 pièce
 Colle à bois vinylique (PVA)1 pièce
Outils nécessaires :
 Scie à dosseret
 Ciseaux à bois
 Trusquin
 Étau d'établi
2
2
The shoulders set the geometry
The shoulders set the geometry
The shoulders are what the rail actually sits against, so they set the angle between the two pieces and they are what a racking force pushes on. A shoulder that is not square makes the frame out of square, and no amount of clamping fixes it.
Both shoulders must be in the same plane and cut from the same gauge line. Cut one 0.5 mm deeper than the other and the rail twists — and it twists whether the cheeks fit or not.
A visible gap at a shoulder is the joint's most obvious fault, which is why it is worth cutting the shoulder slightly proud and paring to the line with a chisel, rather than sawing straight to it and hoping.
Matériaux pour cette étape :
Planche de bois dur1 pièceOutils nécessaires :
 Équerre combinée
 Couteau à tracerCiseaux à boisScie à dosseret
3
3
Leave the end short, and the proportions that work
Leave the end short, and the proportions that work
Cut the tenon 2 to 3 mm shorter than the mortise is deep. That gap holds squeezed glue, lets the joint close fully on the shoulders, and costs nothing — the end grain at the bottom was contributing nothing anyway.
A tenon that bottoms out is the classic bad joint: it holds the shoulders open by a hair, so there is a visible gap at the most visible place, and the cheeks may not even be seated.
Proportions worth starting from: tenon thickness about ONE THIRD the rail thickness, so the mortise walls and the tenon are all about equally strong. Tenon width up to about five times its thickness — wider than that and it is usually split into two tenons with a haunch between, precisely because a wide tenon moves across its width and a long mortise weakens the stile.
Matériaux pour cette étape :
Planche de bois dur1 pièceColle à bois vinylique (PVA)1 pièceOutils nécessaires :
 Bédane à mortaiserTrusquin
 Pied à coulisse numérique 6 pouces
 Maillet en bois
4
4
Drawboring: a joint that does not need a clamp
Drawboring: a joint that does not need a clamp
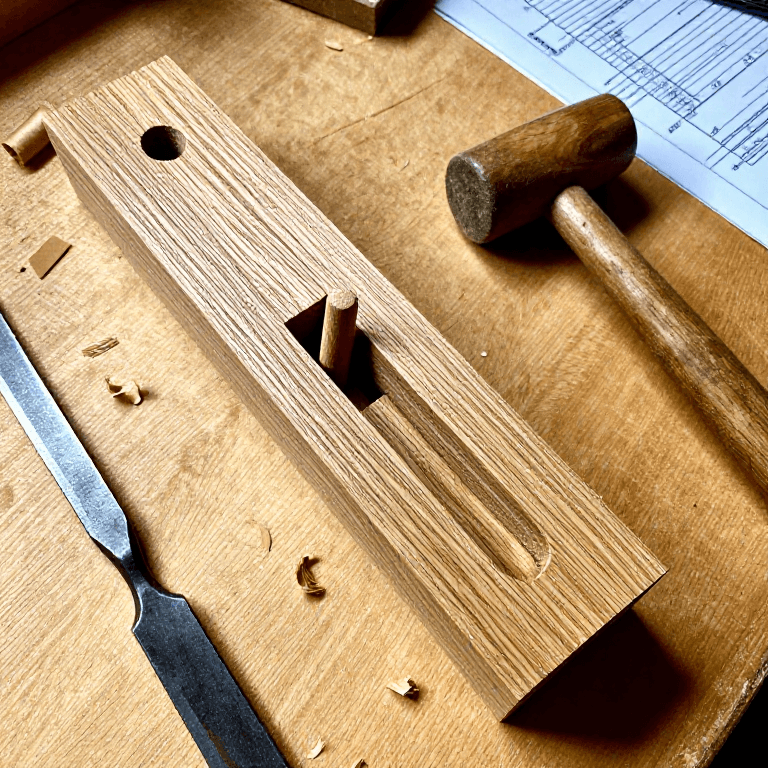
Bore a hole through the mortise walls, assemble, and mark where the hole falls on the tenon. Then bore the tenon's hole about 1 mm CLOSER to the shoulder than the mark, and drive a tapered peg through.
The peg is forced to bend as it passes, and pulls the tenon's shoulder hard against the stile — permanently, without clamps, and without waiting for glue. It is how timber frames and much pre-industrial furniture were assembled, and it works on green timber where glue does not.
Offset too far and the peg snaps or the tenon splits; 1 mm is about right in hardwood, a little more in softwood. Make the pegs from riven, straight-grained stock — a sawn peg with grain running out will shear as it bends.
Matériaux pour cette étape :
 Tourillon en bois1 piècePlanche de bois dur1 pièce
Outils nécessaires :
Maillet en boisCiseaux à boisTrusquinMatériaux
3- 1 pièceEspace réservé
- 2 piècesEspace réservé
- 1 pièceEspace réservé
Outils requis
9- Espace réservé
- Espace réservé
- Espace réservé
- Espace réservé
- Espace réservé
- Espace réservé
- Espace réservé
- Espace réservé
- Espace réservé
Blueprints liés
Ces blueprints partagent des connaissances — techniques, matériaux ou principes

CC0 Domaine public
Ce blueprint est publié sous CC0. Vous êtes libre de copier, modifier, distribuer et utiliser ce travail pour tout usage, sans demander la permission.
Soutenez le Maker en achetant des produits via son Blueprint où il perçoit une Commission Maker définie par les Vendeurs, ou créez une nouvelle itération de ce Blueprint et incluez-le comme connexion dans votre propre Blueprint pour partager les revenus.