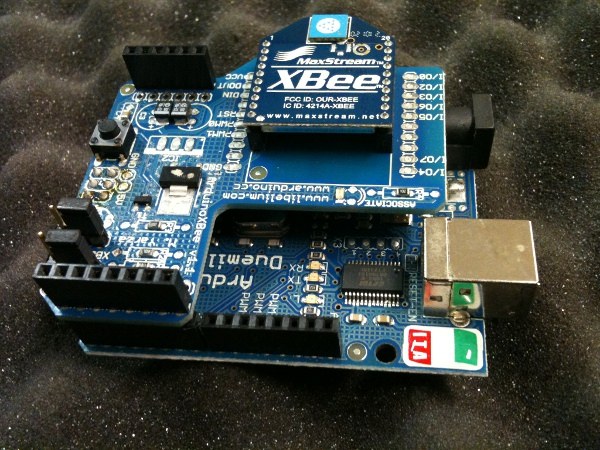


XBee Point-to-Point Wireless Link
Consignes
Solder headers to the XBee shield
Solder headers to the XBee shield
Solder the Arduino headers to the shield. The 2 mm XBee sockets are already fitted — only the 0.1 inch Arduino headers need soldering.
Matériaux pour cette étape :
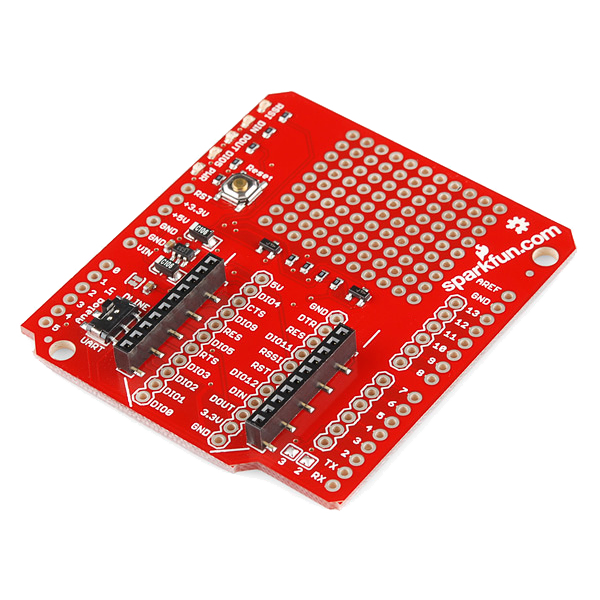 Sparkfun XBee Shield1 pièce
Outils nécessaires :
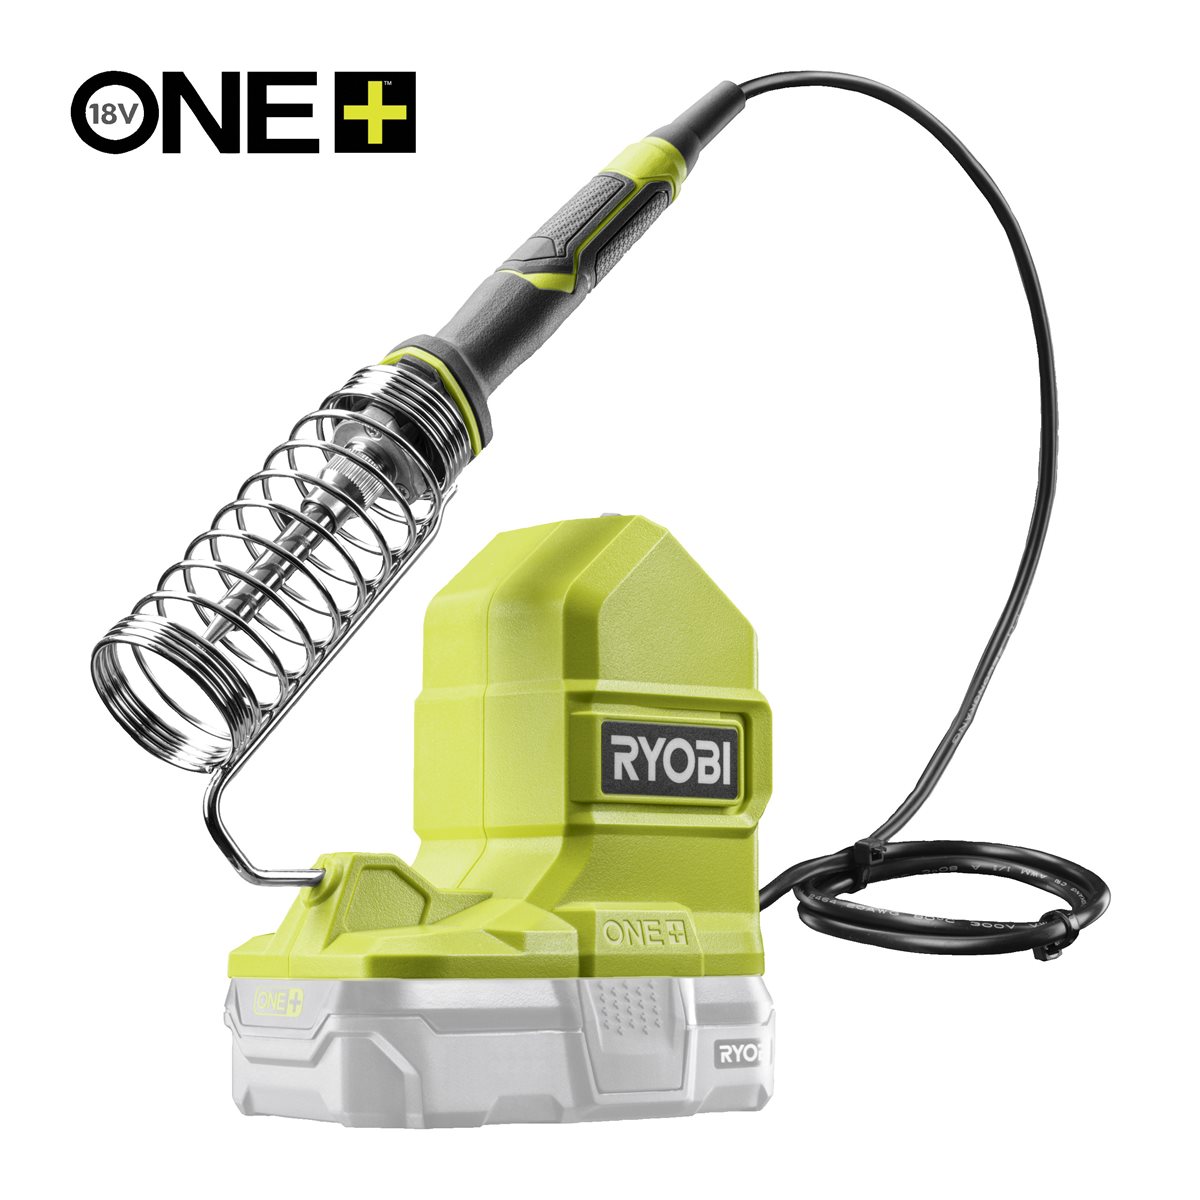 Ryobi ONE+ RSI18-0 Cordless Soldering Iron
Seat the radios — and mind the orientation
Seat the radios — and mind the orientation
One module into the USB explorer, the other into the shield.
- The modules are keyed: the pointed end of the outline matches the pointed end of the socket.
- Press straight down; the 2 mm pins bend easily.
Matériaux pour cette étape :
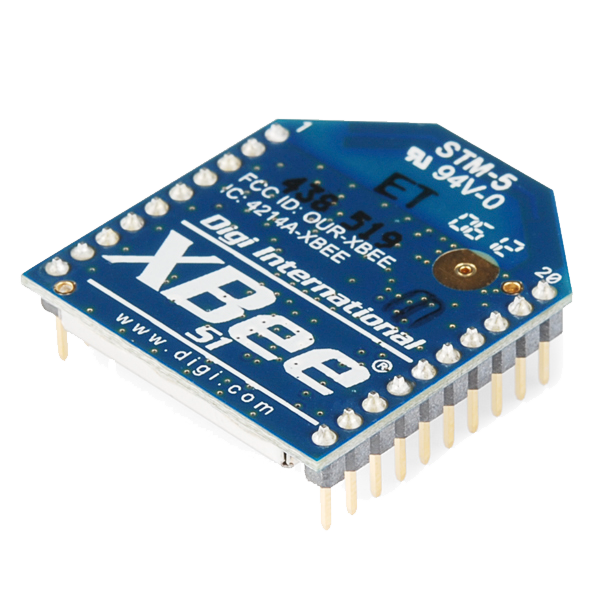 XBee 1mW Trace Antenna - Series 1 (802.15.4)2 pièces
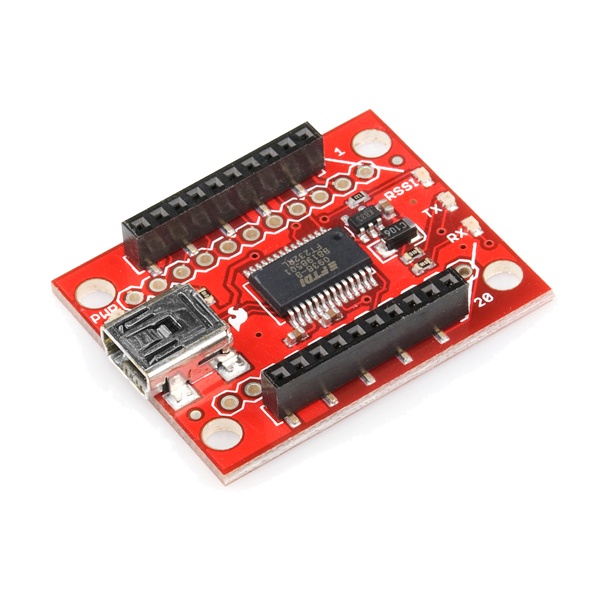 SparkFun XBee Explorer USB1 pièce
Confirm both radios share a network and channel
Confirm both radios share a network and channel
Plug the explorer into the computer and open a terminal at 9600 baud.
- Type +++ and wait — do not press Enter. The module replies OK.
- ATID shows the network identifier, ATCH the channel.
- Repeat for the second module and make the two match. ATWR saves.
Power the Arduino end and send bytes
Power the Arduino end and send bytes
Stack the shield on the Uno. Power over USB-B while testing; a 7–12 V supply on the barrel jack once it runs standalone.
Set the shield's UART switch to DLINE before uploading, then back for the radio to talk. On the SparkFun shield the radio shares the hardware UART with the USB port, so an upload and a live link cannot both use it at once.
Matériaux pour cette étape :
 Arduino Uno R3 SMD1 pièce
 USB-B Cable1 pièce
Find the range where it actually fails
Find the range where it actually fails
Walk the Arduino end away from the computer until the counter starts skipping, and write down the distance and what stood between the radios.
The quoted range assumes open air and line of sight. One brick wall or a metal cabinet cuts it sharply. Your measured figure is worth more than the datasheet's, because it is the one your project has to live with.Matériaux
5- Sparkfun XBee Shield10 % de commission1 pièce€12.40
- XBee 1mW Trace Antenna - Series 1 (802.15.4)10 % de commission2 pièces€21.04
- SparkFun XBee Explorer USB10 % de commission1 pièce€21.04
- Arduino Uno R3 SMD10 % de commission1 pièce€23.55
- SparkFun Cerberus USB Cable - 1.8 meter10 % de commission1 pièce€4.95
Outils requis
1- Ryobi ONE+ RSI18-0 Cordless Soldering Iron3 % de commission€81.09
CC0 Domaine public
Ce blueprint est publié sous CC0. Vous êtes libre de copier, modifier, distribuer et utiliser ce travail pour tout usage, sans demander la permission.
Soutenez le Maker en achetant des produits via son Blueprint où il perçoit une Commission Maker définie par les Vendeurs, ou créez une nouvelle itération de ce Blueprint et incluez-le comme connexion dans votre propre Blueprint pour partager les revenus.