
Kolaborasi
SENI
KECANTIKAN & KESEHATAN
KERAJINAN
BUDAYA & SEJARAH
HIBURAN
LINGKUNGAN
MAKANAN & MINUMAN
REKAYASA BALIK
ILMU PENGETAHUAN
OLAHRAGA
TEKNOLOGI
PERANGKAT PAKAI
Straight-Sided Guitar: Maple Box, Pine Top, Hatpin Frets and a 24-Inch Scale (Boy Mechanic, 1913)
Woody

Dibuat oleh

Woody

13. November 2026NO
10
0
0
0
0

Straight-Sided Guitar: Maple Box, Pine Top, Hatpin Frets and a 24-Inch Scale (Boy Mechanic, 1913)

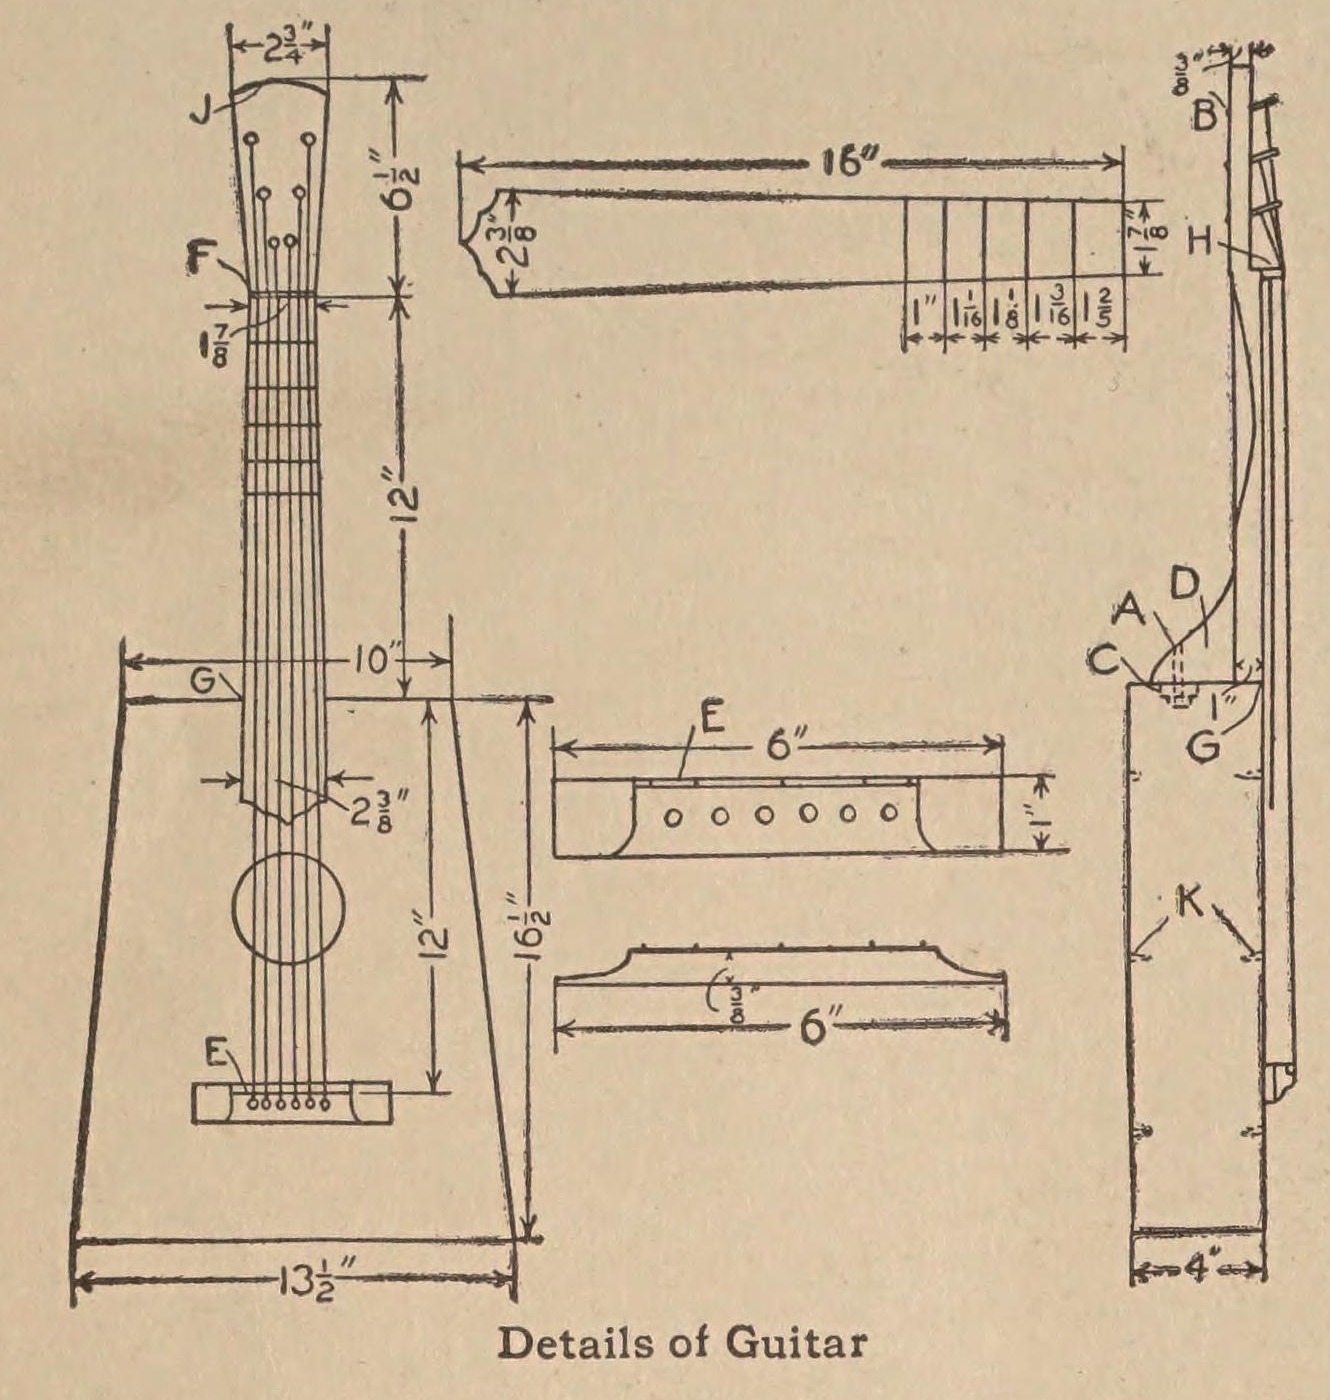
A six-string guitar "having straight lines, giving it an old-fashioned appearance", from The Boy Mechanic (1913): a tapered box of hard maple with a seasoned soft-pine top, a drawknifed neck, frets cut from hatpins and a 24 in scale. Sizes are read on the 1913 scan. "If care is taken in selecting the material, and having it thoroughly seasoned, the finished instrument will have a fine tone."
Lanjutan
About 1 week, with glue drying

Instruksi

1

Cutting list and frets

Memuat notebook Jupyter…
2

Read The Boy Mechanic

"The sides, ends and bottom are made of hard wood, preferably hard maple, and the top should be made of a thoroughly seasoned piece of soft pine." (J. H. Stoddard, Carbondale, Pa.)
3

Cut the pieces

Cut from thoroughly seasoned wood: top 3/16 by 14 by 17 in (soft pine); bottom 3/16 by 14 by 17 in, two sides 3/16 by 3-5/8 by 16-3/4 in, and ends 3/16 by 3-5/8 by 13-1/8 in and 9-5/8 in (hard maple); neck 1 by 2-5/16 by 18-1/2 in; fingerboard 3/16 by 2-5/8 by 16 in.

Material untuk langkah ini:

Papan Kayu KerasPapan Kayu Keras1 buah
Papan pinusPapan pinus1 buah

Alat yang dibutuhkan:

Gergaji TanganGergaji Tangan
Meteran GulungMeteran Gulung
Siku-siku tetapSiku-siku tetap
4

Shape the neck and fingerboard

Taper the neck from G to F and from J to F, with the back rounded, using a drawknife: 2-3/8 in at the heel, 1-7/8 in at the nut F, and a head 2-3/4 in wide and 6-1/2 in long. Taper the fingerboard to match. Glue a piece of hard wood 1/4 in square and 1-7/8 in long across the neck at F as the nut. Glue the fingerboard to the neck and clamp it until the glue sets.

Material untuk langkah ini:

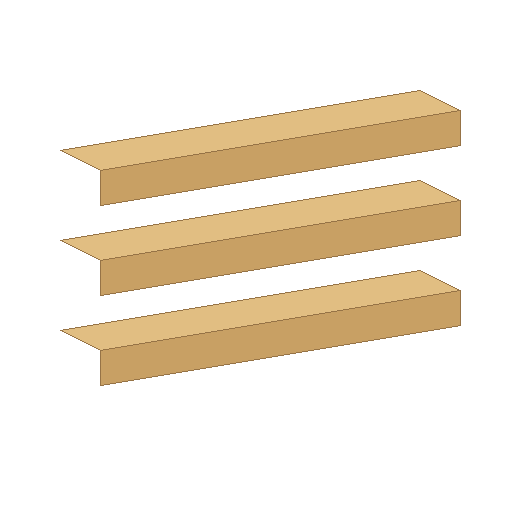
Lis kayu kerasLis kayu keras1 buah
Lem KayuLem Kayu1 buah

Alat yang dibutuhkan:

Pisau TarikPisau Tarik
Gergaji TanganGergaji Tangan
Klem batangKlem batang
5

Fret the fingerboard

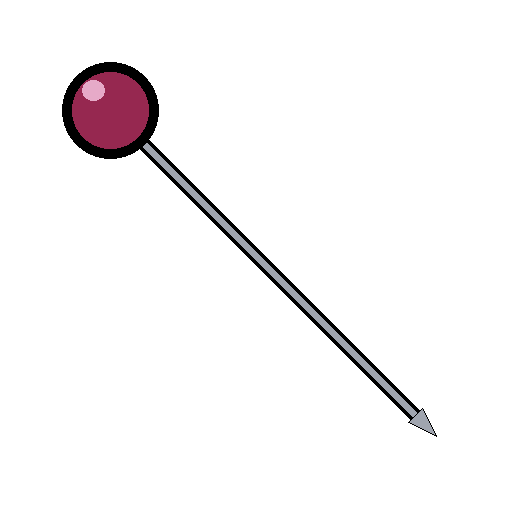
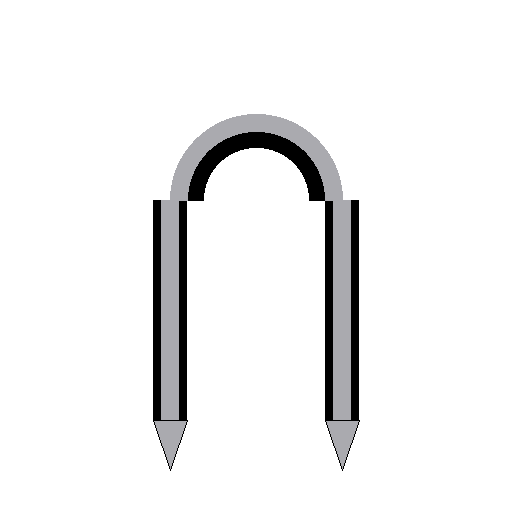
Mark the frets from the nut using the computed positions in step 1 (fret 1 at 1.347 in, fret 12 at 12 in). His drawing gives only five spaces, 1-2/5, 1-3/16, 1-1/8, 1-1/16 and 1 in; added up they put the 5th fret about 0.3 in short of the true place, so they are shown for history only. Cut pieces from hatpins and fasten them across the fingerboard with small wire staples. Mark accurately: the frets decide the pitch.

Material untuk langkah ini:

Peniti topiPeniti topi1 buah
Paku U kawatPaku U kawat1 buah

Alat yang dibutuhkan:

Tang Berujung RataTang Berujung Rata
PaluPalu
Meteran GulungMeteran Gulung
Siku-siku tetapSiku-siku tetap
6

Build the box

Glue the sides and ends together, so the body is 10 in wide at the neck end, 13-1/2 in at the tail and 16-1/2 in long. Glue the front on, put heavy weights on top and give the glue time to dry. Fasten pieces of soft wood in the corners as braces, glue a small block C inside the neck end to take the bolt, and glue strips of soft wood K across the front and back to strengthen them. Cut the sound hole in the top as drawn.

Material untuk langkah ini:

Reng kayu lunakReng kayu lunak1 buah
Lem KayuLem Kayu1 buah

Alat yang dibutuhkan:

Gergaji TanganGergaji Tangan
Klem batangKlem batang
Bor engkol dan mata borBor engkol dan mata bor
7

Fit the neck

Make the brace D 1 in thick, to any shape you like. Glue the neck to the box and secure it with a carriage bolt at A through the end and block C. Glue the back on and smooth the outside with sandpaper.

Material untuk langkah ini:

Lis kayu kerasLis kayu keras1 buah
Baut kepala bulat leher persegiBaut kepala bulat leher persegi1 buah
Papan Kayu KerasPapan Kayu Keras1 buah
Lem KayuLem Kayu1 buah
AmplasAmplas1 buah

Alat yang dibutuhkan:

Bor engkol dan mata borBor engkol dan mata bor
Klem batangKlem batang
8

Make and place the bridge

Make the bridge 6 in long, 1 in wide and 3/8 in high, with an old hatpin or wire of the same size secured on top with pin staples as the saddle E. Drill six 3/16 in holes in it for the pins. Glue it on the top so the distance from the nut F to the saddle E is just 24 in.

Material untuk langkah ini:

Lis kayu kerasLis kayu keras1 buah
Peniti topiPeniti topi1 buah
Paku U kawatPaku U kawat1 buah
Lem KayuLem Kayu1 buah

Alat yang dibutuhkan:

Bor engkol dan mata borBor engkol dan mata bor
Gergaji TanganGergaji Tangan
Meteran GulungMeteran Gulung
9

String it

Fit the turning pegs B in the head and string the guitar, holding the strings in the bridge with the pins. He bought the pegs and strings from a music store.

Material untuk langkah ini:

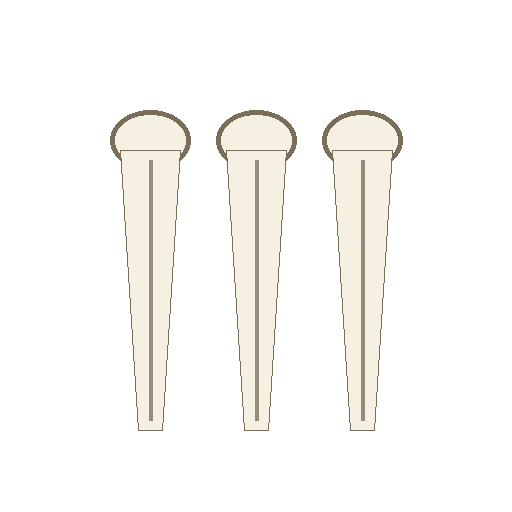
Pasak Penyetel SenarPasak Penyetel Senar1 buah
Senar gitarSenar gitar1 buah
Pin bridge gitarPin bridge gitar1 buah

Alat yang dibutuhkan:

Bor engkol dan mata borBor engkol dan mata bor
10

Troubleshooting

Guitar troubleshooting.

Flow

Loading...
11

History and honest limits

From **The Boy Mechanic**, edited by H. H. Windsor, Popular Mechanics, Chicago, 1913, p. 320, "A Guitar That Is Easy to Make", sent in by J. H. Stoddard of Carbondale, Pa.; sizes read on the 1913 scan (archive.org boymechanicthing01unse). He dimensions only the first five fret spaces, and they disagree with equal temperament; the fret positions used are computed by us. The sound hole, saddle and string tensions are not dimensioned. The tools and metric figures are ours.

Bahan

12

Alat yang Diperlukan

8

Cetak biru ini membuat

CC0 Domain Publik

Cetak biru ini dirilis di bawah CC0. Anda bebas untuk menyalin, memodifikasi, mendistribusikan, dan menggunakan karya ini untuk tujuan apa pun, termasuk komersial, tanpa meminta izin.

Dukung Maker dengan membeli produk melalui Cetak Biru mereka di mana mereka mendapatkan Komisi Pembuat yang ditetapkan oleh Penjual, atau buat iterasi baru dari Cetak Biru ini dan masukkan sebagai koneksi di milik Anda sendiri.

Diskusi

(0)

Masuk untuk bergabung dengan diskusi

Memuat komentar...