Kolaborasi
SENI
KECANTIKAN & KESEHATAN
KERAJINAN
BUDAYA & SEJARAH
HIBURAN
LINGKUNGAN
MAKANAN & MINUMAN
REKAYASA BALIK
ILMU PENGETAHUAN
OLAHRAGA
TEKNOLOGI
PERANGKAT PAKAI
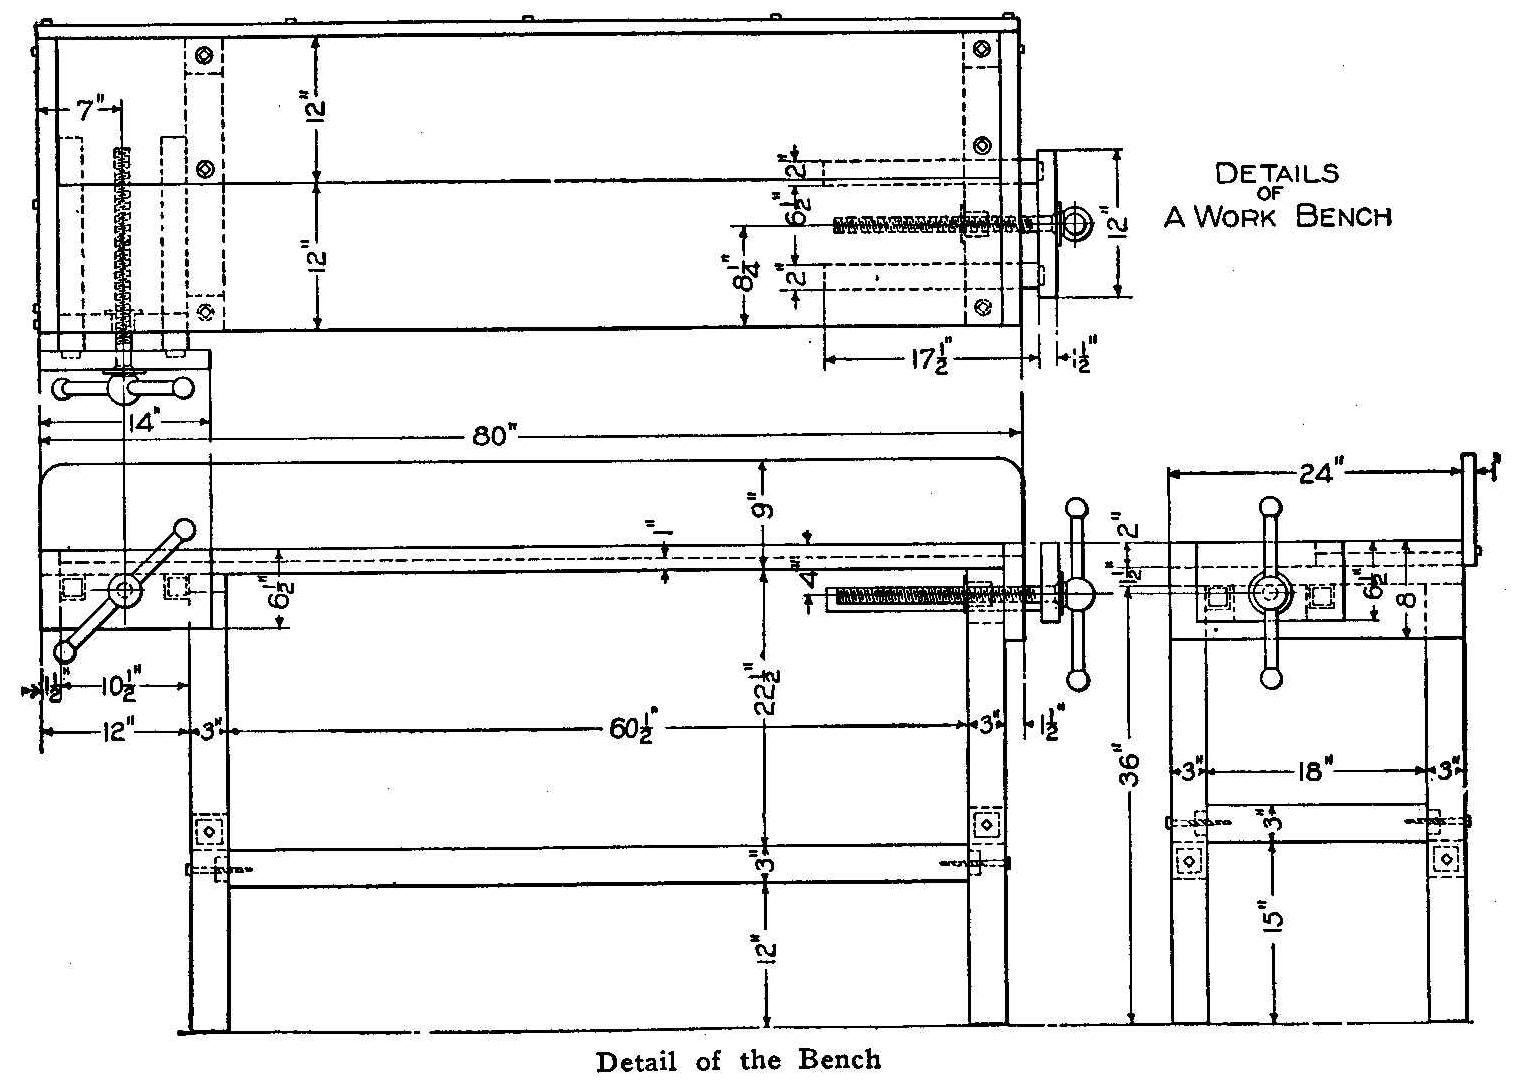


Workbench for the Amateur: Mortised Maple Frame, Two-Board Top, Side and End Vises (Boy Mechanic, 1913)
A full-size woodworking bench from The Boy Mechanic (Popular Mechanics, 1913), "suitable for the amateur woodworker" and made "by anyone who has a few sharp tools and a little spare time": a mortise-and-tenon frame of birch or maple bolted with lag screws, a top of a 2 in and a 1 in board, a side vise and an end vise on square slides, and a back board. All sizes are the book's.
It stands 36 in high, 80 in long and 24 in deep.
Menengah
About 2 days
Instruksi
1
1
Cutting list
Cutting list
Memuat notebook Jupyter…
2
2
Read The Boy Mechanic
Read The Boy Mechanic
"If the stock is purchased from the mill ready planed and cut to length, much of the hard labor will be saved."
3
3
Make the lower frame
Make the lower frame
Cut tenons on the side and end rails and mortise the posts to take them. Fit them together and fasten them securely with 3/8 by 5 in lag screws through the posts into the rails, as the drawing shows.
Material untuk langkah ini:
 Kayu balok persegi1 buah
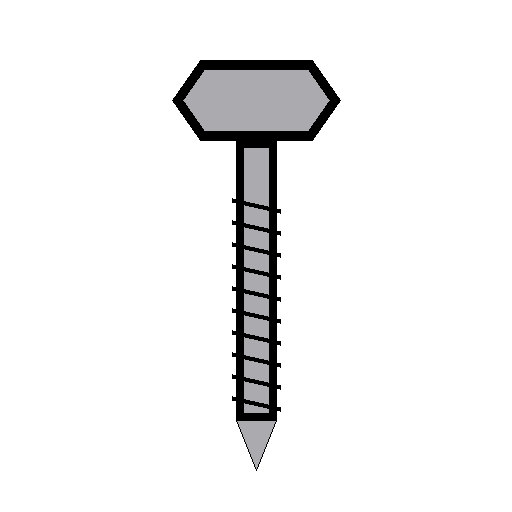 Sekrup lag (sekrup kepala baut)1 buah
Alat yang dibutuhkan:
 Gergaji lintang dua orang
 Gergaji punggung
 Pahat lubang pen
 Palu Kayu
 Siku-siku tetap
 Bor engkol dan mata bor
 Kunci Inggris
 Pensil
4
4
Fit the crosspieces and top
Fit the crosspieces and top
Screw the 1-1/2 by 3 by 24 in crosspieces to the tops of the posts, countersinking the heads (or bore the top boards to clear them). Fasten the front, 2 in top board to the crosspieces with lag screws from underneath; screw the 1 in top board down from the top.
Material untuk langkah ini:
Kayu balok persegi1 buah Papan kayu keras1 buah
 Papan Kayu Keras1 buahSekrup lag (sekrup kepala baut)1 buah
 Sekrup kayu1 buah
Alat yang dibutuhkan:
Bor engkol dan mata bor Set Mata Bor Benam
 Set obengKunci Inggris
5
5
Fit the end pieces and vise slides
Fit the end pieces and vise slides
Screw on the end pieces, countersinking the heads at the vise end. Cut 2 in square holes in the 1-1/2 by 4-1/2 by 10 in piece for the side vise slides and fit it in place, and cut square holes in one end piece for the end vise slides.
Material untuk langkah ini:
Papan Kayu Keras1 buahSekrup kayu1 buahAlat yang dibutuhkan:
Bor engkol dan mata bor Pahat kayuPalu KayuSet Mata Bor BenamSet obeng
6
6
Fit up the two vises
Fit up the two vises
Screw the 2 in square slides (guides) to the two clamp front pieces, countersinking the heads so they are clear of the hands. The clamp screws should be about 1-1/2 in diameter, bought at a hardware store. Fit a block under the crosspiece to hold the end vise's nut. With the slides in place, bore the holes for the clamp screws and fit them.
Material untuk langkah ini:
Kayu balok persegi1 buahPapan Kayu Keras1 buah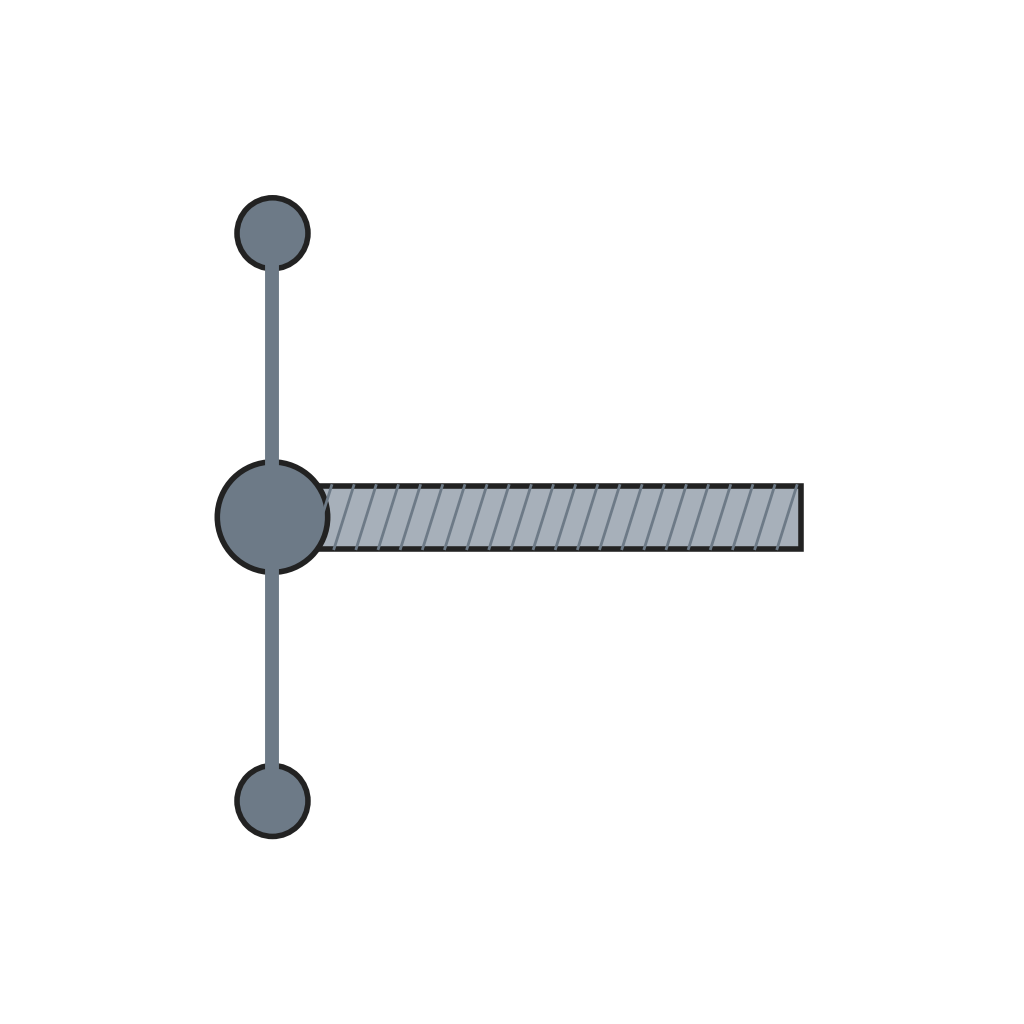 Ulir ragum dengan tuas geser2 buahSekrup kayu1 buah
Alat yang dibutuhkan:
Bor engkol dan mata borSet Mata Bor BenamSet obeng7
7
Back board and finish
Back board and finish
Screw the back board to the back as the top view shows. Give the bench "a couple of coats of oil" to finish and preserve the wood (boiled linseed oil, ours).
Material untuk langkah ini:
Papan Kayu Keras1 buahSekrup kayu1 buah Minyak Biji Rami Masak1 buah
 Kain Katun1 buah
Alat yang dibutuhkan:
Set obeng8
8
Troubleshooting
Troubleshooting
Workbench troubleshooting.
Flow
Loading...
9
9
History and honest limits
History and honest limits
From **The Boy Mechanic, Volume 1: 700 Things for Boys to Do**, edited by H. H. Windsor, Popular Mechanics, Chicago, 1913 (Project Gutenberg #12655), "A Workbench for the Amateur". All sizes and the fastening are the book's; it names no oil, so boiled linseed oil is ours, as are the metric figures.
Bahan
8- 1 buahPlaceholder
- Placeholder
- 1 buahPlaceholder
- 1 buahPlaceholder
- 4 buahPlaceholder
- Placeholder
- 1 buahPlaceholder
- 1 buahPlaceholder
Alat yang Diperlukan
11- Placeholder
- Placeholder
- Placeholder
- Placeholder
- Placeholder
- Placeholder
- Placeholder
- 1 vendor sell this, none ship to you yetPlaceholder
- Placeholder
- Placeholder
- Placeholder
Cetak biru ini membuat

Blueprint terkait
Blueprint ini berbagi pengetahuan — teknik, bahan, atau prinsip

CC0 Domain Publik
Cetak biru ini dirilis di bawah CC0. Anda bebas untuk menyalin, memodifikasi, mendistribusikan, dan menggunakan karya ini untuk tujuan apa pun, termasuk komersial, tanpa meminta izin.
Dukung Maker dengan membeli produk melalui Cetak Biru mereka di mana mereka mendapatkan Komisi Pembuat yang ditetapkan oleh Penjual, atau buat iterasi baru dari Cetak Biru ini dan masukkan sebagai koneksi di milik Anda sendiri.