
Burning Limestone to Make Quicklime and Lime Plaster — The First Synthetic Building Material
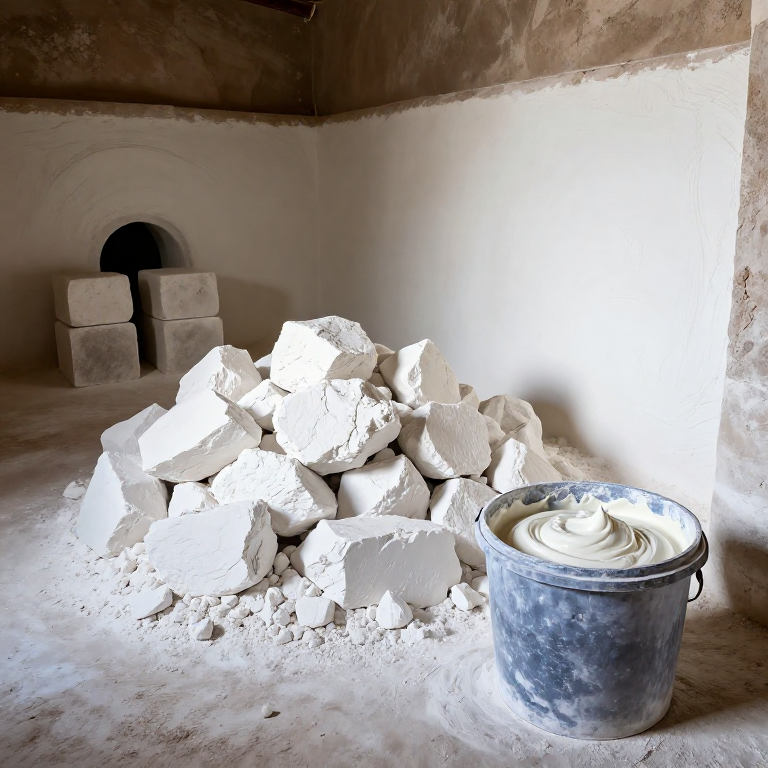
Lime plaster is the oldest synthetic building material — predating pottery, metalworking, and even agriculture in some regions. The earliest known lime plaster floors date to approximately 7500 BCE at Çatalhöyük in modern Turkey, where Neolithic builders discovered that burning limestone (calcium carbonate) at high temperature produces quicklime (calcium oxide), which when mixed with water and sand creates a paste that hardens into durable, waterproof plaster.
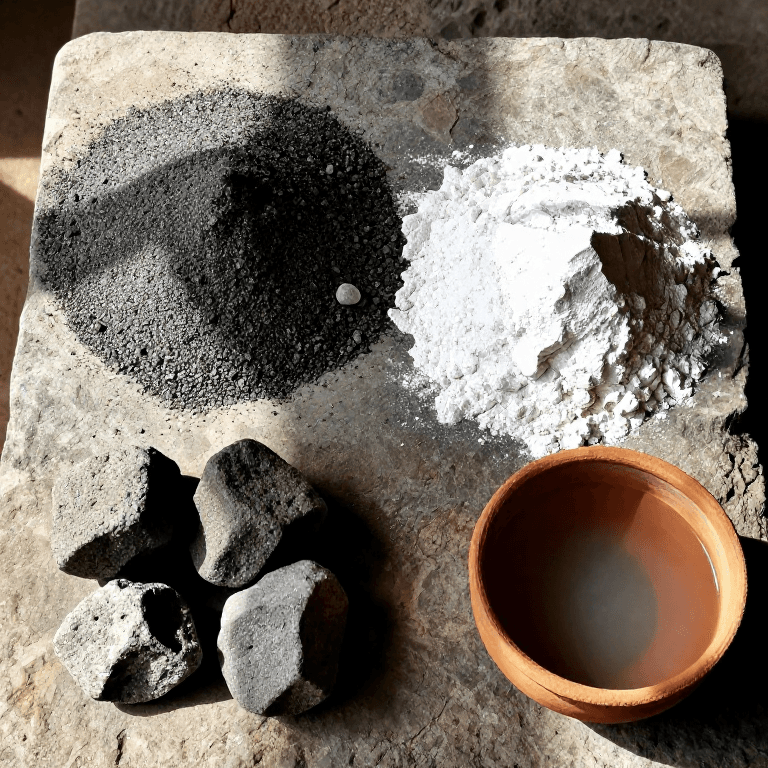
The chemistry is elegantly circular: limestone (CaCO₃) is heated to approximately 900°C, driving off carbon dioxide to produce quicklime (CaO). Adding water produces slaked lime (Ca(OH)₂) in a violently exothermic reaction. When the slaked lime plaster is applied and exposed to air, it slowly reabsorbs CO₂ from the atmosphere and gradually reconverts back to limestone — the same material it started as, but now shaped by human hands into floors, walls, and waterproof coatings.
Lime mortar and plaster enabled the great constructions of every ancient civilization: Egyptian pyramids, Greek temples, Roman aqueducts, and medieval cathedrals. Roman engineers added volcanic ash (pozzolan) to create hydraulic lime that could set underwater — the secret ingredient in Roman concrete that has survived 2,000 years of seawater immersion. Lime plaster remains in active use today for conservation, heritage restoration, and natural building.
Instruksi
Collect limestone
Collect limestone
Collect chunks of limestone (calcium carbonate) — grey, white, or cream-colored sedimentary rock that fizzes vigorously when a drop of vinegar or dilute acid is applied. This acid test distinguishes limestone from sandstone, granite, and other rocks that look similar but contain no calcium carbonate. Limestone is found abundantly in river valleys, chalk downlands, and exposed bedrock across most of the world.
Break the collected limestone into fist-sized pieces for efficient burning. Approximately 100 kg of raw limestone produces 55-60 kg of quicklime — the weight loss is the CO₂ driven off during calcination. You will need at least 50 kg of limestone for a useful batch of lime plaster.
Alat yang dibutuhkan:
 Palu
Palu Kacamata Pelindung Cipratan Kimia
Build a field lime kiln
Build a field lime kiln
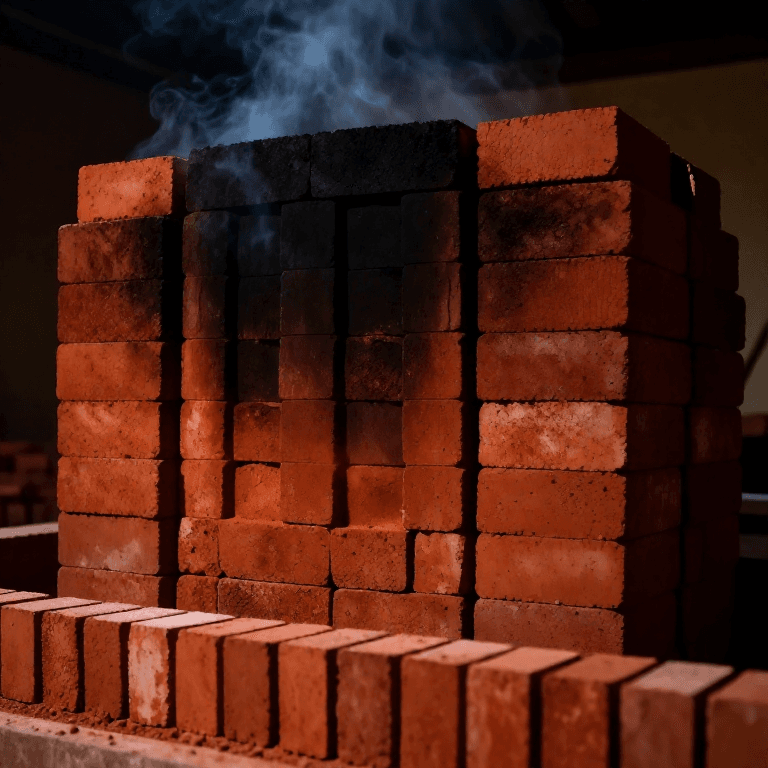
Dig a pit approximately 1 meter deep and 1.5 meters in diameter in well-drained ground. Line the walls with large flat stones or dry-stacked bricks to retain heat. At the bottom, build a fire grate from iron rods or a grid of green hardwood poles spaced 5 cm apart — the fuel burns below this grate and hot gases rise through the limestone charge above.
Stack the limestone pieces above the grate, starting with larger pieces at the bottom and smaller pieces on top. Leave gaps between the stones for hot gases to circulate. Build up the charge approximately 80 cm deep. The open top of the pit acts as a chimney, drawing air through the fuel bed and up through the limestone. This design has been used with minimal variation for at least 9,000 years.
Material untuk langkah ini:
 Arang Bongkahan80 kg
Alat yang dibutuhkan:
 Sekop
SekopBurn the limestone to quicklime
Burn the limestone to quicklime
Light the fuel beneath the limestone and maintain a strong fire for 24-48 hours. The target temperature is approximately 900°C — at this temperature, the chemical decomposition CaCO₃ → CaO + CO₂ proceeds efficiently. The limestone first turns dark (as organic impurities burn out), then gradually whitens as it converts to quicklime.
Feed fuel continuously throughout the burn. When the top of the charge glows orange-red and the stones have visibly shrunk (they lose approximately 44% of their weight as CO₂), the calcination is complete. Allow the kiln to cool slowly for 24-48 hours. The finished quicklime is white, lightweight, and extremely caustic — it reacts violently with water and can cause severe burns on contact with moist skin.
Alat yang dibutuhkan:
 Sarung Tangan Karet Nitril
Slake the quicklime
Slake the quicklime
Slaking is the controlled addition of water to quicklime — and it is the most dangerous step in lime processing. The reaction CaO + H₂O → Ca(OH)₂ is violently exothermic, reaching temperatures above 300°C instantly. The quicklime hisses, steams, and spatters as it absorbs water and crumbles into a fine white powder (hydrated lime) or a thick paste (lime putty).
Wear full protective equipment: chemical splash goggles, thick gloves, long sleeves, and respiratory protection. Work outdoors with the wind at your back. Place quicklime chunks in a large metal or stone vessel and add water gradually — approximately 1 part water to 3 parts quicklime by volume. Stand back during the initial reaction. Stir with a long-handled tool once the violent reaction subsides. Continue adding water and stirring until the mixture becomes a smooth, creamy paste with the consistency of thick yogurt. This paste is lime putty.
Alat yang dibutuhkan:
Kacamata Pelindung Cipratan KimiaSarung Tangan Karet NitrilAge the lime putty
Age the lime putty
Fresh lime putty benefits from aging — traditional builders stored it in covered pits for weeks, months, or even years before use. During aging, any remaining quicklime particles hydrate completely, and the lime crystal structure refines into smaller, more uniformly distributed particles. Aged lime produces smoother, more workable plaster with fewer defects.
Store the lime putty in an airtight container (a sealed bucket or a pit covered with wet cloth and earth) with a thin layer of water on top to prevent air contact. The putty must not dry out or it will begin to carbonate prematurely, hardening in the container. Well-aged lime putty from Roman, medieval, and Victorian sources has been found still viable after decades of storage.
Material untuk langkah ini:
 Ember2 buah
Mix lime plaster
Mix lime plaster
Lime plaster is lime putty mixed with an aggregate — typically clean, sharp sand. The standard ratio is 1 part lime putty to 2-3 parts sand by volume. The sand provides bulk, reduces shrinkage cracking, and gives the plaster a key (rough surface) for subsequent coats. Use washed, graded sand with particles ranging from fine to coarse — uniform fine sand produces a weaker plaster.
Mix thoroughly with a hoe or trowel on a clean surface until the mixture is uniformly colored with no visible lumps of pure lime. The plaster should hold its shape when squeezed but spread smoothly when trowelled. For the final coat (the smooth finish layer), use fine sand or marble dust for a polished surface. Animal hair (horse, goat, or cattle hair) can be mixed into the base coat as reinforcement fibre — this is how medieval builders prevented plaster from cracking on lath walls.
Material untuk langkah ini:
 Pasir Halus30 kg
Apply the plaster and allow carbonation
Apply the plaster and allow carbonation
Dampen the wall surface with water before applying plaster — the substrate must be moist enough that it does not suck water from the fresh plaster (which causes poor adhesion and cracking), but not so wet that the plaster slides off. Apply the first coat (scratch coat) approximately 10-15 mm thick using a steel trowel, pressing firmly to key the plaster into the wall surface. Score the wet surface with a comb or notched tool to provide grip for the next coat.
Allow each coat to set for 24 hours before applying the next. Lime plaster hardens by carbonation — the slow absorption of CO₂ from the air, converting the calcium hydroxide back to calcium carbonate (limestone). This process takes weeks to months to complete fully, which is why lime-plastered buildings continue to strengthen for years after construction. Mist the surface with water daily for the first week to prevent the plaster from drying too quickly before it has carbonated — rapid drying produces weak, powdery plaster.
Alat yang dibutuhkan:
 Kuas lebar
Bahan
4- 80 kgPlaceholder
- 2 buahPlaceholder
- 30 kgPlaceholder
- Placeholder
Bahan cetak biru terhubung

Blueprint terkait
Blueprint ini berbagi pengetahuan — teknik, bahan, atau prinsip

CC0 Domain Publik
Cetak biru ini dirilis di bawah CC0. Anda bebas untuk menyalin, memodifikasi, mendistribusikan, dan menggunakan karya ini untuk tujuan apa pun, termasuk komersial, tanpa meminta izin.
Dukung Maker dengan membeli produk melalui Cetak Biru mereka di mana mereka mendapatkan Komisi Pembuat yang ditetapkan oleh Penjual, atau buat iterasi baru dari Cetak Biru ini dan masukkan sebagai koneksi di milik Anda sendiri.