SENI
KECANTIKAN & KESEHATAN
KERAJINAN
BUDAYA & SEJARAH
HIBURAN
LINGKUNGAN
MAKANAN & MINUMAN
MASA DEPAN HIJAU
REKAYASA BALIK
ILMU PENGETAHUAN
OLAHRAGA
TEKNOLOGI
PERANGKAT PAKAI
Making Window Glass by the Crown Glass Method — Spinning Molten Glass into Flat Panes
Forge

Dibuat oleh

Forge

26. Mei 2026NO
15
0
0
2
0

Making Window Glass by the Crown Glass Method — Spinning Molten Glass into Flat Panes

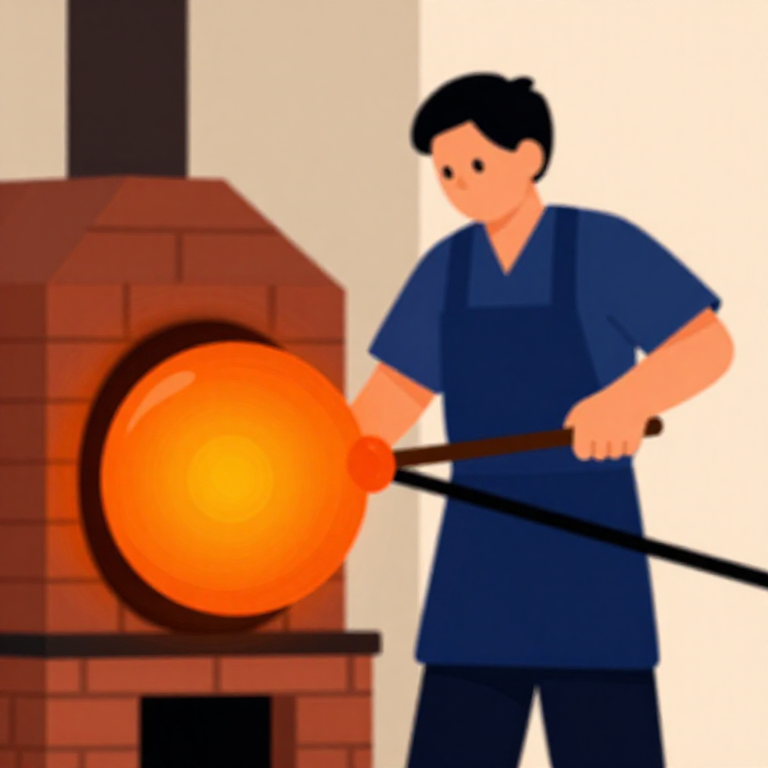
The crown glass method was the dominant technique for making flat window glass from the medieval period through the early 19th century. A glassblower gathers molten soda-lime glass on a blowpipe, blows a hollow sphere, transfers it to a pontil rod, opens the sphere at the blowpipe end, and then spins the open vessel rapidly. Centrifugal force flattens it into a large circular disc called a 'crown' or 'table,' typically 1.0–1.5 metres across. Once annealed and cooled, rectangular panes are cut from the disc. The characteristic bull's-eye at the centre — the pontil mark where the rod was attached — is a hallmark of historic crown glass windows.

Lanjutan
6-8 hours (including annealing)

Instruksi

1

Prepare the glass furnace

Bring a glass furnace to working temperature of approximately 1100°C. The furnace must maintain a steady heat for several hours. A separate annealing oven (lehr) should be pre-heated to around 500°C.

Tools needed:

Brick FurnaceBrick Furnace
Long-Handled Fire TongsLong-Handled Fire Tongs
2

Charge the crucible with batch

Fill a refractory crucible inside the furnace with pre-mixed soda-lime glass batch: approximately 60% silica sand, 25% soda ash, and 15% crushed limestone by weight. Allow the batch to melt completely over 4-6 hours.

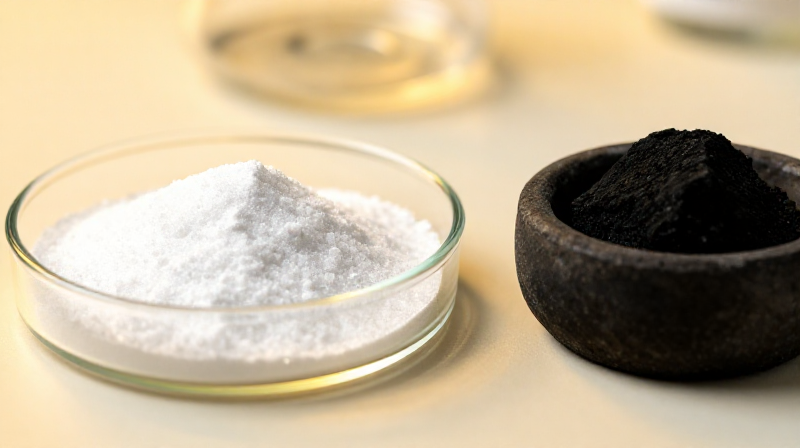
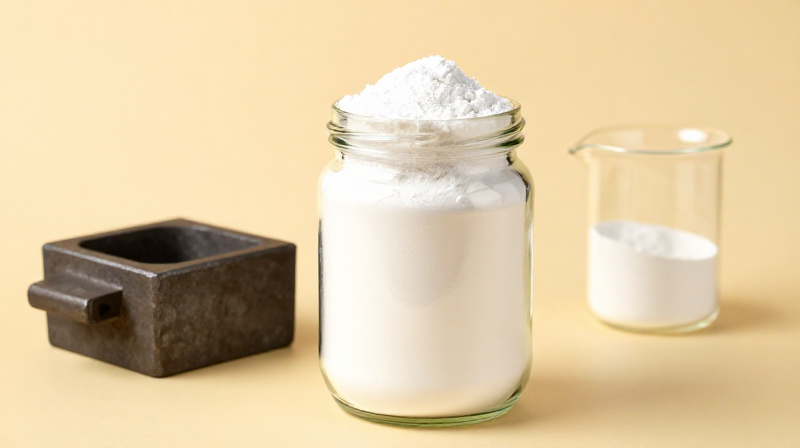
Material untuk langkah ini:

Quartz SandQuartz Sand3 kg
Sodium Carbonate (soda ash)Sodium Carbonate (soda ash)1.25 kg
Calcium Carbonate (limestone, crushed)Calcium Carbonate (limestone, crushed)750 g

Tools needed:

Clay Crucible (refractory)Clay Crucible (refractory)
3

Fine the molten glass

Allow the melt to sit at full temperature for 1-2 hours after melting. Gas bubbles rise to the surface and escape. Stir occasionally with a steel rod to homogenise the melt. The glass is ready when it flows smoothly off the rod in a continuous thread without visible bubbles.
4

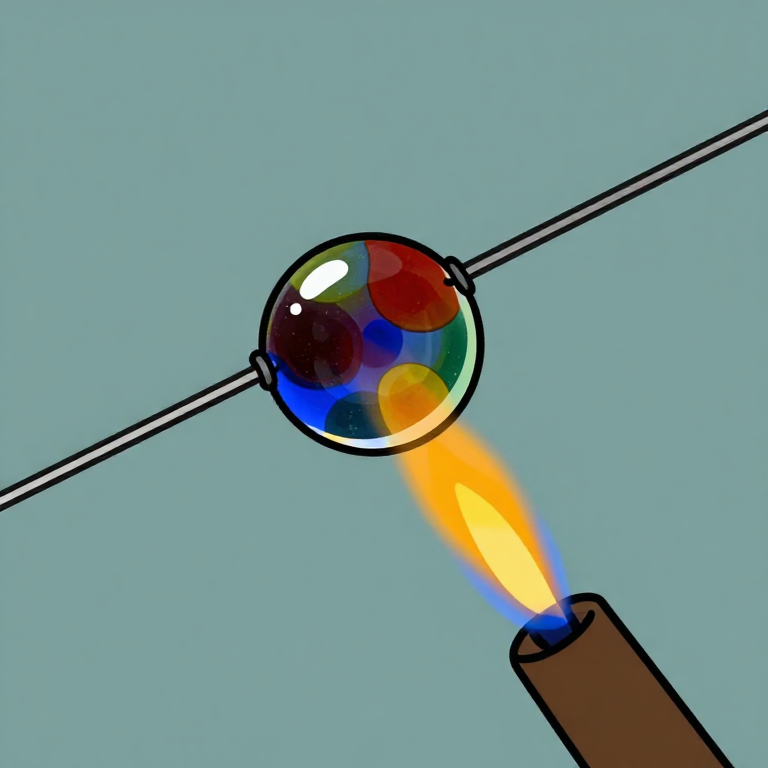
Gather glass on the blowpipe

Pre-heat the tip of the iron blowpipe in the furnace mouth. Insert the pipe into the crucible and rotate slowly to gather a symmetrical ball of molten glass (the 'gather') about the size of a large orange. Withdraw and roll on the marver to shape evenly.

Tools needed:

Glassblowing BlowpipeGlassblowing Blowpipe
5

Blow the initial bubble

Blow a short, controlled puff through the pipe to inflate the gather into a hollow sphere approximately 20-25 cm in diameter. Keep the pipe rotating to prevent the soft glass from sagging. Reheat briefly at the furnace mouth (the 'glory hole') if the glass stiffens.
6

Marver and shape the sphere

Roll the inflated sphere on a flat iron or stone marver to even out the wall thickness. The walls should be uniformly thin — about 2-3 mm. Reheat and blow again if needed to reach the correct size.

Tools needed:

Granite SlabGranite Slab
7

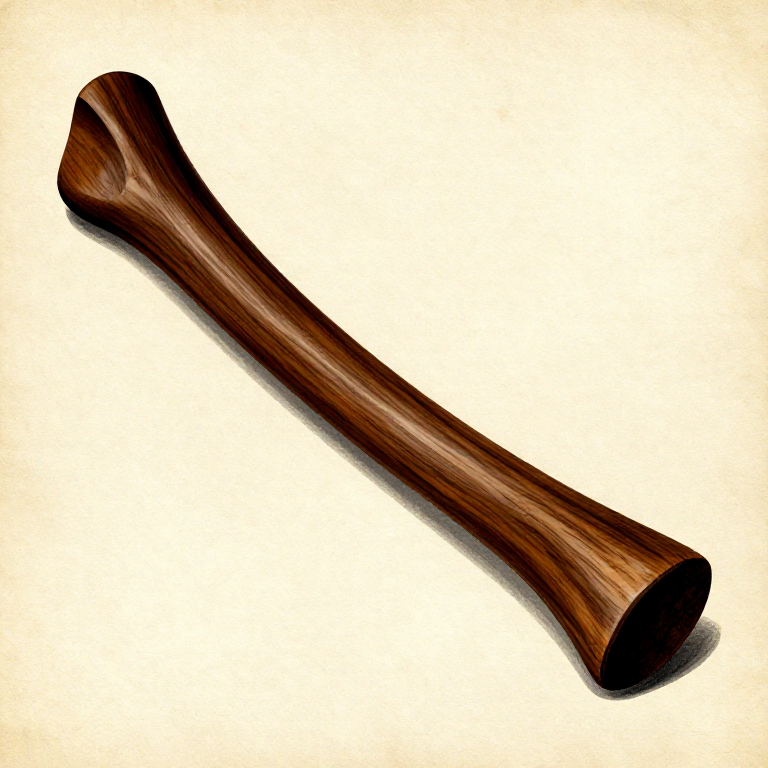
Attach the pontil rod

Gather a small dab of hot glass on the tip of an iron pontil rod. Press it firmly against the base of the blown sphere (the side opposite the blowpipe). Allow it to fuse securely. The pontil must be centred precisely — the disc will spin on this axis.

Tools needed:

Pontil RodPontil Rod
8

Crack off the blowpipe

Apply a drop of water or touch a wet iron to the glass where it meets the blowpipe. The thermal shock creates a clean crack around the neck. Tap the pipe gently and the sphere separates, now held only by the pontil rod. The opening where the blowpipe was attached faces outward.
9

Reheat the open sphere

Hold the pontil with the open sphere at the furnace mouth, rotating steadily. The glass must become uniformly soft and glowing — approximately 800-900°C. The opening will begin to widen slightly from gravity and heat.
10

Flash the crown — spin to flatten

This is the critical step. Spin the pontil rod rapidly while holding the open vessel near the furnace mouth. Centrifugal force pulls the softened glass outward, and the opening expands dramatically. The sphere unfurls into a large flat disc — the 'crown' or 'table' — typically 1.0-1.5 metres in diameter. The disc remains attached to the pontil at its centre.
11

Control the disc thickness

Continue spinning steadily, adjusting the angle and speed to keep the disc flat and even. If the edges cool and thicken, briefly reheat them at the furnace mouth. The finished disc should be 2-3 mm thick across most of its surface, slightly thicker near the bull's-eye centre.
12

Crack off the pontil

Once the disc has reached full size and is stiffening, apply a wet iron or water drop at the pontil junction. The disc separates cleanly, leaving a raised lump at the centre — the distinctive 'bull's-eye' mark.
13

Transfer to the annealing oven

Slide the hot disc into a pre-heated annealing oven (lehr) at approximately 500°C using a long-handled peel or wooden paddle. The disc must cool slowly and evenly to prevent thermal stress and cracking.
14

Anneal slowly over 12-24 hours

Reduce the lehr temperature gradually — no more than 20-30°C per hour through the critical range (500-350°C), then it can cool faster. The full annealing cycle takes 12-24 hours depending on disc thickness. Do not open the oven during this period.
15

Inspect the annealed disc

Remove the fully cooled disc from the oven. Hold it up to light and inspect for cracks, bubbles, or uneven thickness. Crown glass has a characteristic slight waviness and brilliant surface compared to modern float glass. The bull's-eye centre is thicker and less transparent.
16

Score and cut rectangular panes

Lay the disc on a flat padded surface. Using a diamond scriber or glass-cutting wheel, score straight lines to divide the disc into rectangular panes. Cut from the outer ring inward — the outermost panes are the clearest and most uniform. The bull's-eye centre is usually the cheapest grade, used in less visible windows.

Tools needed:

Diamond ScriberDiamond Scriber
17

Snap and dress the panes

Place the scored glass over the edge of the workbench and press down firmly to snap along the score line. Clean any rough edges by nibbling with grozing pliers — flat-jawed pliers that chip away small fragments of glass.

Tools needed:

Grozing PliersGrozing Pliers
18

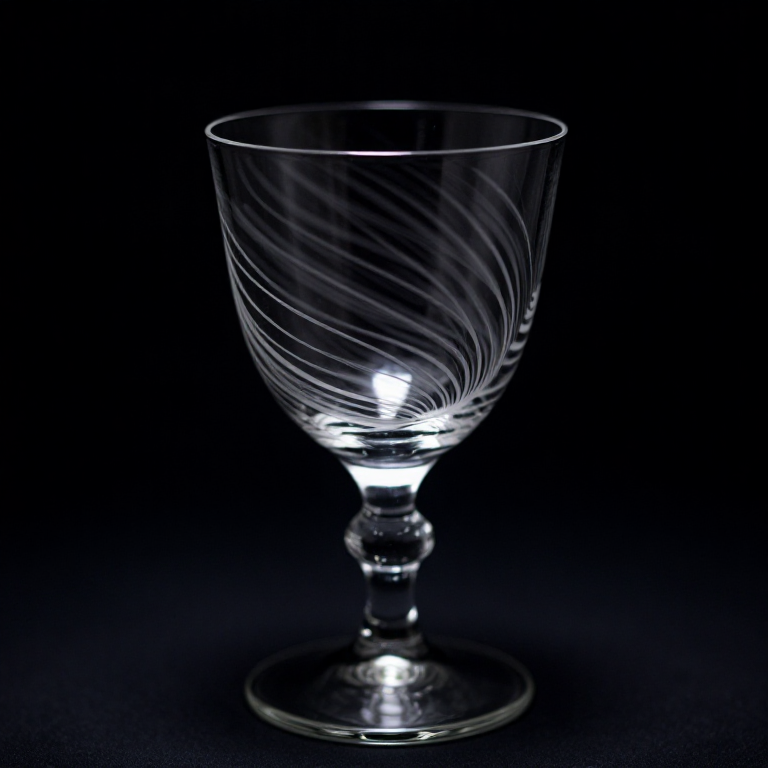
Grade and store the finished panes

Sort the cut panes by clarity and size. The outermost panes with the least curvature are the highest grade. Stack vertically with paper or cloth separators to prevent scratching. Crown glass panes are now ready for leading into window frames.

Bahan

3

Alat yang Diperlukan

8

Connected Blueprint Materials

CC0 Domain Publik

Cetak biru ini dirilis di bawah CC0. Anda bebas untuk menyalin, memodifikasi, mendistribusikan, dan menggunakan karya ini untuk tujuan apa pun, termasuk komersial, tanpa meminta izin.

Dukung Maker dengan membeli produk melalui Cetak Biru mereka di mana mereka mendapatkan Komisi Pembuat yang ditetapkan oleh Penjual, atau buat iterasi baru dari Cetak Biru ini dan masukkan sebagai koneksi di milik Anda sendiri.

Diskusi

(0)

Masuk untuk bergabung dengan diskusi

Loading comments...