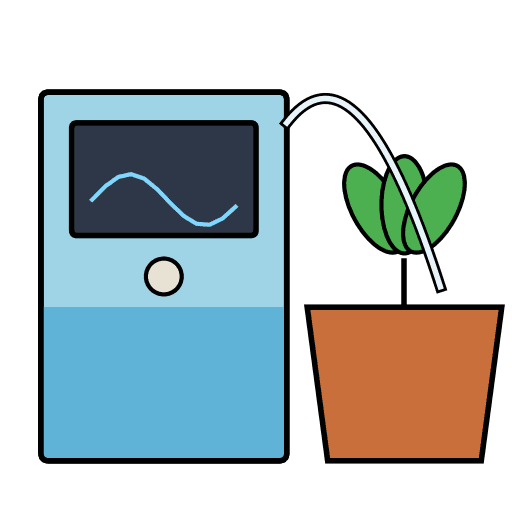
// Self-watering pot controller - ESP32 DevKit (38-pin) carrier board
// Soil: capacitive v1.2 on GPIO34 (ADC1). Tank: HC-SR04 TRIG=GPIO5, ECHO=GPIO18 (via 1k/2k divider).
// OLED SSD1306 128x64 I2C @0x3C on SDA=21 SCL=22. Pump MOSFET gate GPIO25. Button GPIO27 to GND.
// Button: short press = force a watering cycle, hold 3 s = calibrate soil sensor (dry / wet).
#include <Arduino.h>
#include <Wire.h>
#include <Preferences.h>

// ---------------- pins ----------------
const int PIN_SOIL = 34;
const int PIN_TRIG = 5;
const int PIN_ECHO = 18;
const int PIN_PUMP = 25;
const int PIN_BTN  = 27;
const int PIN_SDA  = 21;
const int PIN_SCL  = 22;

// ---------------- settings (adjust for your pot / tank) ----------------
const float TANK_EMPTY_CM   = 20.0;  // sensor-to-water distance when tank is empty
const float TANK_FULL_CM    = 4.0;   // sensor-to-water distance when tank is full
const int   SOIL_DRY_PCT    = 35;    // start watering below this moisture %
const int   TANK_MIN_PCT    = 10;    // never pump below this tank level %
const uint32_t PUMP_RUN_MS  = 5000;  // one watering shot
const uint32_t SOAK_MS      = 10UL * 60UL * 1000UL; // wait for water to soak in before next automatic shot
const uint32_t MEASURE_MS   = 1000;

Preferences prefs;
int calDry = 3000;   // raw ADC in air (dry)
int calWet = 1300;   // raw ADC in water (wet)

// ---------------- minimal SSD1306 driver ----------------
const uint8_t OLED_ADDR = 0x3C;
uint8_t fb[1024];
bool oledOk = false;

static const uint8_t FONT[] PROGMEM = {
0x00,0x00,0x00,0x00,0x00, 0x00,0x00,0x5F,0x00,0x00, 0x00,0x07,0x00,0x07,0x00, 0x14,0x7F,0x14,0x7F,0x14,
0x24,0x2A,0x7F,0x2A,0x12, 0x23,0x13,0x08,0x64,0x62, 0x36,0x49,0x56,0x20,0x50, 0x00,0x08,0x07,0x03,0x00,
0x00,0x1C,0x22,0x41,0x00, 0x00,0x41,0x22,0x1C,0x00, 0x2A,0x1C,0x7F,0x1C,0x2A, 0x08,0x08,0x3E,0x08,0x08,
0x00,0x80,0x70,0x30,0x00, 0x08,0x08,0x08,0x08,0x08, 0x00,0x00,0x60,0x60,0x00, 0x20,0x10,0x08,0x04,0x02,
0x3E,0x51,0x49,0x45,0x3E, 0x00,0x42,0x7F,0x40,0x00, 0x72,0x49,0x49,0x49,0x46, 0x21,0x41,0x49,0x4D,0x33,
0x18,0x14,0x12,0x7F,0x10, 0x27,0x45,0x45,0x45,0x39, 0x3C,0x4A,0x49,0x49,0x31, 0x41,0x21,0x11,0x09,0x07,
0x36,0x49,0x49,0x49,0x36, 0x46,0x49,0x49,0x29,0x1E, 0x00,0x00,0x14,0x00,0x00, 0x00,0x40,0x34,0x00,0x00,
0x00,0x08,0x14,0x22,0x41, 0x14,0x14,0x14,0x14,0x14, 0x00,0x41,0x22,0x14,0x08, 0x02,0x01,0x59,0x09,0x06,
0x3E,0x41,0x5D,0x59,0x4E, 0x7C,0x12,0x11,0x12,0x7C, 0x7F,0x49,0x49,0x49,0x36, 0x3E,0x41,0x41,0x41,0x22,
0x7F,0x41,0x41,0x41,0x3E, 0x7F,0x49,0x49,0x49,0x41, 0x7F,0x09,0x09,0x09,0x01, 0x3E,0x41,0x41,0x51,0x73,
0x7F,0x08,0x08,0x08,0x7F, 0x00,0x41,0x7F,0x41,0x00, 0x20,0x40,0x41,0x3F,0x01, 0x7F,0x08,0x14,0x22,0x41,
0x7F,0x40,0x40,0x40,0x40, 0x7F,0x02,0x1C,0x02,0x7F, 0x7F,0x04,0x08,0x10,0x7F, 0x3E,0x41,0x41,0x41,0x3E,
0x7F,0x09,0x09,0x09,0x06, 0x3E,0x41,0x51,0x21,0x5E, 0x7F,0x09,0x19,0x29,0x46, 0x26,0x49,0x49,0x49,0x32,
0x03,0x01,0x7F,0x01,0x03, 0x3F,0x40,0x40,0x40,0x3F, 0x1F,0x20,0x40,0x20,0x1F, 0x3F,0x40,0x38,0x40,0x3F,
0x63,0x14,0x08,0x14,0x63, 0x03,0x04,0x78,0x04,0x03, 0x61,0x59,0x49,0x4D,0x43, 0x00,0x7F,0x41,0x41,0x41,
0x02,0x04,0x08,0x10,0x20, 0x00,0x41,0x41,0x41,0x7F, 0x04,0x02,0x01,0x02,0x04, 0x40,0x40,0x40,0x40,0x40,
0x00,0x03,0x07,0x08,0x00, 0x20,0x54,0x54,0x78,0x40, 0x7F,0x28,0x44,0x44,0x38, 0x38,0x44,0x44,0x44,0x28,
0x38,0x44,0x44,0x28,0x7F, 0x38,0x54,0x54,0x54,0x18, 0x00,0x08,0x7E,0x09,0x02, 0x18,0xA4,0xA4,0x9C,0x78,
0x7F,0x08,0x04,0x04,0x78, 0x00,0x44,0x7D,0x40,0x00, 0x20,0x40,0x40,0x3D,0x00, 0x7F,0x10,0x28,0x44,0x00,
0x00,0x41,0x7F,0x40,0x00, 0x7C,0x04,0x78,0x04,0x78, 0x7C,0x08,0x04,0x04,0x78, 0x38,0x44,0x44,0x44,0x38,
0xFC,0x18,0x24,0x24,0x18, 0x18,0x24,0x24,0x18,0xFC, 0x7C,0x08,0x04,0x04,0x08, 0x48,0x54,0x54,0x54,0x24,
0x04,0x04,0x3F,0x44,0x24, 0x3C,0x40,0x40,0x20,0x7C, 0x1C,0x20,0x40,0x20,0x1C, 0x3C,0x40,0x30,0x40,0x3C,
0x44,0x28,0x10,0x28,0x44, 0x4C,0x90,0x90,0x90,0x7C, 0x44,0x64,0x54,0x4C,0x44, 0x00,0x08,0x36,0x41,0x00,
0x00,0x00,0x77,0x00,0x00, 0x00,0x41,0x36,0x08,0x00, 0x02,0x01,0x02,0x04,0x02
};

void oledCmd(uint8_t c) {
  Wire.beginTransmission(OLED_ADDR); Wire.write(0x00); Wire.write(c); Wire.endTransmission();
}

bool oledInit() {
  Wire.beginTransmission(OLED_ADDR);
  if (Wire.endTransmission() != 0) return false;
  const uint8_t init[] = {0xAE,0xD5,0x80,0xA8,0x3F,0xD3,0x00,0x40,0x8D,0x14,0x20,0x00,
                          0xA1,0xC8,0xDA,0x12,0x81,0xCF,0xD9,0xF1,0xDB,0x40,0xA4,0xA6,0x2E,0xAF};
  for (uint8_t c : init) oledCmd(c);
  return true;
}

void oledShow() {
  if (!oledOk) return;
  oledCmd(0x21); oledCmd(0); oledCmd(127);
  oledCmd(0x22); oledCmd(0); oledCmd(7);
  for (int i = 0; i < 1024; i += 16) {
    Wire.beginTransmission(OLED_ADDR);
    Wire.write(0x40);
    Wire.write(&fb[i], 16);
    Wire.endTransmission();
  }
}

void clearFb() { memset(fb, 0, sizeof(fb)); }

void setPixel(int x, int y) {
  if (x < 0 || x > 127 || y < 0 || y > 63) return;
  fb[x + (y / 8) * 128] |= (1 << (y & 7));
}

void drawChar(int x, int y, char c, int s) {
  if (c < 32 || c > 126) c = '?';
  for (int col = 0; col < 5; col++) {
    uint8_t bits = pgm_read_byte(&FONT[(c - 32) * 5 + col]);
    for (int row = 0; row < 8; row++)
      if (bits & (1 << row))
        for (int dx = 0; dx < s; dx++)
          for (int dy = 0; dy < s; dy++) setPixel(x + col * s + dx, y + row * s + dy);
  }
}

void drawText(int x, int y, const char *t, int s = 1) {
  while (*t) { drawChar(x, y, *t++, s); x += 6 * s; }
}

void drawBar(int x, int y, int w, int h, int pct) {
  for (int i = 0; i < w; i++) { setPixel(x + i, y); setPixel(x + i, y + h - 1); }
  for (int j = 0; j < h; j++) { setPixel(x, y + j); setPixel(x + w - 1, y + j); }
  int fill = (w - 4) * constrain(pct, 0, 100) / 100;
  for (int i = 0; i < fill; i++)
    for (int j = 2; j < h - 2; j++) setPixel(x + 2 + i, y + j);
}

// ---------------- sensors ----------------
int readSoilRaw() {
  long sum = 0;
  for (int i = 0; i < 16; i++) { sum += analogRead(PIN_SOIL); delay(2); }
  return sum / 16;
}

int soilPercent(int raw) {
  if (calDry == calWet) return 0;
  long p = (long)(calDry - raw) * 100 / (calDry - calWet);
  return constrain((int)p, 0, 100);
}

float readDistanceCm() {
  float best[5]; int n = 0;
  for (int i = 0; i < 5; i++) {
    digitalWrite(PIN_TRIG, LOW); delayMicroseconds(4);
    digitalWrite(PIN_TRIG, HIGH); delayMicroseconds(10);
    digitalWrite(PIN_TRIG, LOW);
    unsigned long us = pulseIn(PIN_ECHO, HIGH, 30000UL);
    if (us > 0) best[n++] = us / 58.0f;
    delay(30);
  }
  if (n == 0) return -1;
  for (int i = 0; i < n; i++)            // median
    for (int j = i + 1; j < n; j++)
      if (best[j] < best[i]) { float t = best[i]; best[i] = best[j]; best[j] = t; }
  return best[n / 2];
}

int tankPercent(float cm) {
  if (cm < 0) return -1;
  float p = (TANK_EMPTY_CM - cm) * 100.0f / (TANK_EMPTY_CM - TANK_FULL_CM);
  return constrain((int)p, 0, 100);
}

// ---------------- pump ----------------
bool pumpOn = false;
uint32_t pumpStart = 0, lastWater = 0;
bool everWatered = false;

void pump(bool on) {
  pumpOn = on;
  digitalWrite(PIN_PUMP, on ? HIGH : LOW);
  if (on) pumpStart = millis();
  else { lastWater = millis(); everWatered = true; }
}

// ---------------- button ----------------
// returns 0 = nothing, 1 = short press, 2 = long press (>3 s)
int readButton() {
  static bool was = false; static uint32_t t0 = 0; static bool longDone = false;
  bool down = digitalRead(PIN_BTN) == LOW;
  int ev = 0;
  if (down && !was) { t0 = millis(); longDone = false; }
  if (down && !longDone && millis() - t0 > 3000) { ev = 2; longDone = true; }
  if (!down && was && !longDone && millis() - t0 > 40) ev = 1;
  was = down;
  return ev;
}

void waitPress() {
  while (digitalRead(PIN_BTN) == LOW) delay(10);
  delay(50);
  while (digitalRead(PIN_BTN) == HIGH) delay(10);
  delay(50);
  while (digitalRead(PIN_BTN) == LOW) delay(10);
}

void calibrate() {
  pump(false);
  clearFb(); drawText(0, 0, "CALIBRATE SOIL", 1);
  drawText(0, 16, "1) Sensor in DRY air"); drawText(0, 28, "   then press button");
  oledShow(); waitPress();
  int dry = readSoilRaw();
  clearFb(); drawText(0, 0, "CALIBRATE SOIL", 1);
  drawText(0, 16, "2) Sensor in WATER"); drawText(0, 28, "   (up to the line)"); drawText(0, 40, "   then press button");
  oledShow(); waitPress();
  int wet = readSoilRaw();
  clearFb();
  if (dry - wet > 200) {
    calDry = dry; calWet = wet;
    prefs.putInt("dry", calDry); prefs.putInt("wet", calWet);
    drawText(0, 16, "Saved.");
  } else {
    drawText(0, 16, "Bad readings,"); drawText(0, 28, "not saved.");
  }
  char b[32]; snprintf(b, sizeof(b), "dry=%d wet=%d", dry, wet); drawText(0, 44, b);
  oledShow(); delay(2500);
}

void setup() {
  pinMode(PIN_PUMP, OUTPUT); digitalWrite(PIN_PUMP, LOW);
  pinMode(PIN_TRIG, OUTPUT); digitalWrite(PIN_TRIG, LOW);
  pinMode(PIN_ECHO, INPUT);
  pinMode(PIN_BTN, INPUT_PULLUP);
  Serial.begin(115200);
  analogReadResolution(12);
  analogSetPinAttenuation(PIN_SOIL, ADC_11db);
  prefs.begin("plantpot", false);
  calDry = prefs.getInt("dry", calDry);
  calWet = prefs.getInt("wet", calWet);
  Wire.begin(PIN_SDA, PIN_SCL, 400000);
  oledOk = oledInit();
  clearFb(); drawText(10, 24, "PlantPot", 2); oledShow();
  delay(1000);
}

void loop() {
  static uint32_t lastMeas = 0;
  static int soil = 0, tank = -1, raw = 0;
  static float dist = -1;
  static bool forceRequest = false;

  int ev = readButton();
  if (ev == 2) { calibrate(); lastMeas = 0; }
  if (ev == 1) forceRequest = true;

  // pump safety timeout
  if (pumpOn && millis() - pumpStart >= PUMP_RUN_MS) pump(false);

  if (millis() - lastMeas >= MEASURE_MS || lastMeas == 0) {
    lastMeas = millis();
    raw = readSoilRaw();
    soil = soilPercent(raw);
    dist = readDistanceCm();
    tank = tankPercent(dist);
    bool tankOk = tank >= TANK_MIN_PCT;          // unknown (-1) counts as empty
    if (pumpOn && !tankOk) pump(false);

    if (!pumpOn && tankOk) {
      bool soaked = !everWatered || millis() - lastWater >= SOAK_MS;
      if (forceRequest || (soil < SOIL_DRY_PCT && soaked)) pump(true);
    }
    forceRequest = false;

    Serial.printf("soil raw=%d %d%%  dist=%.1fcm tank=%d%%  pump=%d\n", raw, soil, dist, tank, pumpOn);

    clearFb();
    char b[24];
    drawText(0, 0, "SOIL");
    snprintf(b, sizeof(b), "%3d%%", soil); drawText(70, 0, b, 2);
    drawBar(0, 18, 128, 8, soil);
    drawText(0, 32, "TANK");
    if (tank < 0) snprintf(b, sizeof(b), " ?? "); else snprintf(b, sizeof(b), "%3d%%", tank);
    drawText(70, 32, b, 2);
    drawBar(0, 48, 128, 8, tank < 0 ? 0 : tank);
    if (pumpOn) drawText(30, 0, "PUMP");
    else if (!tankOk) drawText(30, 0, "FILL!");
    oledShow();
  }
  delay(10);
}


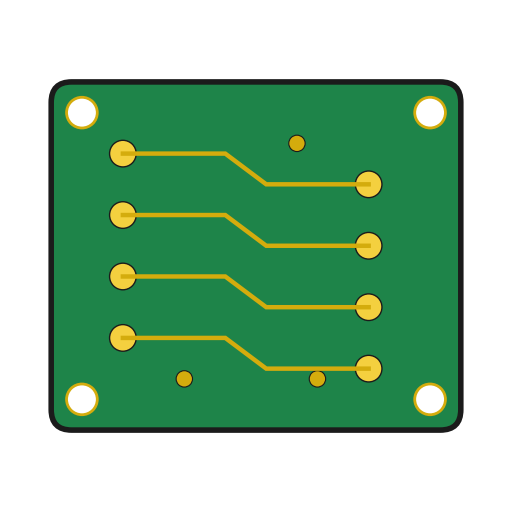 Papan sirkuit cetak1 pcs
 Multimeter
 Resistor cip6 pcs
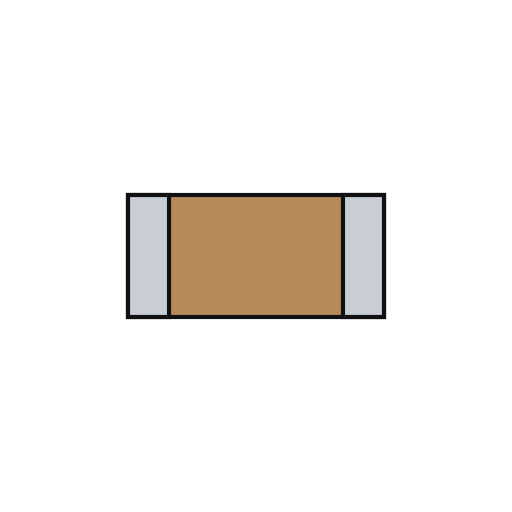 Kapasitor keramik cip1 pcs
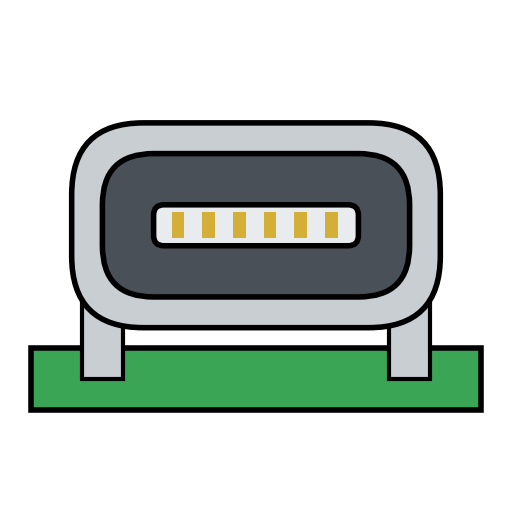 Soket USB-C1 pcs
 Kawat Timah Solder5 g
 Solder
 Dioda1 pcs
 MOSFET aras logika IRLZ44N1 pcs
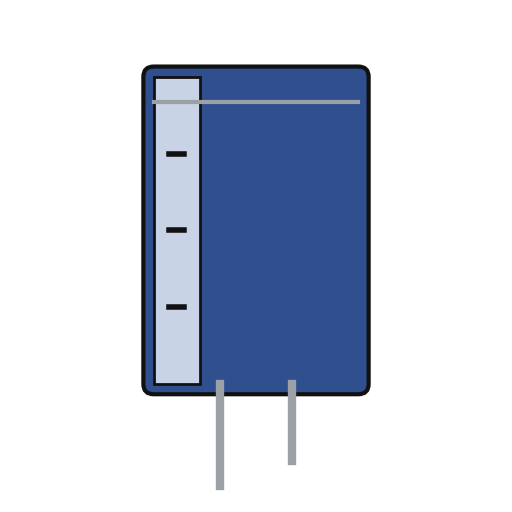 Kapasitor elektrolit1 pcs
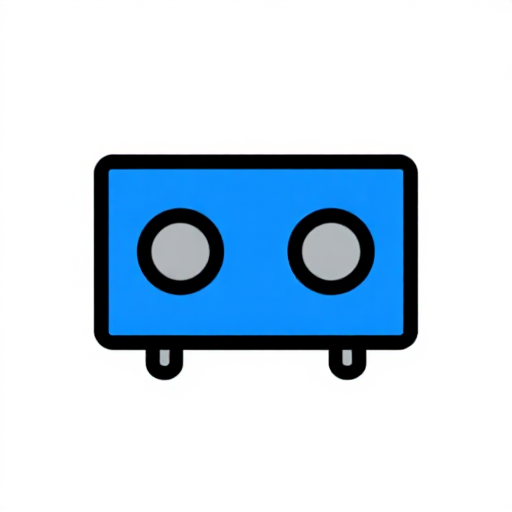 Blok terminal sekrup1 pcs
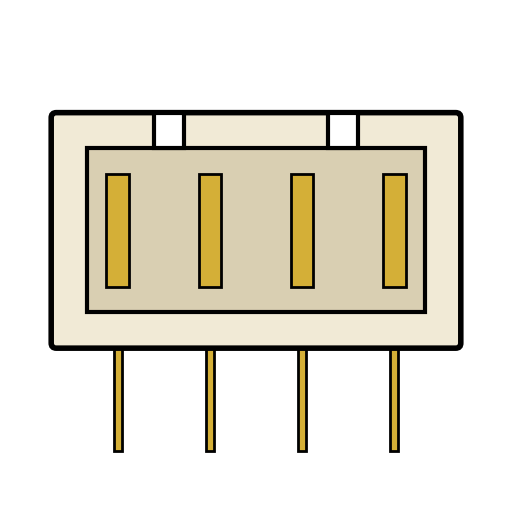 Header papan JST-XH2 pcs
 Header pin3 pcs
 Tombol tekan1 pcs
 Papan Pengembangan ESP321 pcs
 Sumber daya arus searah
 Sekrup tapping4 pcs
 Set obeng
 Layar OLED1 pcs
 Kabel Jumper4 pcs
 Pompa air celup1 pcs
 Selang Silikon1 m
 Sensor jarak ultrasonik1 pcs
 Batang lem leleh panas1 pcs
 Pistol lem panas
 Kabel penghubung1 m
 Selongsong bakar10 cm
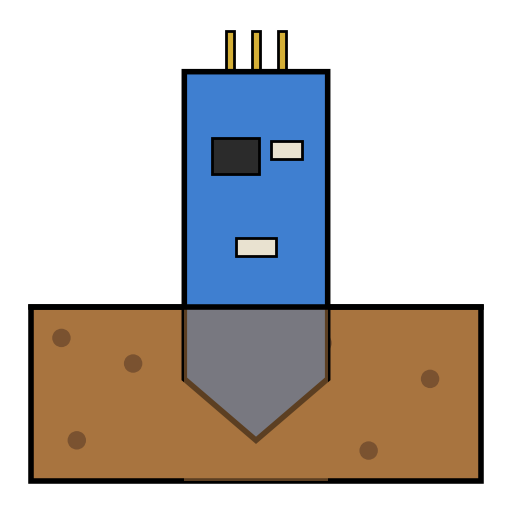 Sensor kelembapan tanah kapasitif1 pcs
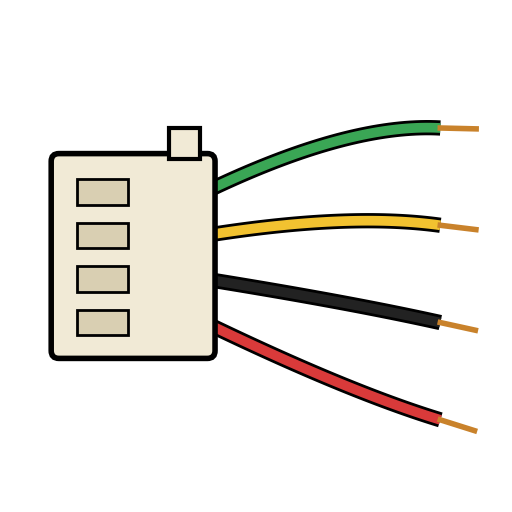 Kabel JST-XH2 pcs
 Tang pengupas kabel
 Komputer dengan Arduino IDE
 Kabel data USB
 Kendi takar
 Tisu dapur
 Air
 Adaptor daya USB-C1 pcs
 Kabel USB-C1 pcs
 Pot bunga