SENI
KECANTIKAN & KESEHATAN
KERAJINAN
BUDAYA & SEJARAH
HIBURAN
LINGKUNGAN
MAKANAN & MINUMAN
REKAYASA BALIK
ILMU PENGETAHUAN
OLAHRAGA
TEKNOLOGI
PERANGKAT PAKAI
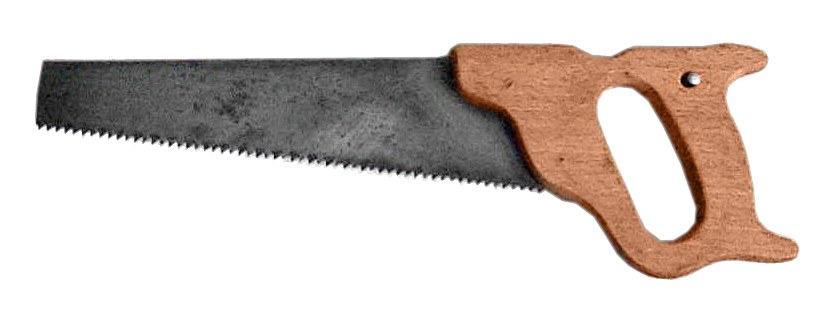


Hand Saw: Plate, Teeth, Temper and Handle
Hand saws were made like this in the saw works of the 1880s. Steel plate is sheared to the outline of the blade and the teeth are punched in a press. The toothed plate is heated to a light cherry red and plunged into a bath of oil, tallow, rosin and beeswax, which leaves it as brittle as glass; it is then flattened between heated dies until it reaches a blue, the colour of spring temper. After smithing and grinding, the teeth are set, bent alternately left and right, and filed sharp, and a wooden handle is riveted on. Today the plate is laser cut and the teeth are ground and flame hardened.
Lanjutan
Factory process (1880s)
Instruksi
1
1
Cut the plate
Cut the plate
Shear the steel plate to the outline of the blade.
Material untuk langkah ini:
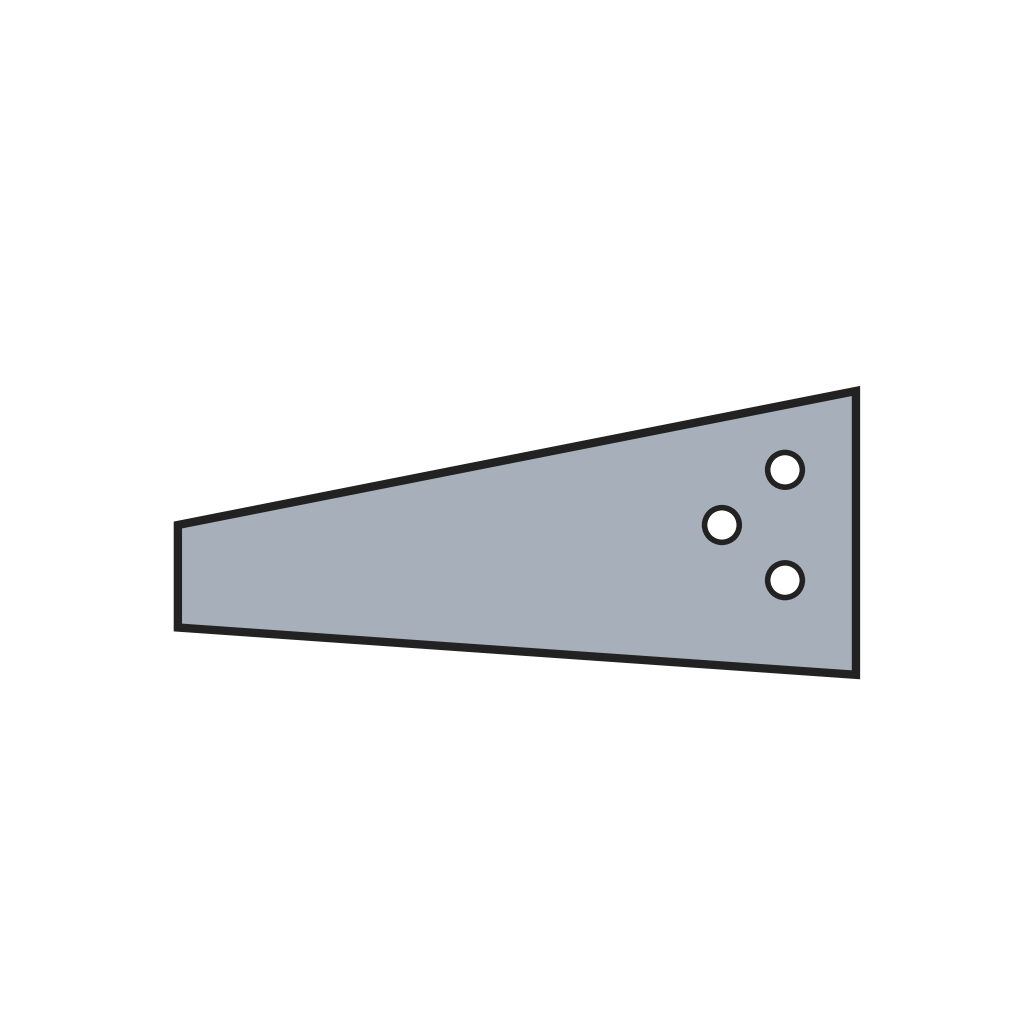 Lembaran baja daun gergaji1 buah
Alat yang dibutuhkan:
 Gunting pelat
2
2
Punch the teeth
Punch the teeth
Punch the teeth along the edge with a shaped die in a press.
Alat yang dibutuhkan:
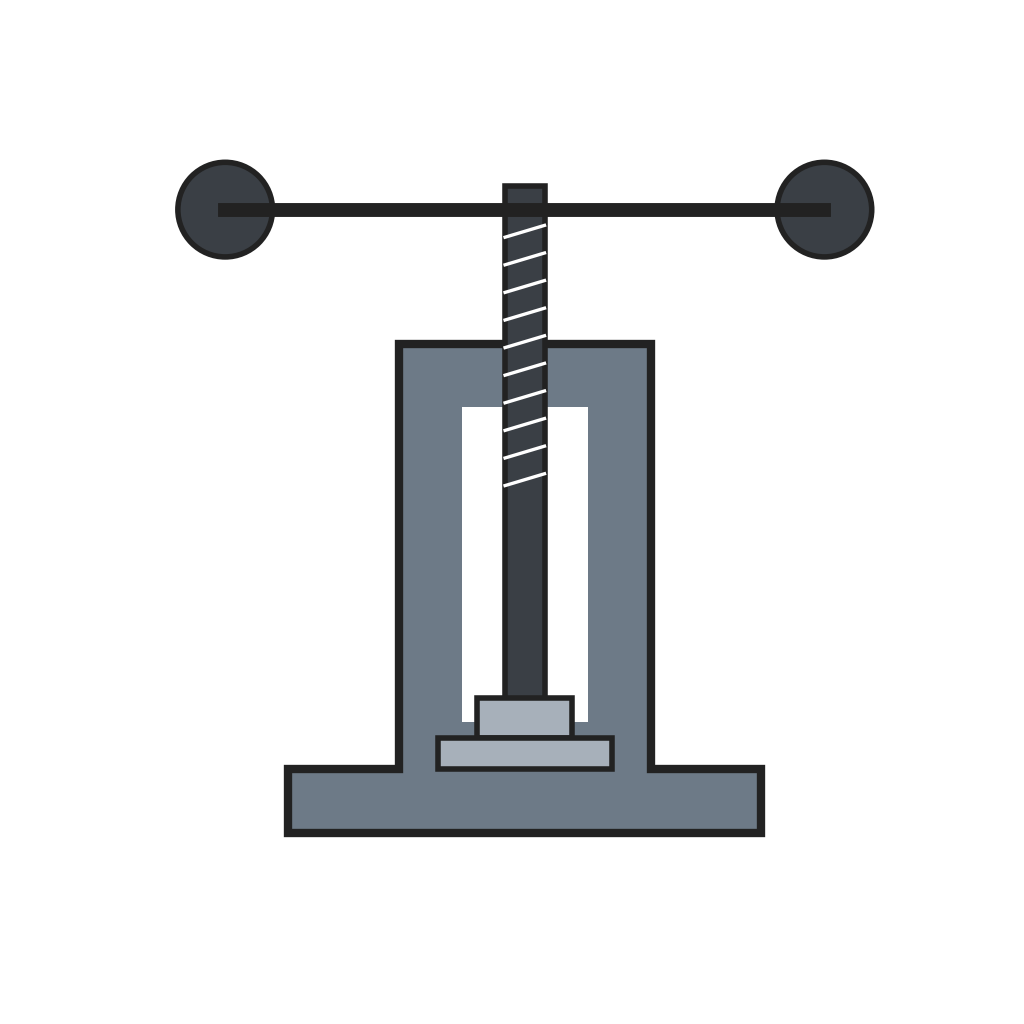 Mesin pons gigi gergaji
3
3
Harden
Harden
Heat the toothed plate to a light cherry red and plunge it into a bath of oil, tallow, rosin and beeswax. It comes out as brittle as glass and buckled.
Material untuk langkah ini:
 Lemak Hewani (Gajih)1 kg
 Damar pinus0.5 kg
 Malam Lebah0.5 kg
4
4
Flatten and temper
Flatten and temper
Clean off the scale and grease and press the plate flat between heated dies until it turns blue, the spring temper. Test it by bending: a good blade springs back straight.
Alat yang dibutuhkan:
 Cetakan perata berpemanas
5
5
Smith and grind
Smith and grind
Hammer out any remaining unevenness on a stake, then grind the blade to its gauge on a grindstone.
Alat yang dibutuhkan:
 Batu asah roda
6
6
Set and sharpen
Set and sharpen
Set the teeth alternately left and right with a saw set, joint the points level with a file, and file each tooth sharp with a triangular file.
Alat yang dibutuhkan:
 Penyetel gigi gergaji
 Kikir Logam
7
7
Fit the handle
Fit the handle
Shape a handle from beech and fix the blade in it with rivets.
Material untuk langkah ini:
 Kayu beech1 buah
 Paku keling gagang gergaji3 buah
Bahan
6- Placeholder
- Placeholder
- 0.5 kgPlaceholder
- 0.5 kgPlaceholder
- 1 buahPlaceholder
- Placeholder
Alat yang Diperlukan
6- Placeholder
- Placeholder
- Placeholder
- Placeholder
- Placeholder
- Placeholder
Cetak biru ini membuat



Blueprint terkait
Blueprint ini berbagi pengetahuan — teknik, bahan, atau prinsip
CC0 Domain Publik
Cetak biru ini dirilis di bawah CC0. Anda bebas untuk menyalin, memodifikasi, mendistribusikan, dan menggunakan karya ini untuk tujuan apa pun, termasuk komersial, tanpa meminta izin.
Dukung Maker dengan membeli produk melalui Cetak Biru mereka di mana mereka mendapatkan Komisi Pembuat yang ditetapkan oleh Penjual, atau buat iterasi baru dari Cetak Biru ini dan masukkan sebagai koneksi di milik Anda sendiri.