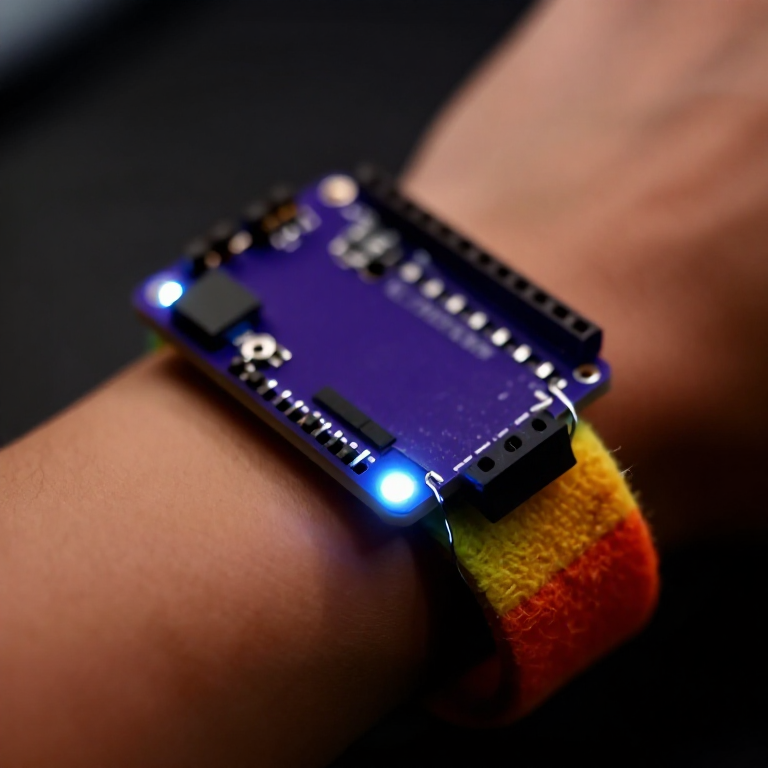


Making a Motion-Reactive LilyPad Patch
Sew a patch that lights up when it moves. A LilyPad accelerometer senses motion in three directions, and a short program flashes an LED whenever you shake or swing it — a reactive costume piece, a dance accessory, or a 'don't-touch' bag alarm. Introduces the accelerometer and reading three sensor axes at once.
Instruksi
Sew the board, accelerometer and LED
Sew the board, accelerometer and LED
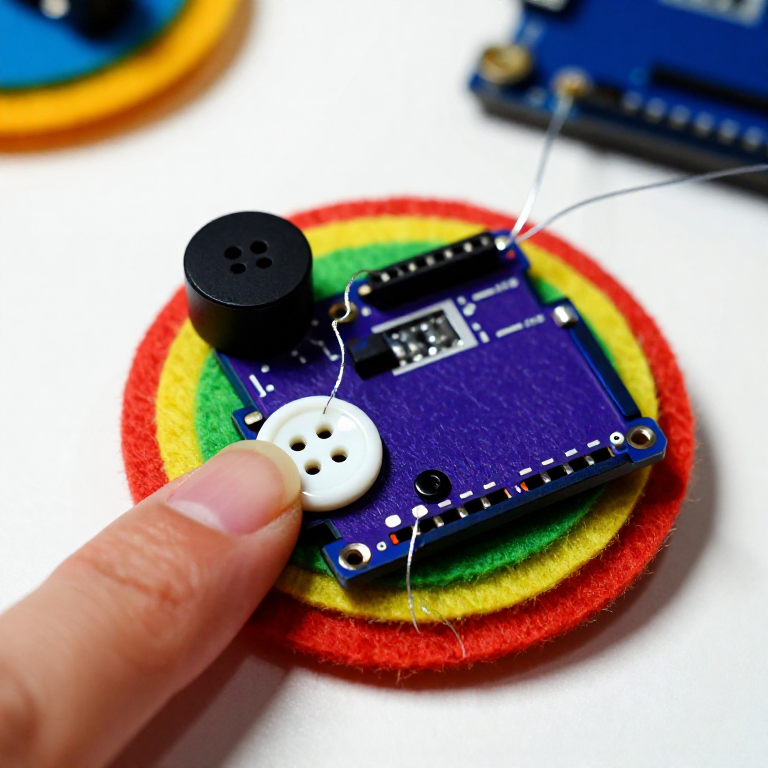
Sew a LilyPad Arduino, a LilyPad accelerometer and a LilyPad LED onto felt. Wire it: the accelerometer's + to the board's +, its - to -, and its X, Y and Z tabs to analog pins A2, A3 and A4; the LED to pin 5 and to -. Keep every line separate.
Material untuk langkah ini:
 LilyPad Arduino Simple Board1 buah
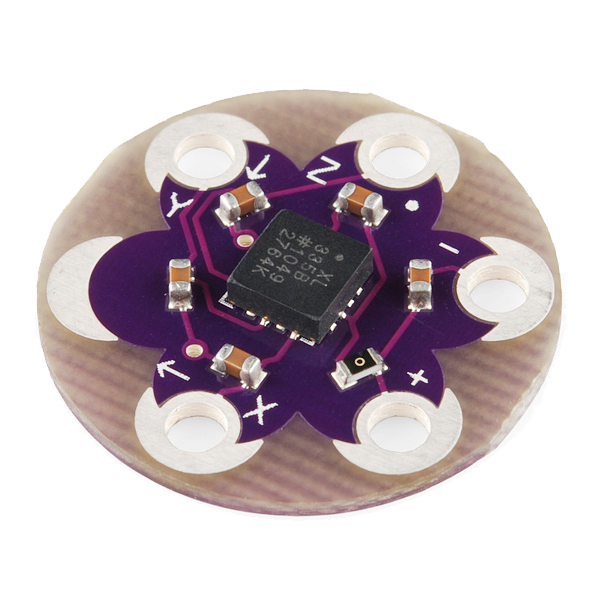 LilyPad Accelerometer ADXL3351 buah
 LilyPad LED - 5 pcs1 bungkus
 Conductive Thread - 60g (Stainless Steel)1 kumparan
 Hand Sewing Needles (Assorted, 30-Pack)1 bungkus
 Wool Felt Sheet1 lembar
Connect the programmer
Connect the programmer
Plug the LilyPad FTDI onto the programming header and connect the USB cable. Open the Arduino IDE and select the LilyPad Arduino board and its serial port.
Material untuk langkah ini:
 LilyPad FTDI Basic Breakout - 5V1 buah
 SparkFun Cerberus USB Cable - 1.8 meter1 buah
Tools needed:
 Computer with Arduino IDE
Upload the motion sketch
Upload the motion sketch
Paste this sketch and upload. It watches how much the three axes change between readings and lights the LED when the patch moves.
Test and tune the sensitivity
Test and tune the sensitivity
Hold the patch still — the LED stays off. Shake or swing it — the LED lights. If it's too twitchy or not sensitive enough, change moveThreshold in the sketch (higher = needs a bigger movement) and re-upload.
Go wireless and wear it
Go wireless and wear it
Unplug the FTDI, sew a LilyPad coin-cell holder to the board (+ to +, - to -), drop in a CR2032 and switch on. Sew the felt onto a sleeve, shoe or bag — it flashes whenever you move.
Material untuk langkah ini:
 LilyPad Coin Cell Battery Holder - w/Switch - 20mm1 buah
 CR2032 Coin Cell Battery1 buah
Bahan
10- $20.00
- $14.00
- 1 bungkus$5.00
- $40.00
- Placeholder
- 1 lembarPlaceholder
- $14.00
- $6.00
- 1 buahPlaceholder
Alat yang Diperlukan
1- Placeholder
Blueprint terkait
Blueprint ini berbagi pengetahuan — teknik, bahan, atau prinsip
Related blueprints
Other builds that share materials, tools, or techniques with this one.

CC0 Domain Publik
Cetak biru ini dirilis di bawah CC0. Anda bebas untuk menyalin, memodifikasi, mendistribusikan, dan menggunakan karya ini untuk tujuan apa pun, termasuk komersial, tanpa meminta izin.
Dukung Maker dengan membeli produk melalui Cetak Biru mereka di mana mereka mendapatkan Komisi Pembuat yang ditetapkan oleh Penjual, atau buat iterasi baru dari Cetak Biru ini dan masukkan sebagai koneksi di milik Anda sendiri.