Making Fresh Cheese with Rennet — The 7,000-Year-Old Preservation Technique
Cheese is one of humanity's oldest manufactured foods. The earliest evidence dates to approximately 5500 BCE in the Fertile Crescent, where pottery sieves with milk fat residues show that Neolithic farmers were separating curds from whey. The legend says cheese was discovered accidentally when milk stored in a bag made from a young animal's stomach curdled — the stomach lining contains rennet, an enzyme that causes milk proteins to coagulate.
Rennet cheese-making transforms perishable milk (which spoils in hours in warm climates) into a concentrated, shelf-stable food that can last weeks, months, or even years depending on the style. The process is deceptively simple: add rennet to warm milk, the casein proteins knit together into a gel, cut the gel to release whey, drain, press, and salt. Every cheese on Earth — from fresh paneer to aged Parmesan — is a variation on this fundamental sequence.
The technique spread with pastoral cultures across Europe, Central Asia, and North Africa. By the Roman period, Pliny the Elder could describe dozens of regional cheese varieties in his Natural History. The transformation of 10 liters of milk into 1 kilogram of cheese was perhaps the most important food technology of the Neolithic revolution — it made dairy farming viable in climates where fresh milk could not survive the journey from farm to market.
Instruksi
Heat the milk
Heat the milk
Pour 4 liters of fresh whole milk into a heavy-bottomed pot. Use the freshest milk available — milk older than 3 days produces weaker curds because the protein structure degrades over time. Raw (unpasteurized) milk produces richer-flavored cheese, but pasteurized milk works well for beginners. Do not use ultra-pasteurized (UHT) milk — the high-temperature treatment denatures the casein proteins beyond recovery.
Heat the milk slowly over medium-low heat to 32°C (90°F), stirring gently to distribute heat evenly and prevent scorching on the bottom. Use a thermometer — temperature control is the single most important variable in cheese-making. At 32°C, the rennet enzyme operates at peak efficiency.
Material untuk langkah ini:
 Whole Milk4 liter
Add rennet and set the curd
Add rennet and set the curd
Dissolve 1/4 teaspoon of liquid animal rennet in 60 ml of cool, non-chlorinated water. Chlorine in tap water inhibits the rennet enzyme — use filtered or bottled water. Stir the diluted rennet into the warm milk using gentle up-and-down strokes for exactly 30 seconds, then stop stirring completely.
Cover the pot and leave it undisturbed for 45-60 minutes. During this time, the rennet enzyme (chymosin) cleaves a specific bond in the kappa-casein protein on the surface of milk fat globules, causing them to aggregate into a continuous gel network — the curd. Do not move, bump, or stir the pot during this period. The surface should set into a smooth, yogurt-like gel that pulls cleanly away from the pot edge when tilted.
Test for a clean break
Test for a clean break
Insert a clean finger or knife into the curd at a 45-degree angle and lift gently. A 'clean break' means the curd splits neatly along the cut with clear, slightly greenish whey filling the gap. If the curd is mushy and does not split cleanly, wait another 15-20 minutes and test again. A clean break indicates the casein network is fully formed and ready to cut.
The quality of this set determines the entire cheese. A firm, clean-breaking curd produces a cheese with good body and texture. A weak or sloppy curd (caused by incorrect temperature, old milk, or insufficient rennet) produces a soft, crumbly cheese with poor structure. If the curd fails to set after 90 minutes, the batch cannot be rescued — start over with fresh milk and new rennet.
Tools needed:
 Sharp Knife
Cut the curd into cubes
Cut the curd into cubes
Using a long knife that reaches the bottom of the pot, cut the curd into a grid of approximately 1.5 cm cubes. Make parallel vertical cuts in one direction, then rotate the pot 90 degrees and cut again to create a checkerboard. Then make angled cuts to divide the vertical columns into cubes. The goal is roughly uniform cube sizes — uniform cubes release whey at the same rate, producing even moisture in the finished cheese.
Smaller cubes (1 cm) produce harder, drier cheese because more surface area is exposed for whey drainage. Larger cubes (2-3 cm) produce softer, moister cheese. For a basic farmhouse cheese, 1.5 cm is a good starting point. After cutting, let the curds rest undisturbed for 5 minutes — this allows the cut surfaces to firm slightly before stirring.
Cook and stir the curds
Cook and stir the curds
Gently raise the temperature to 38°C (100°F) over 30 minutes, stirring slowly with a slotted spoon. The curds will shrink and become firmer as they expel whey — this is syneresis, the contraction of the protein network that squeezes out trapped liquid. Stir gently to prevent the curds from matting together into a single mass.
The curds are ready when they feel firm and slightly springy — a squeezed handful should compress into a ball that holds together but breaks apart easily when pressed. If the curds are still soft and squishy, continue stirring at temperature for another 10-15 minutes. The whey surrounding the curds should be a translucent yellowish-green.
Drain the whey and salt the curds
Drain the whey and salt the curds
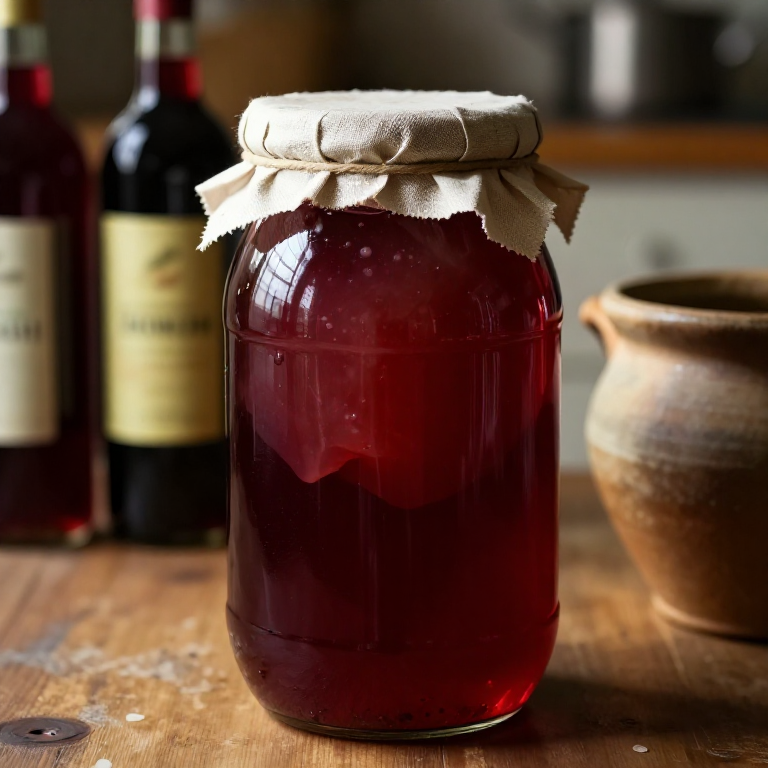
Pour the curds and whey through a cheesecloth-lined colander set over a large bowl. Save the whey — it contains valuable proteins (whey protein, lactalbumin) and can be used for baking, soup stock, animal feed, or making ricotta by re-heating to 85°C. Allow the curds to drain for 15-20 minutes, lifting and turning the cheesecloth occasionally to redistribute the mass.
Sprinkle 1 tablespoon of non-iodized salt over the drained curds and mix gently with your hands. Salt serves three purposes: it adds flavor, draws out additional moisture (extending shelf life), and inhibits unwanted bacterial growth. Do not use iodized table salt — iodine inhibits the beneficial bacteria that develop flavor during aging. Use sea salt, kosher salt, or dedicated cheese salt.
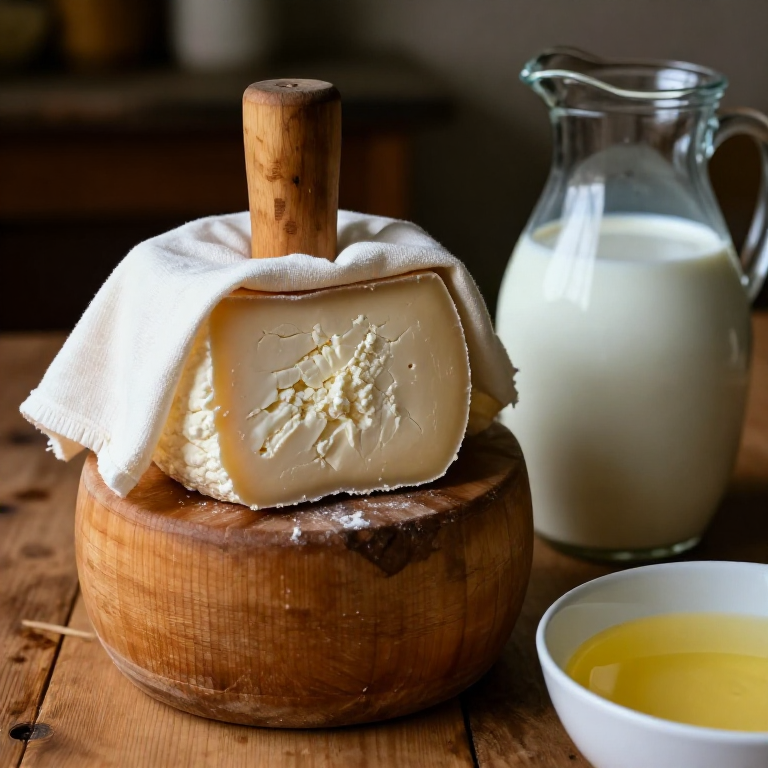
Press the cheese
Press the cheese
Transfer the salted curds into a cheese mould lined with cheesecloth. Fold the cloth over the top and place a flat follower (a wooden disc or plate that fits inside the mould) on top. Apply weight — approximately 5 kg for a soft cheese, 10-15 kg for a firm farmhouse cheese. Traditional cheese presses use a lever mechanism, but stacking heavy pots or stones on top works perfectly for home production.
Press for 12-24 hours at room temperature, turning the cheese over halfway through to ensure even compression. The pressed cheese should be smooth, firm, and hold its shape when removed from the mould. If cracks appear on the surface, the curds were too dry before pressing — next time, drain for less time. The fresh cheese can be eaten immediately or aged in a cool (10-15°C), humid environment for weeks or months for stronger flavor.
Bahan
1- 4 literPlaceholder
Alat yang Diperlukan
1- Placeholder
Blueprint terkait
Blueprint ini berbagi pengetahuan — teknik, bahan, atau prinsip
Related blueprints
Other builds that share materials, tools, or techniques with this one.


CC0 Domain Publik
Cetak biru ini dirilis di bawah CC0. Anda bebas untuk menyalin, memodifikasi, mendistribusikan, dan menggunakan karya ini untuk tujuan apa pun, termasuk komersial, tanpa meminta izin.
Dukung Maker dengan membeli produk melalui Cetak Biru mereka di mana mereka mendapatkan Komisi Pembuat yang ditetapkan oleh Penjual, atau buat iterasi baru dari Cetak Biru ini dan masukkan sebagai koneksi di milik Anda sendiri.