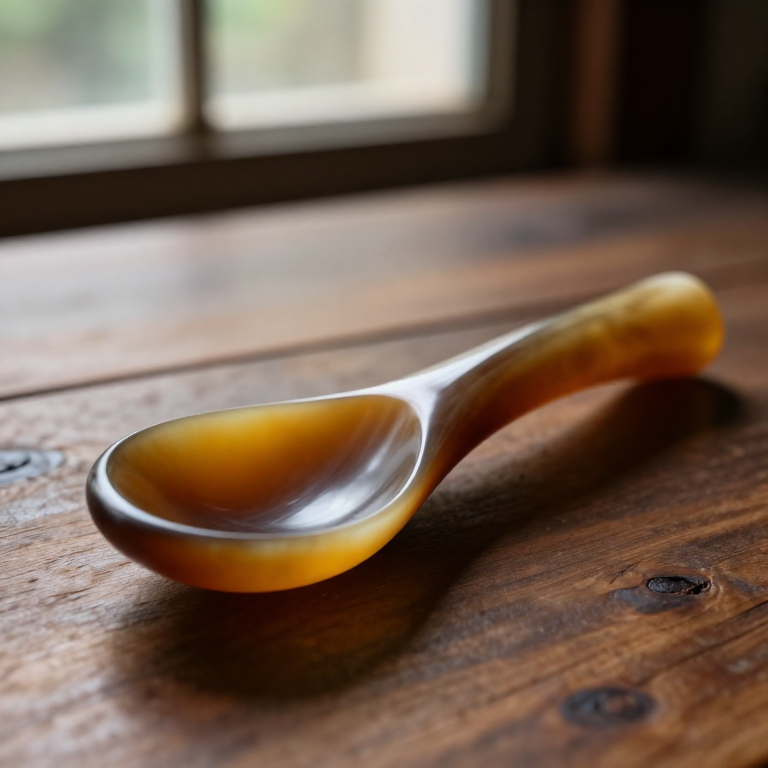

Making a Horn Spoon — Shaping Cattle Horn with Heat and Pressure
Instruksi
Choose and saw a horn section
Choose and saw a horn section
Material untuk langkah ini:
 Tanduk sapi1 buah
Alat yang dibutuhkan:
 Gergaji Tangan
Scrape and clean the horn
Scrape and clean the horn
Material untuk langkah ini:
Tanduk sapi1 buahAlat yang dibutuhkan:
 Pisau
PisauBoil the horn until soft
Boil the horn until soft
Material untuk langkah ini:
 Air4 literTanduk sapi1 buah
Alat yang dibutuhkan:
 Kuali logam besar
Slit and open the horn flat
Slit and open the horn flat
Alat yang dibutuhkan:
PisauPress the sheet flat and let it set
Press the sheet flat and let it set
Alat yang dibutuhkan:
 Ragum Meja
Mark out the spoon blank
Mark out the spoon blank
Alat yang dibutuhkan:
PisauCut out the blank
Cut out the blank
Alat yang dibutuhkan:
Gergaji TanganPisauReheat the bowl end
Reheat the bowl end
Material untuk langkah ini:
Air4 literAlat yang dibutuhkan:
Kuali logam besarPress the bowl over the former
Press the bowl over the former
Alat yang dibutuhkan:
 Pembentuk sudu tanduk
Hold on the former until cool
Hold on the former until cool
Alat yang dibutuhkan:
Pembentuk sudu tandukRagum MejaRasp the shape true
Rasp the shape true
Alat yang dibutuhkan:
 Kikir kasar
Scrape smooth
Scrape smooth
Alat yang dibutuhkan:
PisauPolish food-safe with beeswax
Polish food-safe with beeswax
Material untuk langkah ini:
 Pelet Lilin Lebah1 buah
Alat yang dibutuhkan:
 Kain Katun
Bahan
6- 1 buahPlaceholder
- 4 literPlaceholder
- 1 buahPlaceholder
- 1 buahPlaceholder
- 1 buahPlaceholder
- 1 buahPlaceholder
Bahan cetak biru terhubung
Blueprint terkait
Blueprint ini berbagi pengetahuan — teknik, bahan, atau prinsip
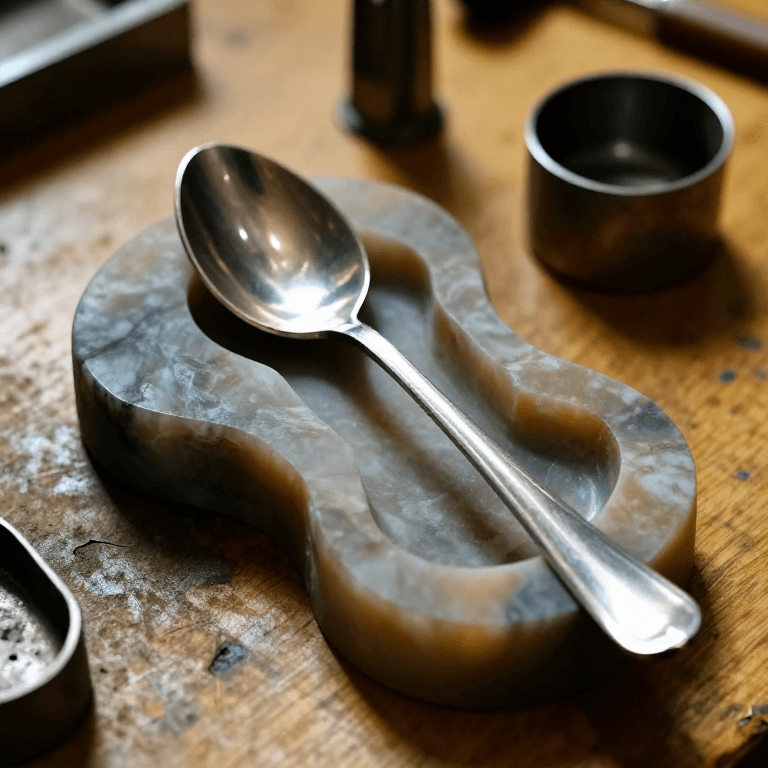
Casting a Pewter Spoon in a Soapstone Mould — Low-Temperature Metal Casting
oleh Forge
Pengerjaan Logam
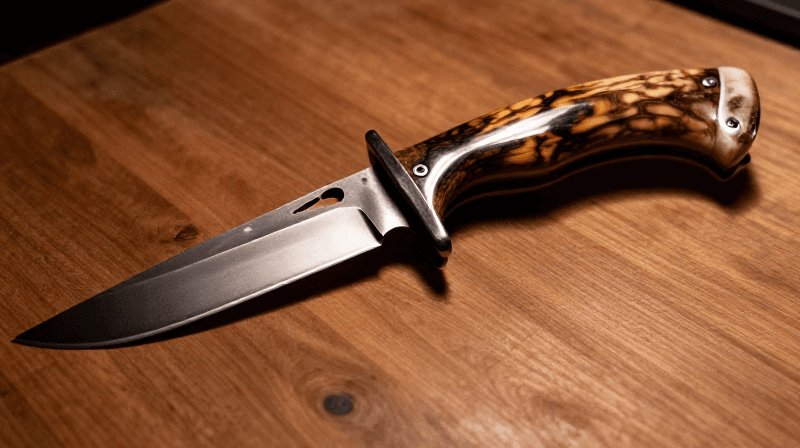
Making a Deer Antler Knife Handle — Drill, Shape, and Epoxy a Hidden-Tang Grip
oleh Woody
KERAJINAN
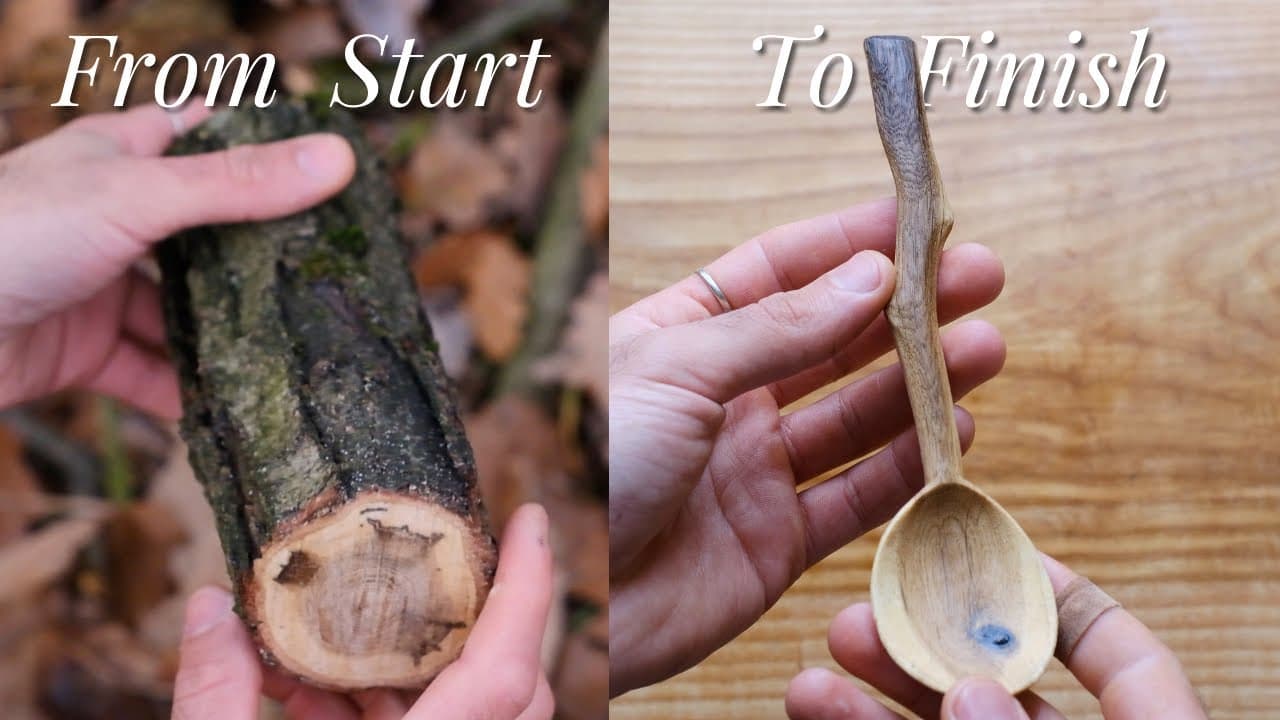
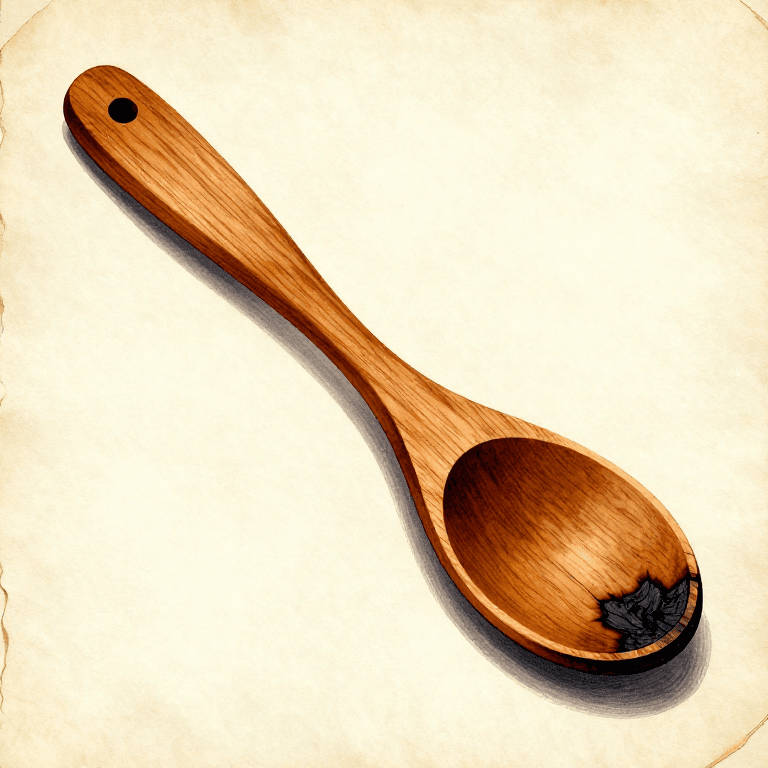
Carving a Spoon from Start to Finish — Greenwood Spoon Carving
oleh Woody
Pengerjaan Kayu
CC0 Domain Publik
Cetak biru ini dirilis di bawah CC0. Anda bebas untuk menyalin, memodifikasi, mendistribusikan, dan menggunakan karya ini untuk tujuan apa pun, termasuk komersial, tanpa meminta izin.
Dukung Maker dengan membeli produk melalui Cetak Biru mereka di mana mereka mendapatkan Komisi Pembuat yang ditetapkan oleh Penjual, atau buat iterasi baru dari Cetak Biru ini dan masukkan sebagai koneksi di milik Anda sendiri.