SENI
KECANTIKAN & KESEHATAN
KERAJINAN
BUDAYA & SEJARAH
HIBURAN
LINGKUNGAN
MAKANAN & MINUMAN
REKAYASA BALIK
ILMU PENGETAHUAN
OLAHRAGA
TEKNOLOGI
PERANGKAT PAKAI
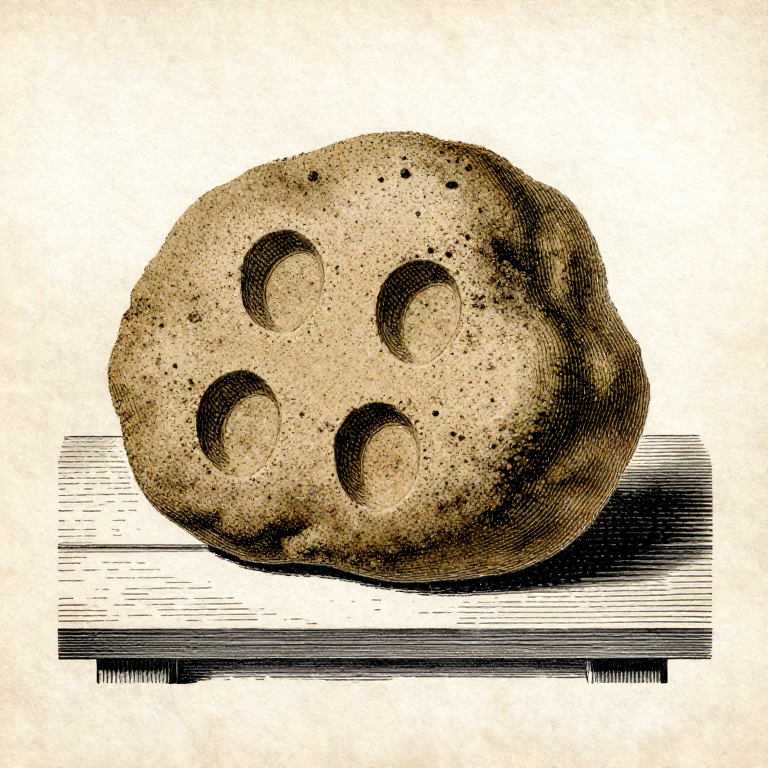


Moulding Sand: Holding a Shape and Letting the Gas Out
Moulding sand has to do two things that pull against each other. It must hold a sharp impression when the pattern is drawn out, and it must let gas escape when molten metal hits it.
Hold too weakly and the mould collapses; hold too tightly and the steam and gases generated at the metal face have nowhere to go, so they bubble back into the casting as porosity.
Green sand — silica sand, clay and water — is the ancient answer and still the commonest. The clay is what holds it and the water is what activates the clay, and the whole craft of tempering sand is finding the moisture content where both properties are good enough.
Menengah
3 hours
Instruksi
1
1
Three ingredients, and the water is the variable
Three ingredients, and the water is the variable
Silica sand is the bulk and the refractory — it is what survives the heat. Bentonite clay, 5 to 10% by weight, is the binder. Water, 2 to 4%, is what makes the clay sticky.
Too dry and the mould crumbles when the pattern is drawn. Too wet and the metal flashes the water to steam faster than it can escape, which blows gas back through the casting and in bad cases throws metal out of the mould.
The squeeze test is the traditional measure and it works: squeeze a handful, and it should hold its shape and show your finger marks sharply, then break cleanly in two rather than crumbling or smearing. That is a real test of exactly the two properties that matter.
Material untuk langkah ini:
 Pasir Halus1 kg
 Lempung bentonit1 kg
Alat yang dibutuhkan:
 Rangka cetak pasir (atas dan bawah)
 Timbangan Presisi
2
2
Ram it evenly, and not too hard
Ram it evenly, and not too hard
Fill the flask in layers and ram each one. Under-rammed sand collapses and washes away when the metal runs; over-rammed sand has no permeability left and traps gas.
Ram harder at the edges of the flask and more gently over the pattern. The pattern face needs enough strength to hold detail and enough openness to breathe, and it is the one place where over-ramming does the most harm.
Strike the surface off level with a bar and cut VENTS — fine holes pushed down almost to the pattern with a wire. They cost seconds and give the gas somewhere to go other than through the metal.
Material untuk langkah ini:
 Pasir cetak1 kg
Alat yang dibutuhkan:
Rangka cetak pasir (atas dan bawah) Penggaris
3
3
Parting powder, and drawing the pattern cleanly
Parting powder, and drawing the pattern cleanly
Dust the parting face with a fine powder before ramming the second half, or the two halves of sand bond to each other and the mould cannot be opened without destroying it.
Before drawing the pattern, RAP it — tap it gently in several directions to loosen it from the sand. Then lift it straight up, slowly, without tilting. A tilted draw drags the mould wall and the damage is usually not repairable.
Repair small damage with a wet sand slurry and a fine tool, and accept that a badly torn mould is quicker to re-ram than to patch. Patching a mould is where beginners lose an afternoon to a casting that was never going to come out.
Material untuk langkah ini:
Pasir cetak1 kg Papan Kayu Keras1 buah
Alat yang dibutuhkan:
Rangka cetak pasir (atas dan bawah) Set Kikir
 Lup Pembesar
4
4
Sand is reusable, and it changes with use
Sand is reusable, and it changes with use
Green sand can be used again and again. Break up the used mould, remove the burnt-black sand that touched the metal if it is badly scorched, riddle the rest to break the lumps, and re-temper with water.
It changes over time. Repeated heating burns out some clay, so a working sand needs occasional new bentonite; it also picks up fines that reduce permeability, so it needs occasional fresh sand.
Keep it covered and it keeps its moisture; leave it open and it dries out overnight. A foundry's sand is a living working material rather than a consumable, and its condition is worth a line in the log alongside the pour.
Material untuk langkah ini:
Pasir cetak1 kgLempung bentonit1 kgAlat yang dibutuhkan:
Rangka cetak pasir (atas dan bawah)Timbangan PresisiBahan
4- 1 kgPlaceholder
- 2 kgPlaceholder
- 1 kgPlaceholder
- 1 buahPlaceholder
Blueprint terkait
Blueprint ini berbagi pengetahuan — teknik, bahan, atau prinsip

CC0 Domain Publik
Cetak biru ini dirilis di bawah CC0. Anda bebas untuk menyalin, memodifikasi, mendistribusikan, dan menggunakan karya ini untuk tujuan apa pun, termasuk komersial, tanpa meminta izin.
Dukung Maker dengan membeli produk melalui Cetak Biru mereka di mana mereka mendapatkan Komisi Pembuat yang ditetapkan oleh Penjual, atau buat iterasi baru dari Cetak Biru ini dan masukkan sebagai koneksi di milik Anda sendiri.