SENI
KECANTIKAN & KESEHATAN
KERAJINAN
BUDAYA & SEJARAH
HIBURAN
LINGKUNGAN
MAKANAN & MINUMAN
REKAYASA BALIK
ILMU PENGETAHUAN
OLAHRAGA
TEKNOLOGI
PERANGKAT PAKAI
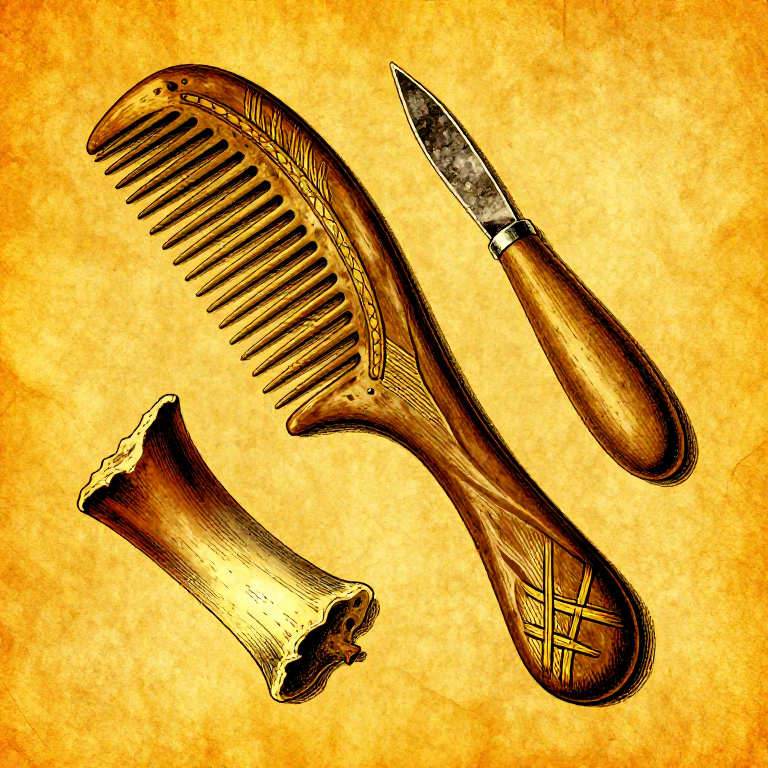
Carving an Antler Comb — Mesolithic Personal Grooming and Textile Tool
Antler combs are among the most frequently recovered personal artefacts from Mesolithic and Neolithic sites across Europe and Scandinavia. Red deer antler was the preferred material because it combines the workability of bone with superior toughness — antler is composed of approximately 60% calcium phosphate and 40% collagen, giving it a natural resistance to splitting that bone lacks. Combs served dual purposes: personal grooming (delousing was a daily necessity) and textile preparation (combing plant fibres like nettle and flax before spinning). The manufacturing technique is straightforward but demands patience: the antler is soaked to soften it, the tooth outline is scored deeply on both faces using a flint burin, and individual teeth are freed by snapping out the waste material between score lines. Archaeological examples from Erteboelle and Star Carr show teeth spaced 3 to 4 mm apart with remarkable uniformity, demonstrating that prehistoric craftspeople achieved precision through careful layout rather than complex tooling.
Menengah
3-5 hours
Instruksi
1
1
Select a Suitable Antler Section
Select a Suitable Antler Section
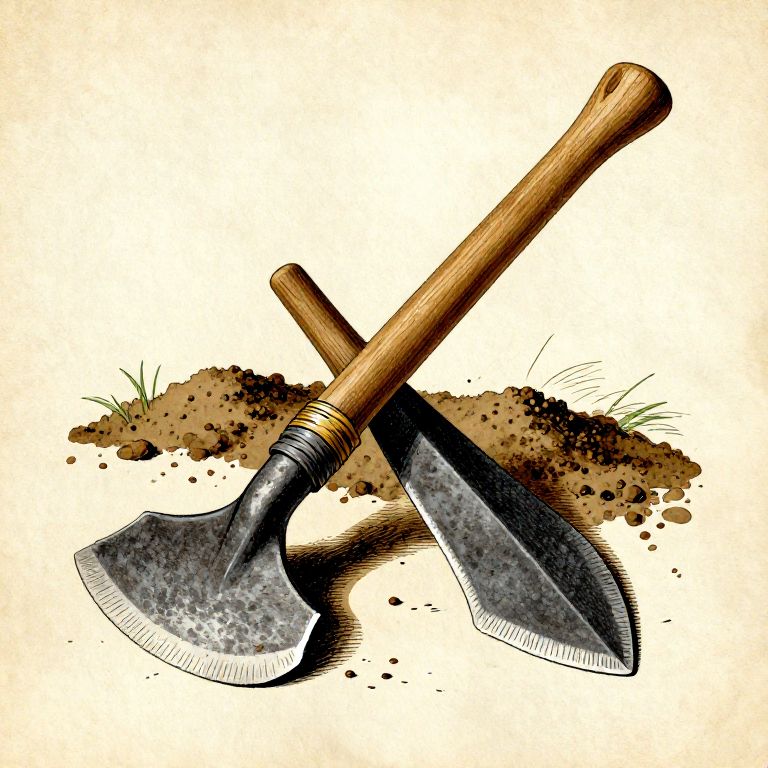
Choose a section from a red deer antler beam or tine that is at least 12 cm long and 3 cm wide. The beam section between the brow tine and the bez tine is ideal because it is flat on the inner curve and thick enough to carve teeth without splitting. Shed antlers found in spring work perfectly — freshly shed antler is easier to work than old weathered pieces.
Material untuk langkah ini:
 Deer Antler Section1 buah
2
2
Soak the Antler to Soften It
Soak the Antler to Soften It
Submerge the antler section in water for 24 to 48 hours. Soaking rehydrates the collagen in the antler matrix, making it significantly easier to score and carve without fracturing. Fresh shed antler needs only 24 hours; old dry antler may need the full 48 hours. The antler is ready when a flint blade can score a visible groove with moderate pressure.
3
3
Flatten the Working Face
Flatten the Working Face
Use a sandstone slab to abrade the outer curved surface of the antler until you have a flat working face approximately 10 cm long and 2.5 cm wide. Work with long even strokes, rotating the piece to remove material evenly. The flat face will become the front of the comb where teeth are cut.
Tools needed:
 Sandstone
4
4
Shape the Comb Outline
Shape the Comb Outline
Using a flint scraper, shape the antler piece into a rectangular blank approximately 10 cm long, 2.5 cm wide, and 8 mm thick. Round the top edge that will serve as the grip. The bottom edge where the teeth will be cut must be perfectly straight — check by laying it flat on a stone slab.
Tools needed:
 Stone Scraper
5
5
Mark the Tooth Spacing
Mark the Tooth Spacing
Using the sharp point of a bone awl, scratch evenly spaced guide lines across the bottom 4 cm of the comb blank. Space the lines 3 to 4 mm apart — this creates teeth fine enough for grooming but sturdy enough not to snap. A comb 2.5 cm wide will yield approximately 6 to 7 teeth with this spacing.
Tools needed:
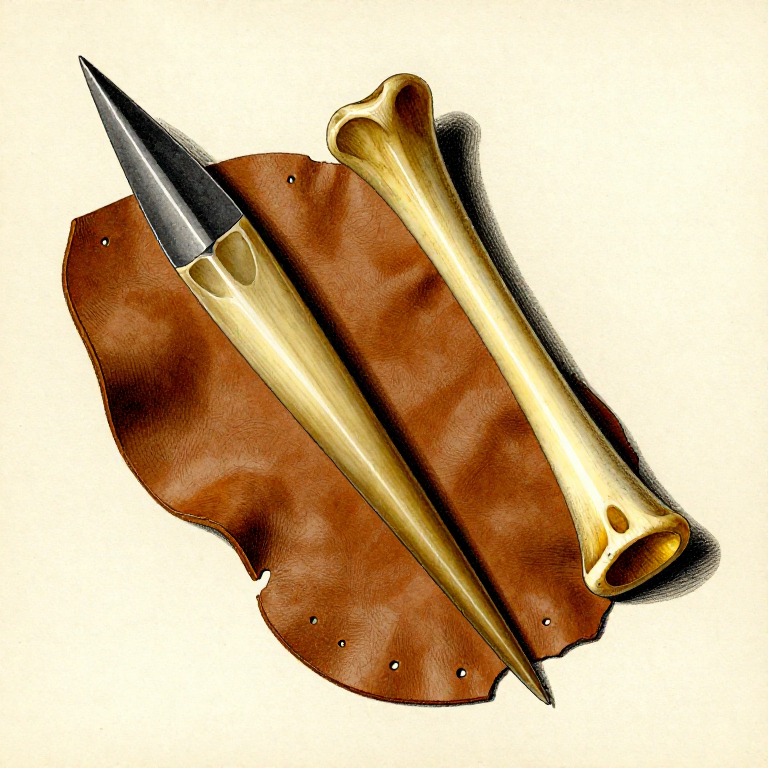
 Bone Awl
6
6
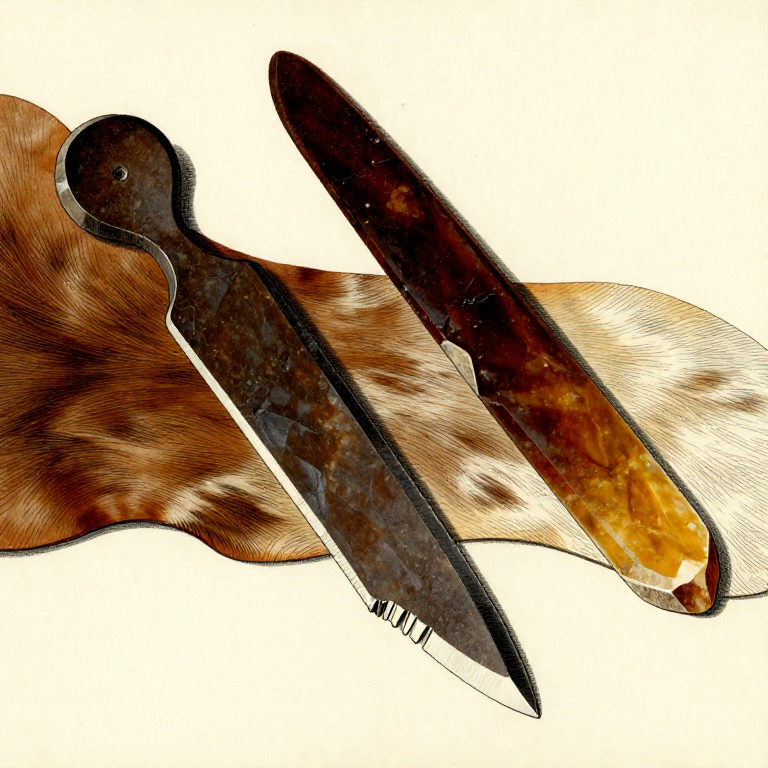
Score the Front Face Deeply
Score the Front Face Deeply
Using the corner of a sharp flint flake as a burin, score along each guide line on the front face of the comb. Press firmly and draw the burin repeatedly along each line, cutting a groove approximately 2 mm deep. Keep the burin vertical to ensure the tooth sides are parallel. Each groove needs 10 to 15 passes to reach sufficient depth.
Tools needed:
 Flint Nodule
7
7
Score the Back Face to Match
Score the Back Face to Match
Flip the comb blank over and score matching grooves on the back face, aligning them precisely with the front grooves. Hold the blank up to light to check alignment — the grooves must meet in the middle of the antler thickness. Misaligned grooves produce crooked teeth that will snap when used.
Tools needed:
Flint Nodule8
8
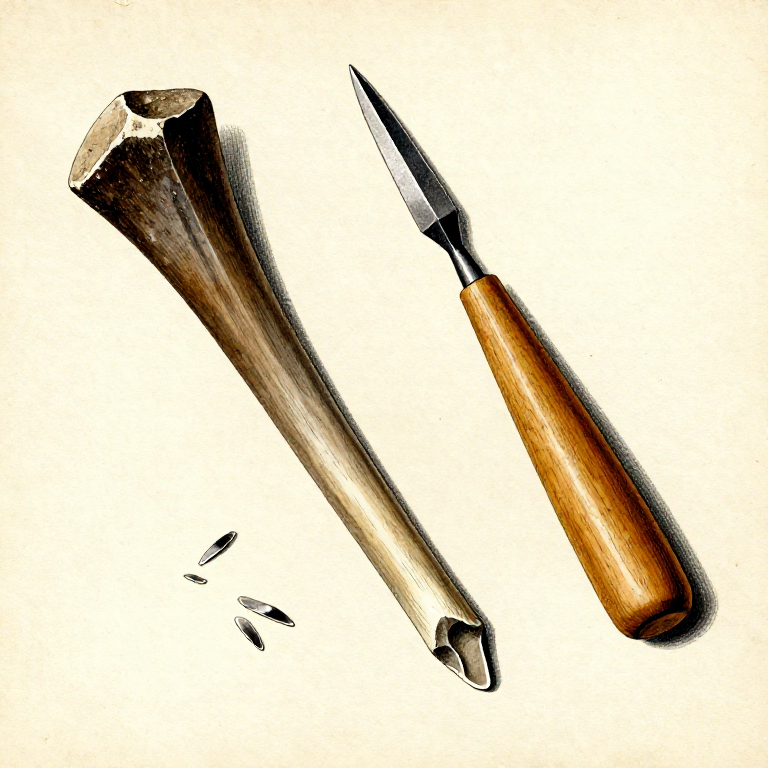
Snap Out the Waste Between Teeth
Snap Out the Waste Between Teeth
Place the tip of the bone awl into each scored groove at the bottom edge of the comb. Apply gentle lateral pressure to snap out the thin waste material between teeth. Work from the bottom upward. If the waste does not snap cleanly, deepen the score lines further before applying force. Do not twist or pry — the teeth are fragile at this stage.
Tools needed:
Bone Awl9
9
Clean the Tooth Gaps
Clean the Tooth Gaps
Use the edge of a thin flint flake to scrape any remaining material from between the teeth. Each gap should be a clean U-shaped channel approximately 2 mm wide and 35 to 40 mm deep. Remove any burrs or rough spots that could snag hair or fibre.
Tools needed:
Flint Nodule10
10
Smooth and Round the Tooth Tips
Smooth and Round the Tooth Tips
Rub the tips of all teeth across a fine-grained sandstone surface using gentle circular motions. Each tooth tip should be slightly rounded — sharp square tips scratch the scalp and catch in hair. Spend approximately 30 seconds per tooth until all tips feel smooth to the touch.
Tools needed:
Sandstone11
11
Polish the Grip Area
Polish the Grip Area
Abrade the entire grip section (top half of the comb) with progressively finer sandstone to create a smooth, comfortable handle. Round all sharp edges. The finished grip should feel comfortable in the hand with no rough spots. A well-polished antler surface develops a natural lustre from the compacted collagen.
Tools needed:
Sandstone12
12
Test the Finished Comb
Test the Finished Comb
Run the comb through a bundle of plant fibre or hair to test the teeth. All teeth should flex slightly under load without cracking — this flexibility is antler's key advantage over bone. If any tooth snags or feels rough, smooth it further with fine sandstone. A well-made antler comb will last years of daily use and can be re-sharpened by light abrasion when the teeth wear down.
Bahan
1- 1 buahPlaceholder
Connected Blueprint Materials
Blueprint terkait
Blueprint ini berbagi pengetahuan — teknik, bahan, atau prinsip
Related blueprints
Other builds that share materials, tools, or techniques with this one.

Making a Stone Chisel — Splitting and Grooving Toolstoneworking
Making an Antler Pressure Flaker — Precision Flint-Knapping Toolstoneworking
Making a Stone Hoe — The First Agricultural Toolstoneworking
Making a Hammerstone — The First Tool in Human Historystoneworking
Making a Stone Scraper for Hide Working — Conchoidal Flake Toolstoneworking
Making a Bone Awl — Piercing Tool for Sewing and Basketrystoneworking
CC0 Domain Publik
Cetak biru ini dirilis di bawah CC0. Anda bebas untuk menyalin, memodifikasi, mendistribusikan, dan menggunakan karya ini untuk tujuan apa pun, termasuk komersial, tanpa meminta izin.
Dukung Maker dengan membeli produk melalui Cetak Biru mereka di mana mereka mendapatkan Komisi Pembuat yang ditetapkan oleh Penjual, atau buat iterasi baru dari Cetak Biru ini dan masukkan sebagai koneksi di milik Anda sendiri.