SENI
KECANTIKAN & KESEHATAN
KERAJINAN
BUDAYA & SEJARAH
HIBURAN
LINGKUNGAN
MAKANAN & MINUMAN
MASA DEPAN HIJAU
REKAYASA BALIK
ILMU PENGETAHUAN
OLAHRAGA
TEKNOLOGI
PERANGKAT PAKAI
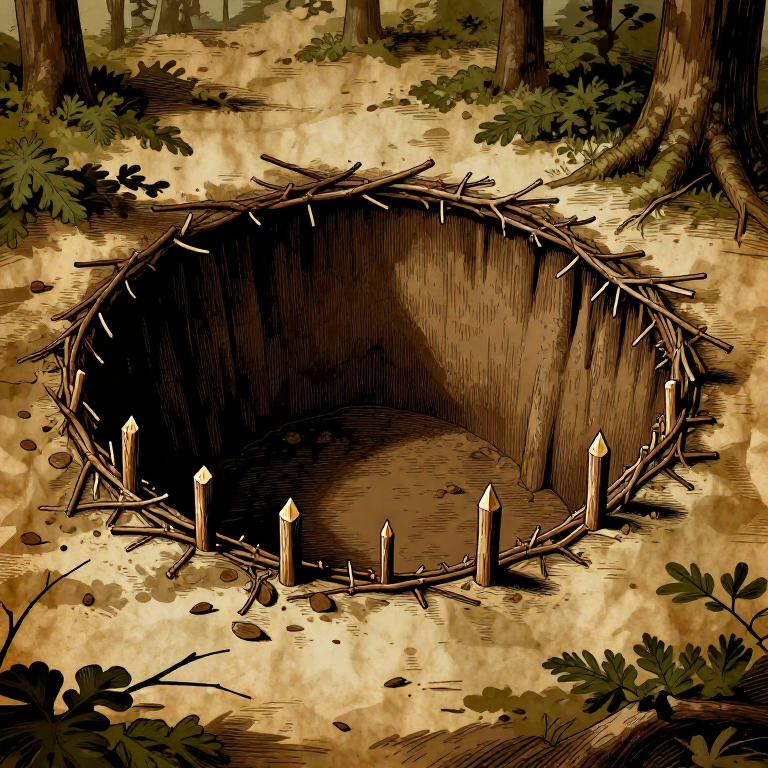
Digging a Pitfall Trap for Large Game — Concealed Pit Hunting
The pitfall trap is one of the oldest and most widespread hunting technologies, documented archaeologically on every inhabited continent and referenced in some of the earliest written records. Pit traps require no special materials — only the ability to dig — making them accessible to every prehistoric human group regardless of their tool technology. The principle is simple: a pit deep and steep enough to prevent a large animal from climbing out is dug along a known game trail, concealed with a cover of branches and debris, and left for passing animals to fall into. Archaeological sites in Europe, Africa, and North America contain pitfall complexes dating to at least 10,000 years ago, with some researchers arguing for much earlier origins. Ethnographic studies of indigenous hunting peoples describe pits ranging from 1.5-metre-deep traps for deer to 3-metre pits for elephants and mammoths. The critical success factors are location (directly on an active game trail), concealment (the cover must look and smell identical to the surrounding ground), and depth (the pit must be deep enough that the target animal cannot jump or scramble out). This blueprint teaches a medium-sized pit suitable for deer-sized game.
Menengah
4-8 hours
Instruksi
1
1
Scout and Select a Game Trail
Scout and Select a Game Trail
Locate an active game trail by looking for converging animal tracks, fresh droppings, worn paths in vegetation, and rubbed bark on trees flanking the trail. The ideal location is a natural bottleneck — a narrow point where the trail passes between dense brush, steep banks, rocks, or fallen trees that funnel animals onto a single path. A trail used daily shows tracks less than 24 hours old (sharp edges, undisturbed by wind or rain). Avoid trails near water sources where multiple species converge unpredictably. The trail should be wide enough for the target animal but narrow enough that the pit covers the full width, leaving no room for the animal to step around it.
2
2
Mark the Pit Dimensions
Mark the Pit Dimensions
For deer-sized game, mark a rectangular pit approximately 2 metres long (along the direction of travel), 1 metre wide, and 2 metres deep. The length along the trail must be longer than the animal's stride — a deer's walking stride is approximately 60 to 80 cm, so a 2-metre pit ensures the animal cannot step over it. The width must be wider than the trail itself so the animal cannot sidestep. Score the outline into the ground using a sharp stick or stone tool. Remove any surface vegetation, leaf litter, and topsoil carefully and set them aside — you will need this material to camouflage the cover later.
3
3
Prepare Digging Tools
Prepare Digging Tools
A fire-hardened digging stick is the primary excavation tool — a hardwood shaft approximately 120 cm long with one end sharpened to a chisel point and hardened in a fire until the surface carbonises. A flat stone or shoulder blade bone serves as a scoop for loose soil. If available, an antler pick is extremely effective for breaking compacted earth and prying out rocks. You need at least two digging sticks (they wear down quickly in rocky soil) and one scoop.
Material untuk langkah ini:
 Hardwood Sapling2 buah
4
4
Excavate the Pit
Excavate the Pit
Dig the pit to the full marked dimensions: 2 metres long, 1 metre wide, and 2 metres deep. Begin by loosening the earth with the digging stick, working in horizontal layers of approximately 15 to 20 cm at a time. Scoop loosened soil into a hide or bark container and carry it well away from the pit — at least 20 metres downwind — to avoid creating a visible soil pile or scent alert near the trap. The pit walls must be as vertical as possible. In soft or sandy soil, angle the walls slightly inward (wider at the top, narrower at the bottom) to prevent collapse. In clay soil, vertical walls will hold. Remove all rocks and roots from the walls — any projection gives the trapped animal a foothold for climbing out.
5
5
Shape the Walls to Prevent Escape
Shape the Walls to Prevent Escape
Smooth the pit walls with the flat side of a stone, removing all bumps, roots, and ledges. The critical detail is the lip: at the top edge of the pit, undercut the rim by carving a slight overhang (approximately 5 to 8 cm) all the way around. This overhang prevents a trapped animal from getting its hooves over the edge and pulling itself out. If the soil is too soft to hold an overhang, drive short, sharpened stakes horizontally into the wall just below the rim, angled slightly downward — these serve the same purpose by deflecting the animal's hooves back into the pit.
6
6
Optionally Set Sharpened Stakes in the Pit Floor
Optionally Set Sharpened Stakes in the Pit Floor
For lethal pit traps (as opposed to capture-only pits), drive 3 to 5 fire-hardened wooden stakes vertically into the pit floor, each approximately 40 to 50 cm tall with sharpened tips pointing upward. Space the stakes approximately 30 cm apart in a staggered pattern covering the centre of the pit floor. The stakes must be sturdy enough to withstand the impact of a falling animal — use hardwood at least 5 cm in diameter, sharpened to a point and hardened by charring the tips in a fire until the surface is black and glassy. Pack the earth firmly around the base of each stake so they do not topple on impact.
Material untuk langkah ini:
Hardwood Sapling5 buah7
7
Construct the Cover Frame
Construct the Cover Frame
Lay sturdy but breakable poles across the pit opening, spanning the 1-metre width. Use green wood saplings approximately 3 to 4 cm in diameter — thick enough to support the weight of the cover debris but thin enough to snap under the weight of a deer (approximately 60 to 120 kg). Space the poles approximately 15 to 20 cm apart. The poles should rest on the ground at both edges of the pit, not on the undercut lip — when the animal steps on the centre of a pole, it must snap cleanly and drop the animal into the pit.
Material untuk langkah ini:
Hardwood Sapling6 buahTools needed:
 Flint Knife
8
8
Layer Small Branches and Brush Over the Frame
Layer Small Branches and Brush Over the Frame
Lay a dense layer of small branches, twigs, and brush over the support poles. Use material from the immediate area so it matches the surrounding vegetation in colour and texture. The layer should be thick enough to hide the poles from view (approximately 5 to 8 cm deep) but light enough not to add significant strength to the cover. Avoid using green leafy branches that will wilt and change colour within a day — dead twigs and dry brush maintain their appearance longer.
9
9
Camouflage with Natural Ground Cover
Camouflage with Natural Ground Cover
Spread the saved topsoil, leaf litter, pine needles, and ground debris over the branch layer to exactly replicate the appearance of the surrounding trail surface. The camouflage must be perfect — a deer's eyesight detects contrast and unfamiliar shapes at ground level. Scatter the same leaves, dirt, and small stones that cover the trail on both sides of the pit. Any bare soil, exposed sticks, or unnatural patterns will alert game to avoid the spot. Walk around the completed trap and compare it to the trail surface from a distance of 5 metres — if you can detect any difference, add more camouflage.
10
10
Eliminate Human Scent
Eliminate Human Scent
Deer and most large game have an acute sense of smell and will avoid any area contaminated with human scent. After completing construction, scatter crushed native plants (sage, pine needles, cedar fronds, or wild mint) over and around the trap to mask residual human odour. If possible, rub your hands and tools with the same vegetation before handling the cover materials. Avoid urinating near the trap site. Approach the trap from downwind during construction and all future checks. Wind-borne human scent can alert game from 200 metres or more.
11
11
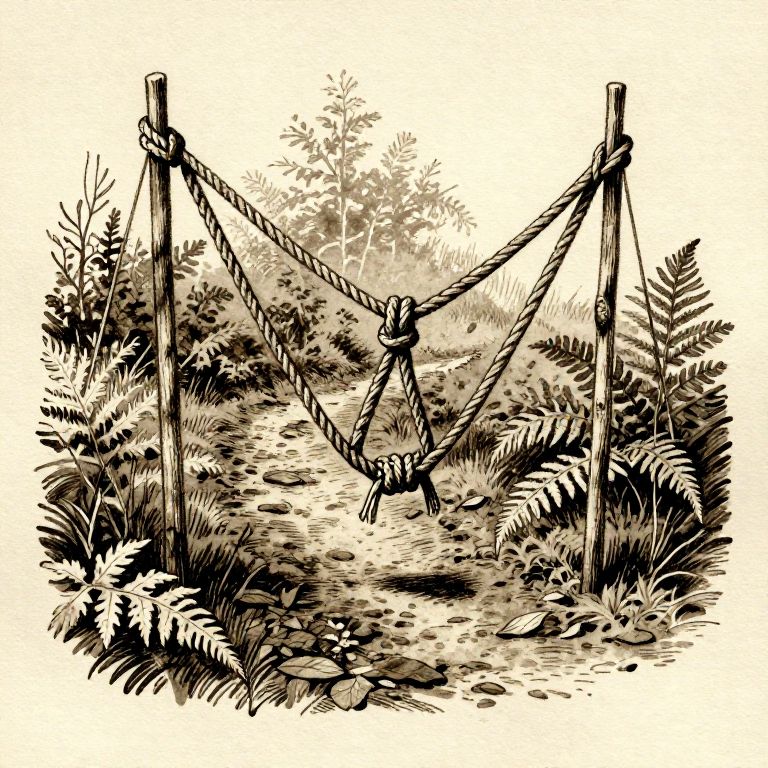
Set Guide Barriers to Funnel Game onto the Trap
Set Guide Barriers to Funnel Game onto the Trap
On both sides of the trail at the pit location, build low brush barriers extending approximately 5 to 10 metres in both directions — angling inward like a funnel that guides approaching animals directly over the concealed pit. The barriers need not be high (30 to 50 cm is sufficient for deer) — they simply need to look like natural brush piles that the animal will walk around rather than through. Use fallen branches, brush, and deadfall to construct barriers that appear as natural windfall. The barriers must not look artificial or freshly cut.
Material untuk langkah ini:
 Cordage5 metre
12
12
Check the Trap and Process the Game
Check the Trap and Process the Game
Check the trap at dawn and dusk — these are peak movement times for deer and most large game. Approach from downwind and quietly. If an animal has fallen in, dispatch it quickly and humanely using a spear thrust to the neck or chest. Remove the animal by cutting footholds into one pit wall to climb down, then haul the carcass out with a rope of twisted bark or rawhide passed around the body and pulled from above. After removing the game, repair the cover and re-camouflage the trap for reuse. A well-placed pitfall trap on an active trail can produce multiple catches per season. Always dismantle the trap when no longer needed to prevent accidental falls by people or non-target animals.
Alat yang Diperlukan
1- Placeholder
Connected Blueprint Materials
Blueprint terkait
Blueprint ini berbagi pengetahuan — teknik, bahan, atau prinsip
Related blueprints
Other builds that share materials, tools, or techniques with this one.
Setting a Simple Snare Trap on a Game Trail — Cordage Loop Huntingsurvival
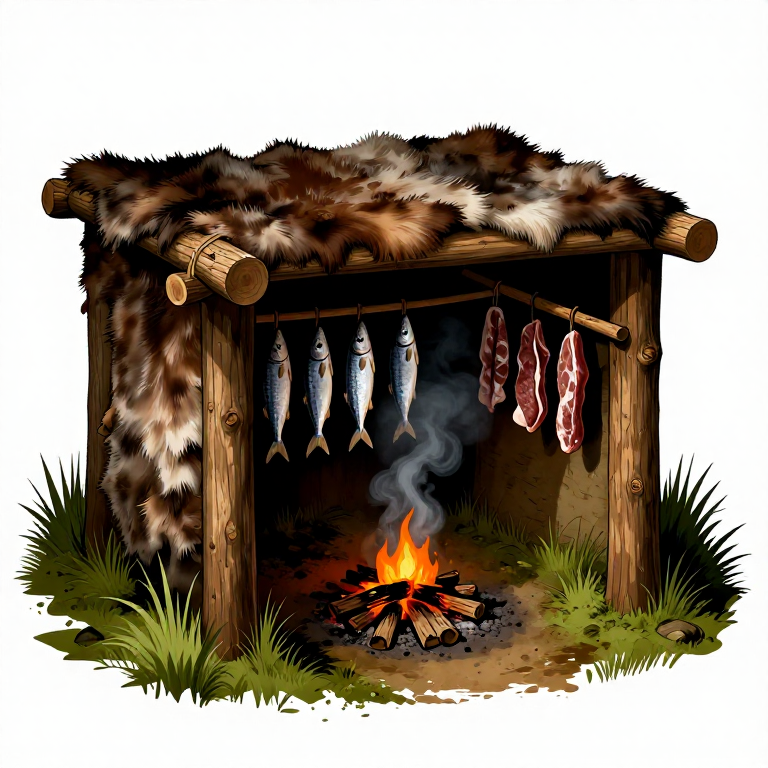
Building a Prehistoric Smokehouse — Semi-Permanent Pole Frame for Meat and Fish Preservationsurvival
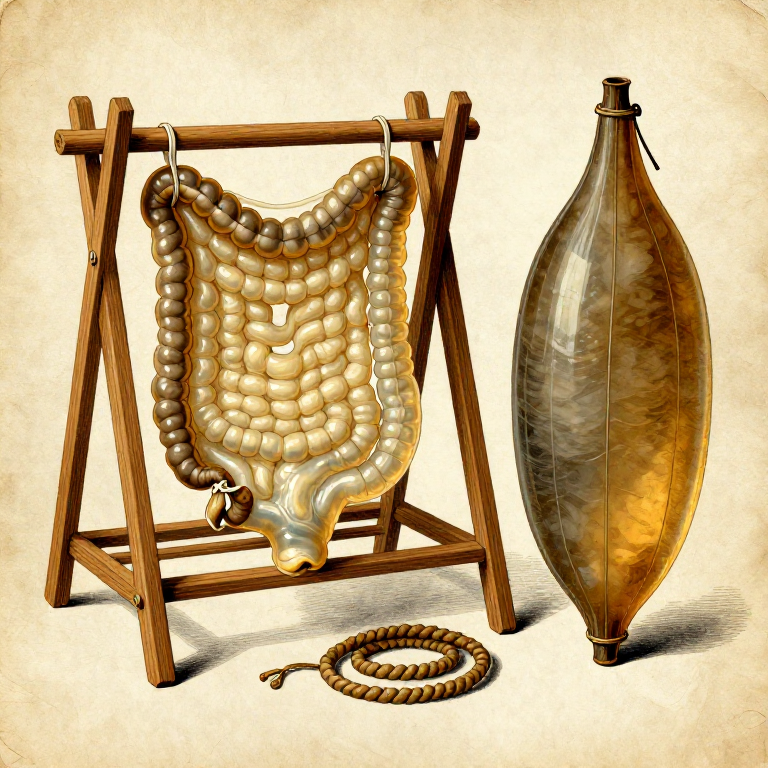
Preparing Animal Gut for Cord and Containers — Waterproof Material from Intestinessurvival
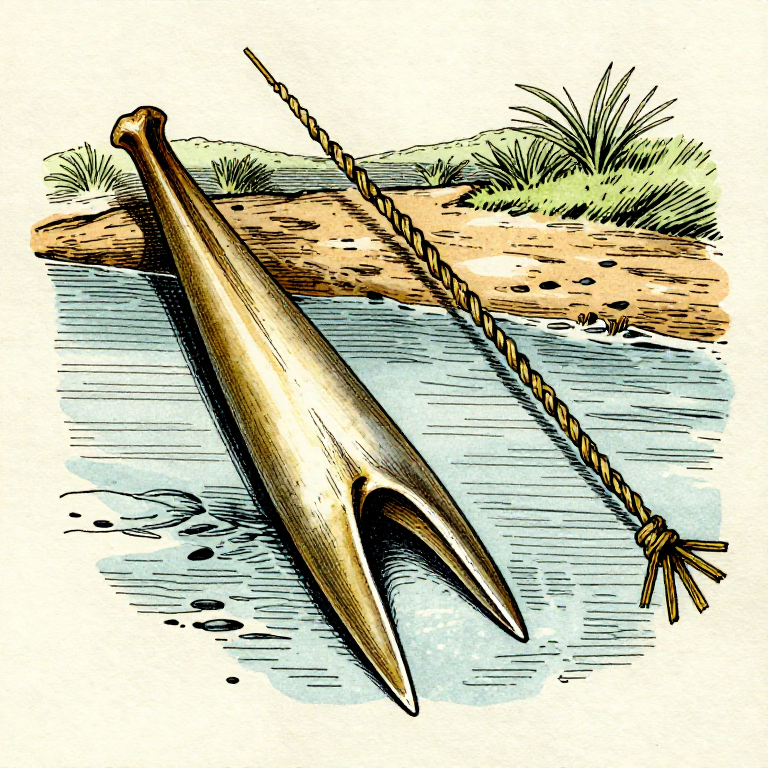
Making a Bone Fish Gorge — The Oldest Fishing Devicesurvival
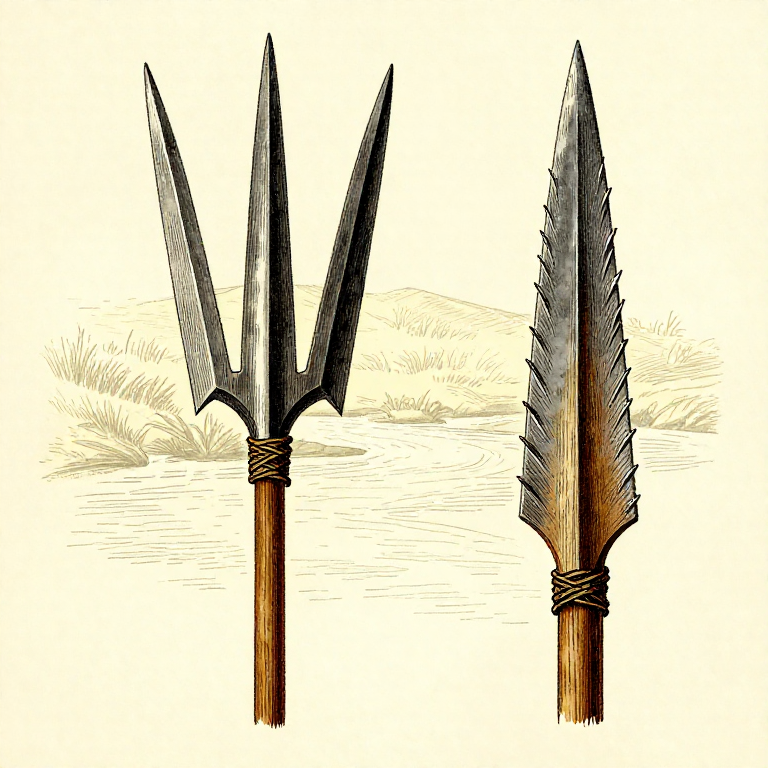
Making a Fishing Spear (Leister) — Multi-Pronged Fish Gigsurvival
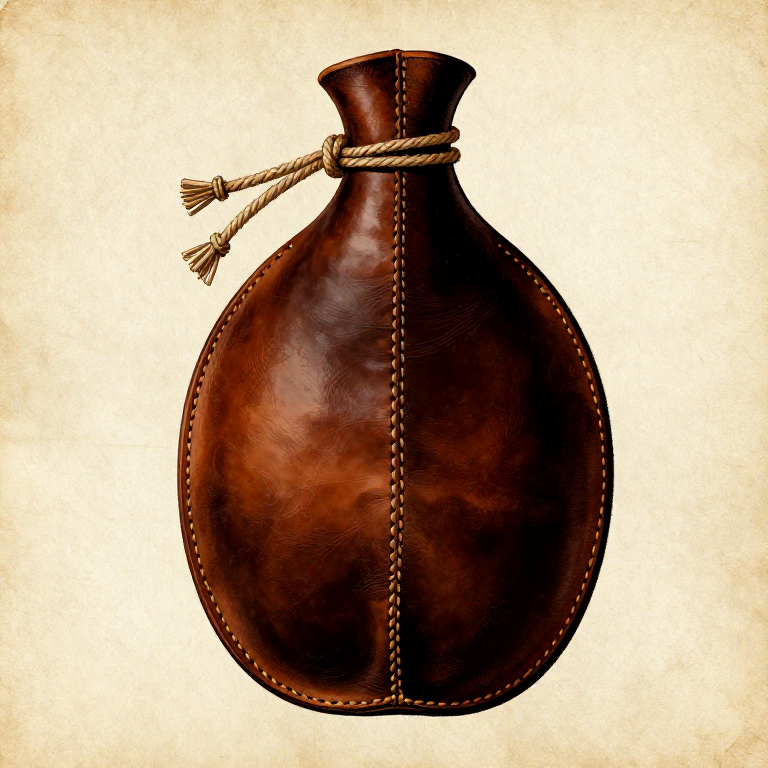
Making a Waterskin from Animal Hide — Portable Water Containersurvival
CC0 Domain Publik
Cetak biru ini dirilis di bawah CC0. Anda bebas untuk menyalin, memodifikasi, mendistribusikan, dan menggunakan karya ini untuk tujuan apa pun, termasuk komersial, tanpa meminta izin.
Dukung Maker dengan membeli produk melalui Cetak Biru mereka di mana mereka mendapatkan Komisi Pembuat yang ditetapkan oleh Penjual, atau buat iterasi baru dari Cetak Biru ini dan masukkan sebagai koneksi di milik Anda sendiri.