SENI
KECANTIKAN & KESEHATAN
KERAJINAN
BUDAYA & SEJARAH
HIBURAN
LINGKUNGAN
MAKANAN & MINUMAN
REKAYASA BALIK
ILMU PENGETAHUAN
OLAHRAGA
TEKNOLOGI
PERANGKAT PAKAI
Making Wooden Fire Tongs — Split-Stick Spring Tongs for Handling Hot Stones and Coals
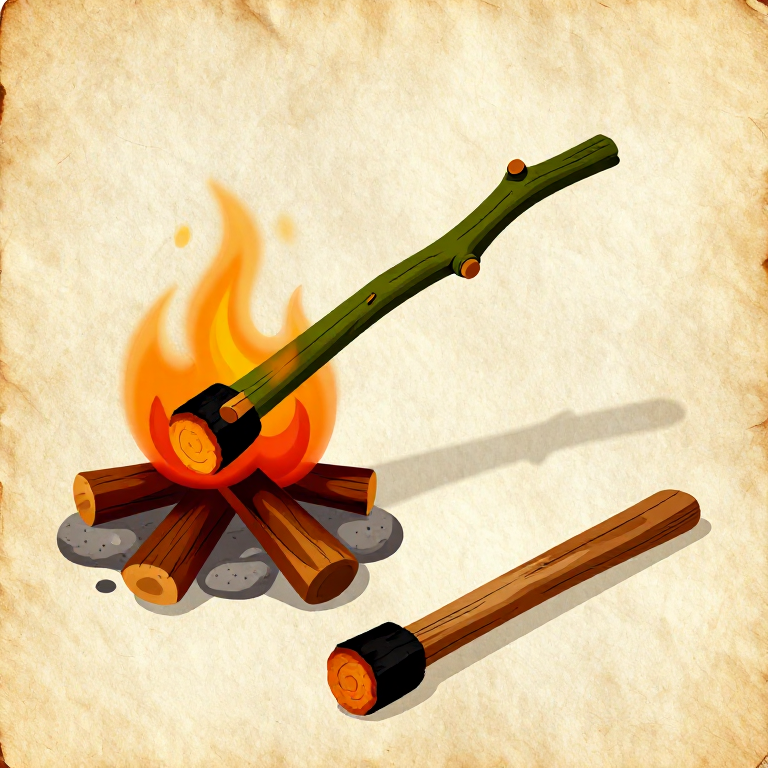
Wooden fire tongs are among the simplest yet most essential tools in the prehistoric toolkit — they enabled safe handling of heated stones for stone boiling, rearranging coals for controlled cooking, and moving embers between hearths. The design exploits the natural spring of green (live) wood: a straight hardwood stick is split partway down its length, creating two arms connected by an unsplit handle section that acts as a spring hinge. When the handle is squeezed, the split arms close together to grip objects; when released, the natural elasticity of the green wood springs the arms open again. This is the same mechanical principle as modern kitchen tongs. Archaeological evidence from fire pits across Europe and North America shows charred wooden implements consistent with tong use, though the organic material rarely survives intact. The key to durable tongs is species selection — ash, hickory, and oak provide the best combination of flexibility and heat resistance. Green wood is mandatory because seasoned wood is brittle and snaps at the hinge point.
Pemula
1-2 hours
Instruksi
1
1
Select a Green Hardwood Stick
Select a Green Hardwood Stick
Cut a straight, knot-free section of green (freshly cut, living) hardwood approximately 60 cm long and 3 to 4 cm in diameter. Ash is the best choice for its combination of flexibility and heat resistance. Hickory, oak, and birch also work well. The wood must be green — seasoned or dead wood is brittle and will snap at the split point rather than flexing.
Material untuk langkah ini:
 Hardwood Sapling1 buah
2
2
Remove the Bark
Remove the Bark
Peel the bark from the entire stick using a flint scraper or your thumbnail if the bark is loose. Removing the bark allows you to see the grain clearly, which is essential for controlling the split. It also prevents bark from charring and flaking off into food when the tongs are used near fire.
Tools needed:
 Flint Nodule
3
3
Mark the Split Length
Mark the Split Length
Measure 35 cm from one end of the stick and mark this point by scoring a ring around the circumference with a flint blade. This mark indicates where the split will stop — the remaining 25 cm of unsplit wood becomes the handle and spring hinge. The split arms should be slightly longer than the handle to provide adequate reach into a fire.
Tools needed:
Flint Nodule4
4
Start the Split with a Flint Wedge
Start the Split with a Flint Wedge
Place the tip of a flint flake or a bone wedge into the centre of the end grain at the arm end of the stick. Tap it gently with a hammerstone to start a split running along the grain. The split should divide the stick into two roughly equal halves. Apply only enough force to start the crack — the grain will guide the split naturally.
Tools needed:
Flint Nodule Hammerstone
5
5
Propagate the Split to the Mark
Propagate the Split to the Mark
Work the wedge deeper into the split, or use your hands to pull the two halves apart gently. The split should follow the grain in a straight line. If the split starts to run off-centre, apply gentle bending pressure to the thicker half to steer it back. Stop the split precisely at the score mark by wrapping a strip of rawhide or bark tightly around the stick at that point before splitting — this binding prevents the split from running past the hinge point.
Material untuk langkah ini:
 Rawhide Strips1 buah
6
6
Bind the Hinge Point
Bind the Hinge Point
Wrap 3 to 4 tight turns of wet rawhide or sinew thread around the stick at the base of the split (the hinge point). This binding reinforces the area of maximum stress and prevents the split from propagating further during use. Wet rawhide shrinks as it dries, tightening the binding. Tie off with a simple overhand knot.
Material untuk langkah ini:
 Sinew Thread1 buah
7
7
Shape the Gripping Tips
Shape the Gripping Tips
Using a flint scraper, flatten the inner faces of both arm tips over the last 5 cm. Carve a slight concavity (a shallow scoop shape) into each inner face so the arms grip round stones securely rather than pinching only at the edges. The tips should close together with full surface contact when the handle is squeezed.
Tools needed:
Flint Nodule8
8
Smooth the Handle
Smooth the Handle
Use sandstone to smooth the handle section, removing any rough bark remnants or splinters. Round the butt end of the handle so it sits comfortably in the palm. The handle must be smooth enough for a firm grip when hands are wet — rough handles cause blisters during extended stone-boiling sessions.
Tools needed:
 Sandstone
9
9
Test the Spring Action
Test the Spring Action
Squeeze the handle firmly and observe the arms closing. Release and they should spring apart to a natural opening of 8 to 10 cm at the tips. The spring should feel firm but not exhausting to squeeze repeatedly. If the arms are too stiff, carefully shave material from the outer face of each arm near the hinge to reduce resistance. If too weak, the wood species may be unsuitable.
10
10
Test with a Heated Stone
Test with a Heated Stone
Heat a fist-sized stone in a fire for 10 minutes. Grip it with the tongs and lift it clear of the fire. The tongs should hold the stone securely without slipping. The arm tips will char slightly on first contact with hot objects — this is normal and actually hardens the wood surface. If the stone slips, deepen the concavity in the gripping tips.
11
11
Char-Harden the Tips
Char-Harden the Tips
Briefly hold the gripping tips in the fire for 5 to 10 seconds until the wood surface darkens to a deep brown but does not ignite. Immediately quench by dipping in water. This light charring drives moisture from the surface fibres and creates a hardened layer that resists abrasion and heat better than raw green wood. Do not over-char — the tips should darken evenly, not blacken or crack.
12
12
Maintain the Tongs Over Time
Maintain the Tongs Over Time
Green wood tongs will dry and lose their spring over weeks of use. When the spring weakens, soak the entire tool in water overnight to rehydrate the wood fibres and restore flexibility. If the tips wear down from contact with hot stones, re-carve the gripping surfaces with a flint scraper. A well-maintained pair of fire tongs will serve for several months before the wood becomes too dry and brittle to flex safely.
Bahan
3- 1 buahPlaceholder
- 1 buahPlaceholder
- 1 buahPlaceholder
Blueprint terkait
Blueprint ini berbagi pengetahuan — teknik, bahan, atau prinsip
Related blueprints
Other builds that share materials, tools, or techniques with this one.
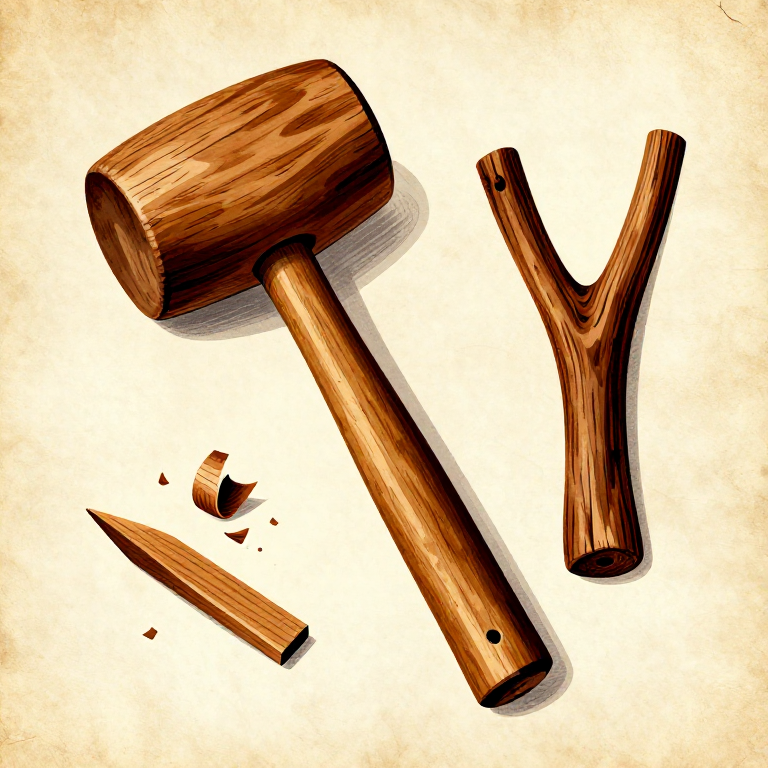
Making a Wooden Mallet — The Percussive Tool That Does Not Damagewoodworking
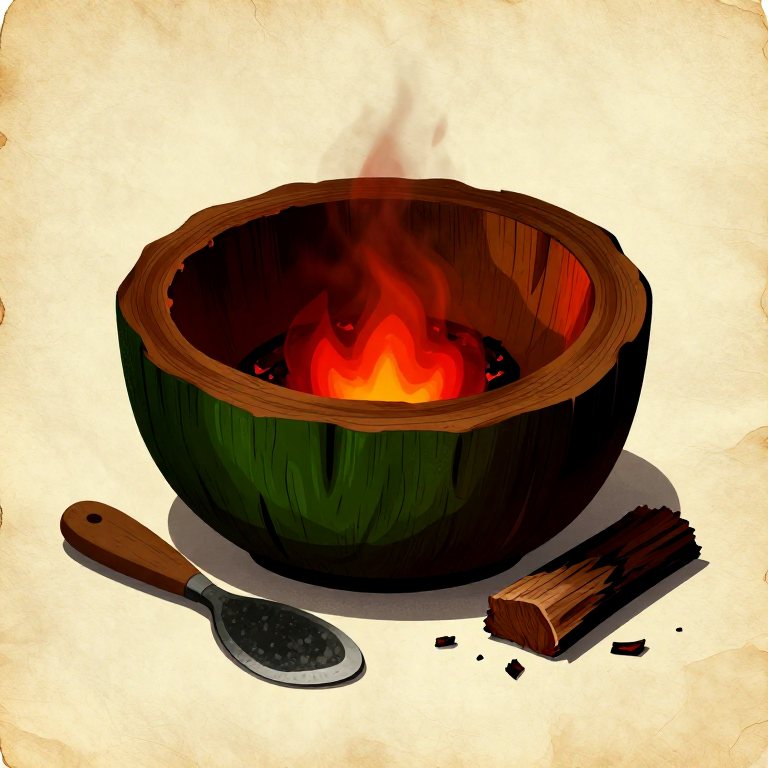
Carving a Wooden Bowl by Ember Burning — Hollowing Without Metal Toolswoodworking
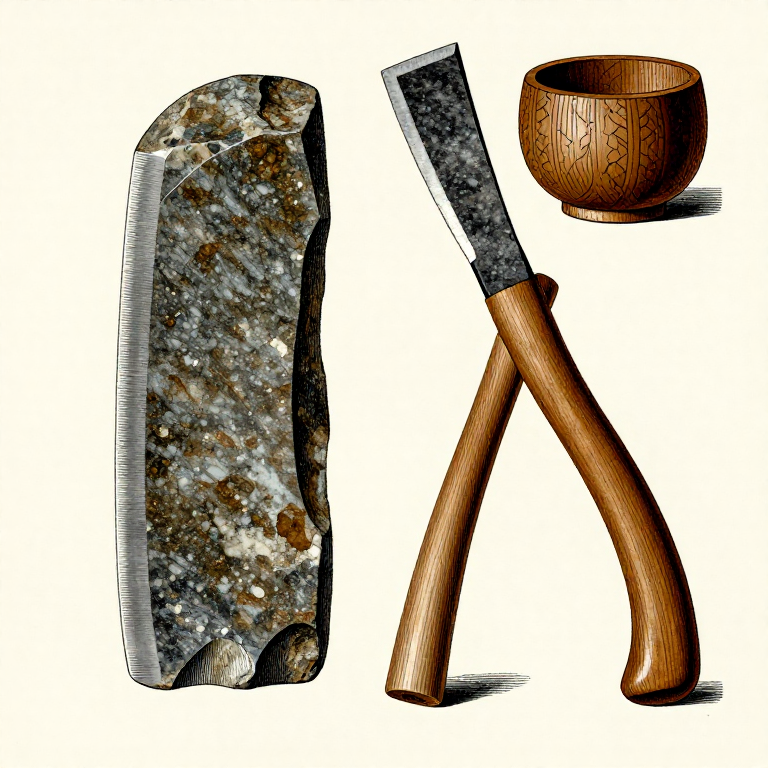
Making a Stone Adze — The Woodworking Tool That Shaped Canoes and Beamswoodworking
Making Deer Antler Coat Toggles — Tine-Section Fasteners for Duffle Coatswoodworking
Making Deer Antler Buttons — Cross-Section Slices with Sewing Holeswoodworking
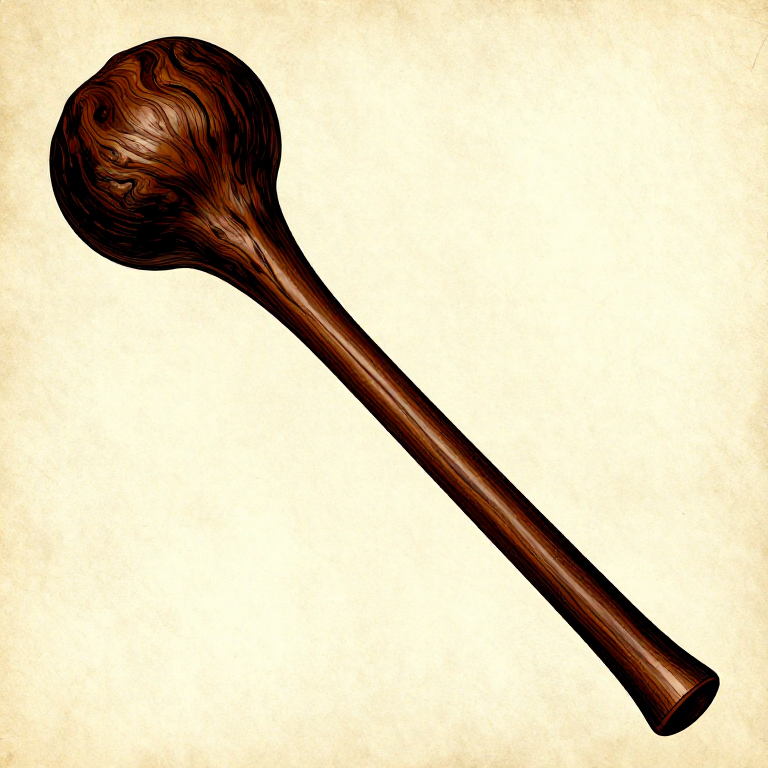
Shaping a Wooden War Club from a Dense Hardwood Root Ball — Stone Age Cudgelwoodworking
CC0 Domain Publik
Cetak biru ini dirilis di bawah CC0. Anda bebas untuk menyalin, memodifikasi, mendistribusikan, dan menggunakan karya ini untuk tujuan apa pun, termasuk komersial, tanpa meminta izin.
Dukung Maker dengan membeli produk melalui Cetak Biru mereka di mana mereka mendapatkan Komisi Pembuat yang ditetapkan oleh Penjual, atau buat iterasi baru dari Cetak Biru ini dan masukkan sebagai koneksi di milik Anda sendiri.