SENI
KECANTIKAN & KESEHATAN
KERAJINAN
BUDAYA & SEJARAH
HIBURAN
LINGKUNGAN
MAKANAN & MINUMAN
REKAYASA BALIK
ILMU PENGETAHUAN
OLAHRAGA
TEKNOLOGI
PERANGKAT PAKAI
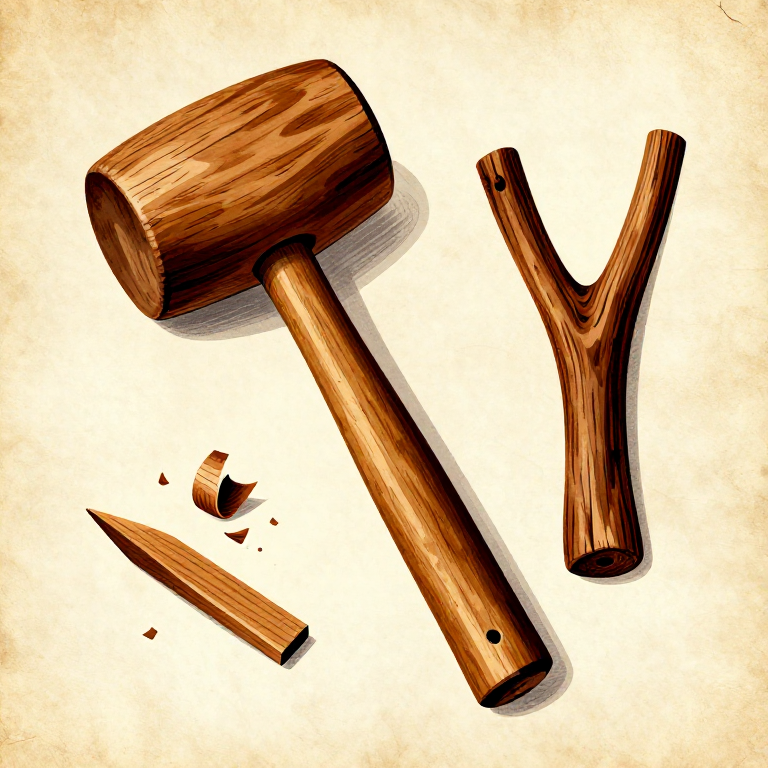
Making a Wooden Mallet — The Percussive Tool That Does Not Damage
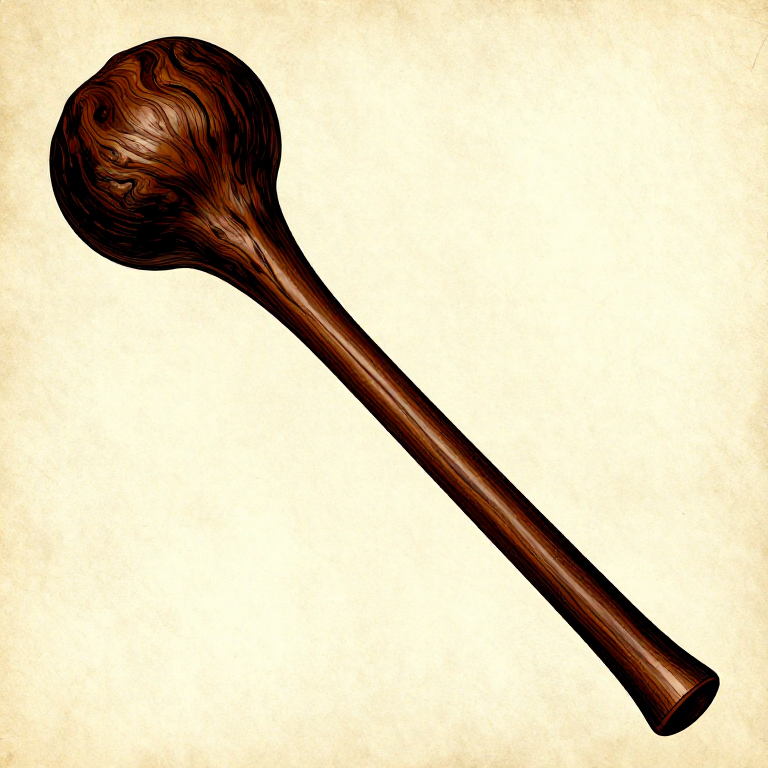
A wooden mallet is a percussive tool designed to deliver force without damaging the work surface — unlike a stone hammerstone that chips, crushes, and mars materials on impact. Wooden mallets have been used since the earliest days of woodworking for driving chisels, tapping joints together, pounding stakes, flattening bark, and assembling structures without leaving metal or stone impact marks. The mallet works because wood is softer than most tool materials and workpiece surfaces, so it absorbs and distributes impact force over a broad area. Making a mallet is one of the simplest woodworking projects: a dense hardwood burl or branch section serves as the head, and a straight hardwood handle passes through a hole in the head. This blueprint teaches both the simple one-piece carved mallet and the two-piece assembled mallet with a through-handle.
Pemula
1-2 hours
Instruksi
1
1
Select a Dense Hardwood for the Head
Select a Dense Hardwood for the Head
The mallet head needs dense, close-grained hardwood that resists splitting under repeated impact. Ideal species include elm (extremely tough and interlocked grain), beech, hard maple, hornbeam, or fruit woods like apple or pear. A section of trunk or thick branch 10 to 15 cm in diameter and 12 to 15 cm long makes an excellent head. Burls — the knotty growths on tree trunks — are even better because their chaotic grain pattern resists splitting in every direction.
Material untuk langkah ini:
 Hardwood Sapling1 buah
2
2
Cut the Head Blank to Length
Cut the Head Blank to Length
Cut the selected branch or burl section to 12 to 15 cm long using a stone axe or by scoring deeply around the circumference with a flint blade and then snapping. The end grain faces should be roughly perpendicular to the long axis. A slightly barrel-shaped head (wider in the middle, slightly narrower at the ends) distributes impact force better than a cylinder.
Tools needed:
 Hammerstone
3
3
Remove Bark and Smooth the Striking Faces
Remove Bark and Smooth the Striking Faces
Peel the bark from the head blank and smooth both end-grain faces with a sandstone slab. The striking faces should be flat and even — a rounded face concentrates force on a small point rather than distributing it broadly. Light sanding on the coarse sandstone is sufficient; the face does not need to be polished as it will develop wear patterns with use.
Tools needed:
 Sandstone (Abrasive)
4
4
Mark and Begin the Handle Hole
Mark and Begin the Handle Hole
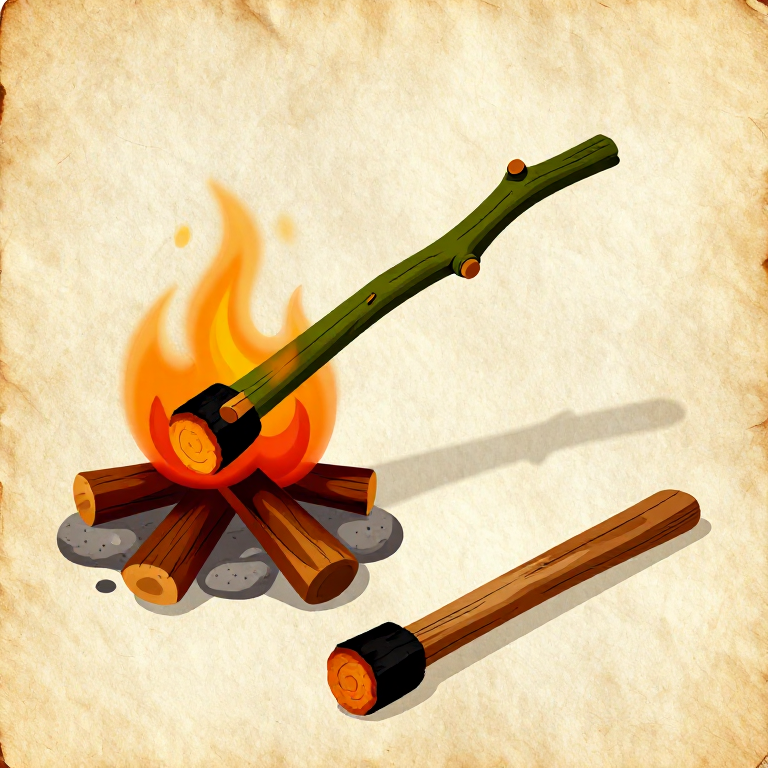
Mark the centre of the head blank on its long-grain face (the side, not the end). For a through-handle mallet, you need a hole roughly 2.5 to 3 cm in diameter passing straight through the head from one side to the other. Start the hole by pressing a hot ember or heated stone point against the mark to char the wood, creating a starter depression.
5
5
Burn and Ream the Handle Hole
Burn and Ream the Handle Hole
Alternate between burning with hot embers or a fire-hardened pointed stick and scraping out the charred wood with a bone awl or sharp stone. Work from both sides of the head, meeting in the middle, to keep the hole straight. The hole should be slightly tapered — narrower at the bottom and wider at the top — so the handle wedges tighter when driven in from below.
Tools needed:
 Bone Awl
6
6
Select and Shape the Handle
Select and Shape the Handle
Cut a straight-grained ash, hickory, or oak branch 30 to 40 cm long and 2.5 to 3 cm in diameter. Ash is the traditional choice for tool handles because it absorbs shock without transmitting it to the user's hand. Remove the bark and use a stone scraper to smooth the handle to a comfortable oval cross-section. Taper the top end slightly to fit into the head hole.
Material untuk langkah ini:
Hardwood Sapling1 buah7
7
Fit the Handle to the Head
Fit the Handle to the Head
Push the tapered end of the handle up through the bottom of the head hole until it protrudes 1 to 2 cm above the top of the head. The fit should be tight — if the handle slides in easily, it is too thin. Shave the handle end with a stone scraper, testing frequently, until it requires firm tapping with a stone to seat. The tapered hole locks the handle in place.
8
8
Wedge the Handle for a Permanent Fit
Wedge the Handle for a Permanent Fit
Score a shallow slot across the top of the protruding handle end using a flint blade. Drive a thin hardwood wedge into this slot using a stone, expanding the handle end inside the head hole. This creates a mechanical lock — the expanded top cannot pull back through the tapered hole. Trim the wedge flush with the head surface and smooth with a sandstone.
9
9
Alternative: One-Piece Carved Mallet
Alternative: One-Piece Carved Mallet
If a suitable branch fork is available — where a thick branch meets the main trunk — you can carve a one-piece mallet. The thick trunk section becomes the head and the branch becomes the handle. This is stronger than an assembled mallet because there is no joint to fail. Shape the head and handle from the single piece using a stone adze and scraper.
10
10
Season the Green Wood Mallet
Season the Green Wood Mallet
A mallet made from green wood should be allowed to dry slowly to prevent cracking. Set it in a shaded, ventilated area for 2 to 4 weeks. If cracks begin to appear on the end grain, seal the ends with melted pine pitch or animal fat. A fully dried mallet is lighter and harder than a green one, delivering more force per blow. However, a green mallet works perfectly well immediately.
11
11
Test and Maintain the Mallet
Test and Maintain the Mallet
Test the mallet by driving a wooden wedge into a log. The striking face should deliver force cleanly without the head loosening or bouncing unpredictably. If the head loosens, soak it in water for 30 minutes — the wood swells and retightens around the handle. Resurface mushroomed or splintered striking faces by scraping with a stone or re-flattening on a sandstone slab.
Connected Blueprint Materials
Blueprint terkait
Blueprint ini berbagi pengetahuan — teknik, bahan, atau prinsip
Related blueprints
Other builds that share materials, tools, or techniques with this one.
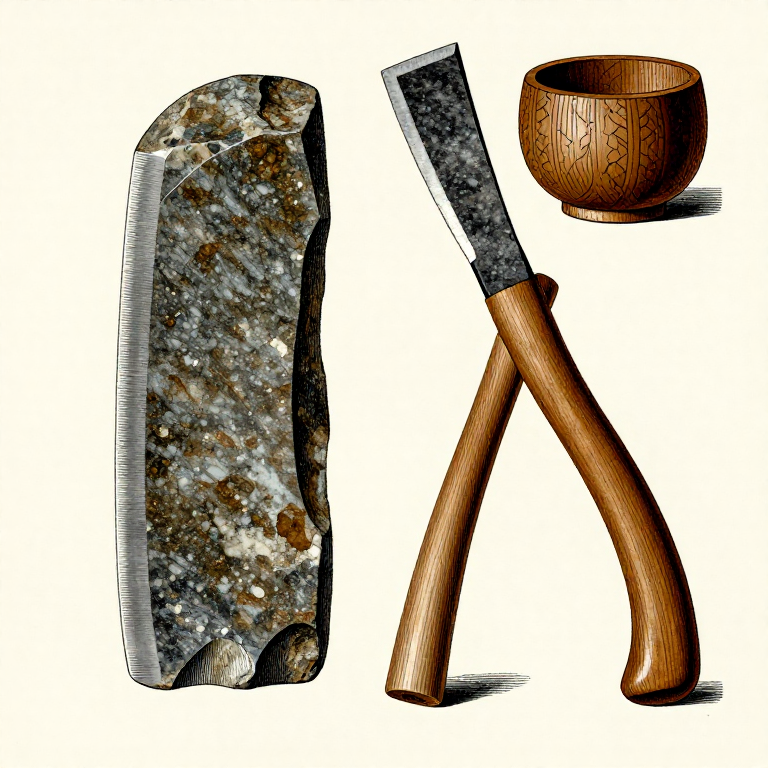
Making a Stone Adze — The Woodworking Tool That Shaped Canoes and Beamswoodworking
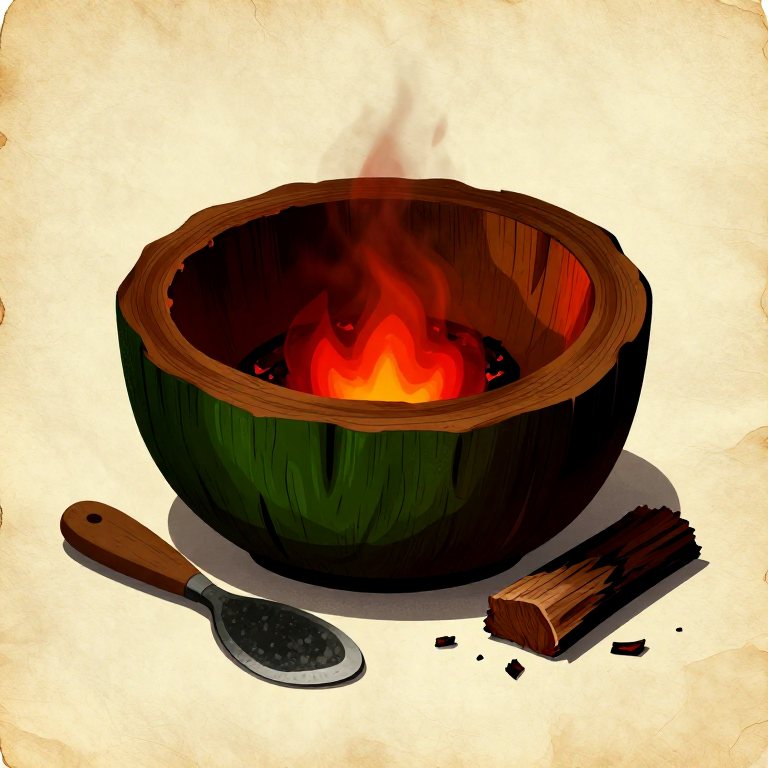
Carving a Wooden Bowl by Ember Burning — Hollowing Without Metal Toolswoodworking
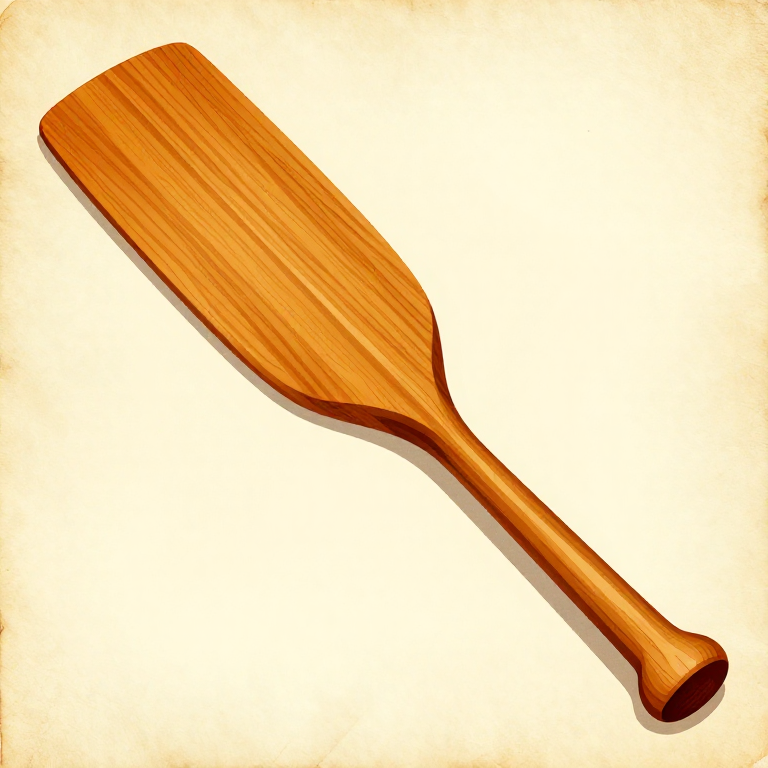
Carving a Wooden Paddle from a Single Piece of Hardwood — Prehistoric Watercraft Propulsionwoodworking
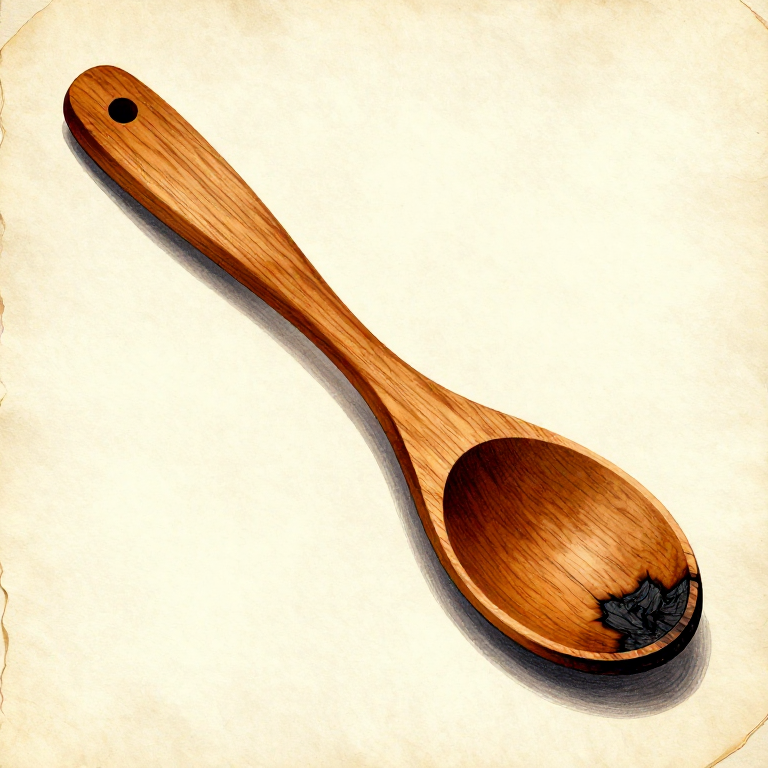
Carving a Wooden Spoon with Stone Tools and Ember Hollowing — The Universal Kitchen Toolwoodworking
Making Wooden Fire Tongs — Split-Stick Spring Tongs for Handling Hot Stones and Coalswoodworking
Shaping a Wooden War Club from a Dense Hardwood Root Ball — Stone Age Cudgelwoodworking
CC0 Domain Publik
Cetak biru ini dirilis di bawah CC0. Anda bebas untuk menyalin, memodifikasi, mendistribusikan, dan menggunakan karya ini untuk tujuan apa pun, termasuk komersial, tanpa meminta izin.
Dukung Maker dengan membeli produk melalui Cetak Biru mereka di mana mereka mendapatkan Komisi Pembuat yang ditetapkan oleh Penjual, atau buat iterasi baru dari Cetak Biru ini dan masukkan sebagai koneksi di milik Anda sendiri.