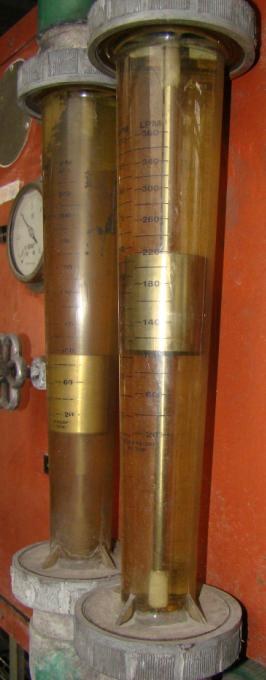


Rotameter
Instruksi
Make the tapered tube
Make the tapered tube
A vertical tube, wider at the top, and the taper is the calibration.
- Take a clear acrylic tube about 300 mm long and 25 mm bore.
- Bore or ream it to a slight taper — about 1 mm larger at the top than the bottom.
- Mount it truly vertical, checked in two planes.
- Fit inlet at the bottom and outlet at the top.
- Add stops so the float cannot escape at either end.
Vertical is not optional. The float's weight is the reference force the flow works against, and tilting the tube changes the component of gravity acting along it. A rotameter mounted even slightly off vertical reads high, and one mounted horizontally does not work at all — which is why they always appear on a plumb-vertical section of pipe.
A gentle taper gives a long scale and fine resolution over a narrow flow range; a steeper taper gives a wide range and coarse reading. That choice is the instrument's specification and it is made when the tube is cut.Material untuk langkah ini:
 Acrylic Rod1 buah
 Acrylic Sheet1 lembar
Alat yang dibutuhkan:
 Cordless Drill/Driver (20V)
 Drill Bit Set
 File Set
 Combination Square
 Digital Caliper 6-Inch
Make floats of different density and shape
Make floats of different density and shape
The float's weight sets the range; its shape decides how well it behaves.
- Turn one float from aluminium and one from brass, both to the same outside diameter.
- Give each a conical lower face so the flow centres it.
- Cut fine angled slots around the rim of one float so it spins as fluid passes.
- Weigh both and record.
The spinning is where the name comes from, and it is functional. Angled slots make the float rotate, which keeps it centred in the tube and stops it rubbing against the wall or sticking. A float that touches the glass reads erratically and wears a mark. Rotation is a bearing made of nothing.
The heavier brass float needs more flow to lift it, so the same tube covers a higher range. Swapping the float rather than the tube is how one instrument body serves several ranges — a genuinely elegant piece of product design.Material untuk langkah ini:
 Aluminum Round Bar1 buah
 Brass Round Bar1 buah
Alat yang dibutuhkan:
File Set Bench Vise
 Hacksaw Frame with Blades (10-Pack)Digital Caliper 6-Inch
 Digital Kitchen Scale
Calibrate by weighing, and mark a direct scale
Calibrate by weighing, and mark a direct scale
Because the answer is read directly, the scale must be marked in real units.
- Set a flow, let the float settle, and mark its height on a strip beside the tube.
- Collect and weigh the output over a timed interval to get the true flow.
- Label that mark with the measured flow rate.
- Repeat at eight or ten points across the range.
- Examine the spacing of your marks.
Material untuk langkah ini:
 Aluminum Flat Bar (1x1/4 inch, 36-inch)1 buah
 Graph Paper1 pad
Alat yang dibutuhkan:
 StopwatchDigital Kitchen ScaleDigital Caliper 6-Inch
 Center Punch
Break the calibration on purpose
Break the calibration on purpose
The float balances weight against drag, so anything changing either invalidates the scale.
- Calibrate with cold water and record several points.
- Repeat with hot water at the same flows and compare.
- Swap to the heavier float without changing the scale and note the error.
- Tilt the tube five degrees and read again.
Alat yang dibutuhkan:
Stopwatch Cooking Thermometer (0-200°C)Digital Kitchen ScaleCombination Square
Reading versus computing, and history
Reading versus computing, and history
Karl Küppers patented the variable-area flow meter in 1908 in Aachen, and Felix Meyer commercialised it — the firm Rota gave the instrument its common name. It spread because it needs no power, no secondary instrument and no computation, which in a plant full of pipes is worth a great deal.
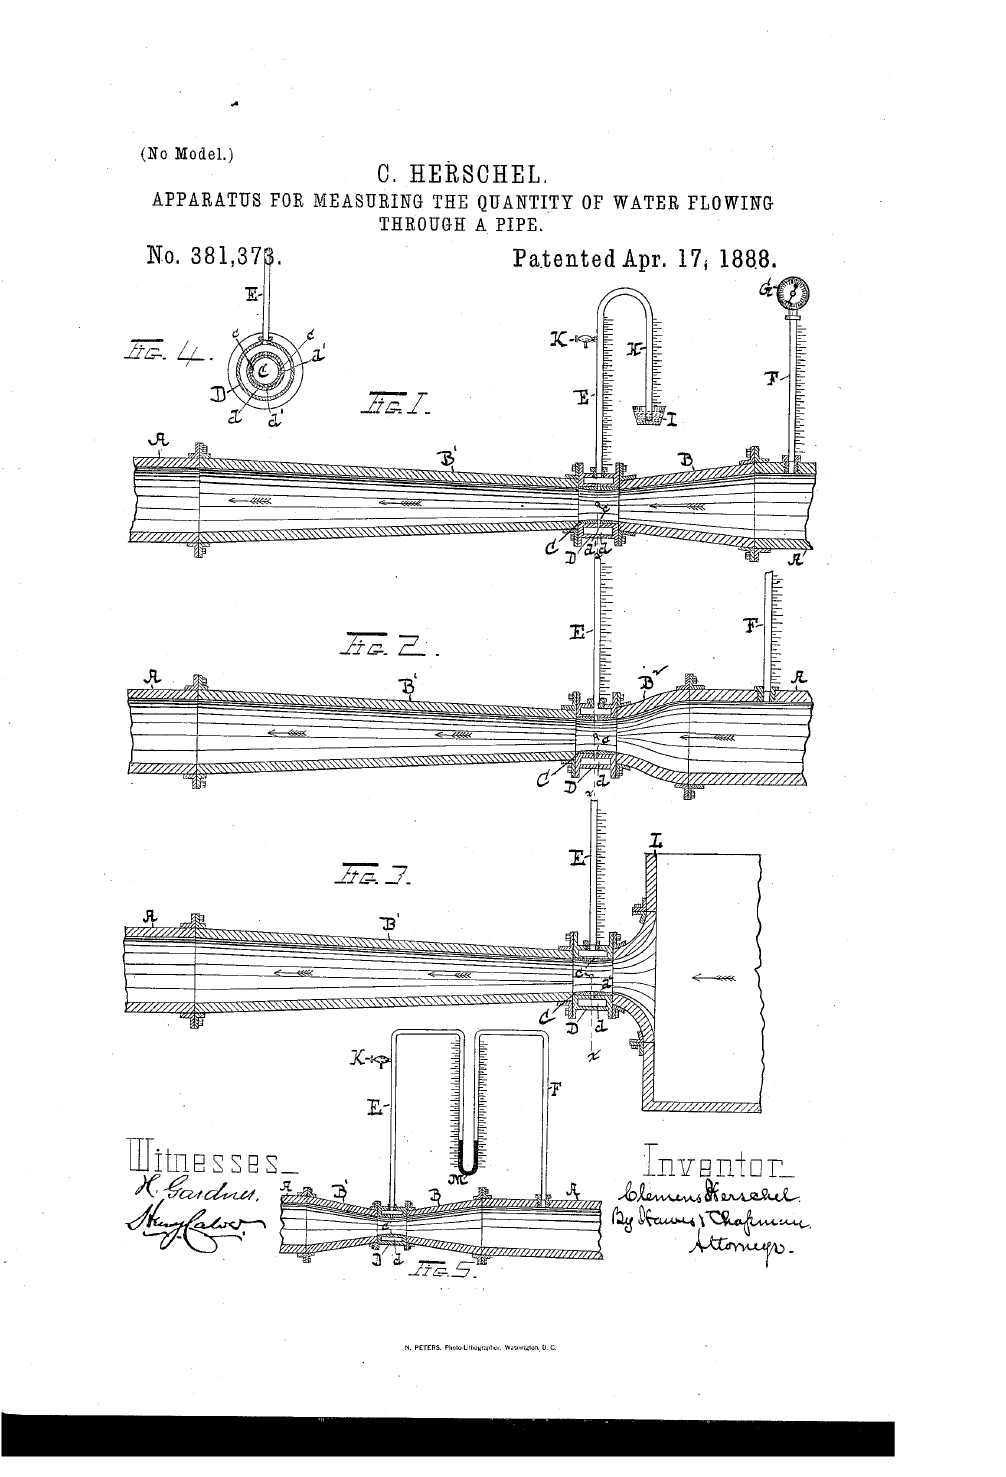
The three flow meters in this catalogue answer the same question three ways. The Venturi and the orifice plate both hold the AREA fixed and let the pressure drop vary with flow — so they produce a differential that must be square-rooted to become a reading. The rotameter holds the pressure drop across the float essentially CONSTANT and lets the area vary instead. That inversion is why its scale is linear and readable, and it is a genuinely different idea rather than a refinement of the other two.
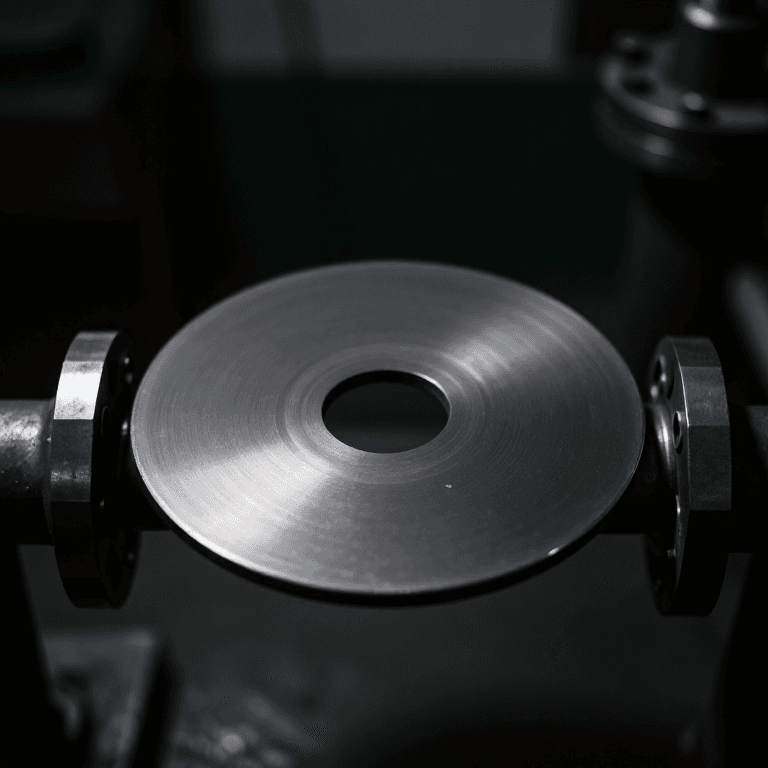
Where each belongs: orifice plate for cheap, standardised, high-volume metering where a control system will do the arithmetic. Venturi for large continuous lines where pumping energy matters. Rotameter for local indication where a human needs to see the flow — laboratory gas lines, medical oxygen, chemical dosing. The rotameter is the one you fit when the reader is a person rather than a computer.
Its honest limits: vertical mounting only; calibration tied to one fluid at one density; the tube must be transparent, so it is unsuited to very high pressures or opaque service; and it cannot easily produce an electrical output for a control loop without added parts. For local reading it is close to perfect and for remote control it is the wrong choice.
Bahan
6- 1 buahPlaceholder
- 1 lembarPlaceholder
- Placeholder
- 1 buahPlaceholder
- Placeholder
- 1 padPlaceholder
Alat yang Diperlukan
11- Placeholder
- Placeholder
- Placeholder
- Placeholder
- Placeholder
- Placeholder
- Placeholder
- Placeholder
- Placeholder
- Placeholder
- Placeholder
Blueprint terkait
Blueprint ini berbagi pengetahuan — teknik, bahan, atau prinsip

CC0 Domain Publik
Cetak biru ini dirilis di bawah CC0. Anda bebas untuk menyalin, memodifikasi, mendistribusikan, dan menggunakan karya ini untuk tujuan apa pun, termasuk komersial, tanpa meminta izin.
Dukung Maker dengan membeli produk melalui Cetak Biru mereka di mana mereka mendapatkan Komisi Pembuat yang ditetapkan oleh Penjual, atau buat iterasi baru dari Cetak Biru ini dan masukkan sebagai koneksi di milik Anda sendiri.