SENI
KECANTIKAN & KESEHATAN
KERAJINAN
BUDAYA & SEJARAH
HIBURAN
LINGKUNGAN
MAKANAN & MINUMAN
REKAYASA BALIK
ILMU PENGETAHUAN
OLAHRAGA
TEKNOLOGI
PERANGKAT PAKAI
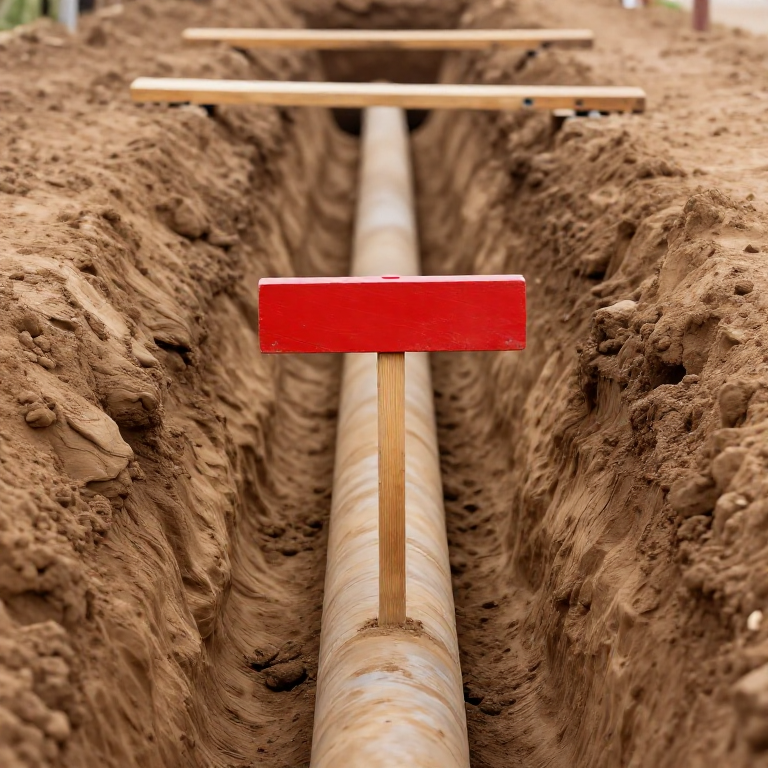


Setting a Gradient: Drainage Falls and the Boning Rod
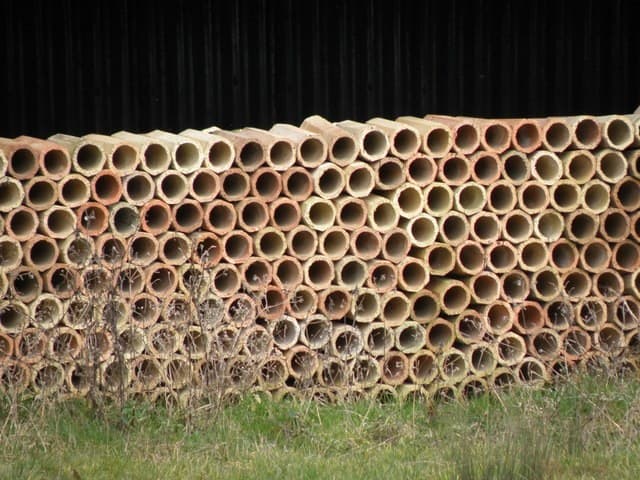
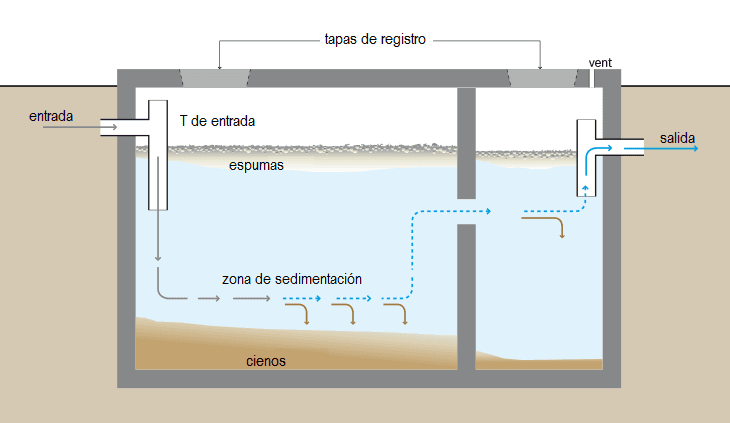
The drainage tile, the septic tank and the constructed wetland already published here all share a requirement none of them explains: the pipe must fall at a specific, constant gradient, and both too little and too MUCH will stop it working.
Too little and solids settle. Too much and the water runs away and leaves the solids behind — which surprises people, and is why a steep drain blocks as reliably as a flat one. The traditional figures, one in forty for a small foul drain and one in eighty for a larger one, are not arbitrary: they are the range where the flow stays fast enough to scour and slow enough to carry.
Boning rods are how that gradient gets built without an instrument in the trench. Three T-shaped rods, two set on the known ends and one carried along, and your own eye does the interpolation.
Menengah
1 day
Instruksi
1
1
Fix the two ends before anything else
Fix the two ends before anything else
Establish the invert level — the inside bottom of the pipe — at the start and at the outfall, using the levelling method from earlier in this batch.
The outfall is usually fixed by something you do not control: an existing manhole, a ditch, a soakaway. Level it FIRST and work backwards, because discovering at the end of the trench that you needed 300 millimetres you have not got is the failure this whole rung exists to prevent.
Material untuk langkah ini:
 Pasak kayu6 buah
Alat yang dibutuhkan:
 Waterpas optik (survei)
 Rambu ukur
2
2
Choose the gradient, and check it against both limits
Choose the gradient, and check it against both limits
Work out the fall available over the run, and compare it with what the pipe needs. For a 100 mm foul drain, 1 in 40 is the usual figure; for 150 mm, 1 in 60 to 1 in 80.
Check BOTH ends of the range. A gradient far steeper than needed is a real fault, not a safety margin, and where the ground falls faster than the pipe should, the answer is a steep section plus a manhole or a backdrop — not a uniformly steep pipe.
3
3
Make a set of boning rods
Make a set of boning rods
Make three identical T-shaped rods — a vertical leg with a horizontal crosspiece — all exactly the same length, with the crosspieces painted a colour that stands out against soil.
Identical is the whole trick, and the only tolerance that matters is between the three: cut them together and check them against each other, not against a tape. If they differ by 10 millimetres, your trench is wrong by 10 millimetres everywhere, and nothing in the method will tell you.
Material untuk langkah ini:
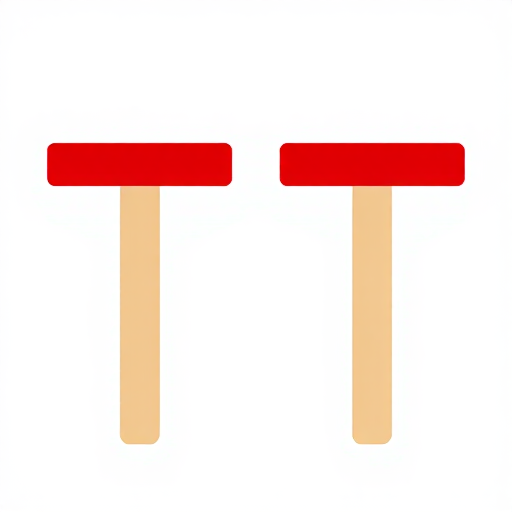 Tongkat bidik kemiringan3 buah
 Balok kayu Douglas fir2 length
Alat yang dibutuhkan:
 Gergaji Tangan
 Meteran Gulung
4
4
Set sight rails at each end and bone between them
Set sight rails at each end and bone between them
Set a sight rail at each end of the run, each one exactly one boning-rod height above the intended invert at that point. The line joining the two rail tops is then parallel to the pipe, one rod height up.
Stand behind one rail and sight across both. Anyone in the trench holds the third rod on the formation: when its crosspiece lines up exactly with the two rails, the trench is at the right depth. Your eye is doing linear interpolation over thirty metres, to a few millimetres, with no instrument.
Material untuk langkah ini:
Balok kayu Douglas fir4 length Paku lapis seng20 buah
Alat yang dibutuhkan:
Gergaji Tangan Palu cakarWaterpas optik (survei)
5
5
Lay to the invert, not to the top of the pipe
Lay to the invert, not to the top of the pipe
Bed each pipe so that the INSIDE BOTTOM sits on the line, and check every single one before backfilling.
Pipes vary in wall thickness, so laying to the top of the barrel puts a step in the invert at each joint — and a step is where solids catch. Support the barrel along its length, never on the collars, and never pack it up on a stone: a pipe bearing on two hard points cracks under backfill.
Alat yang dibutuhkan:
Tongkat bidik kemiringan Waterpas
6
6
Why too steep blocks a drain
Why too steep blocks a drain
Memuat notebook Jupyter…
7
7
Prove it with water before you backfill
Prove it with water before you backfill
Run a bucket of water down the finished pipe and watch it at the outfall. It should arrive promptly and completely, leaving nothing standing.
Water is the only test that matters, it costs a bucket, and it is available exactly once — after backfilling, finding a reverse fall means digging the whole run out again. Put a spirit level in the trench along the pipe as a second check: at 1 in 40 the bubble should sit visibly but only slightly off centre, and a bubble that looks central means the fall is not there.
Alat yang dibutuhkan:
WaterpasBahan
4- 6 buahPlaceholder
- 3 buahPlaceholder
- 4 lengthPlaceholder
- 20 buahPlaceholder
Alat yang Diperlukan
7- Placeholder
- Placeholder
- Placeholder
- 1 vendor sell this, none ship to you yetPlaceholder
- Placeholder
- Placeholder
- Placeholder
Blueprint terkait
Blueprint ini berbagi pengetahuan — teknik, bahan, atau prinsip
CC0 Domain Publik
Cetak biru ini dirilis di bawah CC0. Anda bebas untuk menyalin, memodifikasi, mendistribusikan, dan menggunakan karya ini untuk tujuan apa pun, termasuk komersial, tanpa meminta izin.
Dukung Maker dengan membeli produk melalui Cetak Biru mereka di mana mereka mendapatkan Komisi Pembuat yang ditetapkan oleh Penjual, atau buat iterasi baru dari Cetak Biru ini dan masukkan sebagai koneksi di milik Anda sendiri.