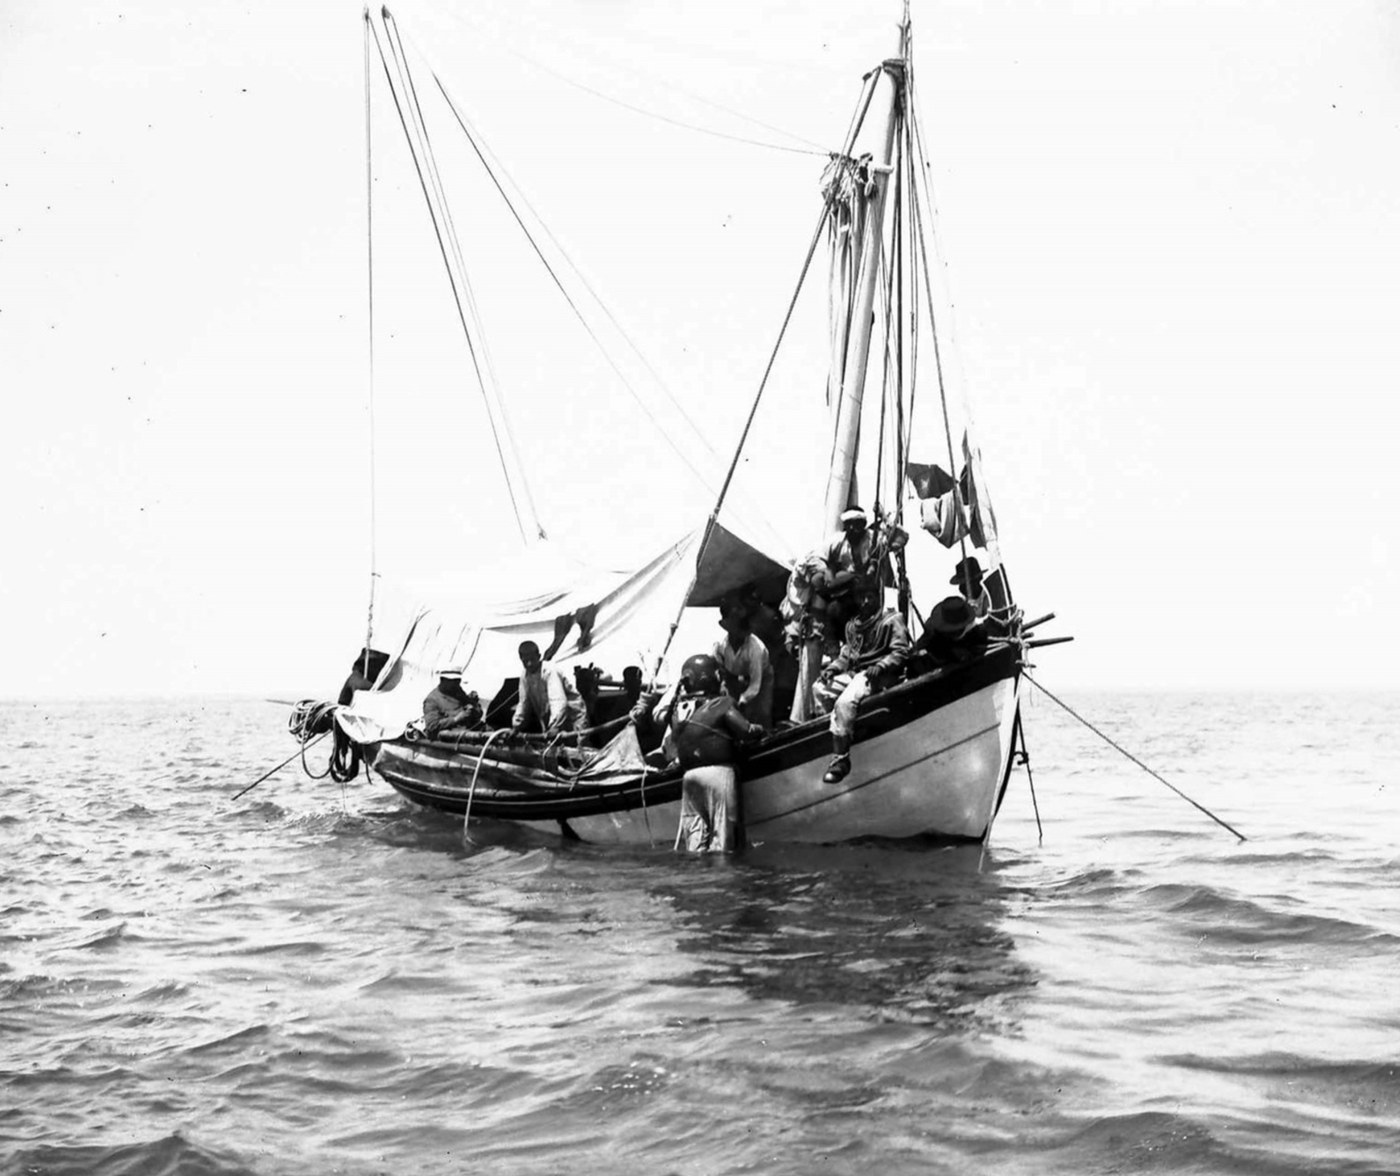


The Siebe Closed Diving Helmet
Instruksi
Start from the diving bell
Start from the diving bell
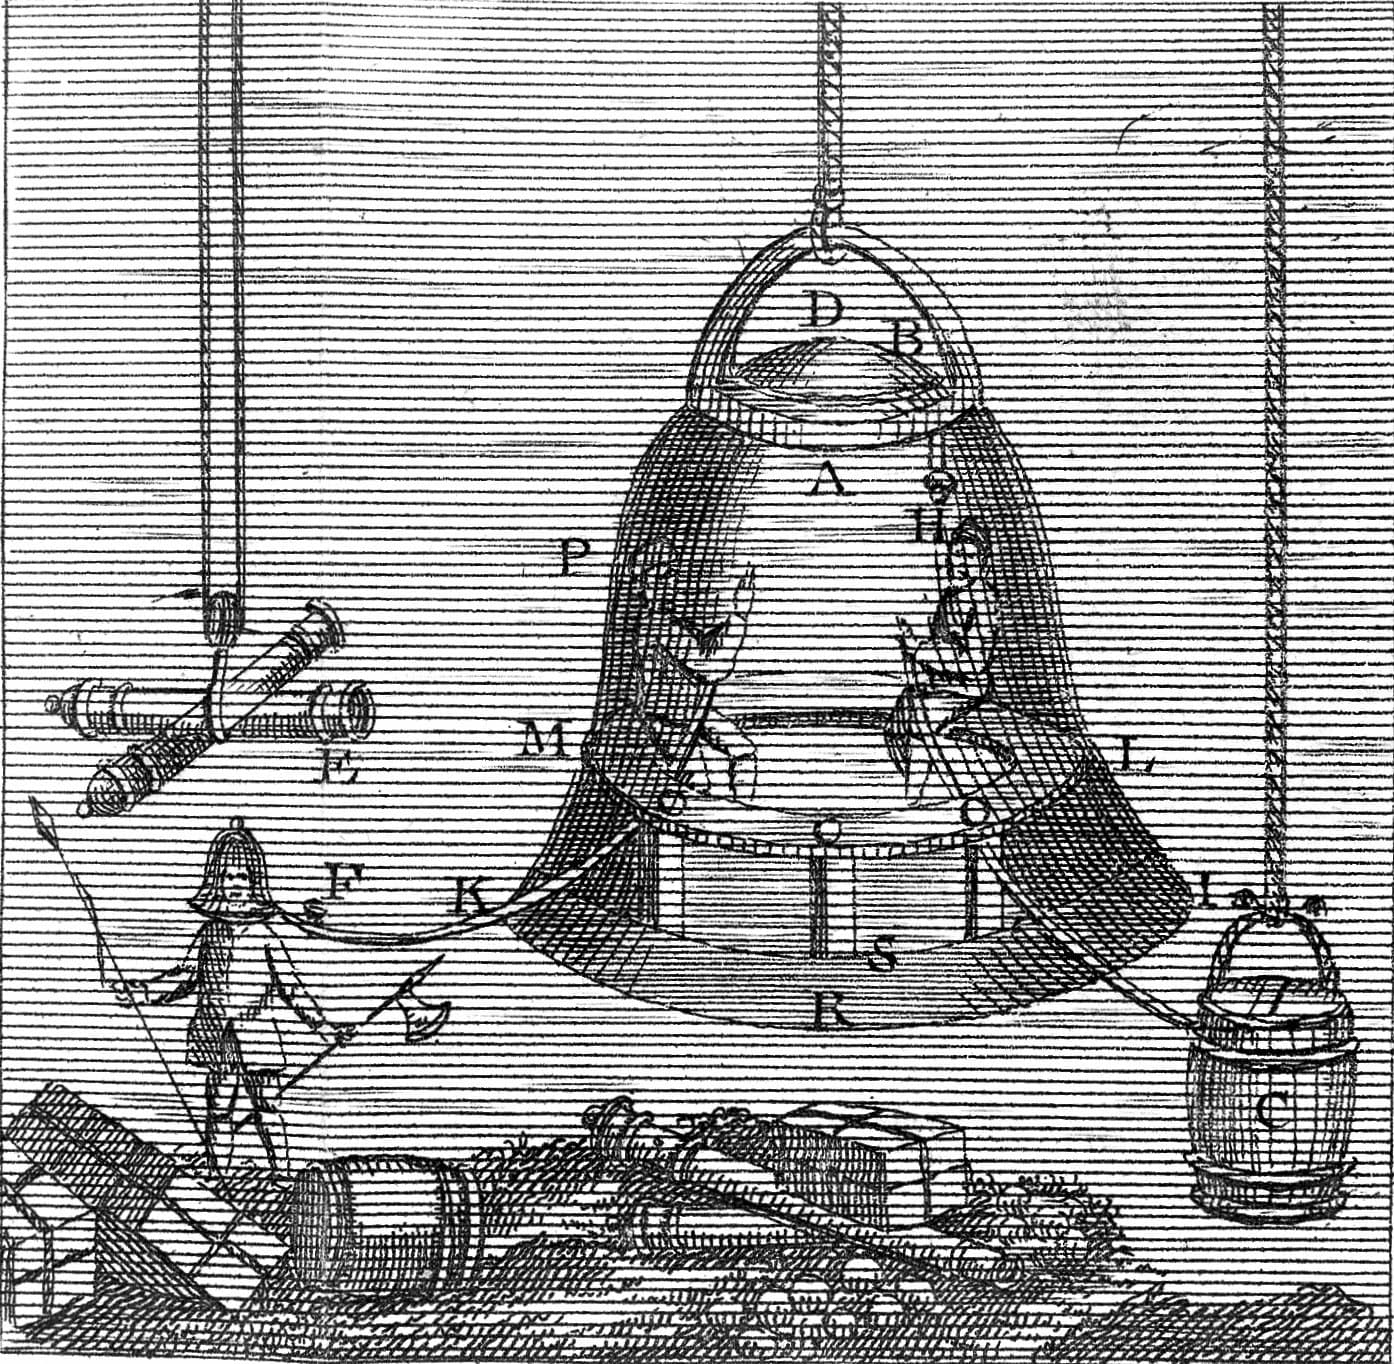
Build or read the diving bell first. It is the same problem — keep breathable air around a person underwater — solved with no moving parts at all, and everything the helmet adds is a response to a specific limitation of the bell.
Note as you go what the bell CANNOT do: the diver cannot leave it, the air is never renewed, and the trapped volume shrinks as depth increases. Each of those is fixed by a different feature of the helmet.
Model the pressure gradient and your air budget
Model the pressure gradient and your air budget
Alat yang dibutuhkan:
 Komputer Desktop
 Pengukur Tekanan
Raise and planish the copper helmet bowl
Raise and planish the copper helmet bowl
The helmet is a pressure vessel you wear, and its shape is chosen for strength.
- Cut a copper disc and raise it into a dome by hammering over a stake, working from the centre outward in concentric courses.
- Anneal frequently — copper work-hardens fast and will split if you push it cold.
- Planish over a smooth stake to even the surface and stiffen it.
- Form a second dome and join them into a helmet with a neck opening and viewport apertures.
A dome carries external pressure in pure compression with no bending anywhere, which is why it is far stronger than a flat plate of the same thickness. Press on a flat sheet and then on a domed one and the difference is immediate.
Reverse-engineering note: originals were tinned copper with brass fittings, chosen for corrosion rather than strength — copper and brass survive seawater where steel does not, and copper is antifouling into the bargain. The 12-bolt corselet clamps the suit’s rubberised collar between two flanges, a gasket design that has not needed improving in 180 years.Material untuk langkah ini:
 Lembaran Tembaga2 lembar
 Lembaran Kuningan1 lembar
 Propana1 canister
Alat yang dibutuhkan:
 Obor Propana
 Ragum Meja
 Set Kikir
 Jangka Sorong Digital 6 Inci
 Termometer Inframerah
 Pelindung Wajah
The squeeze failure chain, and the one part that breaks it
The squeeze failure chain, and the one part that breaks it
Fit a flap or ball check valve at the air inlet, oriented to allow flow IN only. Pressurise through it, confirm free flow, then release the supply suddenly and watch the valve slam.
Trace the two paths above. Without the valve, a supply failure lets pressurised helmet air escape back up the hose, and the water outside then squeezes the flexible suit — forcing the diver’s body up into the rigid helmet. With it, the reverse flow itself closes the flap.
One moving part, no power, no operator action, defending against the single failure most likely to kill. Test the failure on a sealed water-filled model, never with a person.
This is the family the catalogue keeps meeting — the leading-edge slat, the over-centre gear lock, the radar TR cell, the oil breaker. Actuated by the very event it protects against, so nothing separate can fail and nothing must be remembered.Flow
Material untuk langkah ini:
 Katup searah kuningan2 buah
 Set Aneka Cincin O1 kit
Alat yang dibutuhkan:
 Kompresor udara 30 galonPengukur Tekanan
 Ponsel Pintar dengan Video Gerak Lambat
 Kacamata Pengaman Bening
Balance supply against exhaust, and find the blow-up runaway
Balance supply against exhaust, and find the blow-up runaway
Air must leave as fast as it arrives, and the diver controls buoyancy with that balance.
- Fit an adjustable spring-loaded exhaust valve.
- Feed air steadily and adjust the spring until internal pressure sits just above the surrounding water pressure.
- Tighten the exhaust and watch the suit inflate; loosen it and watch it deflate.
The diver is adjusting his own displacement. Combined with weighted boots and a lead belt, that gives fine control of whether he rises, sinks or stands.
It also introduces blow-up. If a diver becomes too buoyant and starts rising, surrounding pressure falls, so the trapped air expands, so he becomes MORE buoyant. A runaway ending in an uncontrolled ascent — which is how divers get bent or embolised, and exactly the subject of the next blueprint.
Note the structural similarity to the solid-motor pressure exponent in the rocketry batch: a loop where the correction makes the disturbance worse. Recognising that shape is worth more than memorising either instance.Material untuk langkah ini:
Katup searah kuningan1 buah Aneka pegas tekan1 set
 Batangan timbal 99,9 %, 450 g1 ingot
Alat yang dibutuhkan:
Kompresor udara 30 galonPengukur Tekanan Timbangan Digital
 Neraca PegasKacamata Pengaman Bening
Bahan
7- 2 lembarPlaceholder
- 1 lembarPlaceholder
- 1 canisterPlaceholder
- 3 buahPlaceholder
- 1 kitPlaceholder
- 1 setPlaceholder
- Placeholder
Alat yang Diperlukan
13- Placeholder
- Placeholder
- Placeholder
- Placeholder
- Placeholder
- Placeholder
- Placeholder
- Placeholder
- Placeholder
- Placeholder
- Placeholder
- Placeholder
- Placeholder
Blueprint terkait
Blueprint ini berbagi pengetahuan — teknik, bahan, atau prinsip


CC0 Domain Publik
Cetak biru ini dirilis di bawah CC0. Anda bebas untuk menyalin, memodifikasi, mendistribusikan, dan menggunakan karya ini untuk tujuan apa pun, termasuk komersial, tanpa meminta izin.
Dukung Maker dengan membeli produk melalui Cetak Biru mereka di mana mereka mendapatkan Komisi Pembuat yang ditetapkan oleh Penjual, atau buat iterasi baru dari Cetak Biru ini dan masukkan sebagai koneksi di milik Anda sendiri.