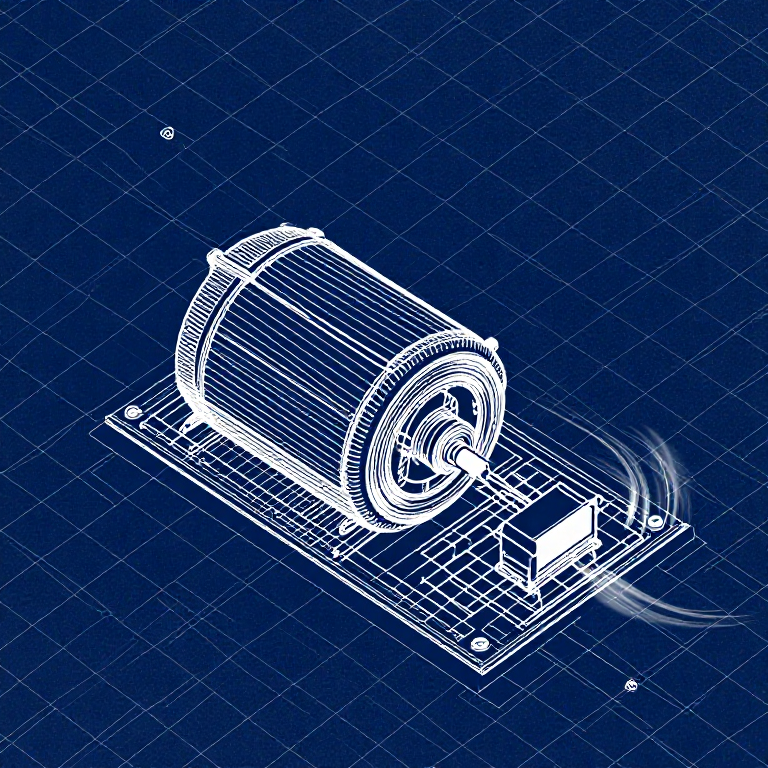


Driving a Motor — SIK Circuit 12
Instruksi
Parts & Introduction
Parts & Introduction
DC motors draw too much current for an Arduino pin to drive directly. A transistor acts as an electronic switch — a small signal from the Arduino controls a larger current flowing through the motor. The flyback diode protects against voltage spikes when the motor turns off.
Parts Needed
- 1x Arduino Uno + USB cable
- 1x Breadboard
- 1x DC Motor
- 1x NPN Transistor (P2N2222A)
- 1x Diode (1N4148)
- 1x 330Ω Resistor
- 6x Jumper Wires
Material untuk langkah ini:
 SparkFun Inventor's Kit - V3.21 kit
Alat yang dibutuhkan:
 Komputer dengan Arduino IDE
Hardware Hookup
Hardware Hookup
Wiring Instructions
Transistor pinout (flat side facing you, pins down): Collector, Base, Emitter (left to right).
- Place the transistor in the breadboard.
- Connect Base (middle pin) through a 330Ω resistor to Arduino Digital Pin 9.
- Connect Emitter (right pin) to GND.
- Connect Collector (left pin) to the motor's black wire.
- Connect the motor's red wire to 5V.
- Flyback Diode: Connect the banded end (cathode) to 5V, the other end (anode) to the motor's black wire.
Material untuk langkah ini:
 Motor DC bergigi1 buah
 Papan Rangkai1 buah
 Kabel Jumper6 buah
Arduino Code
Arduino Code
Open the Arduino IDE and upload the following sketch to your Arduino board.
Material untuk langkah ini:
 Arduino Uno R31 buah
Alat yang dibutuhkan:
Komputer dengan Arduino IDETest & Experiment
Test & Experiment
What You Should See
The default serialSpeed() function lets you type speed values (0-255) into the Serial Monitor to control motor speed in real time.
Troubleshooting
- Motor not spinning: If you sourced your own transistor, double-check the pinout — many NPN transistors have reversed pin orders compared to the P2N2222A.
- Motor won't start at low values: Below ~50, the motor doesn't have enough torque to overcome friction. This is normal.
- Connection issues: Try unplugging and re-plugging the USB cable.
Experiments to Try
- Uncomment
motorAcceleration()to see smooth speed ramping. - Add a potentiometer to control speed with a knob instead of serial input.
- Add a button for on/off control.
Bahan
8- SparkFun Inventor's Kit - V3.2komisi 10%1 kit$104.30
- Placeholder
- Placeholder
- Placeholder
- Placeholder
- 1 buahPlaceholder
- 1 buahPlaceholder
- 1 buahPlaceholder
Alat yang Diperlukan
1- Placeholder
CC0 Domain Publik
Cetak biru ini dirilis di bawah CC0. Anda bebas untuk menyalin, memodifikasi, mendistribusikan, dan menggunakan karya ini untuk tujuan apa pun, termasuk komersial, tanpa meminta izin.
Dukung Maker dengan membeli produk melalui Cetak Biru mereka di mana mereka mendapatkan Komisi Pembuat yang ditetapkan oleh Penjual, atau buat iterasi baru dari Cetak Biru ini dan masukkan sebagai koneksi di milik Anda sendiri.