
Using an LCD — SIK Circuit 15
Instruksi
Parts & Introduction
Parts & Introduction
A 16x2 character LCD can display 2 rows of 16 characters each. Using Arduino's LiquidCrystal library, you can display text, numbers, and custom characters. This is the HD44780 standard used by most character LCDs.
Parts Needed
- 1x Arduino Uno + USB cable
- 1x Breadboard
- 1x 16x2 Character LCD
- 1x Potentiometer (for contrast adjustment)
- 16x Jumper Wires
Material untuk langkah ini:
 SparkFun Inventors Kit - V3.21 kit
 Arduino Uno R31 buah
 Breadboard1 buah
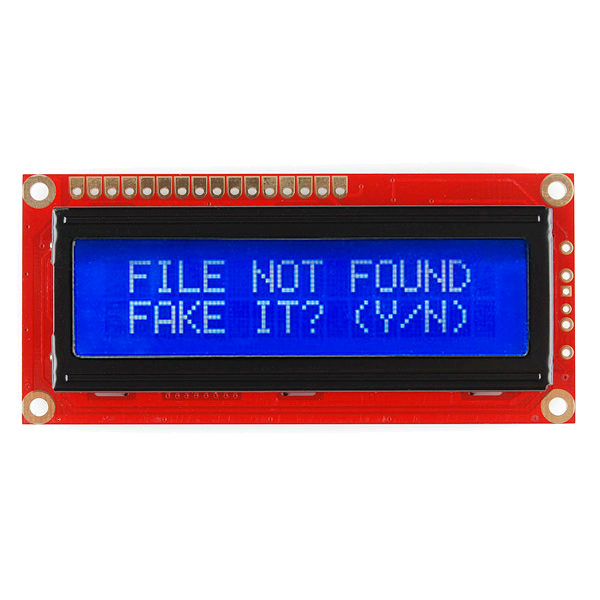 16x2 Character LCD1 buah
 Potentiometer (10K)1 buah
 Jumper Wires16 buah
Tools needed:
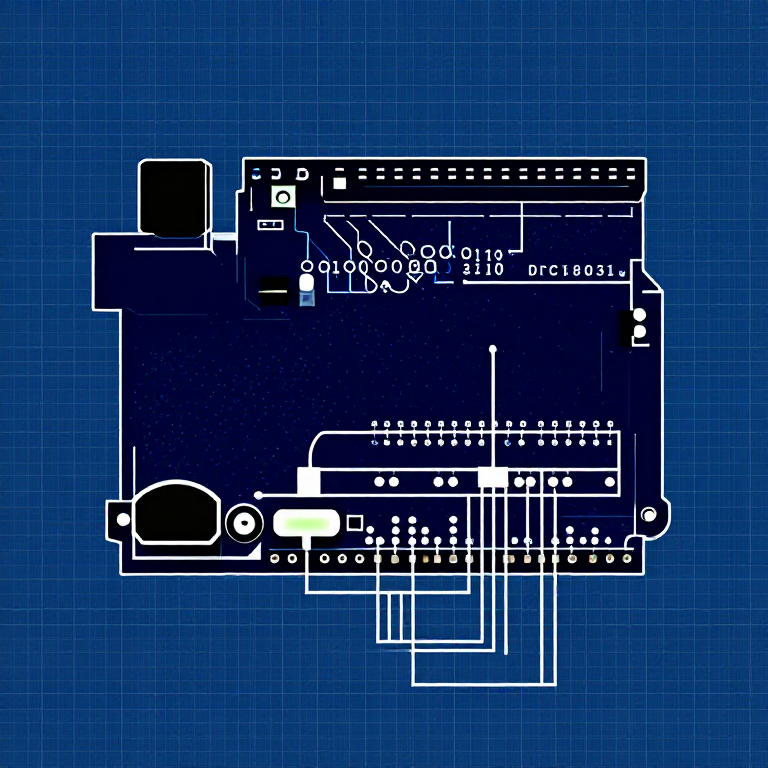
Hardware Hookup
Hardware Hookup
Wiring Instructions
The LCD has 16 pins. Pin 1 is closest to the corner of the board.
| LCD Pin | Connection |
|---|---|
| 1 | GND |
| 2 | 5V |
| 3 | Potentiometer wiper (contrast) |
| 4 | Arduino Pin 12 (RS) |
| 5 | GND (R/W) |
| 6 | Arduino Pin 11 (Enable) |
| 7-10 | Not connected |
| 11 | Arduino Pin 5 (D4) |
| 12 | Arduino Pin 4 (D5) |
| 13 | Arduino Pin 3 (D6) |
| 14 | Arduino Pin 2 (D7) |
| 15 | 5V (backlight +) |
| 16 | GND (backlight -) |
Connect the potentiometer: one side to 5V, other to GND, center pin to LCD pin 3 for contrast adjustment.
Material untuk langkah ini:
16x2 Character LCD1 buahPotentiometer (10K)1 buahBreadboard1 buahJumper Wires16 buahArduino Code
Arduino Code
Open the Arduino IDE and upload the following sketch to your Arduino board.
Material untuk langkah ini:
Arduino Uno R31 buahTools needed:
Test & Experiment
Test & Experiment
What You Should See
"hello, world!" appears on the first line of the LCD. The second line shows a running counter of seconds since power-on. You may need to twist the potentiometer to adjust contrast until text is visible.
Troubleshooting
- Screen blank or solid blocks: Adjust the potentiometer until you see text. The contrast range is narrow.
- Nothing at all: Verify the LiquidCrystal library is included and all 16 wires are connected correctly.
- Flickering: Check breadboard connections — loose wires cause display glitches.
Experiments to Try
- Display the temperature sensor reading (from Circuit 7) on the LCD instead of the Serial Monitor.
- Use
lcd.setCursor(col, row)to place text at specific positions. - Create custom characters with
lcd.createChar()for icons and symbols. - Display messages from serial input — type on your computer, see it on the LCD.
Bahan
6- $105.00
- 1 buahPlaceholder
- 1 buahPlaceholder
- $14.00
- 1 buahPlaceholder
You can swap these in
Can't get one of the materials? Swap it for an equivalent — these work just as well.
- Instead of Arduino Uno R3, try:
 Prototyping Shield for Arduino Uno (3-Pack)
 Arduino Uno R3 BoardArduino Uno
 - Instead of Potentiometer, try:
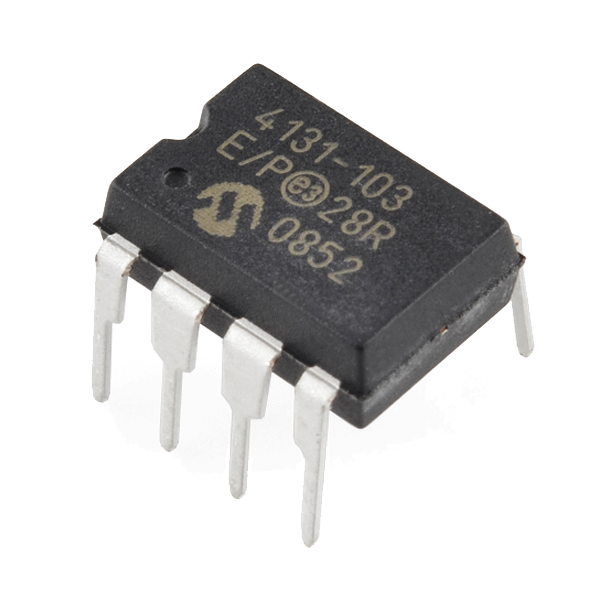 Digital Potentiometer - 10K
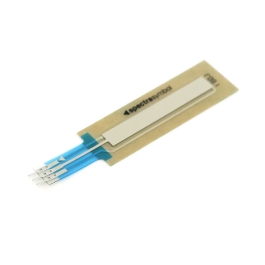 SoftPot Membrane Potentiometer - 100mm
 SoftPot Membrane Potentiometer - 50mm
 SoftPot Membrane Potentiometer - 200mm
 10K Ohm Linear Potentiometer (5-Pack)
 - Instead of Basic 16x2 Character LCD - 5V, try:
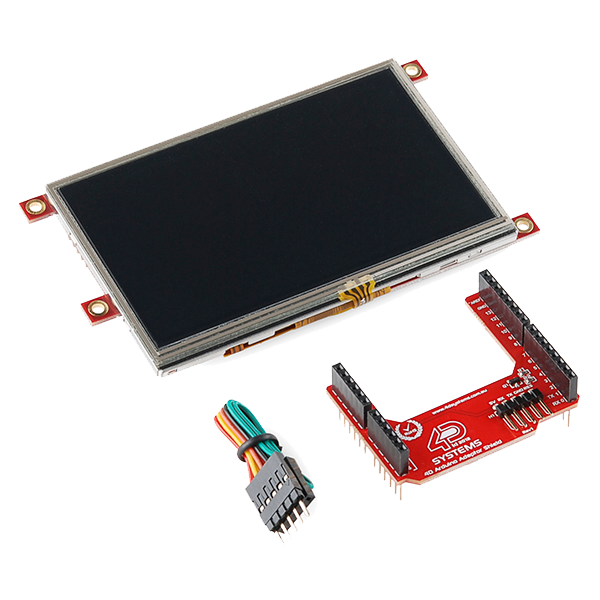 Arduino Display Module - 4.3 Touchscreen LCD
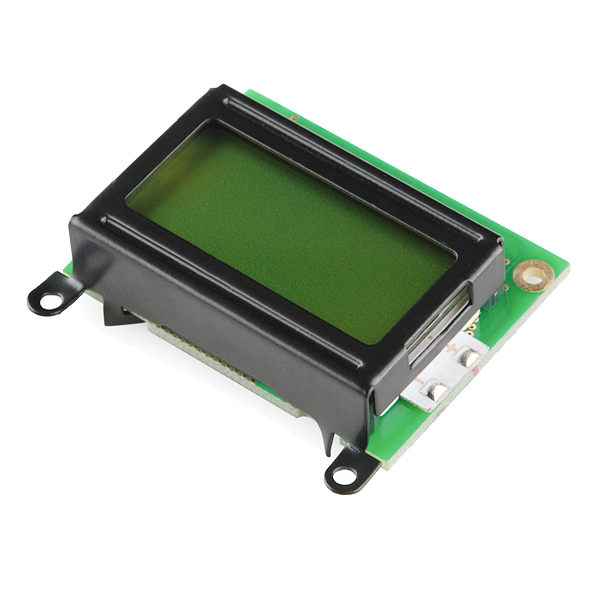 Basic 8x2 Character LCD - 5V
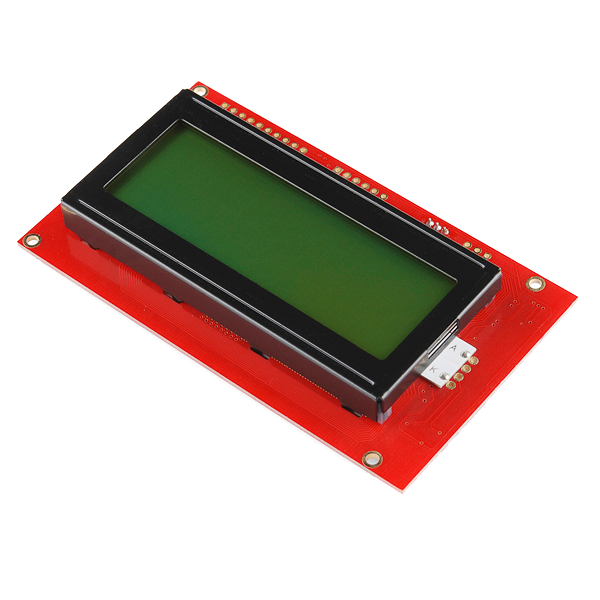 Serial Enabled 20x4 LCD - 5V
 - Instead of Breadboard, try:
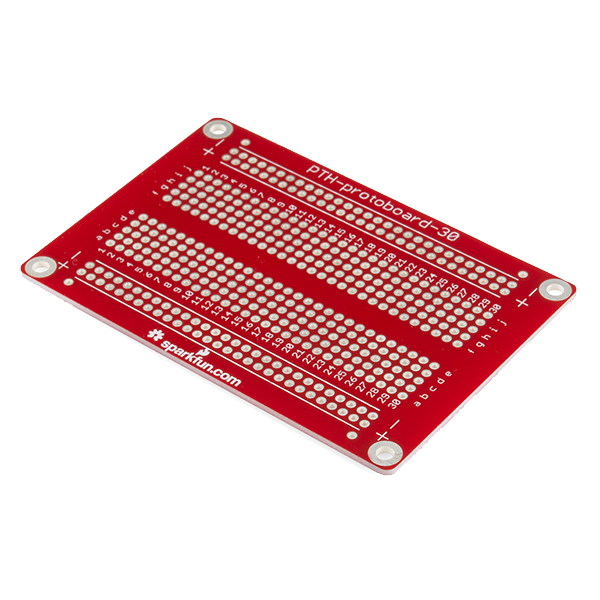 Solder-able Breadboard
Recommended for this build
Products makers often use with builds like this one.
 5mm LED Assortment Kit (300pcs, 5 Colors)Used together and in similar builds
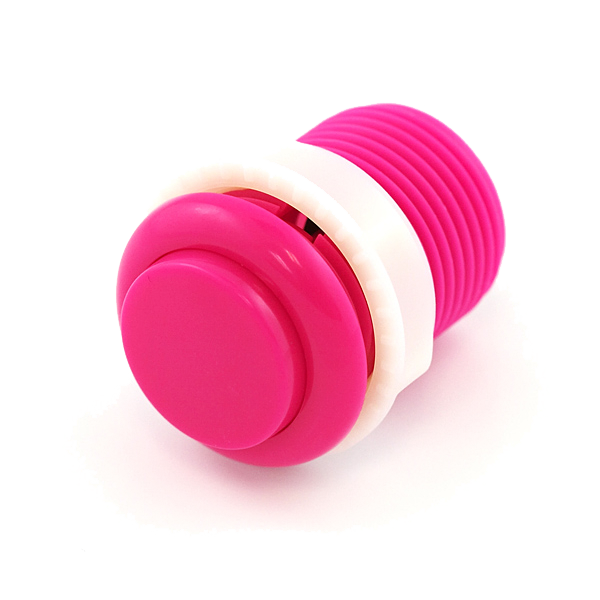 Push Button - 33mmUsed together and in similar builds
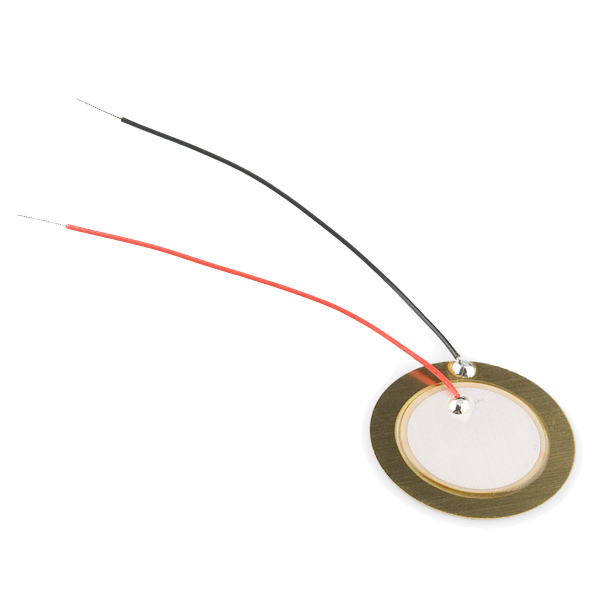 Piezo ElementUsed together and in similar builds
 Resistor 330 Ohm 1/6 Watt PTH - 20 packUsed together and in similar builds
 Resistor 10K Ohm 1/6th Watt PTH - 20 packUsed together and in similar builds
 Servo MotorFrequently used with this build's materials
 Diode KitFrequently used with this build's materials
Related blueprints
Other builds that share materials, tools, or techniques with this one.


CC0 Domain Publik
Cetak biru ini dirilis di bawah CC0. Anda bebas untuk menyalin, memodifikasi, mendistribusikan, dan menggunakan karya ini untuk tujuan apa pun, termasuk komersial, tanpa meminta izin.
Dukung Maker dengan membeli produk melalui Cetak Biru mereka di mana mereka mendapatkan Komisi Pembuat yang ditetapkan oleh Penjual, atau buat iterasi baru dari Cetak Biru ini dan masukkan sebagai koneksi di milik Anda sendiri.