SENI
KECANTIKAN & KESEHATAN
KERAJINAN
BUDAYA & SEJARAH
HIBURAN
LINGKUNGAN
MAKANAN & MINUMAN
REKAYASA BALIK
ILMU PENGETAHUAN
OLAHRAGA
TEKNOLOGI
PERANGKAT PAKAI
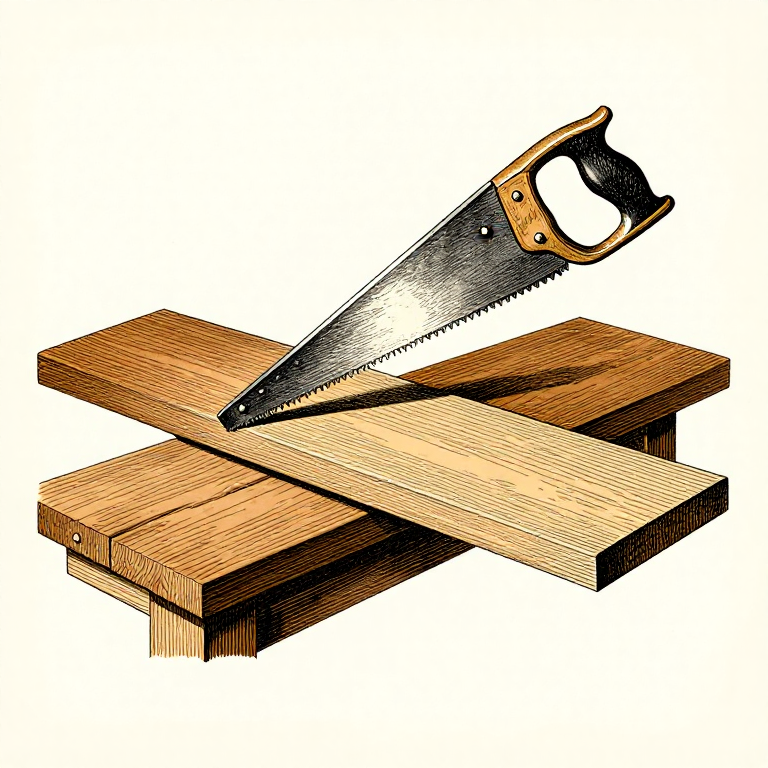


Starting a Cut: The First Three Strokes Decide the Rest
Once a saw is three strokes into the wood it is running in a groove of its own making, and it will follow that groove wherever it goes. So the cut is decided at the very beginning, by the part everyone rushes.
A saw that jumps at the start has skipped out of the line and scarred the surface beside it, and that scar is in the finished work. It happens because a coarse tooth caught before the kerf existed to guide it.
The fix is the same three things every time: hold the work so it cannot move, guide the blade with a thumb, and pull backwards before you ever push.
Pemula
2 hours
Instruksi
1
1
Hold the work — a bench hook costs ten minutes to make
Hold the work — a bench hook costs ten minutes to make
A bench hook is a flat board with a batten across the top of one face and another across the bottom of the opposite face. The lower batten hooks over the bench edge and the upper one stops the work sliding as you saw.
It needs no clamping, it takes seconds to use, and it is the single most useful appliance in hand woodworking. Make one from scrap hardwood; it will outlast everything else on the bench.
For a long board, clamp it or use a sawhorse and put your knee on it. Work that moves under the saw is the reason most cuts wander, and no amount of careful sawing compensates for it — the same lesson as holding work for filing.
Material untuk langkah ini:
 Papan Kayu Keras1 buah
Alat yang dibutuhkan:
 Papan penahan gergaji
 Klem C
 Papan Kayu Lunak Kering
2
2
Guide with the thumb knuckle, not the thumb pad
Guide with the thumb knuckle, not the thumb pad
Rest the flat of the blade against the KNUCKLE of your thumb, held upright against the work beside your line. The knuckle is bone under skin and it guides the blade firmly; the pad of the thumb is soft and the teeth will find it.
Keep the thumb well clear of the teeth themselves and take it away as soon as the kerf is established, which is after two or three strokes. After that the kerf guides the blade better than any thumb can.
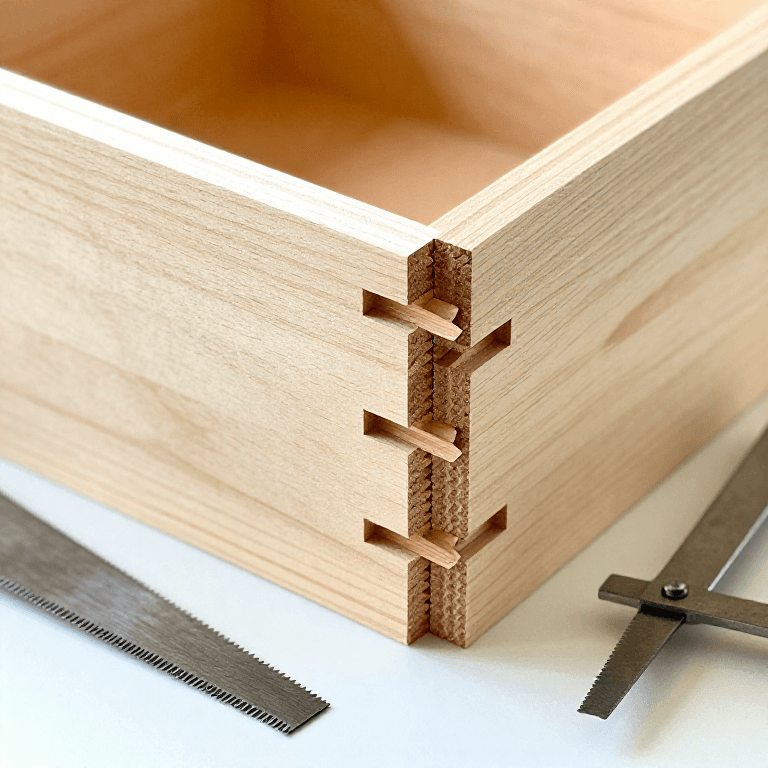
For fine work, a knife line cut into the surface with a marking knife gives the teeth a groove to sit in from the very first stroke. That is how a dovetail is started accurately and it is worth the extra thirty seconds on any cut that shows.
Alat yang dibutuhkan:
 Gergaji punggung
 PenggoresPapan penahan gergaji
3
3
Pull back first, and start at a shallow angle
Pull back first, and start at a shallow angle
Make the first stroke BACKWARDS, lightly. On a push saw the teeth do not cut on the return, so a backward stroke scratches a shallow groove without any risk of the saw grabbing and jumping.
Start with the blade at a shallow angle — twenty or thirty degrees to the surface — and with only the teeth near the handle in contact. Fewer teeth engaged means less to catch. As the kerf deepens, raise the saw to its working angle: about 45 degrees for crosscutting, steeper for ripping.
Light pressure throughout the start. The weight of the saw is very nearly enough, and pressing hard at the beginning is what makes it jump. If it does jump, stop, move back into the kerf and restart rather than trying to steer back.
Material untuk langkah ini:
Papan Kayu Lunak Kering1 buahAlat yang dibutuhkan:
 Gergaji TanganPapan penahan gergaji
 Kacamata Pengaman Bening
4
4
Long strokes, let the saw do it, and watch two lines
Long strokes, let the saw do it, and watch two lines
Use the whole length of the blade. Short choppy strokes wear out a few centimetres of teeth and tire you far faster, because you are doing the work the saw's own weight should be doing.
Keep your forearm, wrist and the blade in one plane, and let your shoulder drive it rather than your wrist. Any twist at the wrist steers the blade out of square, and it does so gradually enough that you will not notice until the cut is finished.
Watch the line on the TOP of the work and the line on the FACE at the same time. Most people watch only the top, finish the cut, and find the far face is out of square by several millimetres — which is the subject of the next rung.
Material untuk langkah ini:
Papan Kayu Lunak Kering1 buahAlat yang dibutuhkan:
Gergaji Tangan Siku-siku tetapPapan penahan gergaji
Bahan
2- 1 buahPlaceholder
- 1 buahPlaceholder
Blueprint terkait
Blueprint ini berbagi pengetahuan — teknik, bahan, atau prinsip
CC0 Domain Publik
Cetak biru ini dirilis di bawah CC0. Anda bebas untuk menyalin, memodifikasi, mendistribusikan, dan menggunakan karya ini untuk tujuan apa pun, termasuk komersial, tanpa meminta izin.
Dukung Maker dengan membeli produk melalui Cetak Biru mereka di mana mereka mendapatkan Komisi Pembuat yang ditetapkan oleh Penjual, atau buat iterasi baru dari Cetak Biru ini dan masukkan sebagai koneksi di milik Anda sendiri.