Kolaborasi
SENI
KECANTIKAN & KESEHATAN
KERAJINAN
BUDAYA & SEJARAH
HIBURAN
LINGKUNGAN
MAKANAN & MINUMAN
REKAYASA BALIK
ILMU PENGETAHUAN
OLAHRAGA
TEKNOLOGI
PERANGKAT PAKAI
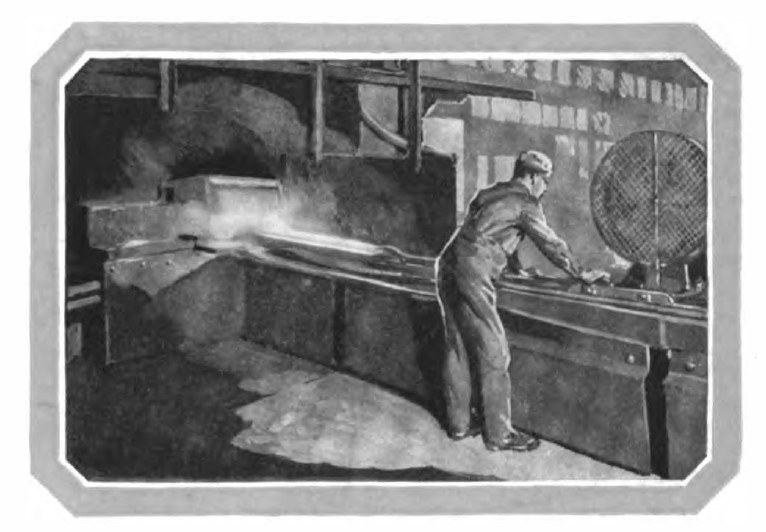


Steel Pipe: Butt-Welded Through a Bell, Sized, Threaded and Tested (National Tube Co., 1921)
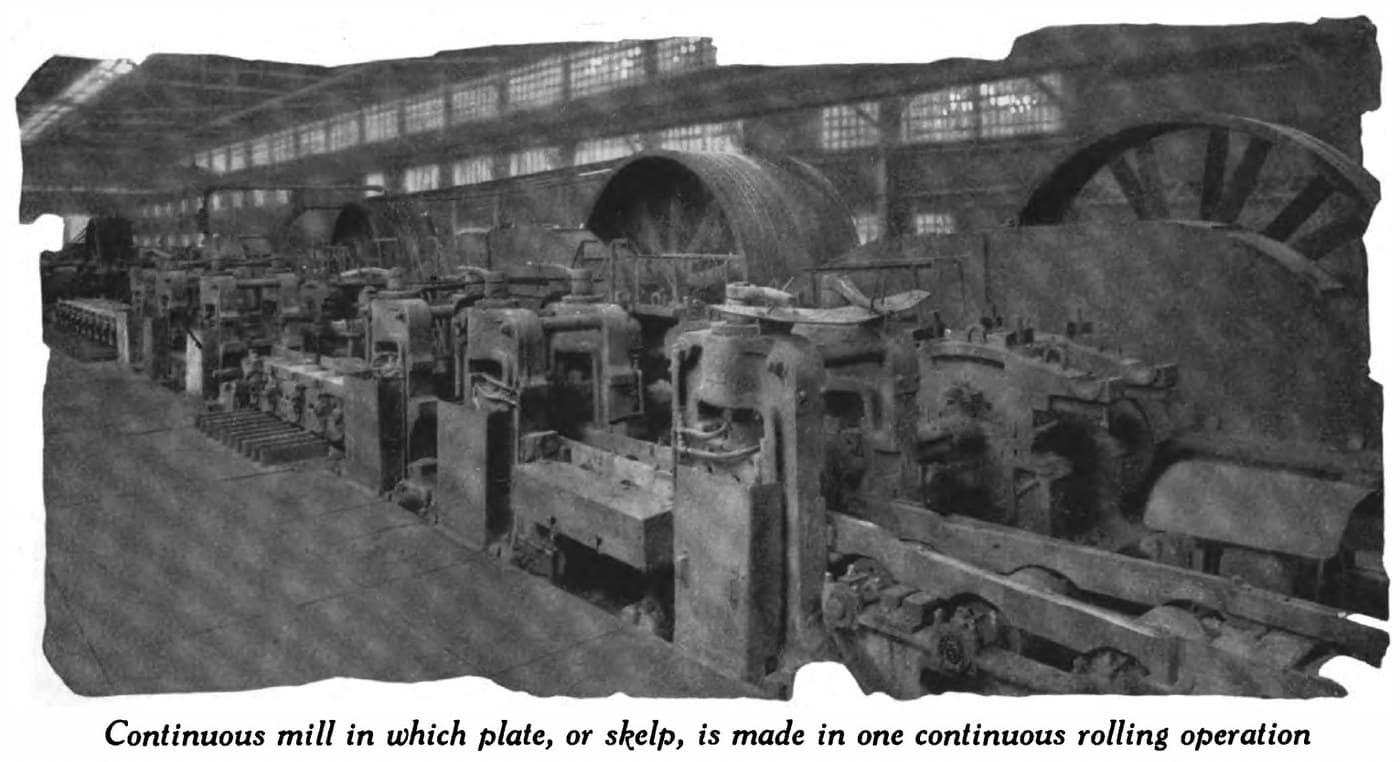
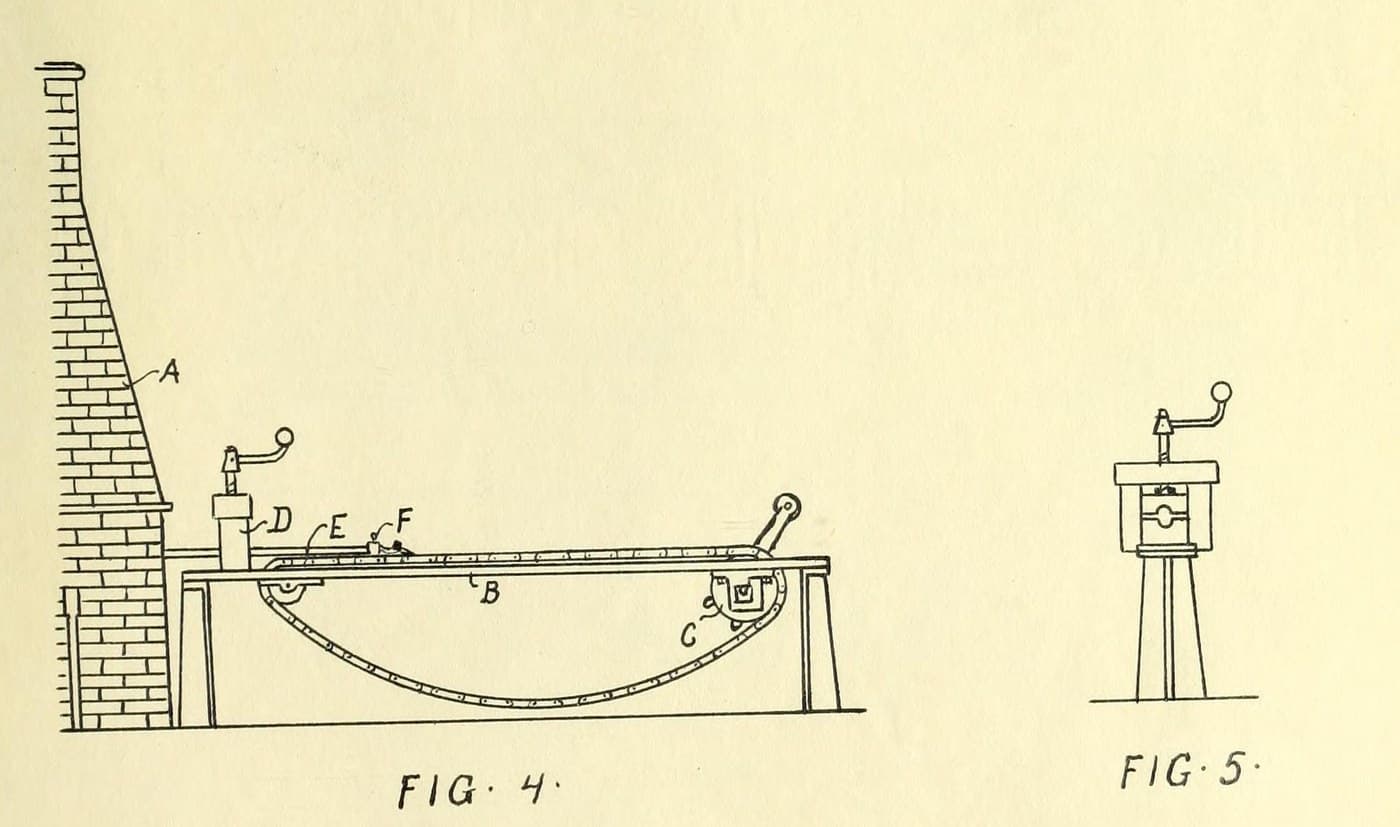
Butt-weld steel pipe, 1/8 to 3 inches, as National Tube made it in 1921: hot skelp is pulled by tongs and a draw-bench chain through a bell a little larger than the finished pipe, which curls it into a tube and presses its edges together into a weld. The pipe is then rolled to size, straightened, cleaned, threaded and pressure-tested.
Each length, 20 to 40 ft, is welded in one pull. Every pipe is tested inside at 700 to 800 lb per square inch.
Source: National Tube Co., "National" Modern Welded Pipe (1921), pp. 41-47. Picture: drawing butt-weld pipe.
Lanjutan
Unknown
Instruksi
1
1
Heat the skelp
Heat the skelp
Charge the skelp from the rear into a long welding furnace, a little longer than the skelp, with a narrow opening at each end, and bring it to welding heat.
Material untuk langkah ini:
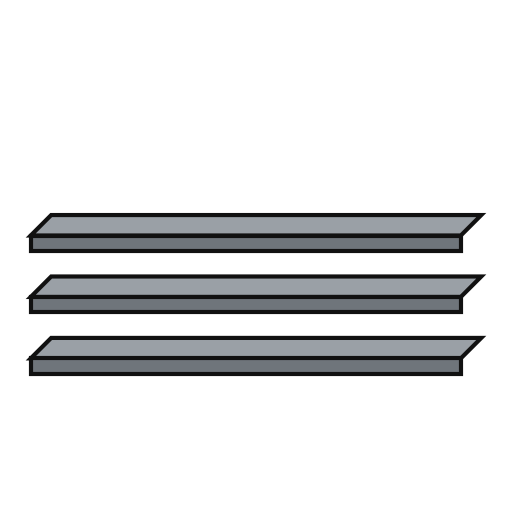 Skelp baja1 one piece per length of pipe
Alat yang dibutuhkan:
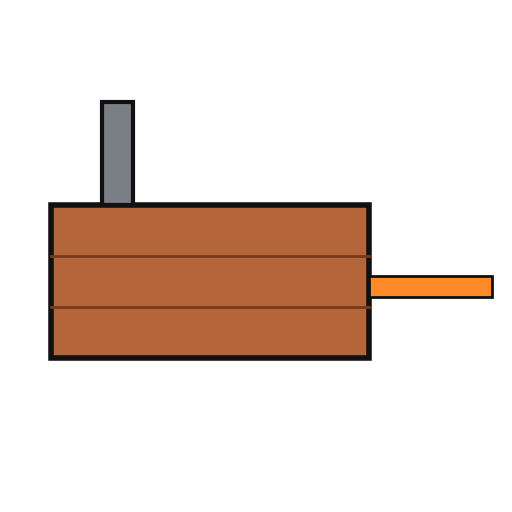 Tungku las
2
2
Draw it through the bell
Draw it through the bell
Grip the trimmed end with long-handled tongs and pull it through a die, or bell, slightly larger than the finished pipe. Hook the tongs to the travelling chain of the draw bench, which pulls the whole length (20 to 40 ft) through. The skelp is a little wider than the bell's inside circumference, so it curls into a tube and its edges butt squarely and weld. Some sizes go through two bells at one heat, the second slightly smaller.
Alat yang dibutuhkan:
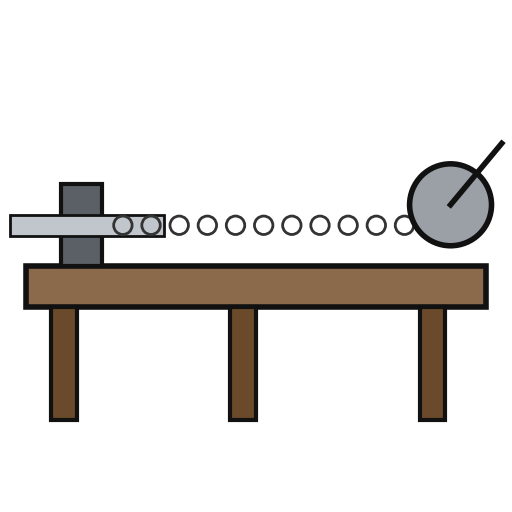 Bangku tarik
 Penjepit TempaTungku las
3
3
For Double Extra Strong pipe
For Double Extra Strong pipe
Thick skelp needs so great a pull that a strong bar is welded on its end as a 'bait' for the tongs. Draw it several times through bells of decreasing size, reheating between draws, so the seam is thoroughly welded.
Alat yang dibutuhkan:
Bangku tarikPenjepit TempaTungku las4
4
Size and round
Size and round
Pass the pipe through sizing rolls, which reduce it slightly, lengthen it and loosen the heavy welding scale. Then roll it to its finished size and circular shape, which removes the scale and leaves the walls smooth.
Alat yang dibutuhkan:
 Mesin canai logam
5
5
Cool, straighten and clean
Cool, straighten and clean
Let the pipe cool slowly as it crosses a table, then straighten and smooth it in cross rolls. Wash off the loosened scale in a tank; blow it out of the smaller sizes with compressed air.
Alat yang dibutuhkan:
Mesin canai logam Air
 Kompresor udara
6
6
Cut, thread and test
Cut, thread and test
Cut off a short length at each end, where the tong jaws crushed it. Thread the pipe, then test it inside with water at 700 to 800 lb per square inch to prove the wall and the weld. Ours: hacksaw, die set and hand test pump; the booklet does not say how the ends are cut or threaded.
Alat yang dibutuhkan:
 Gergaji Besi
 Set pembuat ulir
 Pompa uji tekanan manual
Bahan
1- 1 one piece per length of pipePlaceholder
Alat yang Diperlukan
9- Placeholder
- Placeholder
- Placeholder
- Placeholder
- Placeholder
- 1 vendor sell this, none ship to you yetPlaceholder
- Placeholder
- Placeholder
- Placeholder
Bahan cetak biru terhubung
Cetak biru ini membuat

CC0 Domain Publik
Cetak biru ini dirilis di bawah CC0. Anda bebas untuk menyalin, memodifikasi, mendistribusikan, dan menggunakan karya ini untuk tujuan apa pun, termasuk komersial, tanpa meminta izin.
Dukung Maker dengan membeli produk melalui Cetak Biru mereka di mana mereka mendapatkan Komisi Pembuat yang ditetapkan oleh Penjual, atau buat iterasi baru dari Cetak Biru ini dan masukkan sebagai koneksi di milik Anda sendiri.