

The Cosplay Pauldron
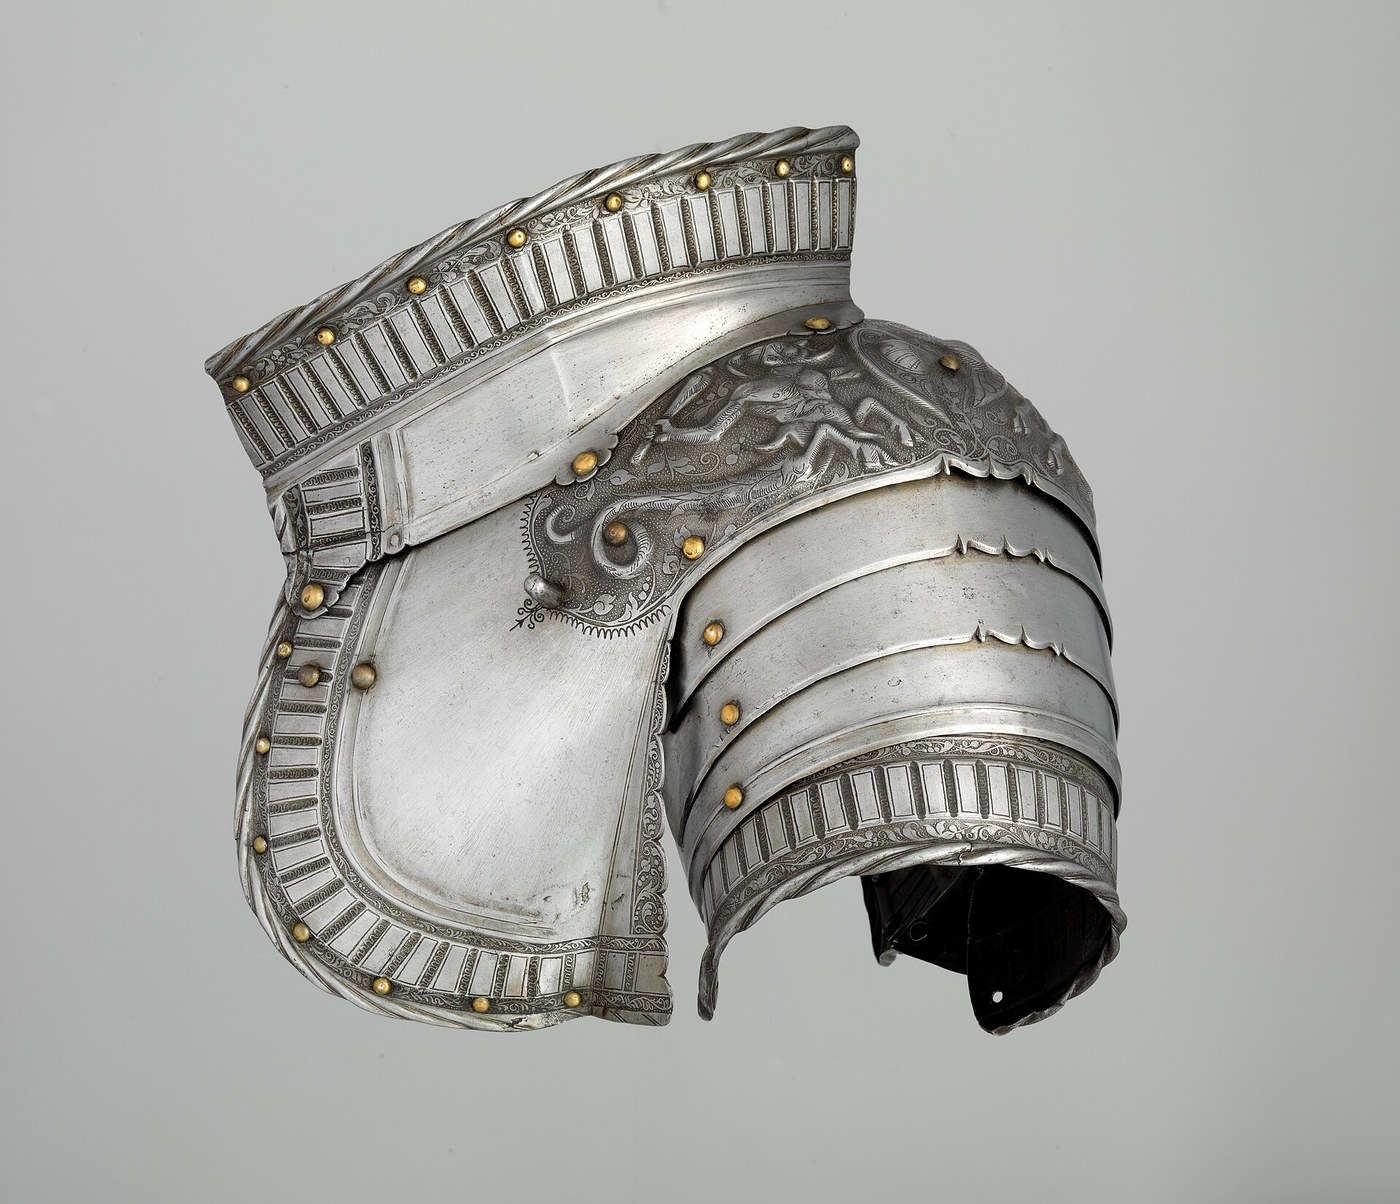
A pauldron is the shoulder plate of a suit of armour, and it is the piece every costume maker builds first — because it reads instantly, and because it is where a costume most obviously succeeds or fails at being wearable.
Real plate armour is shaped steel. Costume armour is EVA foam, and the whole craft is a set of techniques for making a closed-cell plastic foam behave like formed metal.
The key property is that EVA is thermoformable. Heat it to around 100 °C and it becomes briefly pliable; hold it in a curve while it cools and it keeps that curve permanently. Heat also seals the surface — the cut cells on a sanded or carved face close into a smooth skin that will take paint instead of drinking it. Nearly every failure in foam armour is a heat-forming or sealing failure, not a painting failure.
The other half is a piece of geometry: a shoulder is a compound curve, and flat sheet cannot wrap a sphere. The answer is the same one armourers and tailors both use — cut the shape into panels or add darts, so that a curve in two directions is built from pieces that each only bend in one.
Pattern it on yourself, form it, seal it, and check it still lets you raise your arm.
Instruksi
Pattern on the body, not on paper
Pattern on the body, not on paper
Cover the shoulder in cling film and masking tape, draw the pauldron's outline and its panel divisions directly onto the tape, then cut it off and flatten it.
Note where it refuses to lie flat.
Those wrinkles are the compound curvature, made visible. Every one of them has to become a panel join or a dart, and a pattern drawn flat on paper simply hides them until the foam is cut.
Alat yang dibutuhkan:
 Tape Measure
Transfer, and cut with a fresh blade
Transfer, and cut with a fresh blade
Trace the flattened panels onto 6 mm EVA foam, adding a small allowance. Cut with a very sharp blade held at a consistent angle, in one smooth pass per cut.
Bevel the mating edges so panels meet at the angle the curve needs.
A dull blade tears foam rather than cutting it, leaving a ragged edge that no amount of sanding or sealing will hide. Change blades more often than feels reasonable.
Material untuk langkah ini:
 EVA Foam Sheet Pack (6mm, 10-Pack)1 bungkus
Alat yang dibutuhkan:
 Small Hand Saw
Heat-form the curve and hold it while it cools
Heat-form the curve and hold it while it cools
Warm each panel evenly with a heat gun until it goes slightly floppy and glossy, then press it over a curved former — a ball, a pipe, your own shoulder over a cloth — and hold it until cold.
Expect it to keep the shape.
The shape is set on cooling, not on heating. Release it warm and it springs back, and this is the single step most beginners rush.
Alat yang dibutuhkan:
 Heat Gun
Glue with contact cement, both faces
Glue with contact cement, both faces
Apply contact cement to both mating faces, let it go tacky-dry for a few minutes, then bring them together.
You get one attempt — it grabs instantly and will not slide.
Dry-fit and mark alignment first, every time.
Contact cement bonds by the two adhesive films fusing to each other, which is why wet-gluing gives a weak joint and why patience beats clamping here.
Material untuk langkah ini:
 Contact Cement for Foam (1 Quart)1 buah
Seal the surface before any paint
Seal the surface before any paint
Sand seams fair. Then pass the heat gun over the whole surface until it goes subtly glossy — the open cells close into a skin. Follow with two or three thin coats of a flexible sealer, sanding lightly between.
Test on a scrap first: paint a sealed piece and an unsealed piece.
Expect the unsealed one to soak up paint, stay porous and crack when flexed. Sealing is what makes foam look like anything but foam.
Strap it and test the range of motion
Strap it and test the range of motion
Fit elastic or webbing straps that anchor around the upper arm and across to the chest harness, not to the costume fabric.
Wear it and measure how far you can raise your arm, forwards and sideways, with a protractor. Sit down. Reach a door handle. Walk for ten minutes.
Expect the first version to bind at full elevation.
Real armour solved this with overlapping lames on straps, and so should yours — a single rigid plate that looks right and pins your arm down is a prop, not a costume.
Material untuk langkah ini:
 Webbing Straps (Nylon)2 meter
 Hook and Loop / Velcro1 meter
Alat yang dibutuhkan:
 Protractor/Angle Finder
History & Context
History & Context
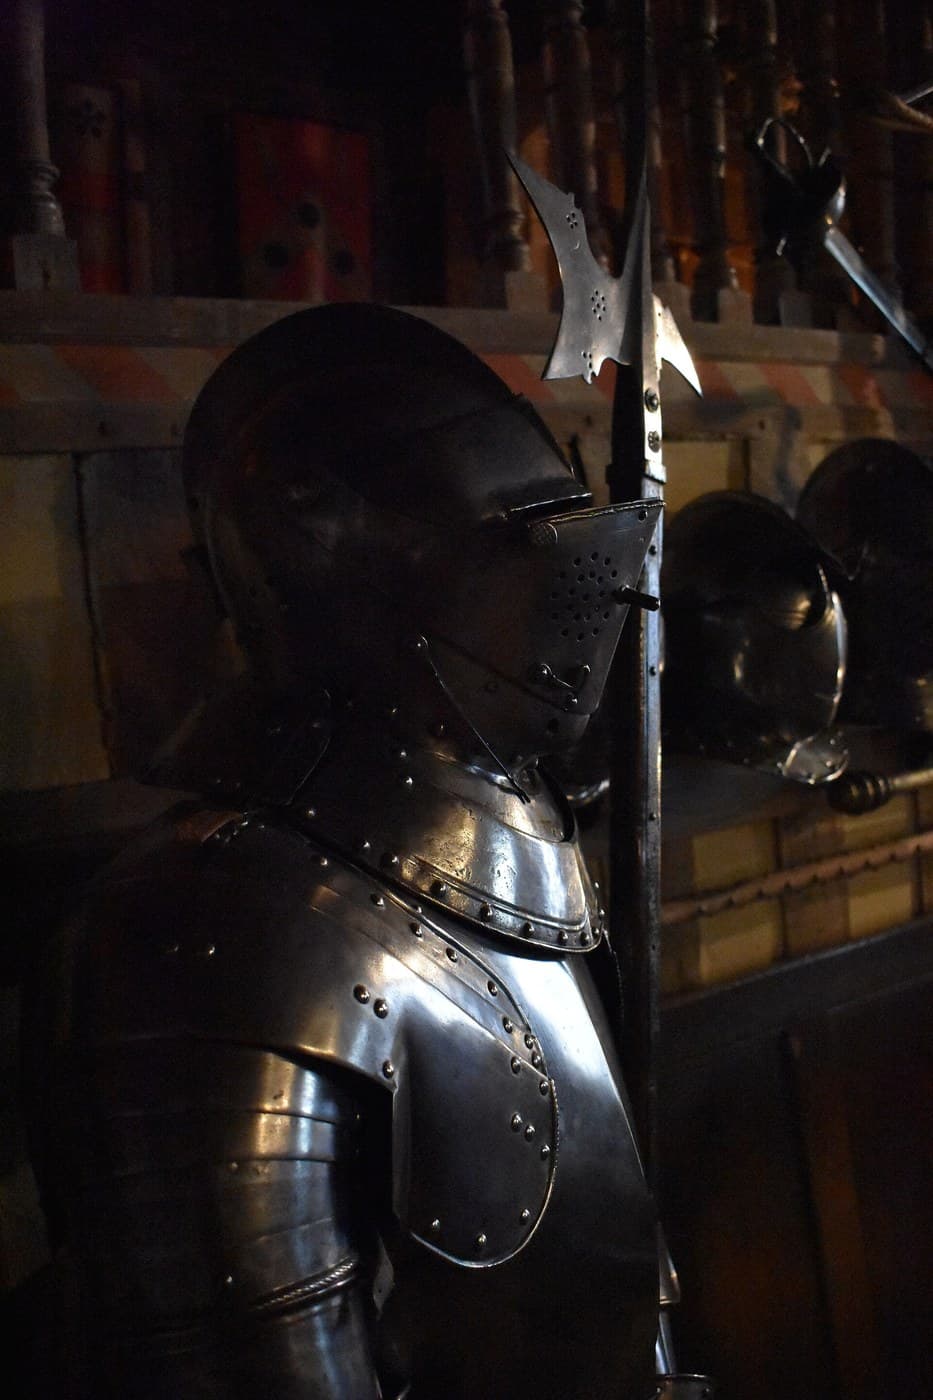
The pauldron is a late solution to an old problem. Earlier medieval harness protected the shoulder with mail and a small spaulder, and the joint remained the weak point precisely because it has to move in every direction. The fifteenth-century pauldron is larger, wraps over the shoulder and upper back, and — crucially — is built from overlapping plates called lames, riveted or strapped so they slide over one another. That is the same answer this blueprint reaches in step 6, arrived at by anyone who tries to armour a ball-and-socket joint: articulate it, or immobilise it.
Asymmetry in real armour is functional. Jousting harness often has a much larger pauldron on the left, the side presented to the opponent, and a cut-away on the right to clear the lance rest. Cosplay copies the asymmetry as a style; in the original it was a specification.
Why EVA foam took over costume making. Ethylene-vinyl acetate is a closed-cell foam — the cells do not interconnect, so it does not absorb water and it sands to a firm edge. It is cheap, it is light enough to wear all day, it is thermoformable at temperatures a heat gun reaches, and it is forgiving of mistakes in a way fibreglass and vacuum-formed styrene are not. Its arrival as cheap interlocking floor mats put a formable armour material in every hardware shop, and the modern costume-armour craft is essentially built on it. Before EVA, wearable armour meant leather, fibreglass or actual metal — all slower, heavier, and far less forgiving.
Paint is where foam gets given away. Foam reads as foam under flat colour because it lacks the specular highlights and the surface variation of metal. The techniques that fix it are all about breaking up the surface: a dark base, a metallic dry-brush that catches only the raised detail, a dark wash pulled into recesses, and edge highlights on the outermost corners where real metal would be polished by wear. Detail is applied where wear would occur, not where it would look tidy — which is the same observation that makes weathering convincing on any prop.
Honest limits and safe practice. Foam armour offers no protection whatsoever and must never be treated as safety equipment or used in contact fighting; LARP combat gear is a different, regulated construction. Heat guns run hot enough to cause serious burns and to ignite materials — use on a heatproof surface, never leave one running unattended, and keep it away from the solvent. Contact cement is highly flammable and its vapours are genuinely unpleasant: use it with real ventilation, never near the heat gun, and give it time to flash off. Overheating EVA past its forming range degrades it and produces fumes — if it starts to smoke, you have gone too far. Cut away from yourself, on a proper mat, with a blade you have just changed.
Bahan
4- 1 bungkusPlaceholder
- Placeholder
- 2 meterPlaceholder
- 1 meterPlaceholder
Alat yang Diperlukan
4- 1 vendor sell this, none ship to you yetPlaceholder
- Placeholder
- 1 vendor sell this, none ship to you yetPlaceholder
- Placeholder
Bahan cetak biru terhubung

Blueprint terkait
Blueprint ini berbagi pengetahuan — teknik, bahan, atau prinsip


CC0 Domain Publik
Cetak biru ini dirilis di bawah CC0. Anda bebas untuk menyalin, memodifikasi, mendistribusikan, dan menggunakan karya ini untuk tujuan apa pun, termasuk komersial, tanpa meminta izin.
Dukung Maker dengan membeli produk melalui Cetak Biru mereka di mana mereka mendapatkan Komisi Pembuat yang ditetapkan oleh Penjual, atau buat iterasi baru dari Cetak Biru ini dan masukkan sebagai koneksi di milik Anda sendiri.