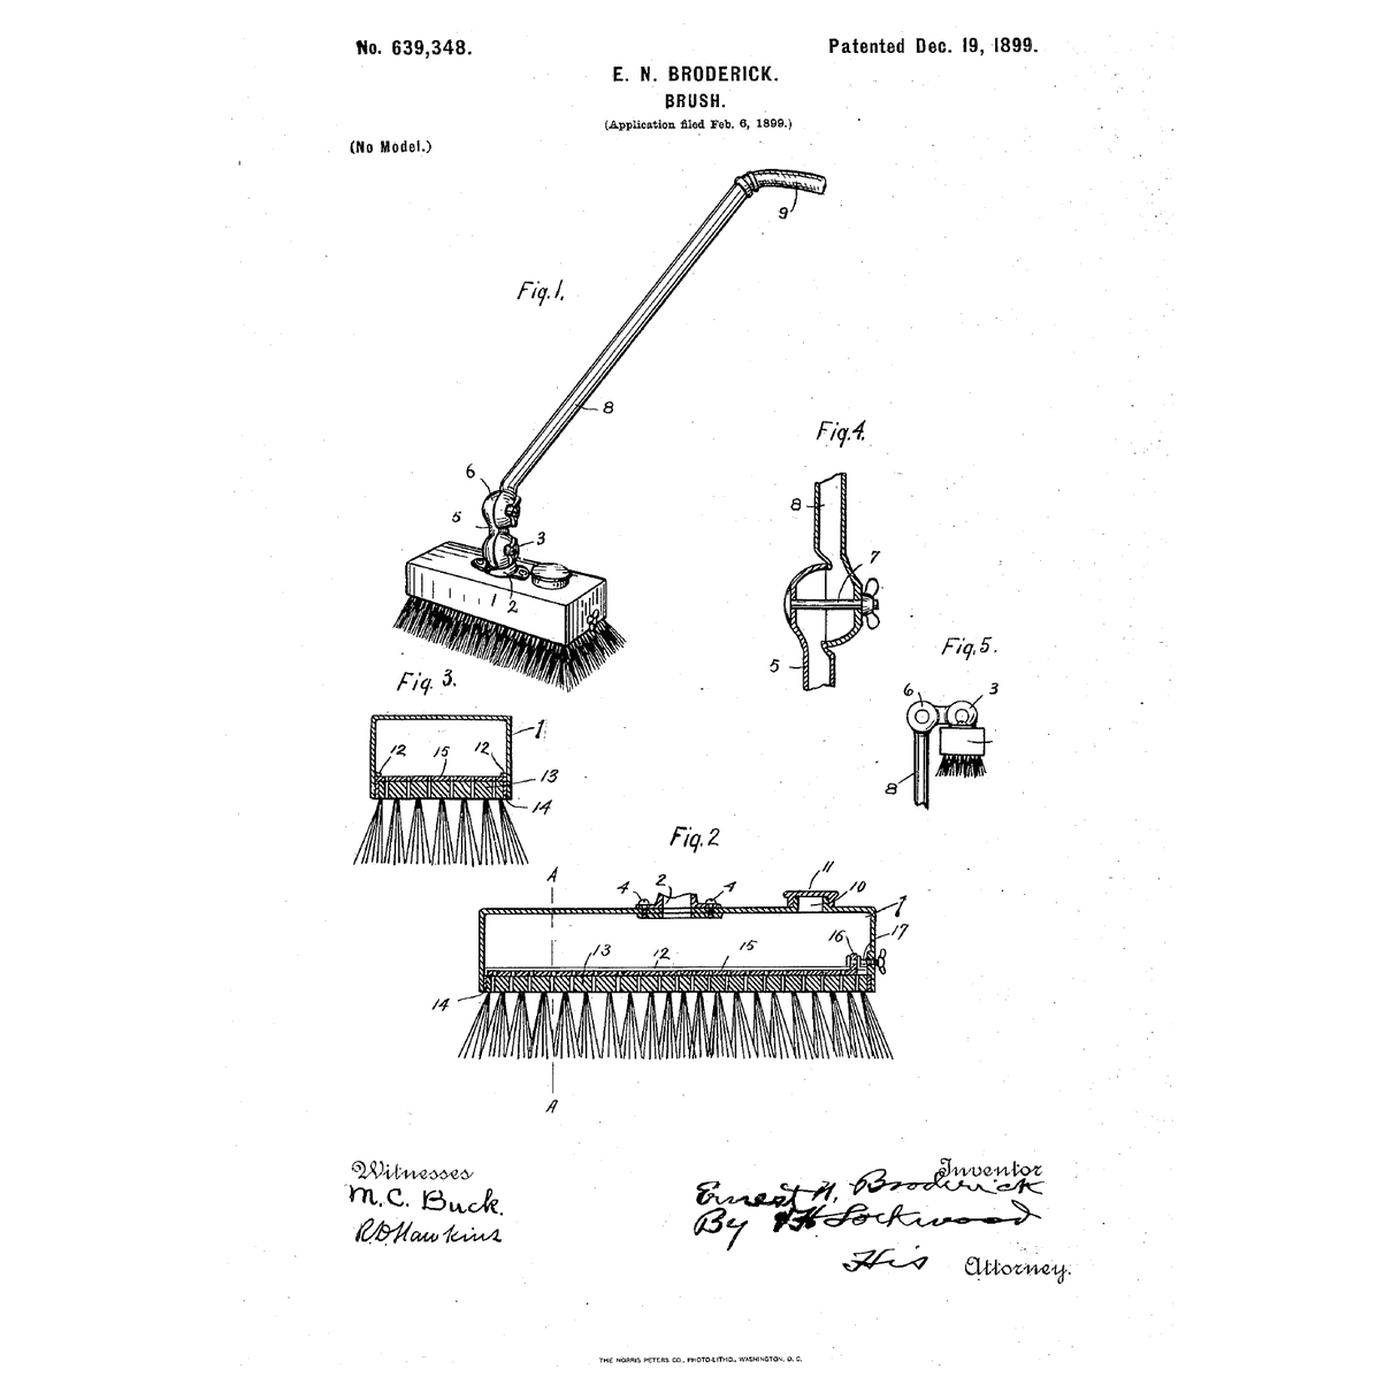


The Tank-Headed Self-Feeding Brush: Soap in the Tank, a Plate to Meter It
Instruksi
Open area of the plate
Open area of the plate
A scrubbing brush before it
A scrubbing brush before it
Read US 639,348
Read US 639,348
Perforate the brush back
Perforate the brush back
Material untuk langkah ini:
 Sikat gosok1 buah
Alat yang dibutuhkan:
 Ragum Meja
 Bor Tanpa Kabel
 Set Mata Bor
 Spidol Permanen
 Penggaris
 Kacamata Pengaman Bening
Make the sliding plate
Make the sliding plate
Material untuk langkah ini:
 Lembaran aluminium1 buah
 Paku keling tembak1 buah
Alat yang dibutuhkan:
 Gunting sengBor Tanpa KabelSet Mata Bor
 Kikir (Kikir Tangan)
 Set pistol paku keling
Build the tank
Build the tank
Material untuk langkah ini:
Lembaran aluminium1 buahPaku keling tembak1 buah Sealant Silikon1 buah
 Sekrup kayu #8 x 1"1 buah
Alat yang dibutuhkan:
Gunting sengRagum MejaSet pistol paku kelingBor Tanpa KabelSet Mata Bor Sarung Tangan Kerja Kulit
Fit the adjusting screw
Fit the adjusting screw
Material untuk langkah ini:
 Sekrup mesin1 buah
 Mur Segi Enam1 buah
 Epoksi dua komponen1 buah
Alat yang dibutuhkan:
Bor Tanpa KabelSet Mata Bor Set obeng
Fit the handle
Fit the handle
Material untuk langkah ini:
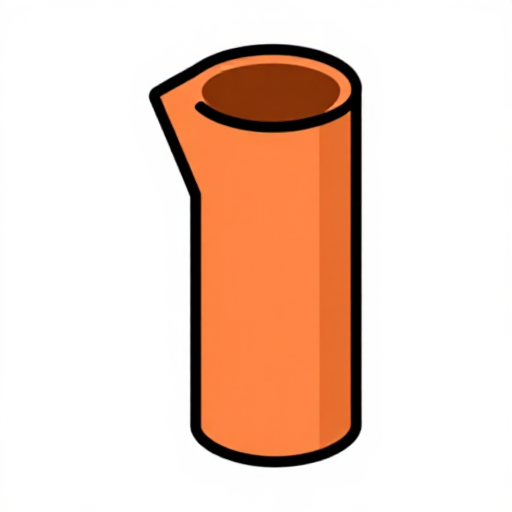 Pipa tembaga1 buah
 Sambungan kuningan1 buah
 Katup bola1 buah
 Pita segel ulir PTFE1 buah
Alat yang dibutuhkan:
 Pemotong pipa
 Kunci Inggris
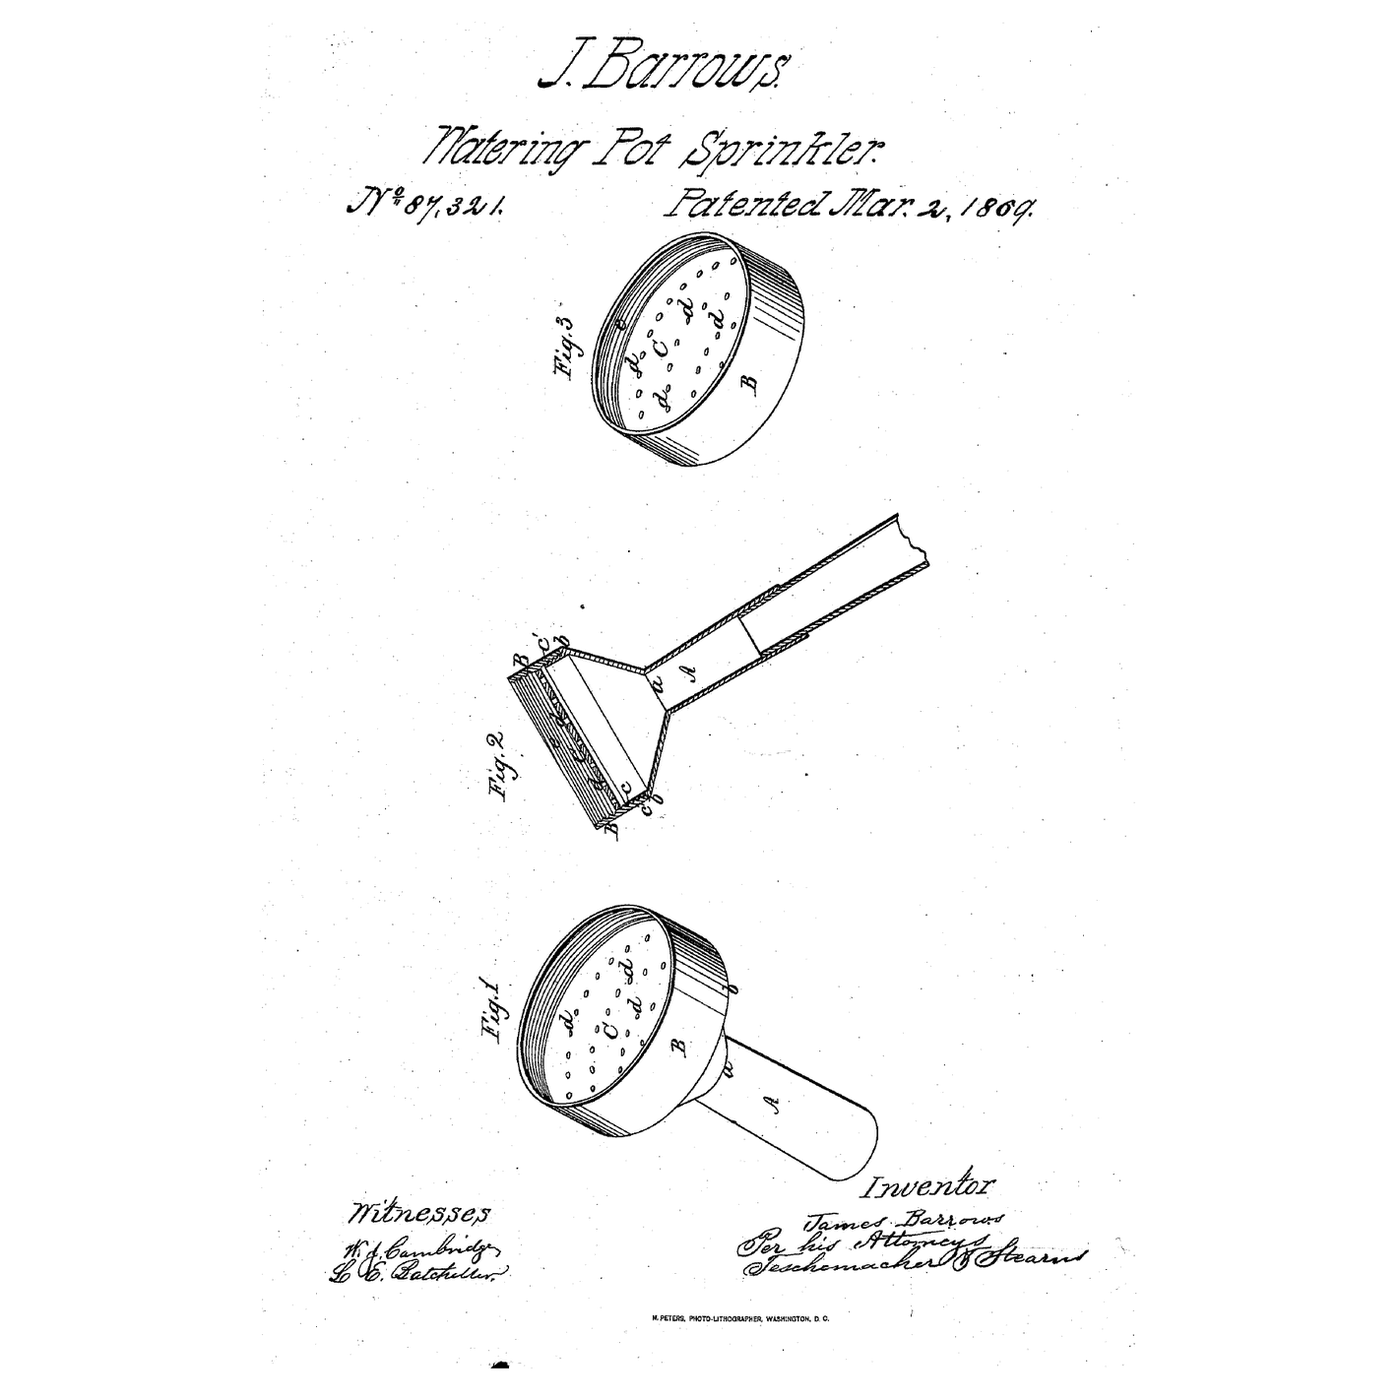
The patent drawing
The patent drawing
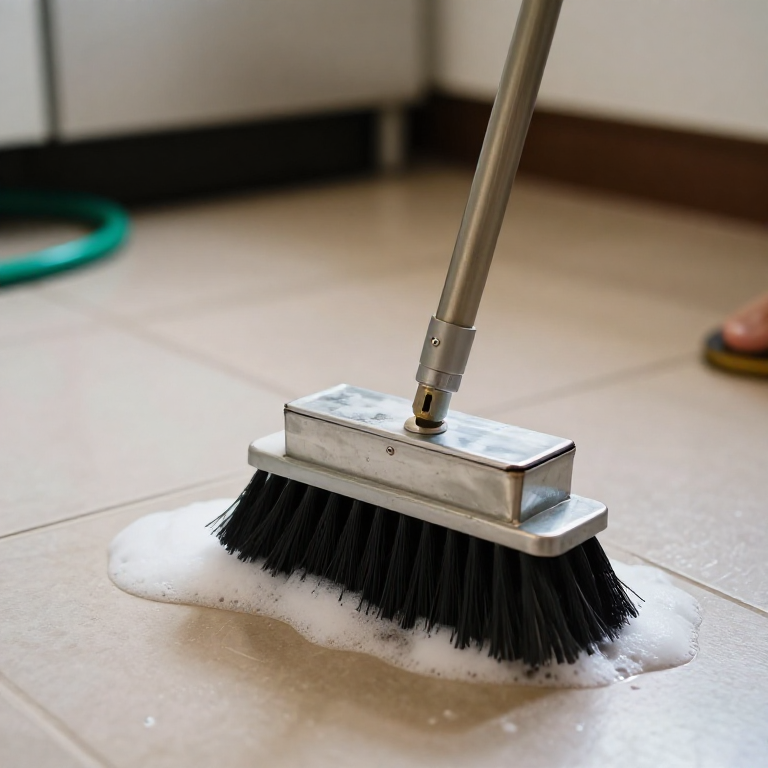
Measure the flow at each setting
Measure the flow at each setting
Material untuk langkah ini:
 Selang taman1 buah
 Air1 buah
 Sabun Castile (cair)1 buah
Alat yang dibutuhkan:
 Kendi takar
 Stopwatch
 Jangka Sorong Digital 6 Inci
A brush that floods, starves or leaks
A brush that floods, starves or leaks
Flow
History and honest limits
History and honest limits
Bahan
15- 1 buahPlaceholder
- 1 buahPlaceholder
- 2 buahPlaceholder
- 1 buahPlaceholder
- 1 buahPlaceholder
- 1 buahPlaceholder
- 1 buahPlaceholder
- 1 buahPlaceholder
- 1 buahPlaceholder
- 1 buahPlaceholder
- 1 buahPlaceholder
- 1 buahPlaceholder
- Selang tamankomisi 10%1 buahPlaceholder
- 1 buahPlaceholder
- 1 buahPlaceholder
Alat yang Diperlukan
16- Placeholder
- 1 vendor sell this, none ship to you yetPlaceholder
- Placeholder
- Placeholder
- Placeholder
- Placeholder
- Placeholder
- Placeholder
- Placeholder
- Placeholder
- Placeholder
- Placeholder
- Placeholder
- Placeholder
- Placeholder
- Placeholder
Blueprint terkait
Blueprint ini berbagi pengetahuan — teknik, bahan, atau prinsip



CC0 Domain Publik
Cetak biru ini dirilis di bawah CC0. Anda bebas untuk menyalin, memodifikasi, mendistribusikan, dan menggunakan karya ini untuk tujuan apa pun, termasuk komersial, tanpa meminta izin.
Dukung Maker dengan membeli produk melalui Cetak Biru mereka di mana mereka mendapatkan Komisi Pembuat yang ditetapkan oleh Penjual, atau buat iterasi baru dari Cetak Biru ini dan masukkan sebagai koneksi di milik Anda sendiri.