
SENI
KECANTIKAN & KESEHATAN
KERAJINAN
BUDAYA & SEJARAH
HIBURAN
LINGKUNGAN
MAKANAN & MINUMAN
REKAYASA BALIK
ILMU PENGETAHUAN
OLAHRAGA
TEKNOLOGI
PERANGKAT PAKAI
Tsvet's Column: The First Chromatogram
Bob

Dibuat oleh

Bob

23. September 2026BE
25
0
0
0
0

Tsvet's Column: The First Chromatogram

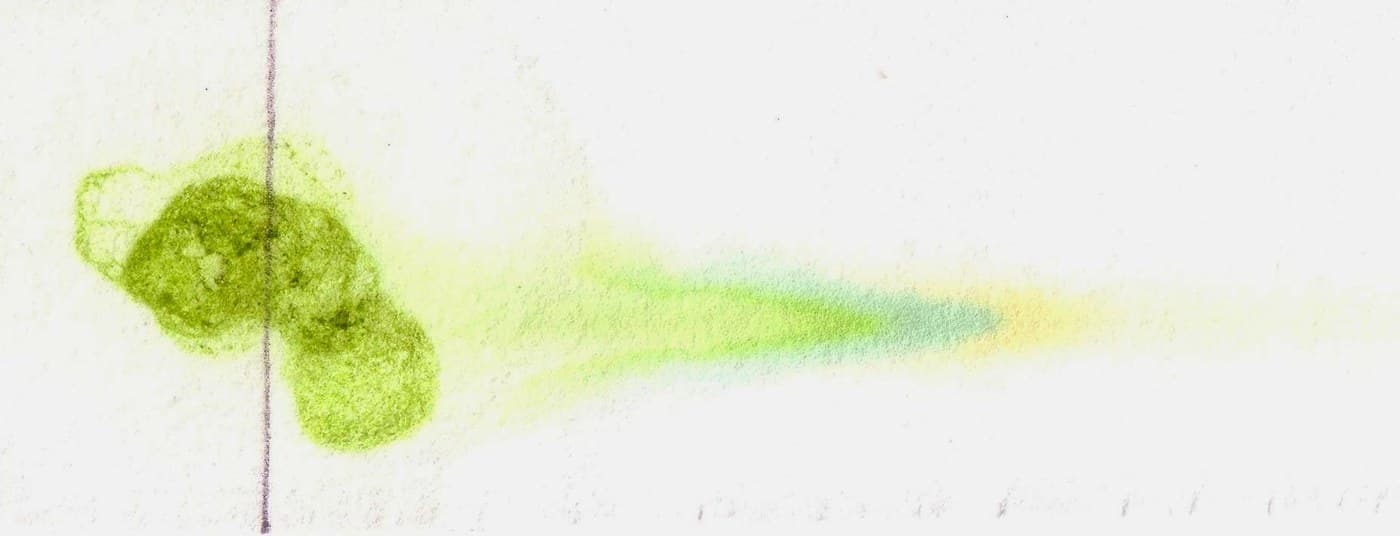
In 1903 a Russian-Italian botanist working in Warsaw poured an extract of green leaves into a glass tube packed with powdered chalk, washed it through with petroleum solvent, and watched the single green smear pull apart into separate coloured bands down the column. Mikhail Tsvet called the result a *chromatogram* — a writing in colour — and it is the ancestor of every separation in this batch. His insight was that leaf green is not one substance: it is two chlorophylls and a family of yellow and orange carotenoids, and they stick to chalk with different strengths. The one that clings least travels furthest. The technique was ignored for thirty years, partly because Tsvet published in Russian and partly because the leading plant chemist of the day insisted the bands were artefacts. You can settle that argument yourself in an afternoon with chalk and a glass tube.
Menengah
4 hours

Instruksi

1

Get the pigments out of the leaf

Grind a handful of fresh spinach in a mortar with a little clean sand and enough ethanol to make a slurry, then filter. You want a dark green extract, not a pale one. The sand is doing real work: it tears the cell walls and the chloroplast membranes open so the solvent can reach pigments that are otherwise locked inside. Grinding without it gives a weak extract and a column with nothing to show. Keep the extract in the dark — chlorophyll bleaches in light, and a sunlit extract loses its top band before you have packed the tube.

Material untuk langkah ini:

BayamBayam100 g
Etanol mutu laboratorium, 95 %Etanol mutu laboratorium, 95 %50 ml
Pasir KuarsaPasir Kuarsa20 g

Alat yang dibutuhkan:

Lumpang dan AluLumpang dan Alu
Corong Kaca BertangkaiCorong Kaca Bertangkai
Kertas SaringKertas Saring
Gelas Piala BorosilikatGelas Piala Borosilikat
2

Pack the column evenly, or it will run crooked

Plug the bottom of a glass tube with a small wad of cotton wool, add a centimetre of sand, then pour in powdered chalk a little at a time, tapping the side constantly, to a depth of about 15 cm. Finish with another centimetre of sand on top. Tapping is not fussiness. Any gap or crack in the packing becomes a channel the solvent races down, and the bands come out slanted, smeared or merged. The sand layers protect the chalk surface from being cratered when you pour, which does the same damage in a different way.

Material untuk langkah ini:

Kalsium karbonat (kapur tulis halus)Kalsium karbonat (kapur tulis halus)100 g
Pasir KuarsaPasir Kuarsa30 g
Kapas penyerapKapas penyerap1 bungkus

Alat yang dibutuhkan:

Batang Kaca BorosilikatBatang Kaca Borosilikat
3

Wet the column before you load it — never let it run dry

Run solvent through until the whole packing is wetted and a few millimetres stand above the top sand. Keep it that way for the rest of the run. A column that runs dry cracks, and a cracked column is finished — you cannot re-wet it back into a uniform bed. This is the single rule that decides whether the afternoon works. Set the solvent reservoir up so it keeps the level topped up rather than trusting yourself to notice.

Material untuk langkah ini:

AsetonAseton100 ml

Alat yang dibutuhkan:

Gelas Piala BorosilikatGelas Piala Borosilikat
4

Load a narrow band, and let it sink in

Let the solvent drain to exactly the top of the sand, then pipette your extract gently down the inside wall so it forms a thin, level layer. Let THAT drain in before adding any solvent. The width of the band you start with is the width you are stuck with. Every separation that follows has to pull the components further apart than this starting smear, so a 2 mm load separates where a 2 cm load never will. This is the same discipline as a narrow spot in paper chromatography, and it matters more here because the column is longer.

Alat yang dibutuhkan:

Pipet berskala (Mohr)Pipet berskala (Mohr)
5

Develop, and watch the green come apart

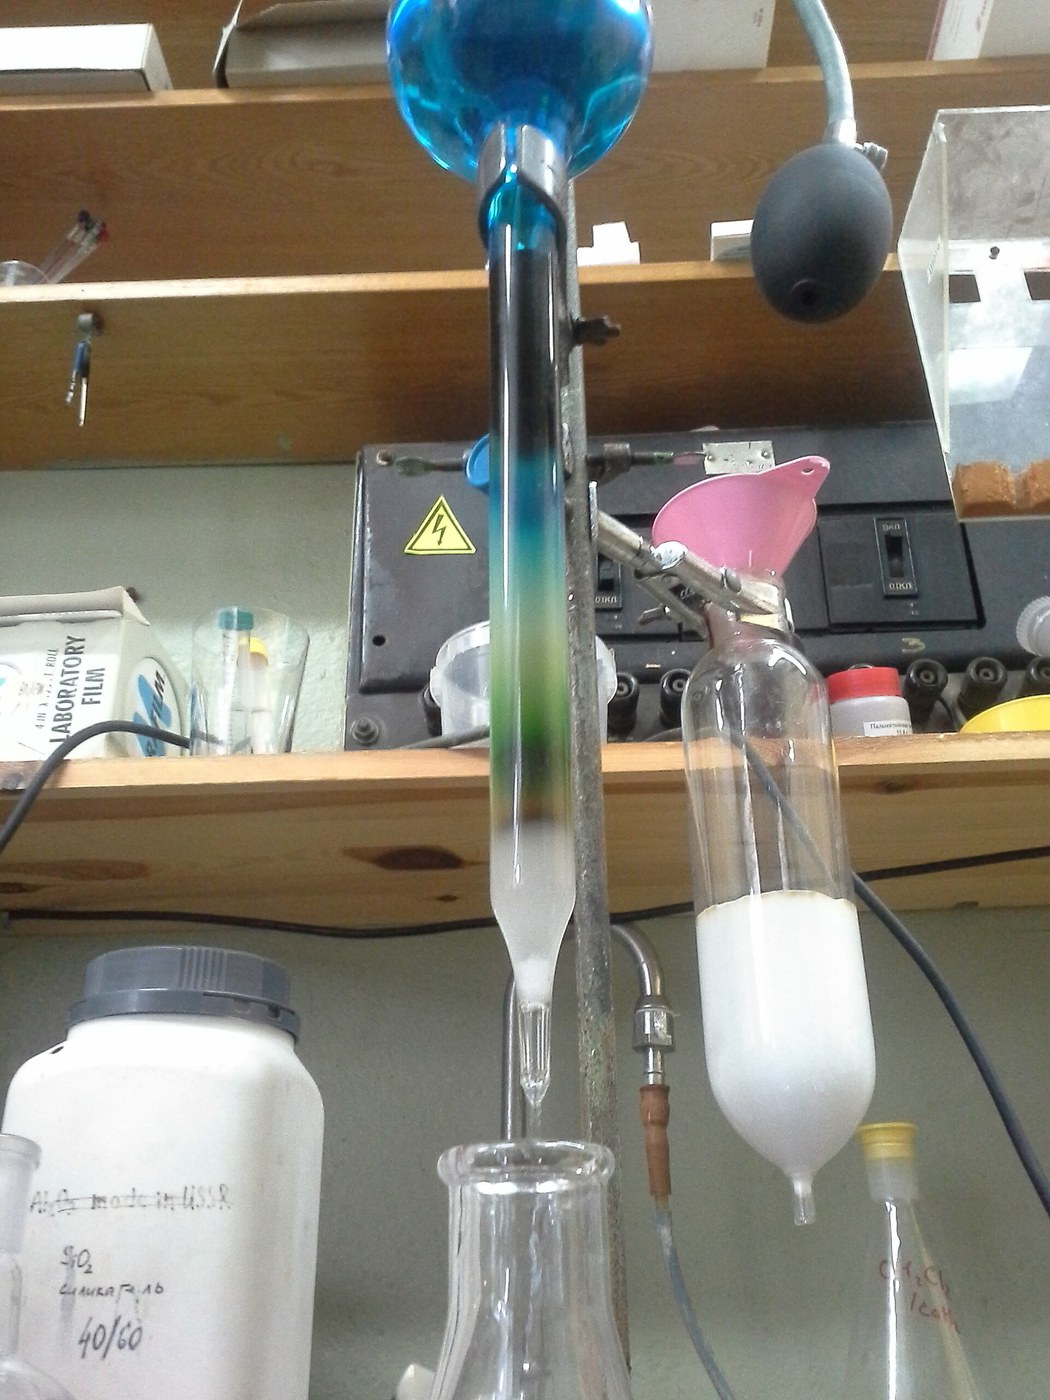
Add solvent steadily and let it run. Over twenty minutes or so the single green band stretches, then splits: a yellow-orange band running ahead, then yellow-green, then blue-green behind. Ahead are the carotenes, which barely stick to the chalk. Behind them the xanthophylls, which carry oxygen atoms and hold on harder. Last come chlorophyll a and then chlorophyll b, the most strongly held of all. You are watching a mixture sort itself by how tightly each molecule grips a surface — and this is exactly the argument Tsvet lost for thirty years.

Material untuk langkah ini:

AsetonAseton200 ml

Alat yang dibutuhkan:

Gelas Piala BorosilikatGelas Piala Borosilikat
6

Collect the bands as separate fractions

Put a fresh test tube under the outlet as each coloured band approaches, and change tubes as it passes. Cap and label each one. This is the step that turns a pretty demonstration into chemistry. A band you watched is a picture; a band in a tube is a purified substance you can weigh, spectroscope, or run again. Tsvet's own word for the separated bands was 'zones', and collecting them is what earned the method its place when Kuhn and Lederer rediscovered it in the 1930s.

Alat yang dibutuhkan:

Tabung reaksi (borosilikat)Tabung reaksi (borosilikat)
Pipet berskala (Mohr)Pipet berskala (Mohr)
7

Why the bands travel at different speeds

Memuat notebook Jupyter…

Alat yang dibutuhkan:

PenggarisPenggaris
8

Change the solvent and watch the order hold

Run the column again with a solvent of different polarity — swap some of the acetone for a less polar solvent, or the reverse — and note what changes. The bands move faster or slower, sometimes dramatically, but their ORDER stays the same, because the order is set by how strongly each pigment grips the chalk relative to the others. Solvent strength is your speed control; the stationary phase decides the sequence. Understanding which knob does which is the difference between tuning a separation and guessing at one.

Material untuk langkah ini:

Alkohol Isopropil 99 %Alkohol Isopropil 99 %100 ml
AsetonAseton100 ml

Alat yang dibutuhkan:

Gelas Piala BorosilikatGelas Piala Borosilikat

Bahan

7

Alat yang Diperlukan

8

CC0 Domain Publik

Cetak biru ini dirilis di bawah CC0. Anda bebas untuk menyalin, memodifikasi, mendistribusikan, dan menggunakan karya ini untuk tujuan apa pun, termasuk komersial, tanpa meminta izin.

Dukung Maker dengan membeli produk melalui Cetak Biru mereka di mana mereka mendapatkan Komisi Pembuat yang ditetapkan oleh Penjual, atau buat iterasi baru dari Cetak Biru ini dan masukkan sebagai koneksi di milik Anda sendiri.

Diskusi

(0)

Masuk untuk bergabung dengan diskusi

Memuat komentar...